I’ve had my GlowForge for a few weeks and I’m still fighting to get the right cut and engrave settings even on proof grade materials. Some days it doesn’t cut all the way through and the next it burns it up on the exact same sheet of proof grade material.
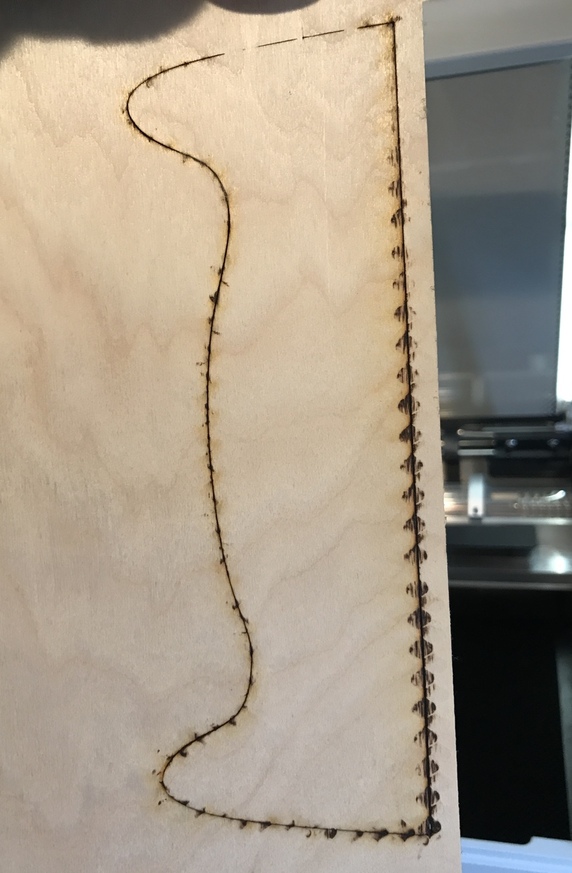
I’ve also been getting this crazy scorch pattern on the back of my cuts. It also didn’t cut all the way through in some places. Any one have any tips? Thanks guys!
That is flashback. Too much power and the beam is reflecting off the grid.edit- I see it didn’t cut all the way through at the top of the pic.
Sure the material was flat?
The pattern you are referring to is caused by flash back where the laser is bouncing back off of the grate. My guess is that your board is not flat, so the high spots don’t cut through. Are you using masking? That will help with the flash back.
A layer of masking/painter’s tape on the bed itself has been shown to reduce flashback in many circumstances. It’s really important that the entire piece be flat during operations. I haven’t tried leather yet, but the air assist can (and has!) blown into paper that’s been edge-taped and blow it up like a balloon, causing all kind of havoc.
Again, I haven’t tried this with leather, but something along my DIY sticky mat might be helpful to you:
That inconsistent cut is a sign of a tough center layer portion in your plywood (if this is ply). You can use a bright light as an x-ray to see through and figure that stuff out both before (preventative) and after (forensically) your cut – provided your ply is thin enough.
All may not be lost though, I find that if I get carefully aggressive with a box cutter I can complete the cut and salvage the piece.
I tend to cut through the top layer of the ply – intentionally too large --, snap the piece off at the cut, then sand the edge down. It’s saved me recutting several things.
I also find that masking tape isn’t enough to stop all flashback. When I’m dead-set on no flashing, I put another piece of ply underneath. My waste ply board is scorched to hell and back after a few uses, but I never have any flashback. You just need to remember to change the material height to compensate for the waste ply.
Magnets on the board inside the cuts would help if the board were bowed in the middle. I tap my boards to see if they move downward (or sound different) in various places on the board - not just the edges. Sometimes getting the edges taped (I use magnets there too) isn’t enough.
Thanks for the help, all! I apologize for the late response.
To cut successfully, there are three important things to check. First, your material must lie flat. This requires a clean, properly installed crumb tray and flat materials. Second, there must be no obstructions, dirt, or damage preventing the laser light from reaching your material. Third, your design must be set up properly - for example, with lines that are fully on the material and that are set to cut.
It’s hard to know which issue might be affecting your print, so please thoroughly inspect your unit and design according to the suggestions in our troubleshooter.
Once you’ve inspected and cleaned, please try another print. We included an extra piece of Proofgrade Draftboard with your materials shipment for troubleshooting. Please print the Gift of Good Measure on Proofgrade Draftboard and let us know the result. If it doesn’t print well, please let us know the date and time of your print and send photos of the front and back of the print.
It’s been a little while since I’ve seen any replies on this thread so I’m going to close it. If you still need help with this please either start a new thread or email support@glowforge.com.

 Wow… really looked like leather the first time I looked. A mat probably won’t help, but tape across the bed might. Sorry about that!