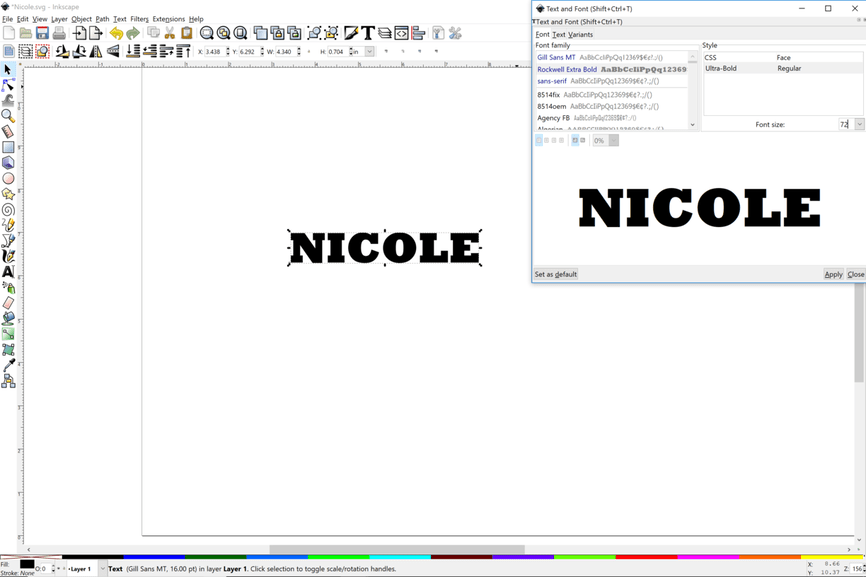
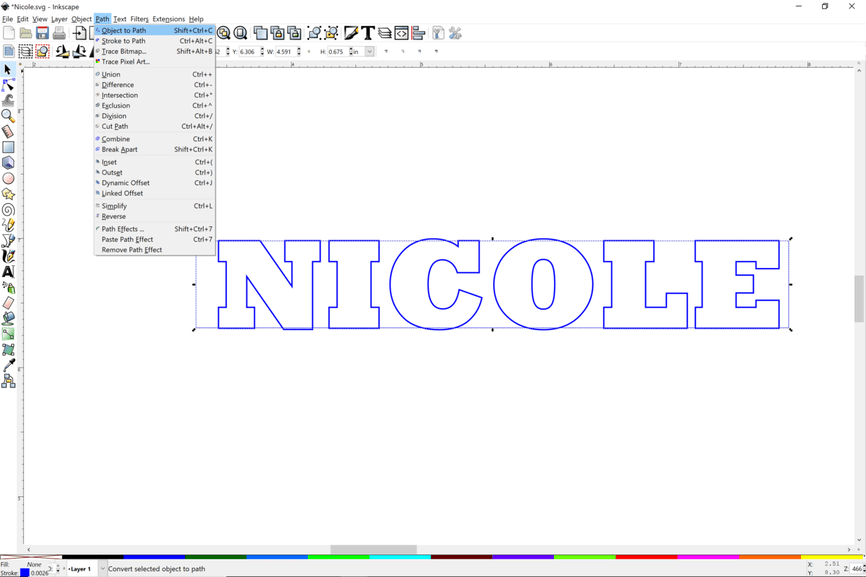
I give up !! been trying for over a week, spent several hours (or more) trying to do this in Corel or inkscape with no luck. Silhouette Designer does it with one button (Weld) but similar on inkscape and corel do everything but… Anyone know what I am doing wrong? I’m trying to go from the font vector
put a box on it and cut/create the lines for:
weld union difference tried all variations with grouping ungrouping, convert to path, and every variation in between with no luck… Any help would be appreciated (doing screenshots from silhouette to bitmap and then converting to svg , then cleaning to straight lines was taking forever as well…) Surely Inkscape can do this? (or Corel?) I purchased Affinity but was never able to install it (missing some library…)
Create a frame first, larger outside rectangle, smaller inside rectangle cut out of it. Then overlap the letters on only the inside rectangle and do a Combine.
(You can then break it apart and delete the outside rectangle if you don’t want to cut it.)
LOL what Jules said is a lot faster, and funnily enough I did it that way ages ago when I did this same sort of thing. My way allows for a bit of finer control I suppose but generally union, and then break apart and kill the exterior rectangle, like she said.
I did a video about this on YouTube using Inkscape. I’ve learned a few things since then, but this is one of those essential skills to master good post.
Are you just referring to how Corel does it? I can’t get an effect like this using combine alone in Inkscape. It has a few more steps. But you have helped me with this before. Here’s how I do it.
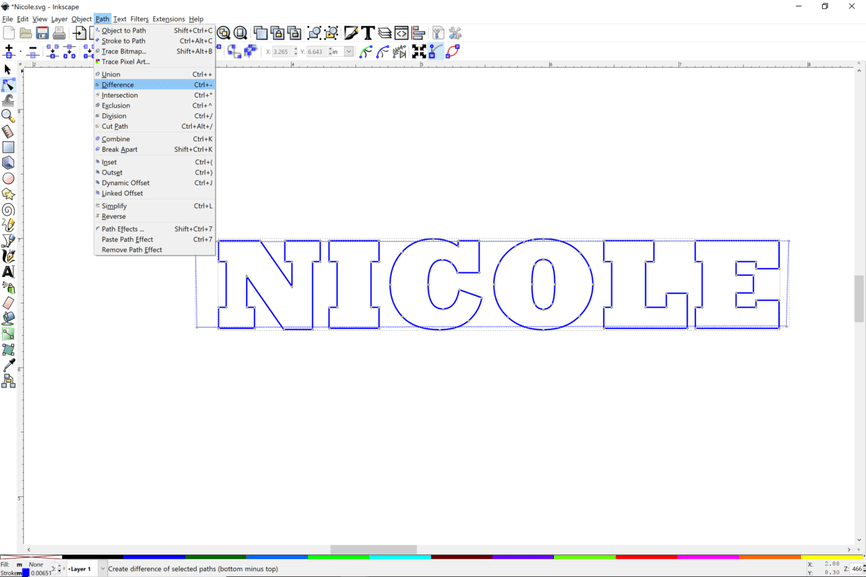
Switch to Node Edit mode and then select both rectangle and text. Then do Difference.
You can put another rectangle around to have a cut path.
Edit: don’t forget the counter in the “O” it will drop out and you will only have a big blank. That’s why there are stencil fonts. Never mind. You are keeping the outlines.
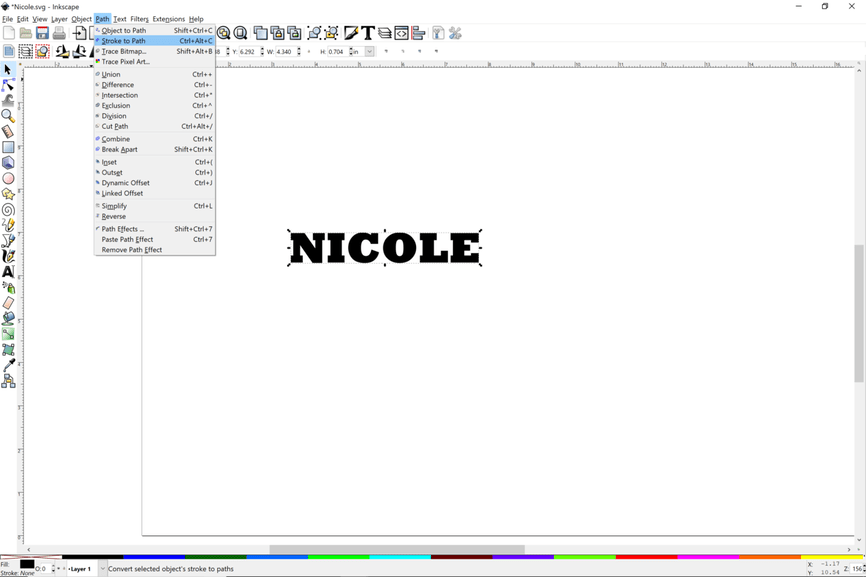
To do it in Inkscape in one shot make a hollow rectangle with a fat stroke, do stroke to path (making a single path with 2 concentric rectangles) then do a union.
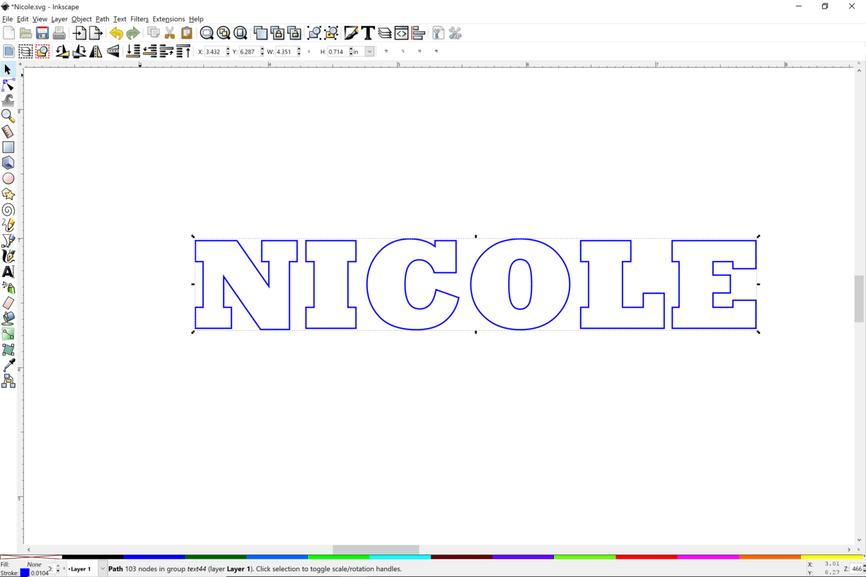
Then to kill the outer rectangle, you have to break it apart or use the node tool to cut those 4 outer nodes.
The Union idea described by @evansd2 above was actually more in line with what I was thinking, but Inkscape isn’t my native son… I was more describing the process than the actual steps.
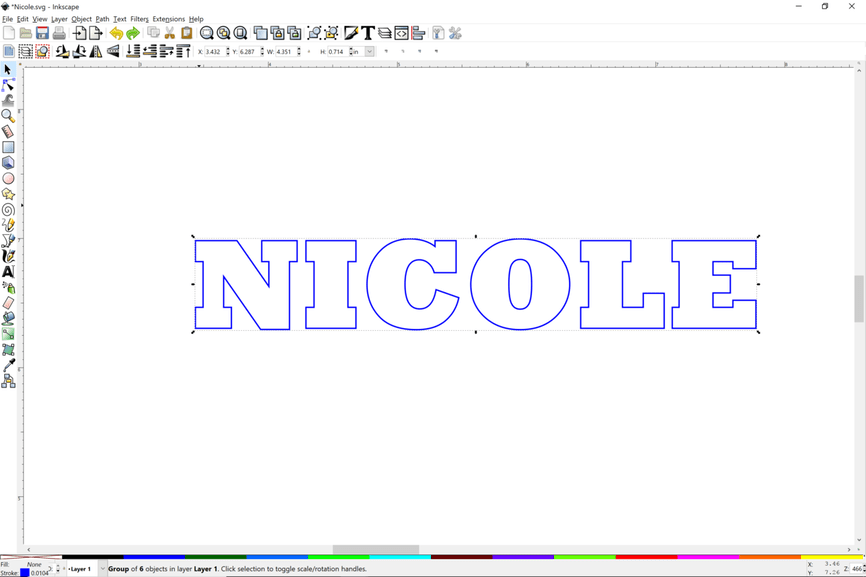
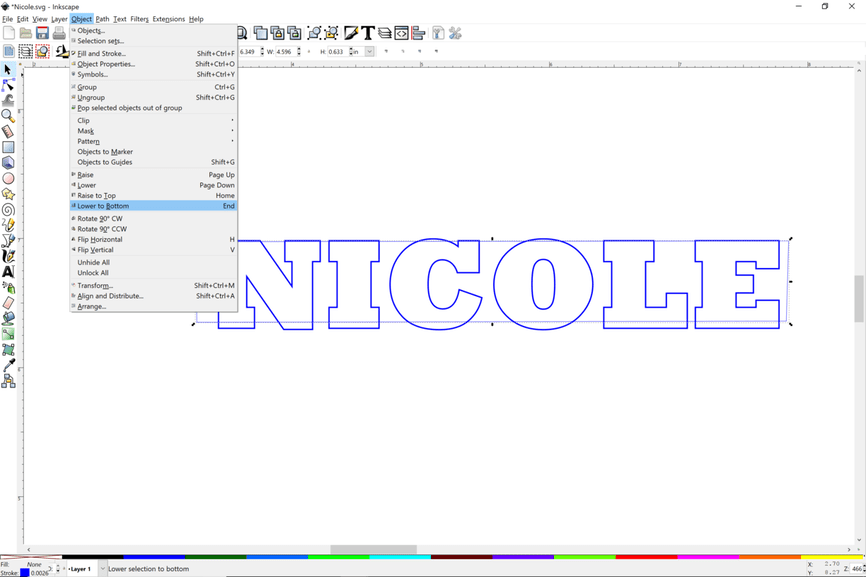
Thanks for the replies !! It works… I’m not sure what I was doing wrong- either not moving the box to bottom or not unioning after coverting to path (also I didn’t do both object and stroke to path)… BUT it’s working now ! off to forge…