Who knows the steps needed to be taken to create an inlay? I have a pro and am working in illustrator 2020.
I have been scouring the community to figure out how to adjust the depth of the engrave. Not having a good time of it.
Thank you in advance.
Who knows the steps needed to be taken to create an inlay? I have a pro and am working in illustrator 2020.
I have been scouring the community to figure out how to adjust the depth of the engrave. Not having a good time of it.
Thank you in advance.
You can’t specify a depth with a laser. You can test and get an approximation for that particular piece of material, but it’s never going to be perfect every time. That’s the realm of a CNC router, not a laser.
Create a series of circles and run them at different speeds and power and you can measure the depth. Find one you like and mark the settings used. It may well be different with a different piece of wood, but it will probably be close.
Testing will be required. Adjust for Kerf. Read this whole topic because it has tips and tricks that are the way to go further down.
If you keep posting here your questions, I’ll guide you. Give us a little more info on the materials and the type of design you are working on.
Actually, steps are simple. It’s execution that can be tricky. You adjust the depth by changing the speed of the engrave or chnaging the power.
Create your design as a raster or vector engrave (vector likely more accurate)
Engrave at settings that give you the depth, as determined via prior testing.
If you’re cutting the inlay on the machine as well, then you also need to determine, and adjust for, the kerf during the cut, so you get a perfect fit.
I’ll add, there is a very comprehensive guide to how the settings work.
When engraving you are burning a area with the same power, but even the annual grain will burn easier and not, so you will have visible raised grain on the bottom. You can sand it more even or just go deep enough not to matter or cut all the way through and put it together like a puzzle. There are many threads , videos, etc to provide a very deep dive into that rabbit hole.
Through cut inlay can be much easier.
Increase the LPI. Higher values will increase the depth.
It is difficult to do an inlay in solid wood. The density and grain structure messes with getting a clean and even pocket depth.
The MDF core of Proofgrade plywood is very good for an inlay. You can get an even depth of pocket.
There are different power level, speeds and LPIs for achieving the effect you want. You might be tempted to just burninate it all at once. That can leave a buildup of soot at the edges of the engrave. I often do less aggressive engraves and do multiple passes. That way the burn gets blown away rather than accumulating around the edge of the inlay.
I also clean the edges of the inlay with a dental pick to get the corners of depth sharp.
I agree with @evansd2 and doing cut inlays is soooo much easier. If you want a solid back for a more traditional look you can just layer another piece of wood or veneer on the back when your done.
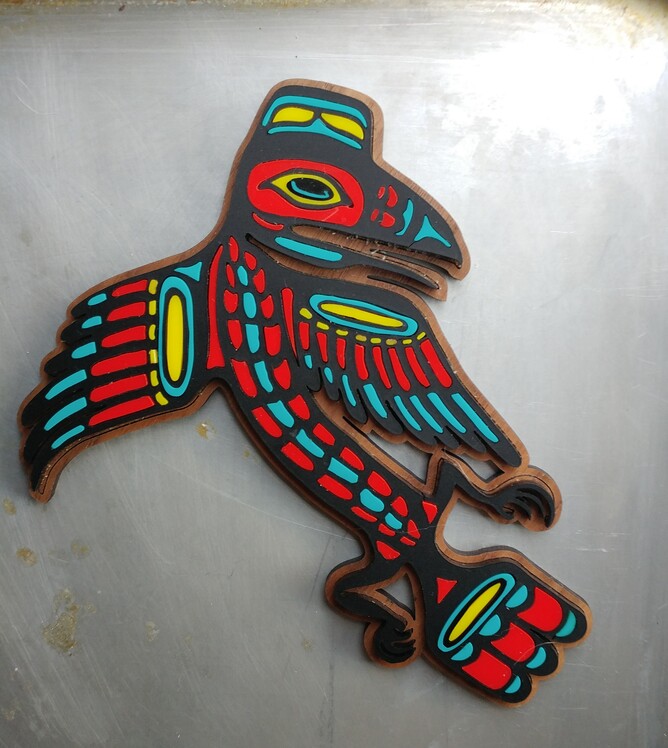
I haven’t done much wood inlay but do quite a bit of acrylic. This one was a huge PIA, but it turned out OK.
Amazing! ![]() So much better than OK!
So much better than OK!
Such modesty!
Just ok? I think not.
Thank you @kanati. I think I will start here. Told my wife this project would be easy.  bear1.pdf (353.3 KB)
I am using a BBPLY from Woodcraft and a wood veneer from a sample pack.thank you for the link.
That should work fine. The top ring is a bit delicate for holding on too.
Thought it would be a fun ornament for the tree.
That looks pretty ok to me.
It’s a pretty delicate arch for an ornament too… but you’re working in plywood, so it’ll probably hold.
Generally smaller loops will be stronger, you might want to make it a little more compact, depending on how you plan to hang it.
As mentioned above getting a perfect depth, no matter how much you test (which you still need to do), is just not possible in wood. IMO that is why they make sandpaper.