Inventables two color ABS plastic

Truth is never tried again. Didn’t find the material matched my projects at the time.

2 Likes

My settings for the 2-color acrylic:

Yes, LPI is high, I did that because the material shows detail well and it was worth the extra time, IMHO.

You do need to remove the plastic. I’m going to try replacing it with paper masking film next time.

A Magic Eraser scrub will remove top surface discoloration, but it also makes the top matte.

4 Likes

My results with pg veneer settings.

2 Likes

Is the second pic the back? As in it didn’t cut through? How does the front look after the tape comes off?


yeah the 2nd pic is the back so it didn’t cut all the way through except at the points the laser had to change direction.

In the light.

So I figure a 2nd pass, at a lower power to clean up the remaining engraved part. I don’t think that its char or melted plastic 'cause I attacked it with some denatured alcohol wipes immediately to try and clean it off.

The cut would probably have worked on the 1st pass at a lower speed though.

Edit the third: Unless someone can say that it might actually be char and I should just scrub like heck. Thus the PG veneer settings did actually work for the engrave part… Still need to set a higher power or lower speed for the cut.

4 Likes

Acrylic plastic comes in two types: extruded and cast. Cast does not drip when lased.
Matterial Identification

1 Like

I have to say, it the cut line does look cool in the light. Might have to change it to a score and make back lighted nameplates or something if I get more.

Again, this is with PG veneer settings no other modifications to the Speed, Power, orLPI. I’ll mess with it more next week when I get a chance.

Edit the 1st: PG Walnut veneer settings.

1 Like

Is somebody making an escutcheon? Looks nice.:wink:

1 Like

Yeah, I used the wrong file though, I was supposed to engrave the wheel and skull and leave the parts around it black. The file I used was my test file, which I made for some orange acrylic, I changed the fill areas for the two part ABS but uploaded the wrong one. I still like it, I’m just not getting the effect I was going for.

2 Likes

Not sure how accurate this chart is for laser cutting. It seems to be describing if these products were burned in a fire. I cut cast and extruded all the time and have never had it “drip”. And I would not describe the smell as fruity…lmao
It also lists polyester as producing HCL acid. I cut polyester film for my business (for the past 15 years) and I can tell you, the product is safe…lol

2 Likes

I was concerned about the meltyness, everyone seemed to agree that ABS plastic kinda turns into a melted mess when heated, even with a laser. So I put it ontop of a piece of draftboard to keep from having to clean the tray, just incase. That turned out to be unnecessary for this but I would still continue to do it, since it costs me nothing.

The points where the laser did go through the plastic did leave marks on the masking of the draftboard but eh. Small price to pay for not having your GF invaded by the spawn of Meltman.

I would call the smell, chemicalish… like strong chlorine, with a bit of burnt sugar, and an underlying bit of burnt fish for good measure, not exactly fruity.

Cut some plywood right after, and it pretty much cleared out the smell… might be the charcoal produced in that.

1 Like

When its heated too much, yes but if you are using the right product with the correct settings with air assist, its not going to drip…lol
I cut tons of name badges, the material is only 1/16" thick and only the bottom is ABS so the heat you need to cut through is not like trying to cut through 1/2" which would more likely drip…lol
I have gotten pretty decent results with etching on legos which are ABS with out drips too.

2 Likes

I wasn’t really willing to risk it, being my first time messing with ABS in the glowforge and not really finding any previous data outside of “ABS melts, do not laser it.” Admittedly I could of spent more time looking and not doing, but you could say that about everything.

I figured getting specifically “Laserable” ABS would alleviate that, along with having a decent speed on the laser going so it wouldn’t stay in one place too long. I think the veneer engrave settings are 1000 speed and 71 power. So speed seemed correct to me, I was thinking it was a bit overpowered but nothing ventured nothing gained, I seem to have been wrong on that front. At least no one has corrected me yet.

Going to try to reposition everything and try just the engrave again on a lower power when I get the chance. See if that cleans it up enough for my purposes. Figured on using some sewing pins and lining up the spots it burned through with the spots on the draftboard. At least try something before jumping in the deep end and possibly wasting the rest of my material. If it doesn’t work then I can just use the rest to do one of the many material templates, either way, we’re doing science, with lasers!

2 Likes

THanks. I’m just getting started and trying to get as much information as I can. I appreciate your insight and experience. Mike

1 Like

I’ve only run the stuff once, but my notes for 0.062" black on gold rowmark engraver’s plastic seem to suggest that I liked 1000/10/270lpi for engrave and 200/90 for cutting.
YRMV

4 Likes

Would you mind sharing your settings for this? Was it the 1/16" stuff with the different color on top?

hi yall. i just started my test cuts and found it is super melty as well.

FOR 1/8"
test specs: speed 160,power FULL, 1-pass.

The cut gets warped on sharp corners.
Imma try some other settings and hopefully repost.

Try 2 (much LESS melty)
I used the 8th" white acrylic preset with 2 passes

speed-183
full power
2(two) passes

I used the presets for ENGRAVING (vectors/textonly)
speed-1000
power-90
LPI-270
2 passes<i changed to 2
Problems: the color from the top layer gets left behind and stains the inner layer, but just a little bit. kinda looks cool but its not “clean”
for instance, white acrylic with red top. the engrave looks white with a pinkish hue.

I don’t know what you are trying to make, but there are a couple of users on here who have some really dialed in settings if you wanted to try those. I’ve used these with huge success, though it takes alot of time:

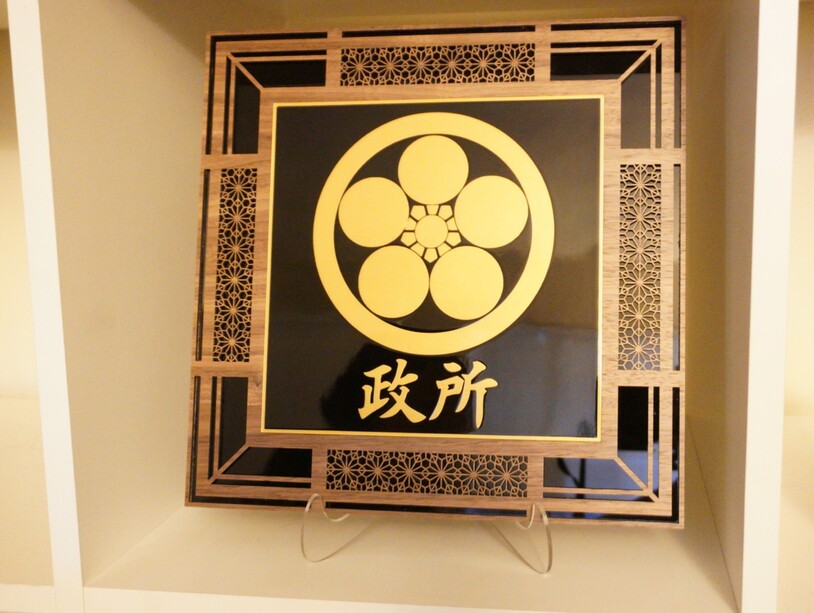
The middle is 2-colored plastic with glossy black and gold underneath from Trotec laser. It’s 1/16th an inch.

I haven’t tried the settings below yet, but I’ve also heard good things. I tried the first set mostly because I was engraving something huge and it came out perfect. But I’m going to try these later for smaller items:

5 Likes

LMAO, for some reason on my screen this showed up as a new post :rofl: :rofl: :rofl: I didn’t see it was already a chain I was following until AFTER I commented.