I had a project that required this stuff and found I was not happy with my existing settings. I made some improvements and discovered some other tips along the way. You can get some really nice results with this stuff, but it does need some care.
Engraving
Best results:
Speed 1000, Power 15, LPI 675
Notes:
As has been said, the plastic masking that comes on the product makes a gooey mess in engraving. I experimented with paper masking too–forget it. Getting through the masking takes a surprising amount of power and really reduces engraving detail.
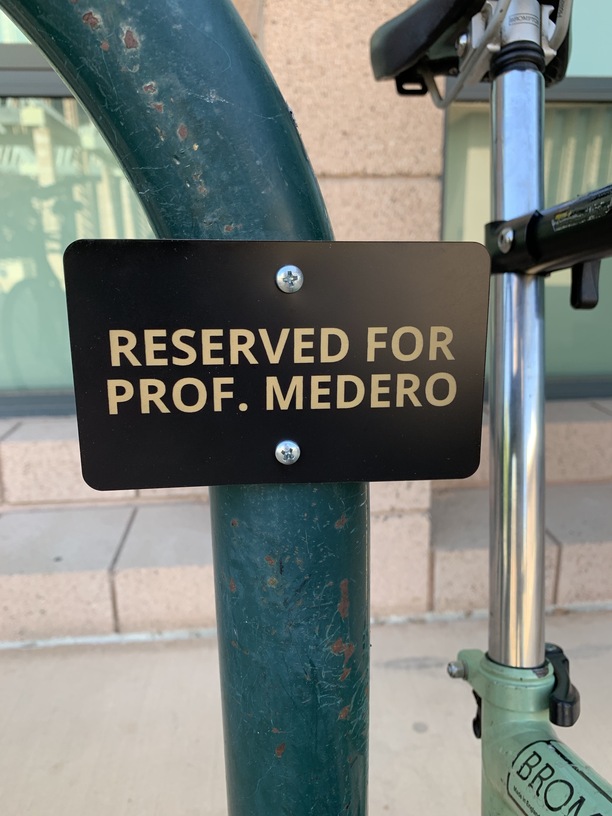
Engraving too deeply causes problems, too. Plastic dust blows across the piece, and the deeper you engrave, the more dust there is. The top color gets mixed into all the dust you create and it seems like the deeper you go, the dirtier your engrave looks. At Speed 1000, Power 15, LPI 675 I got clean engraves with no color deposited on the exposed white later–no need for a second cleaning pass. The dust on the un-engraved surface came off easily, too. At this low power, you won’t miss the masking.
Below 675 LPI you very obviously lose resolution. I tried to get lower LPI to produce satisfactory results, but couldn’t. Maybe if you increased power… But then you have the issue of more engraving residue, and you can’t use masking. 675 LPI is worth the extra time on this material.
Cutting
Best results:
Speed 200, Power 100
Notes:
Cutting seems to work OK with plastic or paper masking.
This material also produced a sticky cut edge, and the color will come off on your fingers. Some web research indicated this is not unheard of for the 2-color engraving plastics and may be common in some extruded acrylics. 100% isopropyl alcohol cleaned the sticky edge up. Some say if you wait a couple of days, it goes away on its own.
Other Notes
Alcohol will take off some of the color if you rub hard, so if you aren’t careful, you can muddy the exposed white color with your cleaning pass!
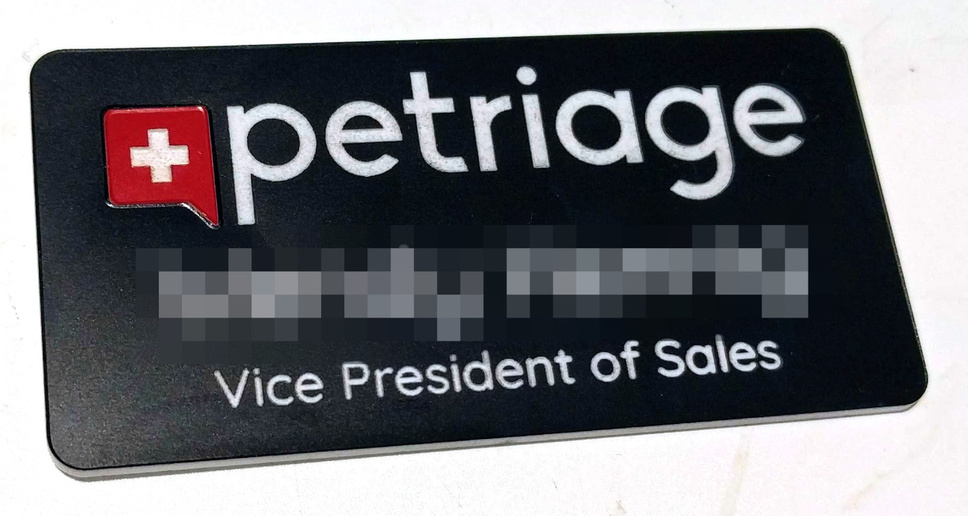
The red inset in the image was made by engraving/cutting a piece in the same kind of material in red/white, and plugging it into a matching cut shape.
2025 edit – cleaning tip!
To clean up residue that makes your whites muddy, moisten a “magic eraser” with a little rubbing alcohol. The combo brightens up the white engraved area like magic and does not seem to mar the smooth non-engraved surface.