I’ve been thinking about the whole alignment thing but haven’t gotten to the point where I had something to test. I won an attendance prize the other day at a luncheon and came home with a beautiful stationery desk set, pastel colors, with 12 pencils that had sayings on them. They are round.
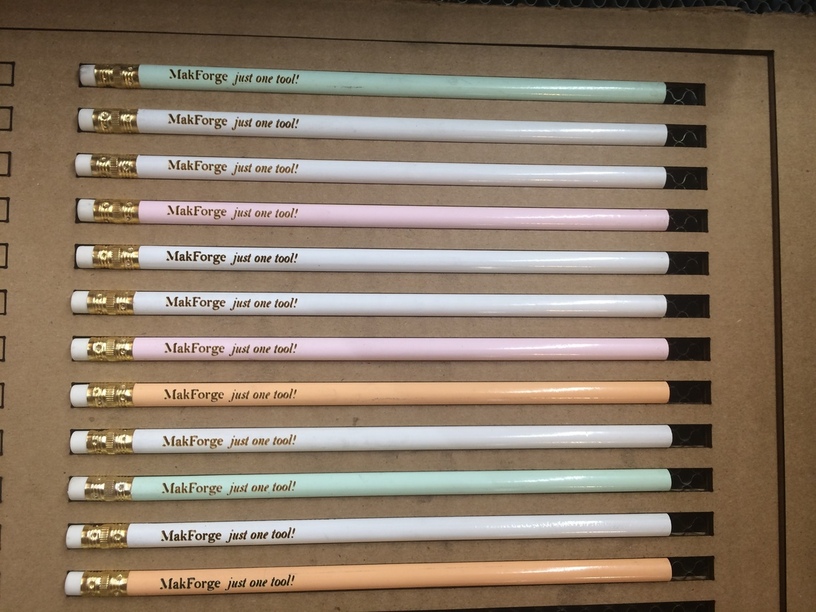
Here is what they ended up looking like:
Here’s how I got there:
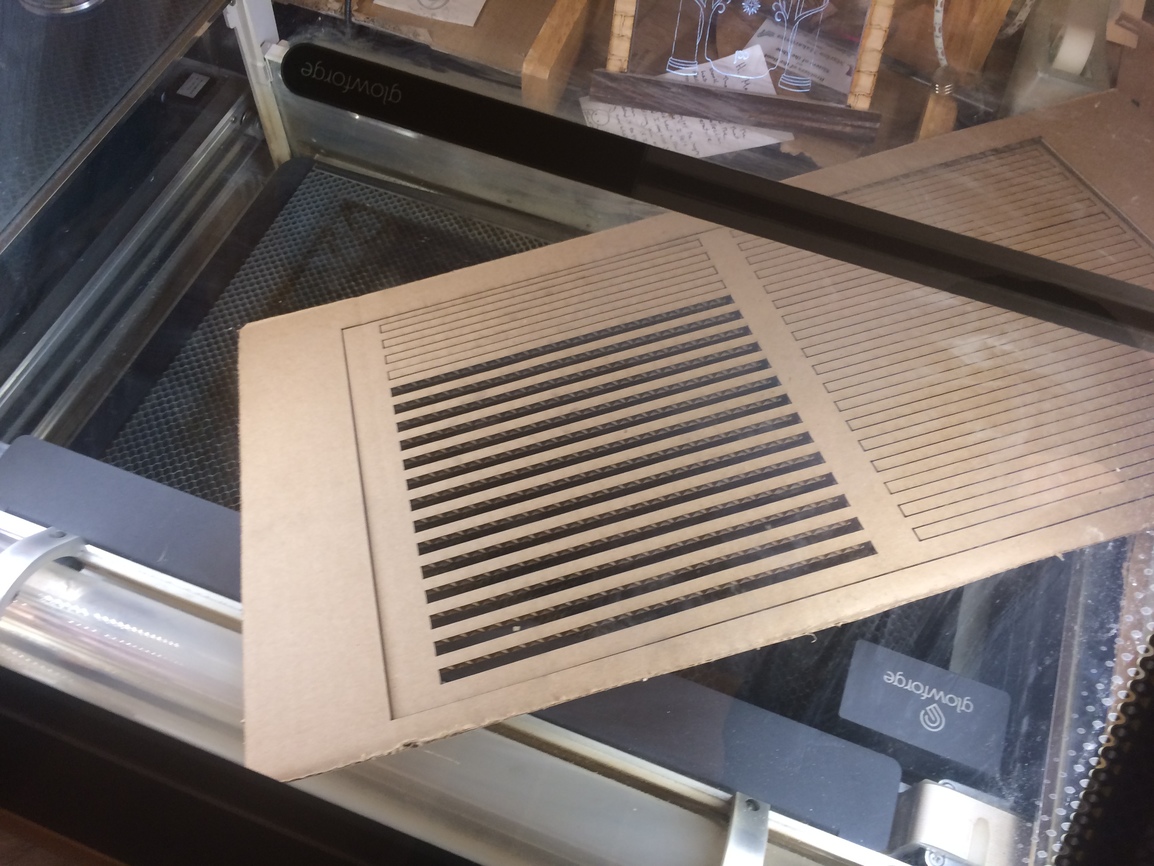
I cut a flat piece of cardboard that had two factory edges which I used as the main reference, then used by acrylic framing square that I made to cut the third edge. I just rough cut the top.
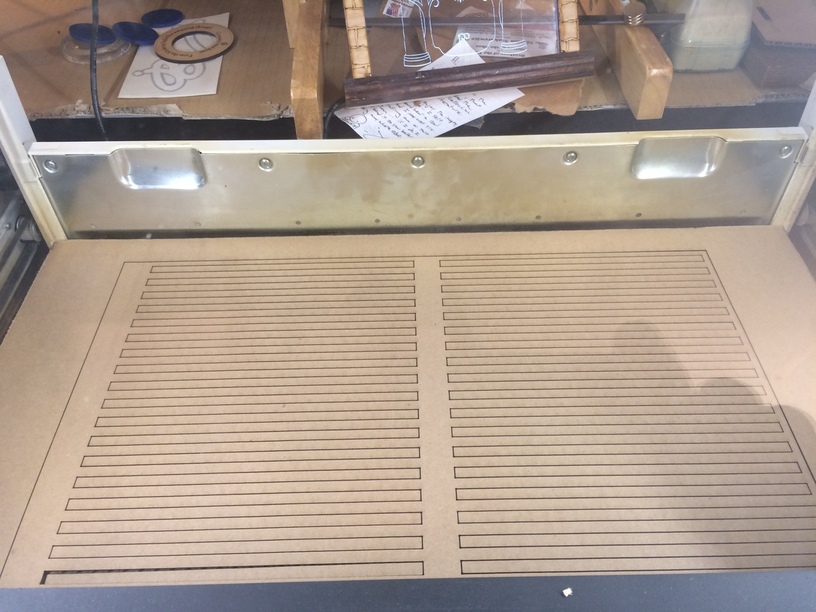
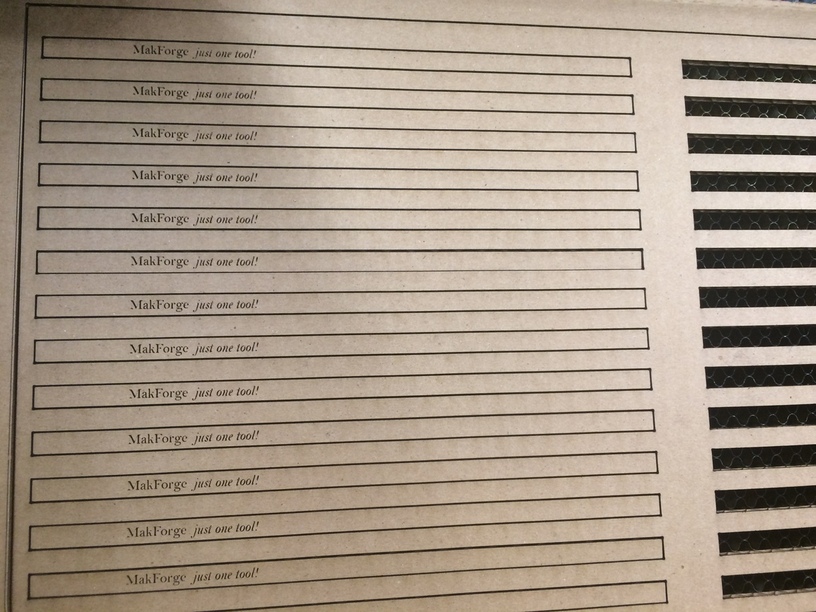
I made an 20x12 artboard that had a rectangle the size of the usable area, minus a millimeter or so for a bounding box. I could take this board out as needed. Then I made one slot to hold the pencil and put the engraved text on the slot and grouped them. Then tiled clones to fit the usable bed. I left enough gaps between the slots so the cardboard didn’t wiggle and I made the slots just enough to lay the pencils in without wiggle.

One of the challenges of this design is that the bounding box will group all of the contained slots and engraves and there is no way to individually delete them or move them. You might not always to a full bed. In the end, I really didn’t need to cut a removable rectangle since I could just take the whole piece of cardboard out. But this was to test for other jigs. Keep the frame and just cut a new center.
That’s where turning off a layer comes in. Upload the design with the bounding box visible and cut it and ignore everything else, or you can cut all the slots at the same time. It doesn’t matter. Go box to Inkscape and hide the layer with the bounding box and upload the file again. This time you can select which slots you are going to do.
First I took the completed jig out of the bed to test how it worked placing it back in against the two posts of the garage door. I also had to punch out the slots for the pencils.
First I did some tests engraving:
Then I took it out again and put it back. Reloaded the design. Deleted the slots and engravings that didn’t match up to a pencil and then engraved the pencils.
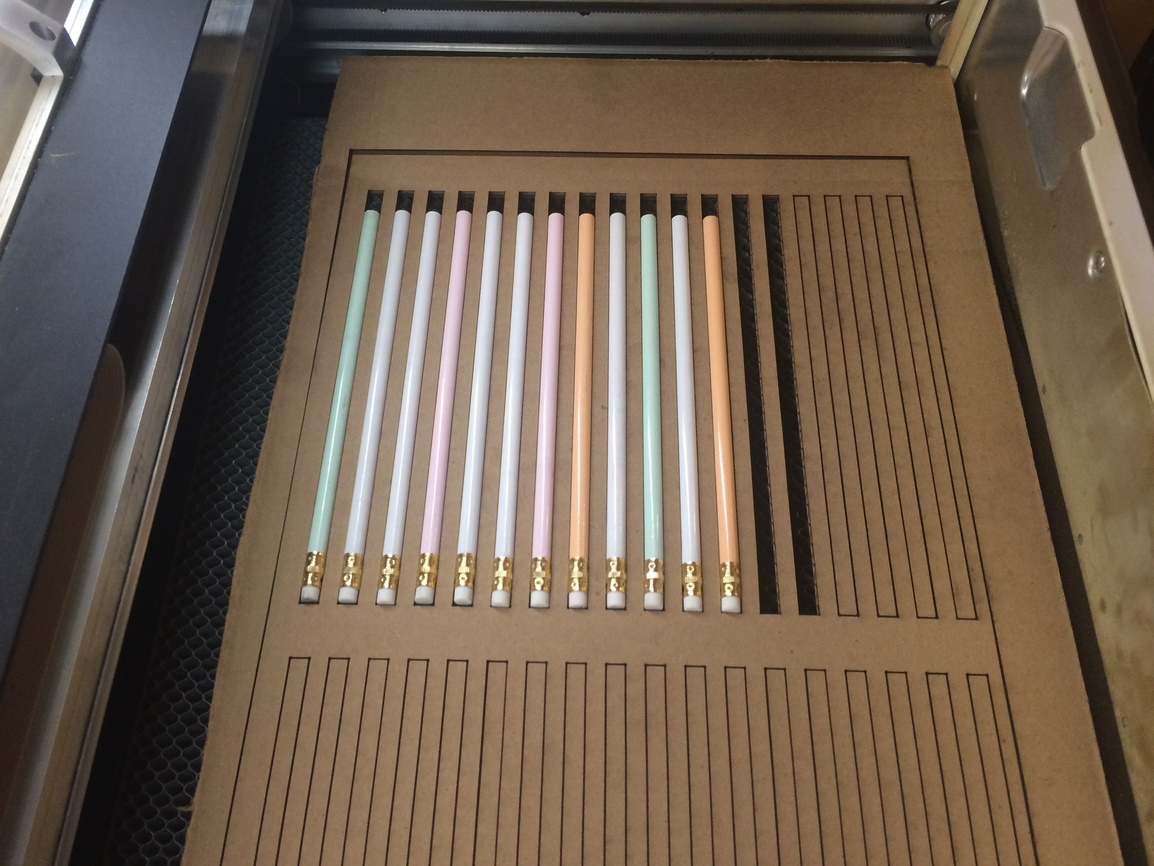
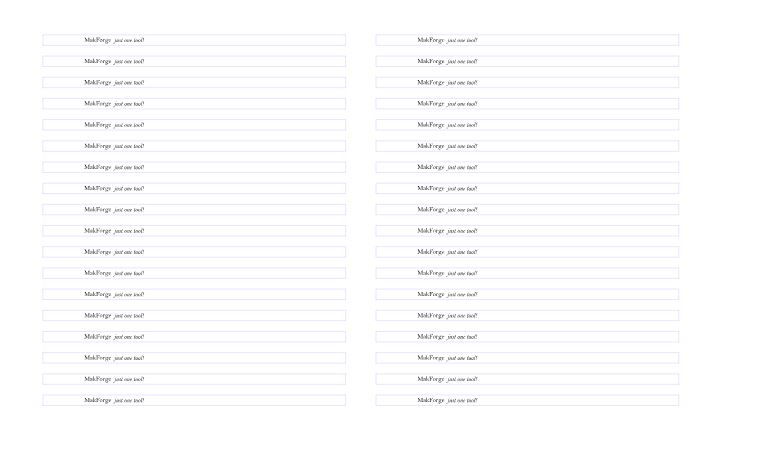
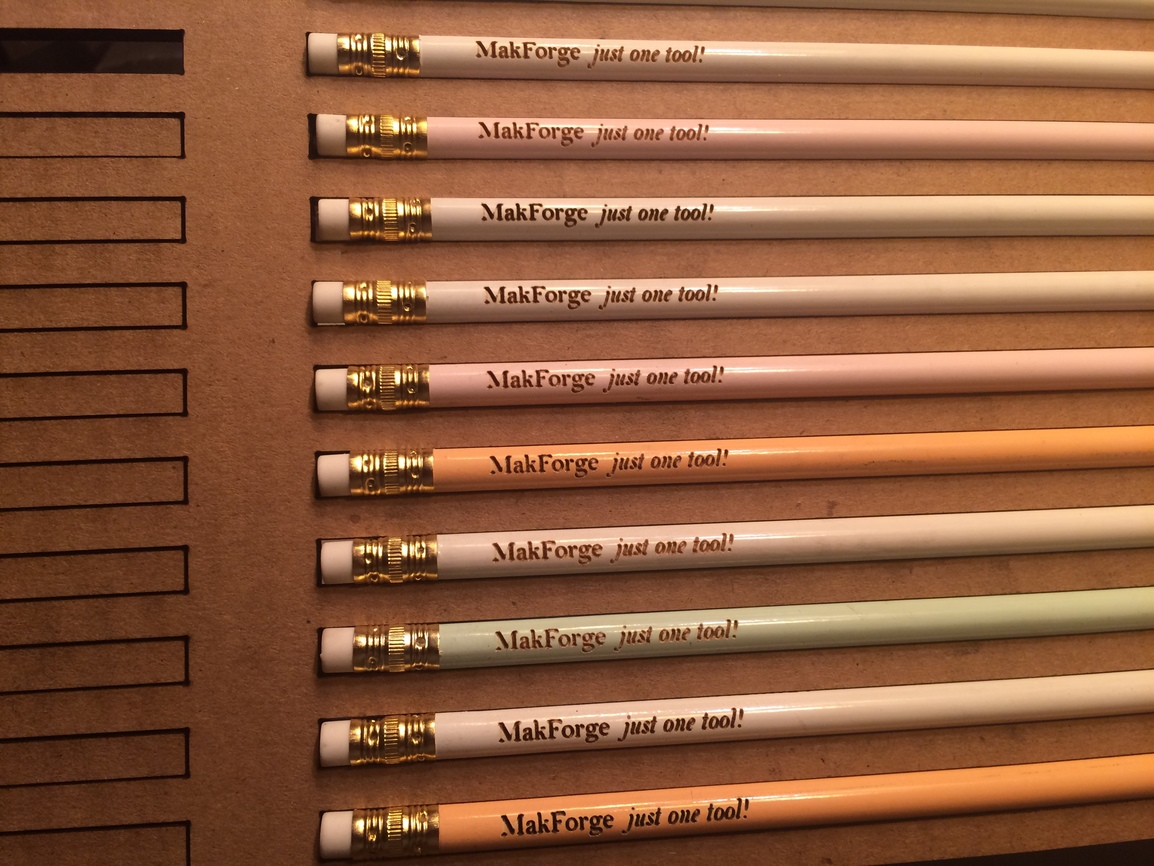
All the pencils lined up and ready for the engrave.
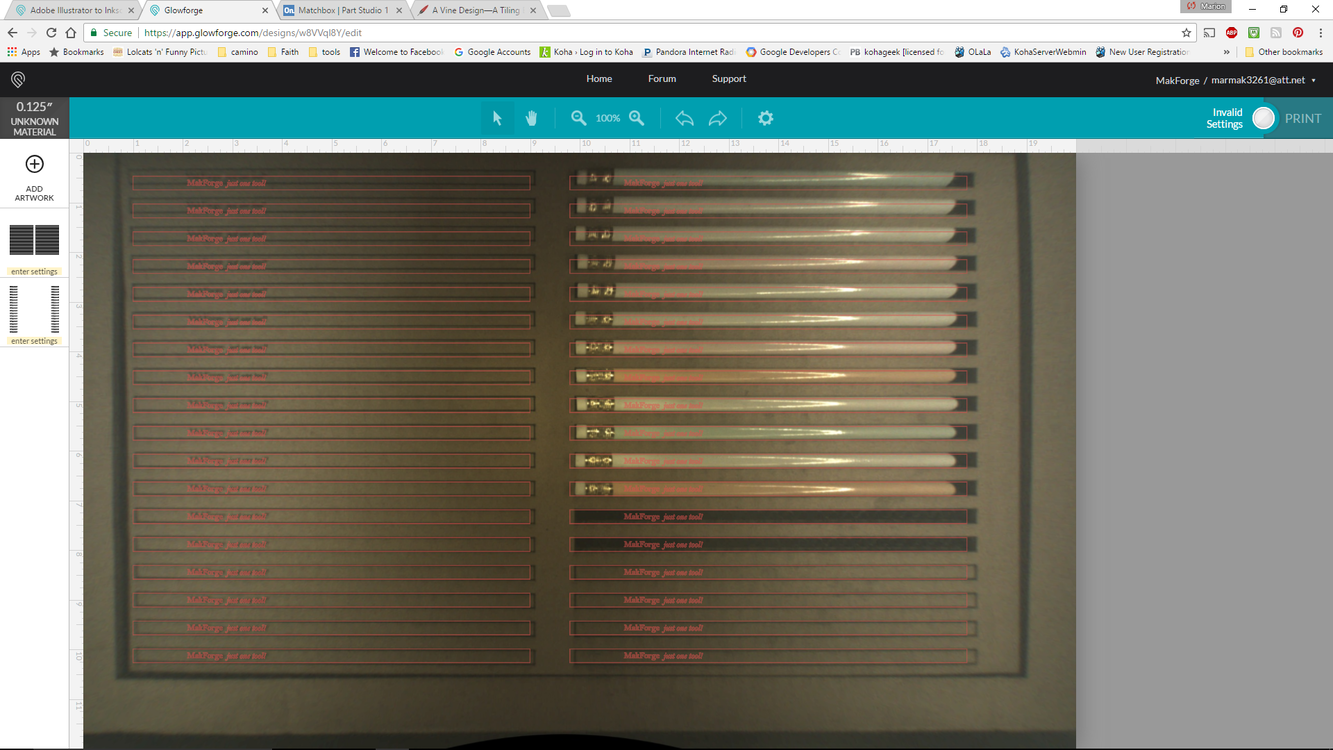
Before deleting what I don’t need.
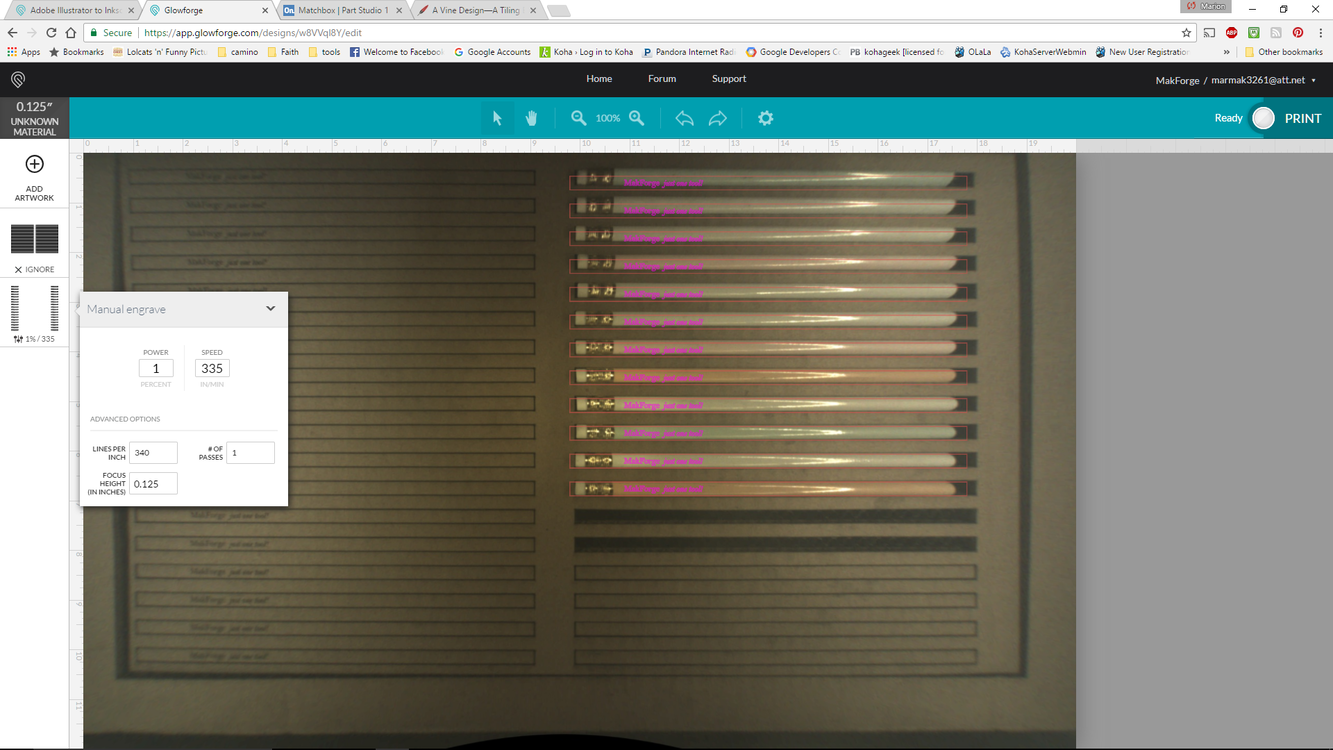
Ready for the engrave. I just ignored what I saw on the screen and just let the art board and the cardboard jig do the positioning. 7:47 for the time to engrave the 12 pencils at 340 lpi at 1% power and 335 ipm.
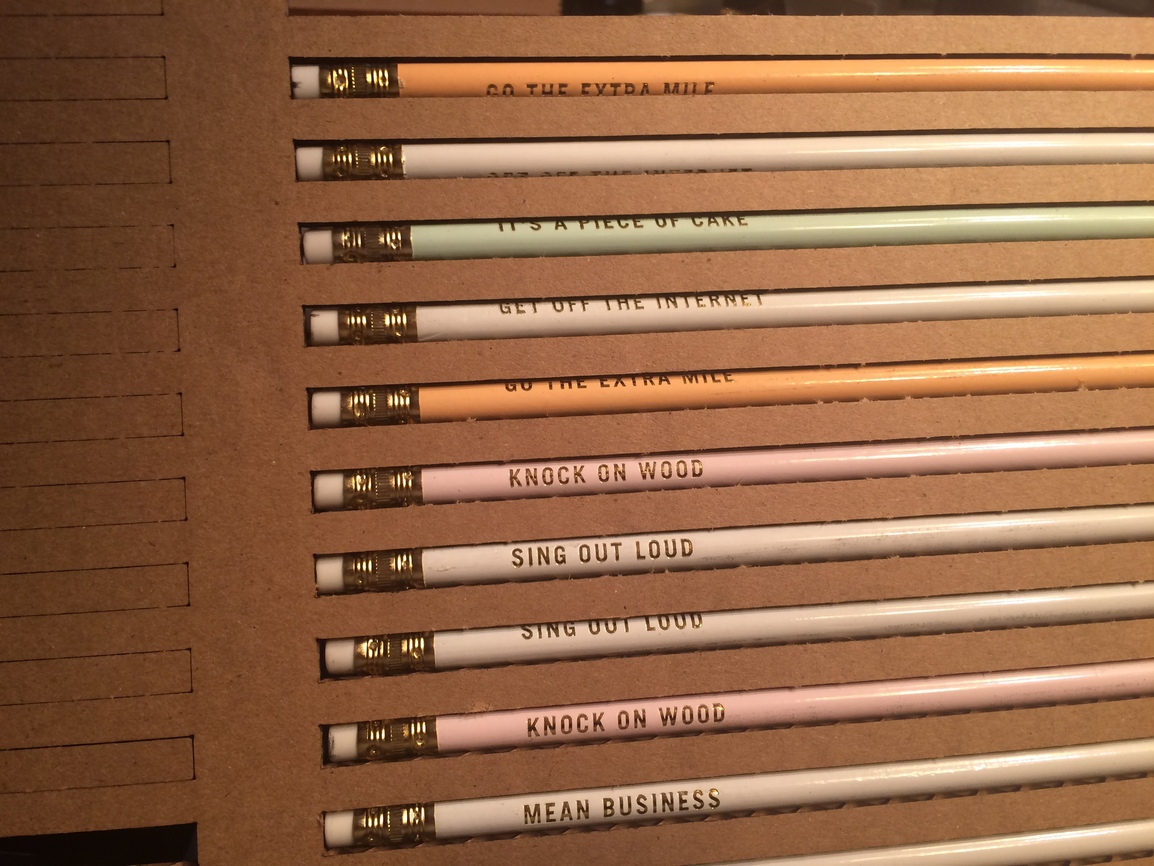
The other side with pre-printed sayings.
So I don’t know if a jig counts as a tool. If so, then it’s false advertising. This was a a fun project that took about an hour to do. Plus another half hour to document. And 10 minutes to figure out the tiled clone settings to make it work. Now I know how to use it. Plus 10 minutes to dial in settings on cardboard a little better. I wanted minimal charring and fast as possible. Not easy to do. 40% power and 60 ipm worked pretty good for this stuff.
Next jig will be out of 1/8" plywood to keep it more rigid and not have the corners get banged up.

 )!
)!