Are you getting ready for this movie?? I’m hoping it lives up to its hype. I wanted to try an edge lit sign with some “blacked out” portions so the design is more visible in daylight and thought this was a good graphic to try. I used gold toned Laser Foil that I got from Johnson Plastics (link at the end of the post). It was mostly successful. I just had an issue with applying the foil to the acrylic without bubbles. Here are some of the steps and hints if you try it, or something like it.
Here it is in the bed just after cutting. I removed the masking from the acrylic by marking the size of the design on the masking material and then tore it off only for the section of the design. TIP: Draw a cut box around your light board graphic when designing and just cut that box out out before peeling the masking and applying the foil. TIP: Use paper mask again after applying the foil. Smoke was pretty easy to clean up, but you can see some cleanup would have been needed around the shield at the top. Here’s where you can really see all of the bubbles I had when applying the foil. I’m terrible at this even with vinyl decals I make on my Silhouette. The foil is even more unforgiving when applied to acrylic. It sticks as soon as it touches. Will have to practice. 
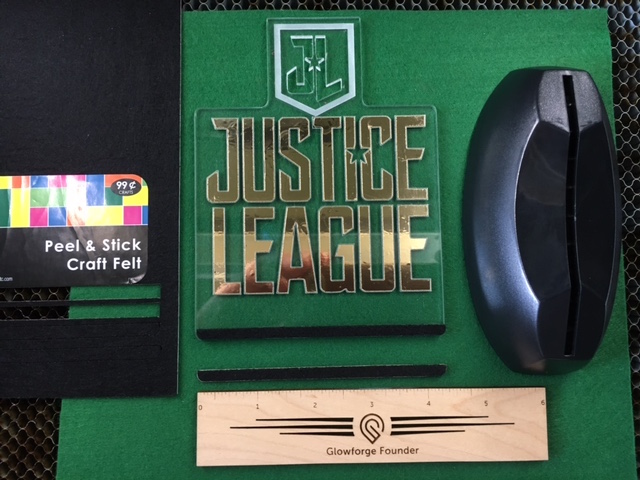
Here are all of the components after peeling off the excess foil. I used Medium Proofgrade Acrylic settings for all the passes. The gold text was deep scored, the outside of the shield was deep engraved, and the JL in the shield was cut out for some added interest. I wanted to see how interior cuts affected the lighting. They didn’t diminish the light much, at least when done near the top of the light board. I used a cheap battery operated LED base that I got online a long time ago. The material that came with it isn’t cast acrylic, so I did set that aside and used Proofgrade. TIP: If adding anything extra to cut through, slow the automatic cut setting speed down a bit. Settings for Proofgrade cuts are very precise. Even the addition of the slightly tougher foil caused the laser to barely cut through. I had to use some force to pop out the JL. If I’d had another layer of masking, it may have adversely affected the cut. TIP: The slot in the sign base was a little bigger than the Medium Acrylic. Instead of using thicker Acrylic and having to engrave for a tight fit, I cut the Hobby Lobby peel and stick felt and applied it to the bottom. The photo shows it already applied and it made for a snug fit. I cut the extra one also in the photo, but didn’t need it. Saved on laser time and material cost.
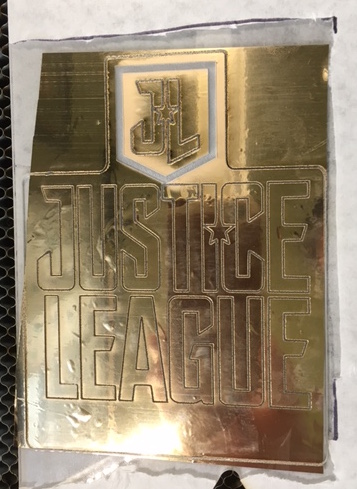
OK, Here it is when not lit. It was actually lighter in the room, but photographed against a black TV screen with window light reflecting off the foil. Note the bubbles. Must find a way to get better at that. 
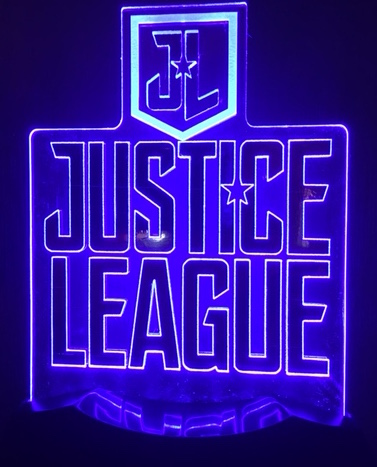
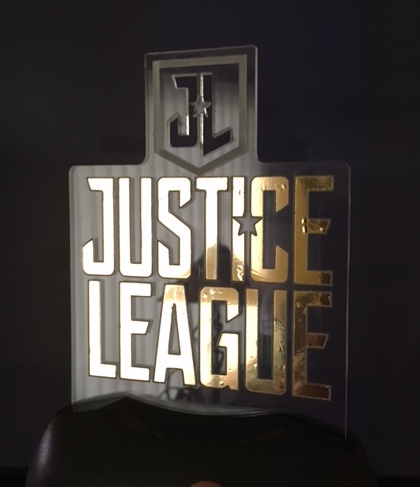
And finally, here it is lit up. Looks good even with the foil on it and the interior cut out. If I can get over the issue of applying the foil without bubbles, I’ll be making a lot of these.
You could use anything that’s laserable to black out the letters. I don’t think that removing the mask on the letters and painting them would work though. I assume that paint would get in the score and not light well. Anyway, here’s a link to the Laser Foil.


 ️
️