Over a year ago I started my first design in preparation for getting a Glowforge. Can you believe I actually thought I might have one in time for Christmas 2015?
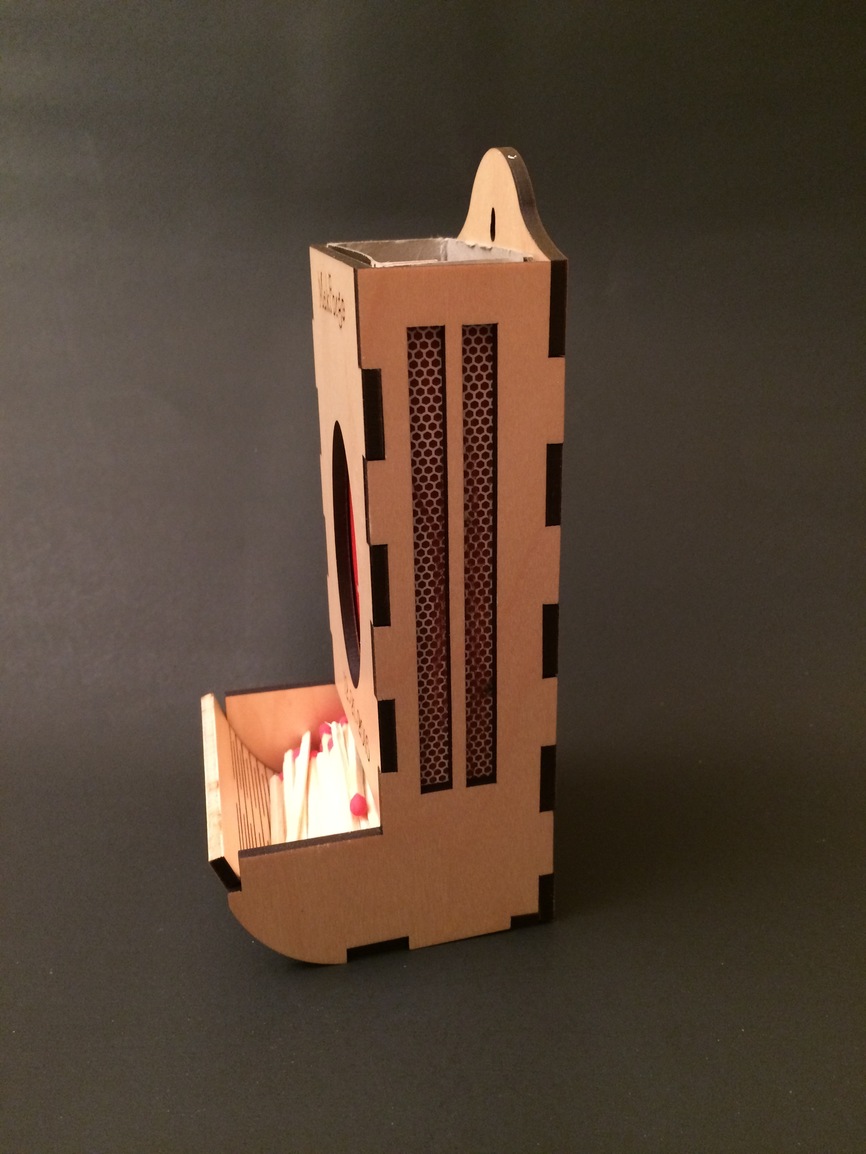
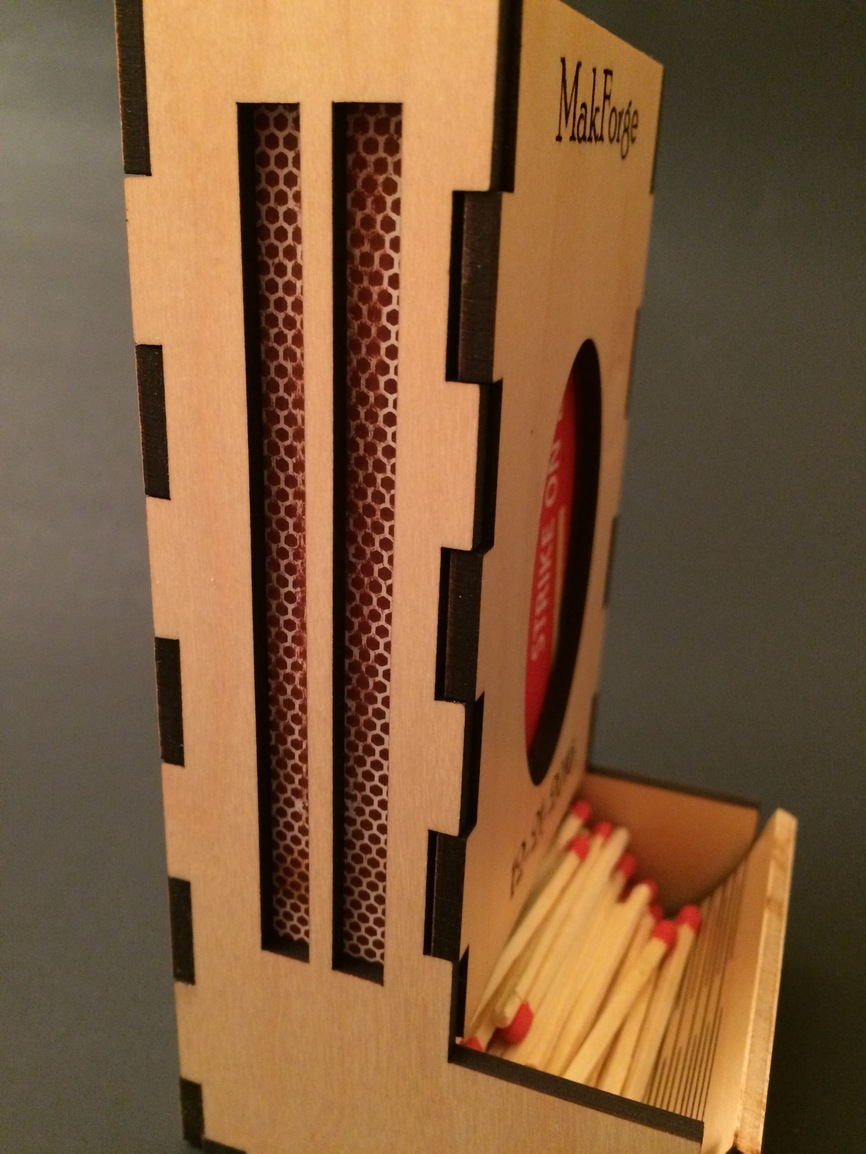
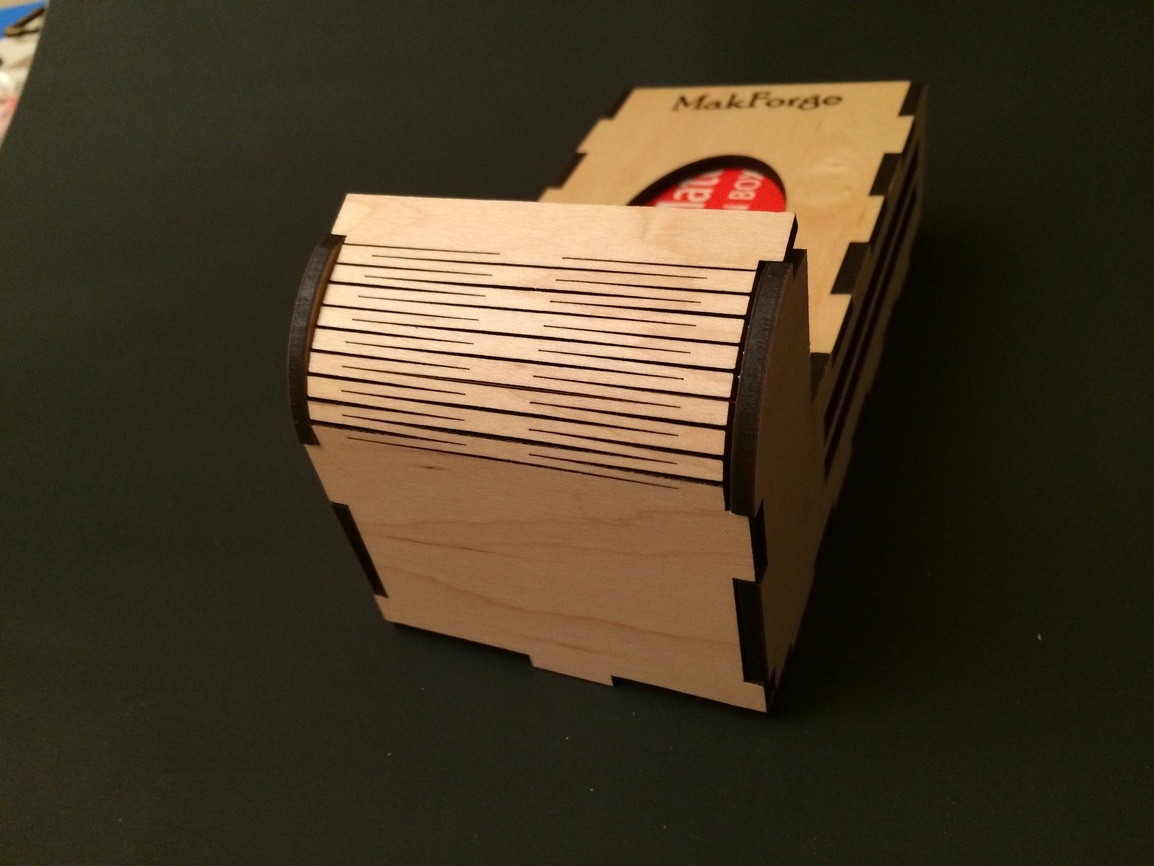
I would have done this sooner but I had to redesign for the ProofGrade Maple plywood. One reason why doing a parametric design pays off. I just redid it in Inkscape using the exclusion/difference tool and offsets to make the tabs. After an initial run the other night to dial in the living hinge trough and test tab tolerance I was ready to print.
At the moment it is just friction fit. I may rework the design slightly to have it stay assembled without glue.
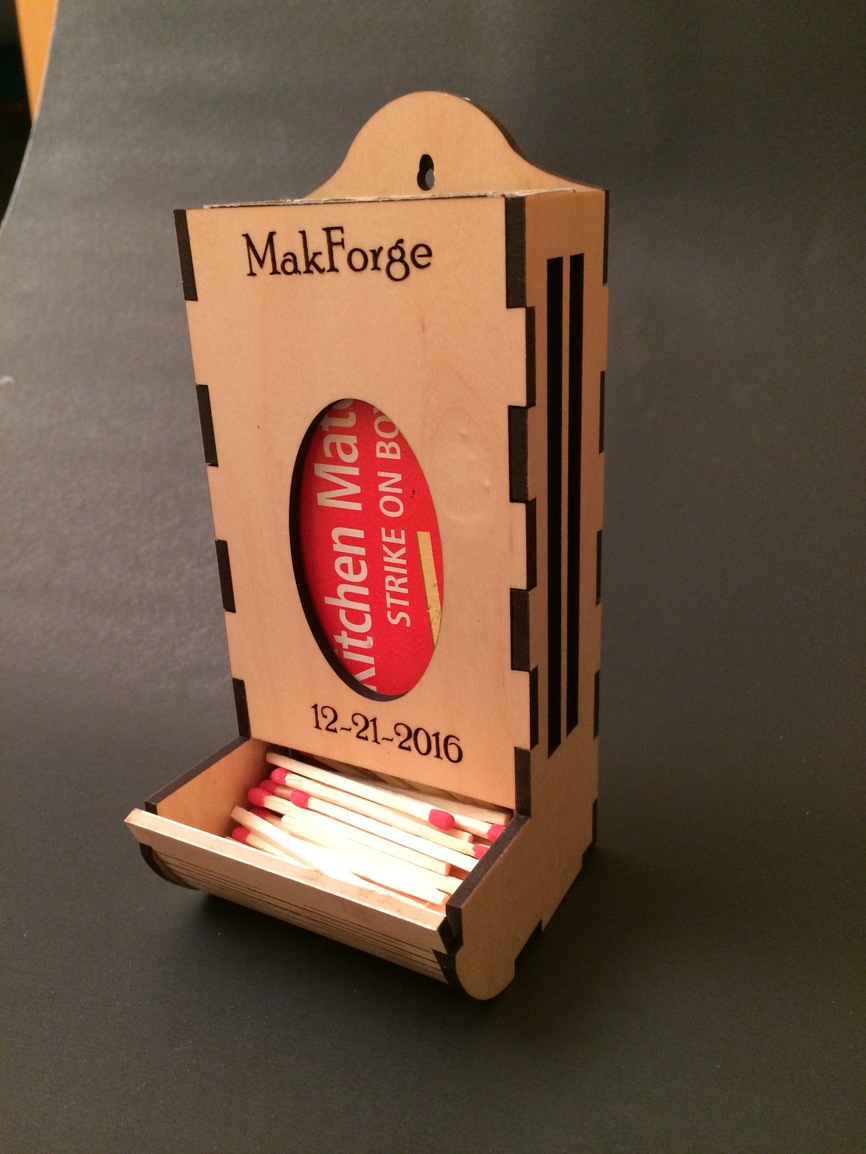
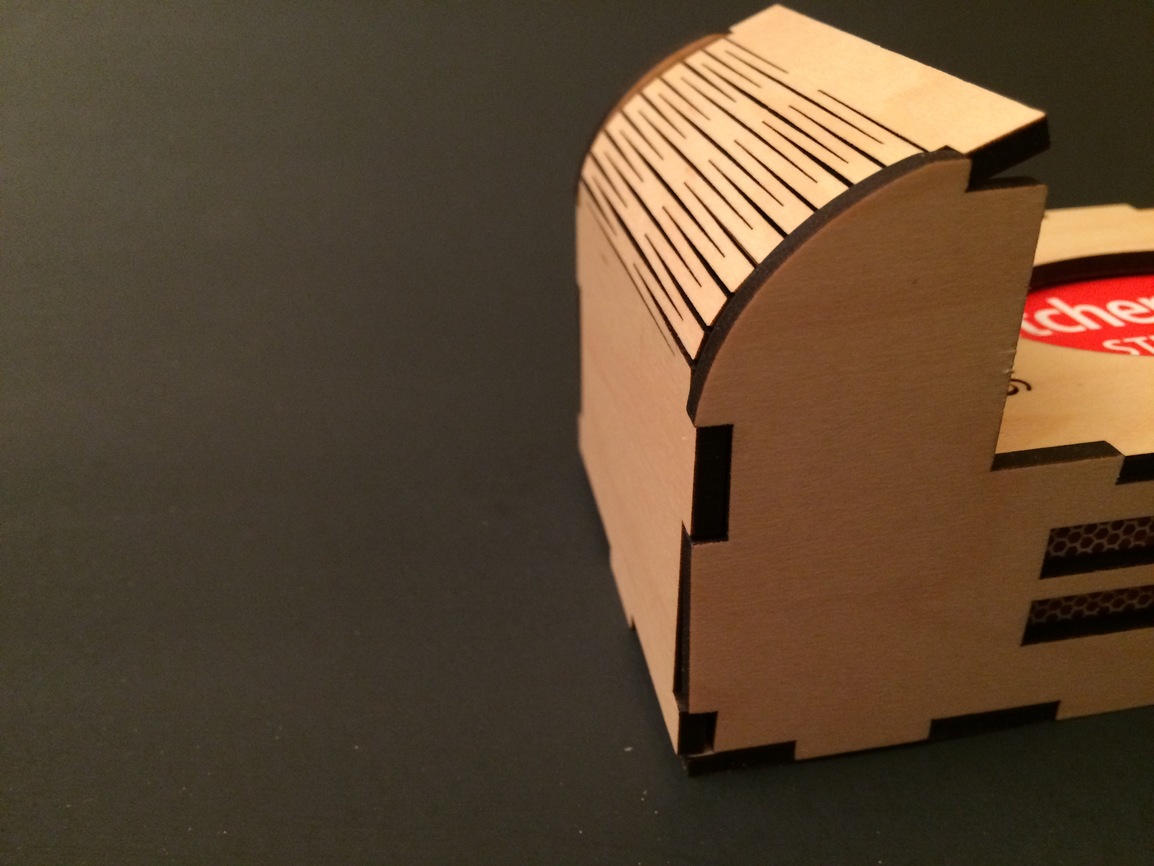
There are a couple tabs I need to tweak but it goes together fine. MakForge was engraved separately and I didn’t pay attention to the rotation angle so it’s off. But it turned out fine and usable for a first print.
Special shoutout to @jacobturner who helped me last year and even made an early version. That experience on the forum was crucial for me and all the things I learned and still need to learn.
The Glowforge worked perfectly and the ProofGrade maple is just amazing. It is so predictably perfect.
The thread that started this.
And now I need to send a few of these out because I have some prizes to give out.
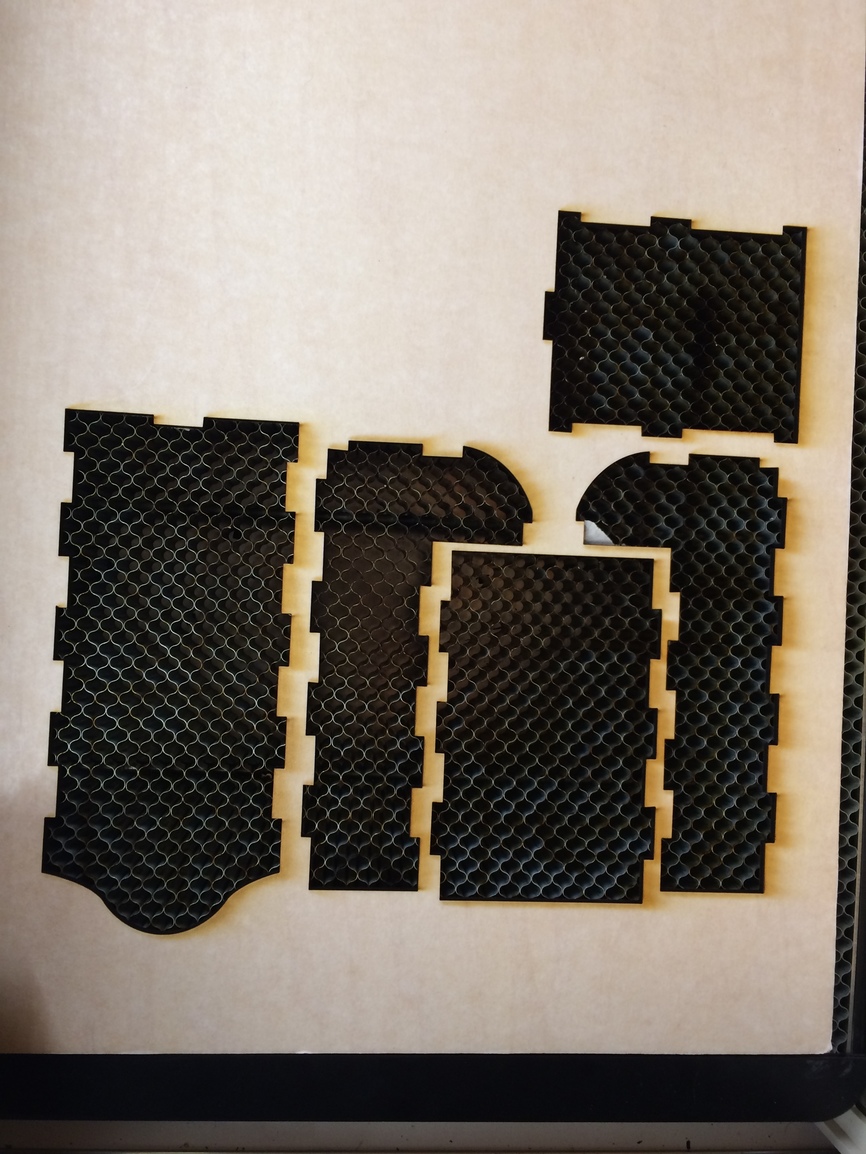
It’s great to see you get the chance to make that design. I remember reading through the original post as you were working out the design. It came out great! That was some pretty efficient layout of the cut parts. And your product photography is improving with the dark background.
It looks good man. Was the text engraving done after the fact?
It seems to be slightly askew and I was wondering if that was due to you having to put the piece back in and manually align it
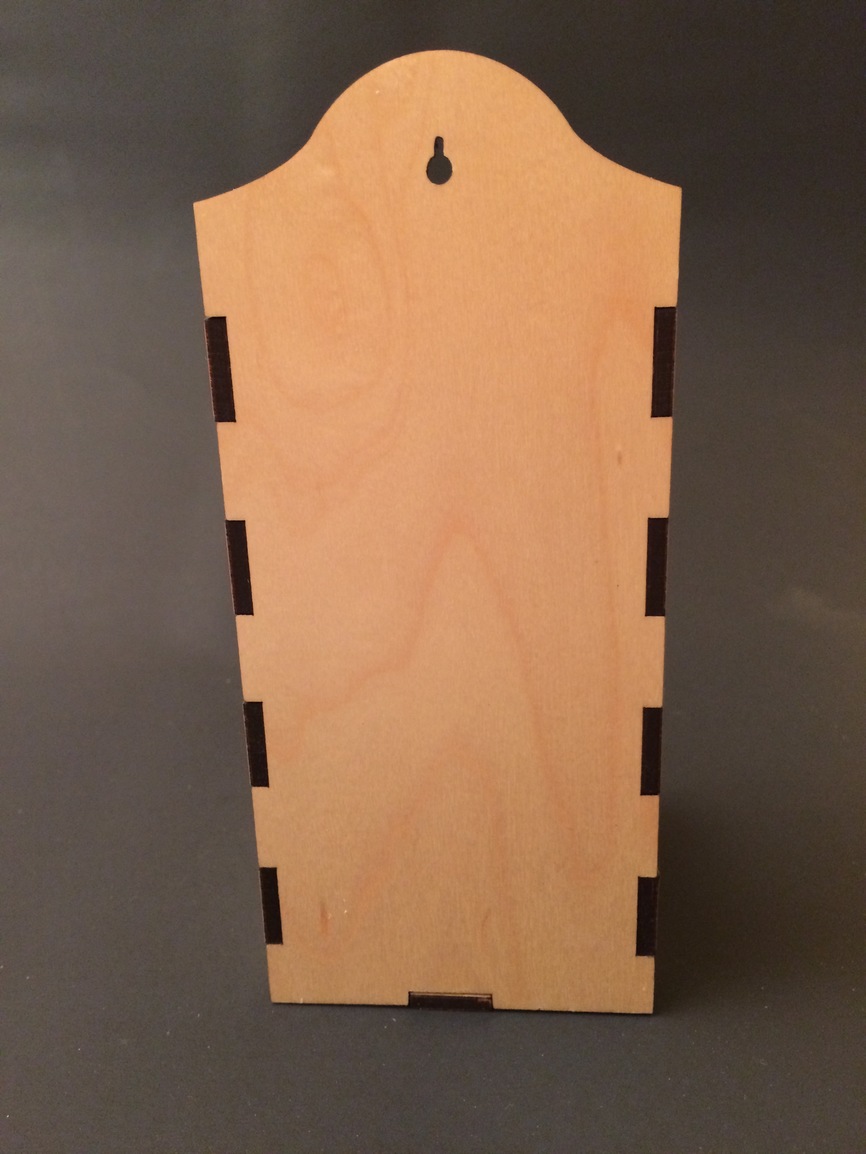
I threw a Glowforge on the front panel in the design at the last minute where the oval is cut out. I was careful to orient the parts in the design to go with the way I wanted the grain to run on the finished piece. Wouldn’t you know it, I put the in upside down so I threw that piece back into the machine and cut the oval out. I can inlay it with a banding of wood or metal. I added the text at that time but it was getting late and I just wanted to get it done. I had to rotate the text. Having a constraint in rotation angles will help with this. In the future that hallmark will go on the back and some better placed designs on the front. This was just to mark the proof copy.
Also I took Rita’s tip and recombined the text after converting to paths. More efficient engrave this time.
Aye, thats a good plan of attack with this machine, and in general. Better to engrave and cut at the same time to make sure that everything is as perfectly aligned as possible
It does highlight the issue weve discussed in many other threads very well though. There should be a fairly easy to way to accomplish this error free.
Before I finished reading the post, I thought the hole in the front was for your finger, to push the matchbox back up out of the holder when it is empty.
I also like the hole/seeing the box inside. It’s a good example of how hacking something to cover up a problem can turn into a very nice, unexpected feature.
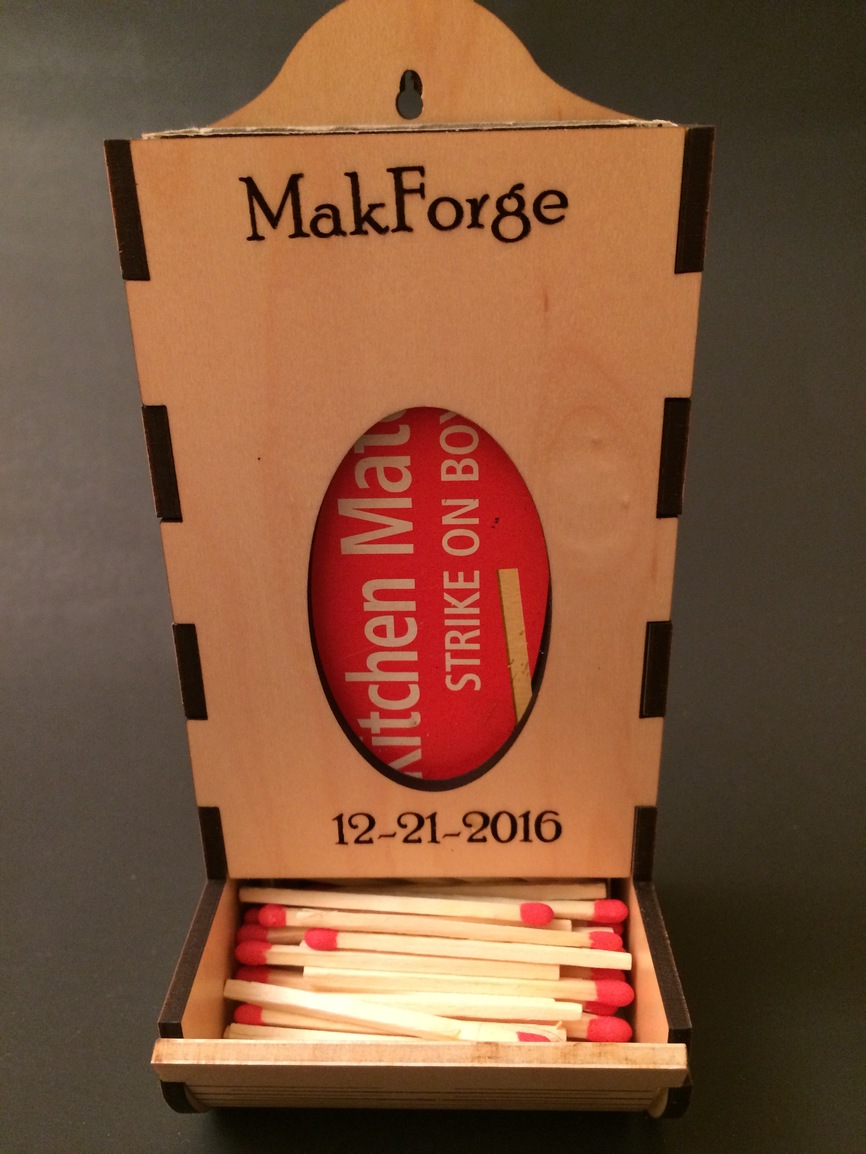
 My matchbox was larger than normal, so I was silly and dumped the matches in with no box.
 on the front panel in the design at the last minute where the oval is cut out. I was careful to orient the parts in the design to go with the way I wanted the grain to run on the finished piece. Wouldn’t you know it, I put the
