Laser-Assisted Creations (Jewelry Box, Beer Caddy, and Litter Box Bench)

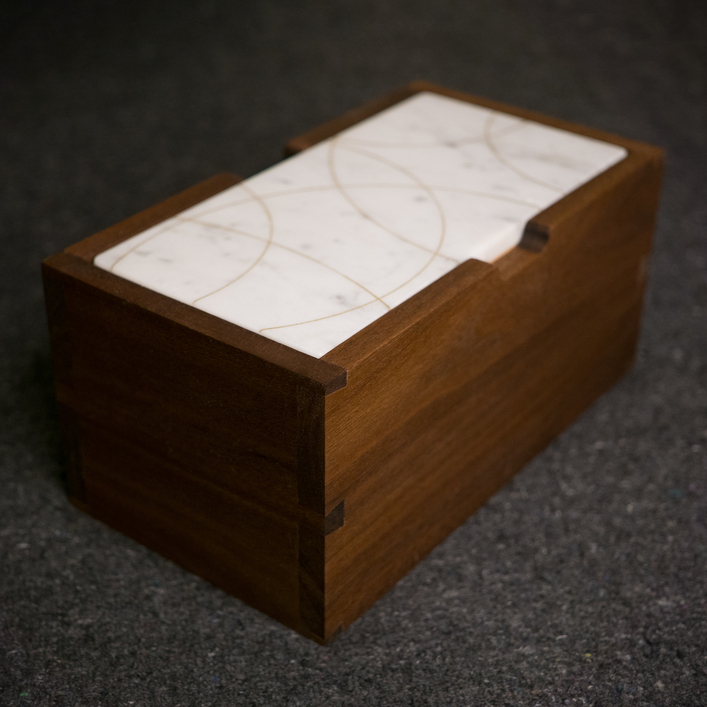
Hey everyone! I’m new to the forum, but I’ve been getting my weekly dose of inspiration from all of the projects people have been posting through my Glowforge forum digest email. I wanted to share a recent project with you that isn’t entirely “laser made,” but rather “laser-assisted.” I’m a bit of a beginner when it comes to woodworking, but I often use a laser cutter to create templates for the more complex elements. I guess first I’ll show you the jewelry box and then explain my process. The materials were walnut, oak, and marble.

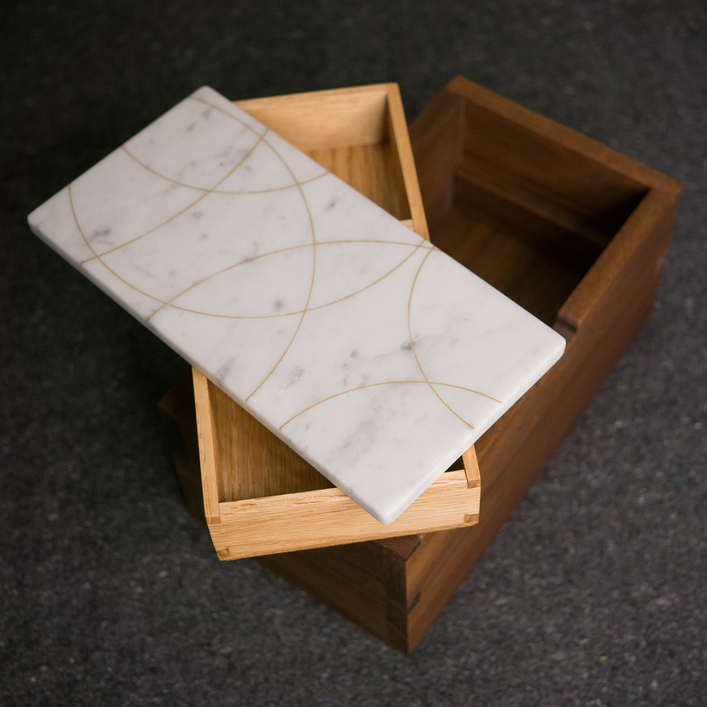
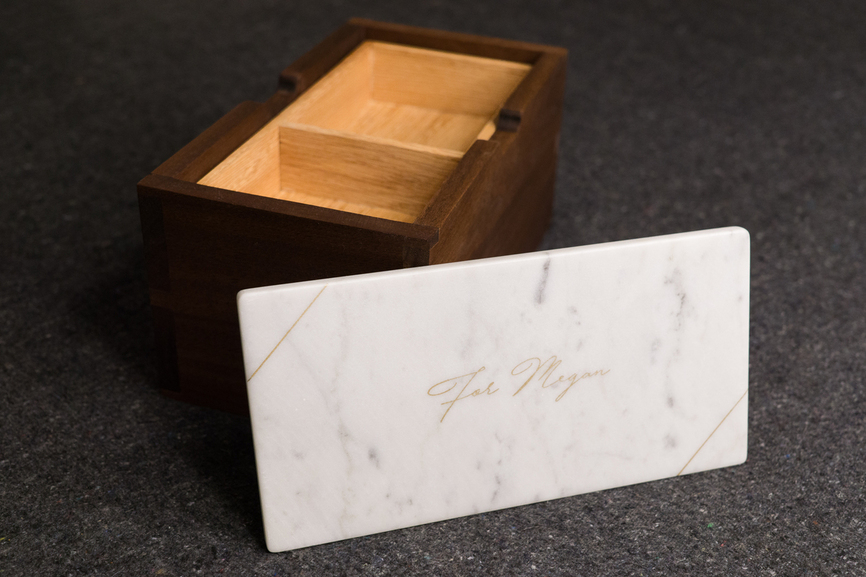
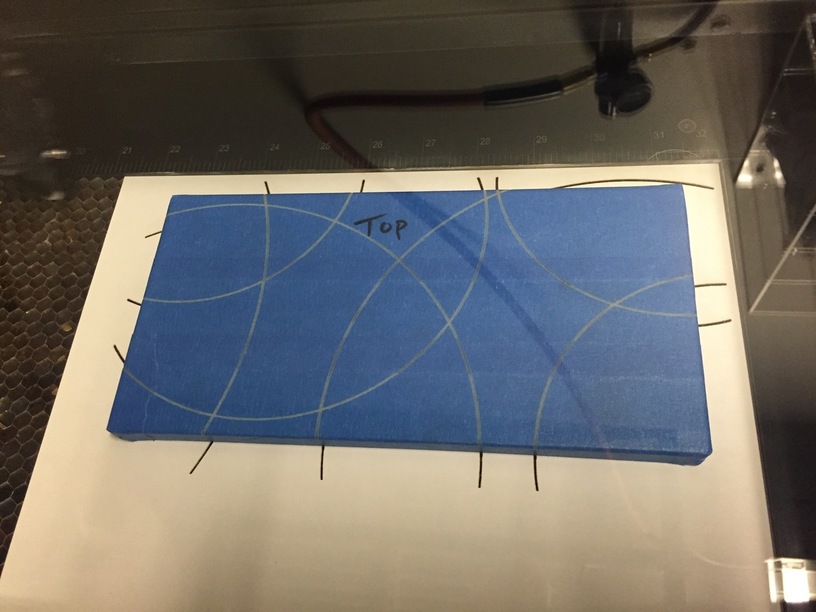
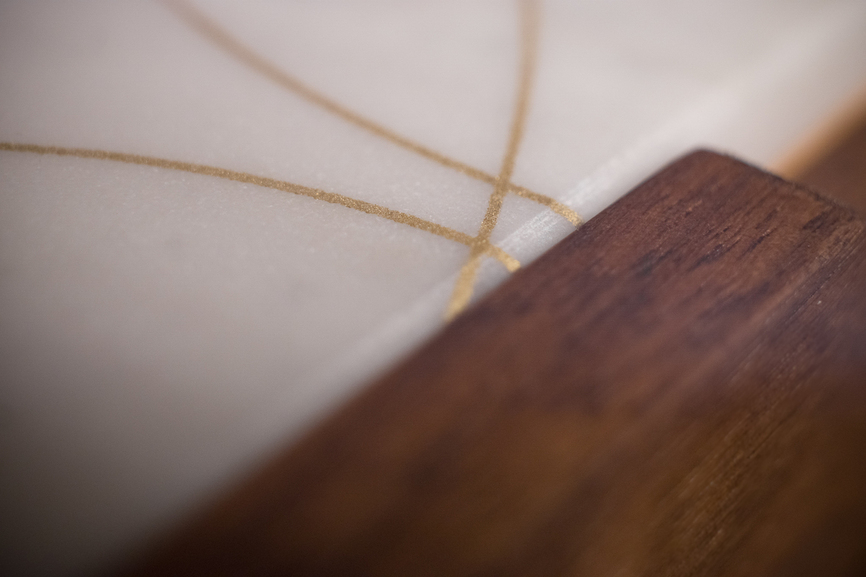
The marble is a $4 tile I purchased from Amazon (link). I had it cut to size for free at Lowe’s and then I shaped and polished it with a lot of sanding. I wanted a gold pattern on the lid, so I came up with a design I liked, masked the tile in painter’s tape, and let the laser do the heavy lifting. I etched 2 passes (100% power, 50% speed), which didn’t go as deep as I would have preferred, but it was sufficient to get the job done.

At this point, I wiped out the etched lines to clean out any residual marble dust and sprayed a couple of light coats of primer before applying two coats of gold spray paint. Once dry, I carefully peeled off the painter’s tape and applied about 5 light coats of clear spray polyurethane to help protect the gold from getting scratched off.

The other detail that was templated with a laser was the cutout on the top of the box. I drew the pattern and laser cut it from scrap 1/4" plywood. I used double-sided tape to adhere it to the panel, rough cut the majority of the waste with a fret saw, and then used a flush trim bit on my router to trace the pattern perfectly into the walnut.

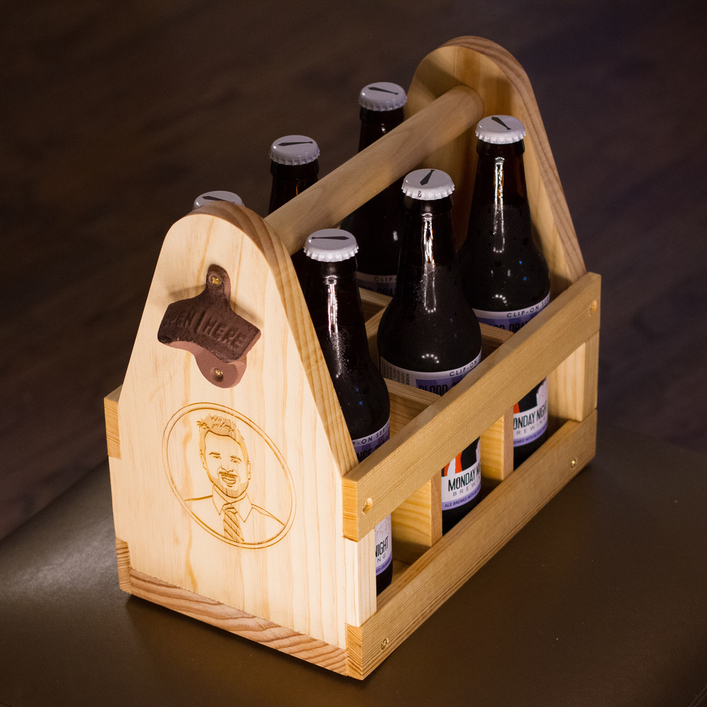
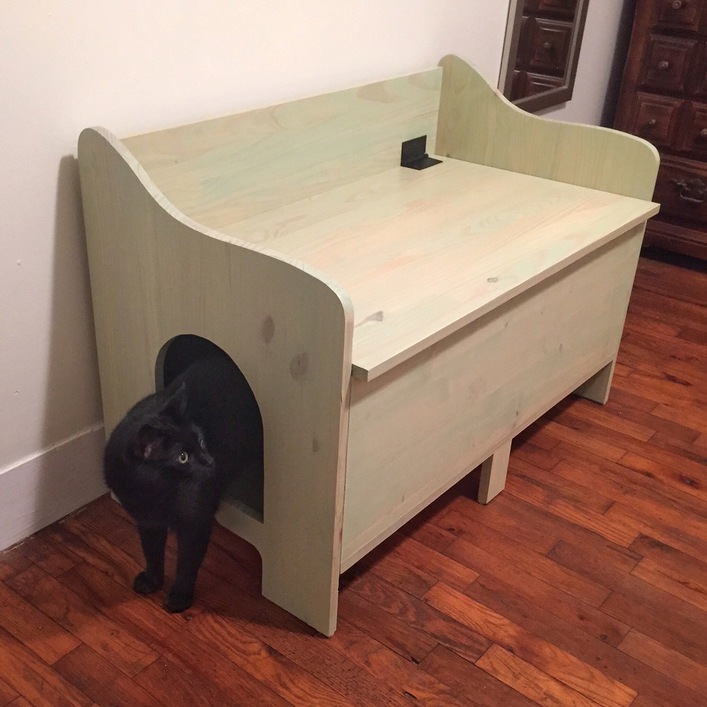
I use this technique quite a lot to make more complex shapes in material that’s too thick to directly laser cut, particularly when I need repeatable parts. The sides of the beer caddy and litter box bench below were done this way. If the shape is too big for the bed, I simply split it into multiple templates which I connect after the fact.

I’m not great at photographically documenting the process, but I’d be happy to provide more details, templates, etc. Anyone else do laser-assisted manufacturing?

Thanks,
Prem
http://www.premblog.com

59 Likes

Welcome and thanks for the great ideas, I like the cat bench, really cool idea.

2 Likes

Nice job @prem_midha looking forward to seeing your thoughts. :thumbsup:

1 Like

That’s where the real strength of the tool comes in. No one really says “I’m making a whole project just with my circular saw” - same here. The laser can create parts that go into something else to make a completed project. There have been a bunch of projects here that have shown that approach. You’re not alone :slight_smile:

8 Likes

Thanks for outlining the process on that box lid so clearly. I have a large stockpile of granite and marble, so getting to see how a project with some marble turned out is very useful and it is so beautiful.

4 Likes

Keewwwl Kitty Cubby! :relaxed:

2 Likes

Thanks, @numosbk, @chrisgray1313, and @Jules!

@jamesdhatch Haha, I suppose you’re right! :slight_smile: It’s far from an original use of the tool. I haven’t yet explored the forums in depth, but I’m excited to see what others are doing in the realm of clever laser cut jigs and templates that don’t get directly used in the final product.

Thank you, @andistarnes! I’m jealous of your stockpile! This was my first time working with stone, but I imagine I’ll be doing a lot more of this kind of detailing when I get my Glowforge!

4 Likes

Music, Photography, and Bioengineering…It does not get much more eclectic than that! Welcome and we look fwd to seeing more.

2 Likes

Beautiful!

1 Like

This is a really terrific project. I love the multimedia aspects, particularly the use of marble!

4 Likes

I often create jigs with the laser cutter for use in cutting something in the laser cutter :smile:

For instance, I have what looks like a carpenter square that I cut out and place against the fixed rails in my laser. I can get exact corner placement of material on the bed that way. I also just made a jig that lets me put blank dice into so I can engrave a bunch of them, flip the dice over one face and engrave the next. Each face is a different layer in Corel and I just keep sending the next face to the cutter. I did the same for some medallions for a recent competition we were holding - it was both rear and forward faced cuts in acrylic and backing plates of ply. Those kinds of things make creating duplicates of things way easier in the laser cutter (although the GF should allow us to do the same thing using the cameras).

3 Likes

The white marble and gold spray paint is fantastic! Very nice elegant look.

5 Likes

That marble lid is beautiful. Very well done. Have you done similar faux inlays on wood?

1 Like

Great job on the jewelry box. I like the detailed description that you gave. This gives all of us new guys some insight into the settings that we might be using to get the effects that you got. Thanks for sharing.:relaxed:

3 Likes

Wow, amazing! I really like the meticulous attention to detail and quality that all of these items show. Especially the marble box top!

1 Like

Thank you, @markevans36301, @nunzioc, @dan, @dean, and @cynd11!

@jamesdhatch That’s fantastic! I hadn’t thought to laser cut laser cutter jigs. Mind blown! Thanks for the tips!

Thank you, @likeablejerk! I haven’t, though I’ve seen a lot of YouTube makers do it and it works really well.

Thank you, and I’m glad it was helpful, @davidgal2! The etch settings were somewhat arbitrarily chosen, but even if you don’t get a deep etch on the marble, the tape mask will still allow you to accurately paint the surface.

4 Likes

I wonder if you could do something similar with gold leaf instead of paint. You may not need the overcoat to protect it.

That’s an interesting thought, @ben1! I’ve never dealt with gold leaf, but I imagine it would work similarly. After etching the mask, you’d just need to apply the gilding size and then your leaf. The tricky part would be making sure the leaf gets down into the etched lines, so it might make it easier to remove the mask before applying the leaf, but after applying the gilding size. From what I just read, gold leaf below 22ct still needs to be sealed to prevent oxidation.

I don’t know about gold leaf, but I wonder if you could use embossing powder to get a similar effect. Kind of messy, but fun.

2 Likes

Very nice work, and great share!
Working with gold leaf is kinda touchy, positioning with your breath and burnishing it down with a camel hair brush.
Regarding oxidation gold itself doesn’t react, but the copper/silver portion of the alloy will - after extended exposure. Even then the result is only a slightly darker gold color.

I alloyed my own 14k from 24k for casting, and getting even 14k to take a dark patina was difficult.
I had the best results right from the refractory mold (after burn-out the atmosphere in the mold is oxidizing) and not pickling (acid cleaning) the piece.
The point to all this is 22k, an alloy commonly used for coins is going to be very resistant to tarnishing.

I agree with Dean, the gold highlights on the marble are great!
Regarding composite construction, the detail, accuracy and speed of the laser make it a very versatile addition to our tool arsenal!
The detail of the bottle opener on the beer caddy is killer. :sunglasses:

5 Likes