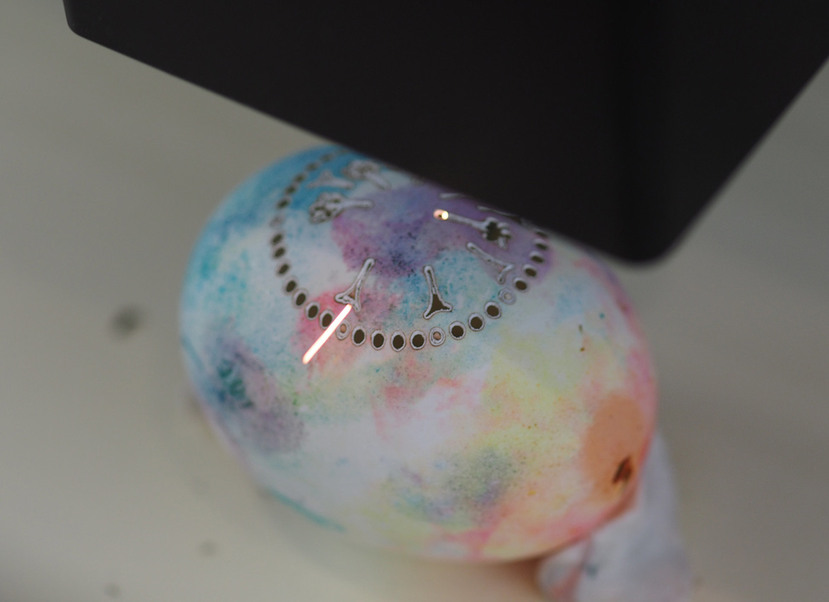
I’m not the first to discuss this, but I wanted to try my own hand at lasering eggs – especially with cuts instead of engraves.
Dot patterns seem to work very well. Longer cuts, not so much.
Eggs are blown (empty). Used a little putty to stick them to some cardstock to keep them from blowing around (and to cover up the reflective surface of the bottom of the GF.)
My power settings were full power at 250 speed… however the back-end of the egg ends up getting pretty charred.
Thanks very much for this tip for getting the distance right with the crumb tray removed. I didn’t bother measuring my own GF’s crumb tray, assuming it’s pretty standard. I just set my calipers to about 1.367, then zeroed them. Then I measured my egg to determine its “material thickness” which came out to something like .4. (If it was more than .5, then that egg is too big for the GF.)
UPDATE: After lasering about 4 eggs, I found there was quite a bit of white powder distributed throughout the glowforge. Nothing harmful, but still a little messy. It seems like the eggshell gets exploded/atomized somewhat as it’s being cut.
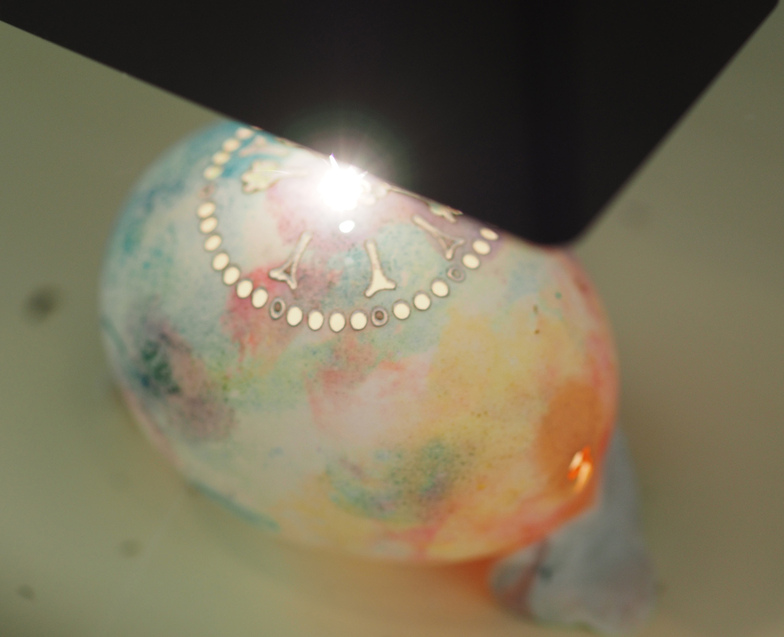
Not sure what you mean about the inside getting lit up… (?) During the lasering it’s very pretty (and lights up spectacularly) but I wasn’t thinking about adding lights after the fact…
What little I know about blowing eggs is that there is only a tiny hole at each end. But, looking at it’s while being lasered, to me, is begging for it to be lighted somehow from the inside? I know, it’d have to be a mighty small bulb. What is your intended way to display?
AWESOME idea. I tried H2O this morning. It absolutely protected the bottom side from getting charred. Of course, doesn’t work so well if you intend to laser opposite sides of the egg…
That’s a great suggestion @Scott.Burns , I’m glad to see someone test it out! (I ran into the same problem with the shells I ran tests on…getting the beam hot enough to cut through one side charred the backside.)