Cutting Without the Crumb Tray - The NO MATH Edition

There’s a great tutorial here on cutting without the crumb tray when you want to work with thicker material. If you want to know the numbers and theory behind it, go read that first, and then come back. Thank you, @henryhbk!

This method uses the digital calipers you should already have, and the not-used-often-enough ZERO button. We’re going to go through the steps from the tutorial above, but without any math or writing down numbers.

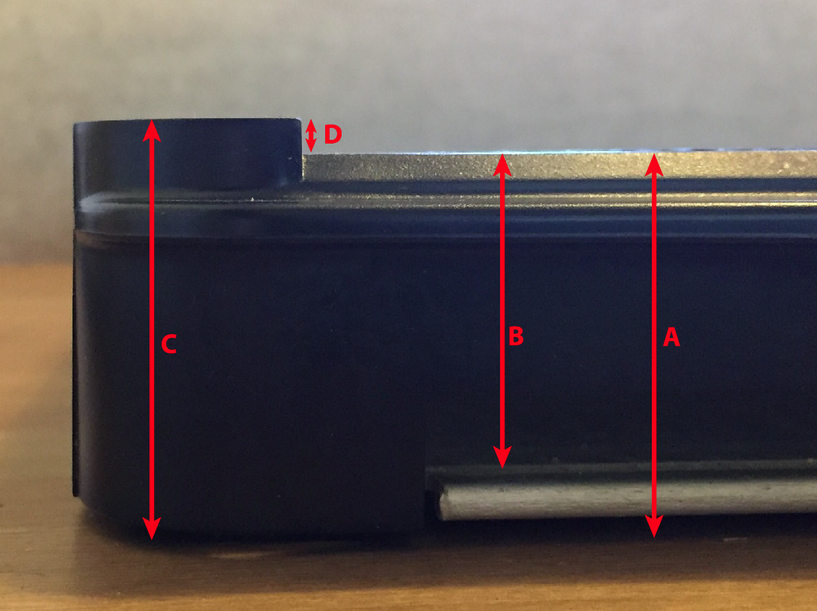
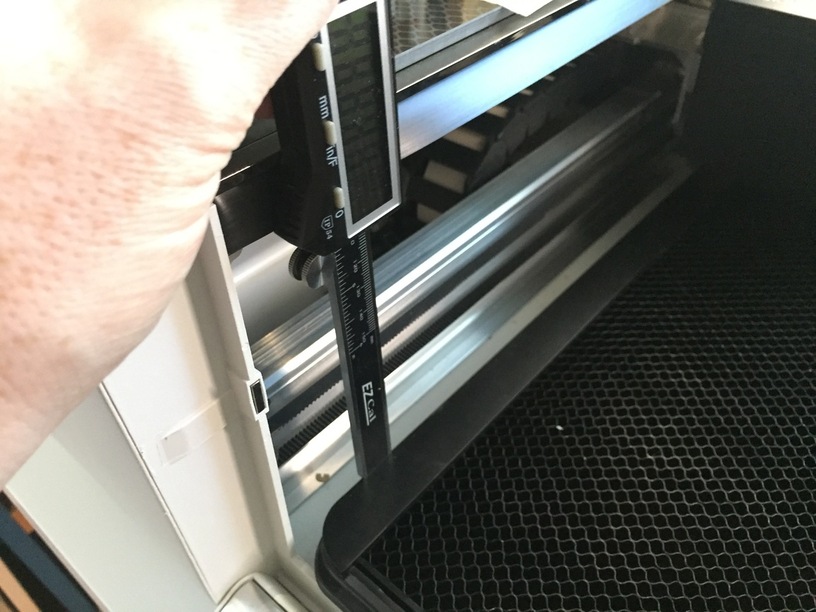
The first step is to find the height of your crumb tray’s surface above the bottom of the Glowforge. The honeycomb actually sits slightly below the top of the tray. Measure that distance with the step measurement part of your calipers:

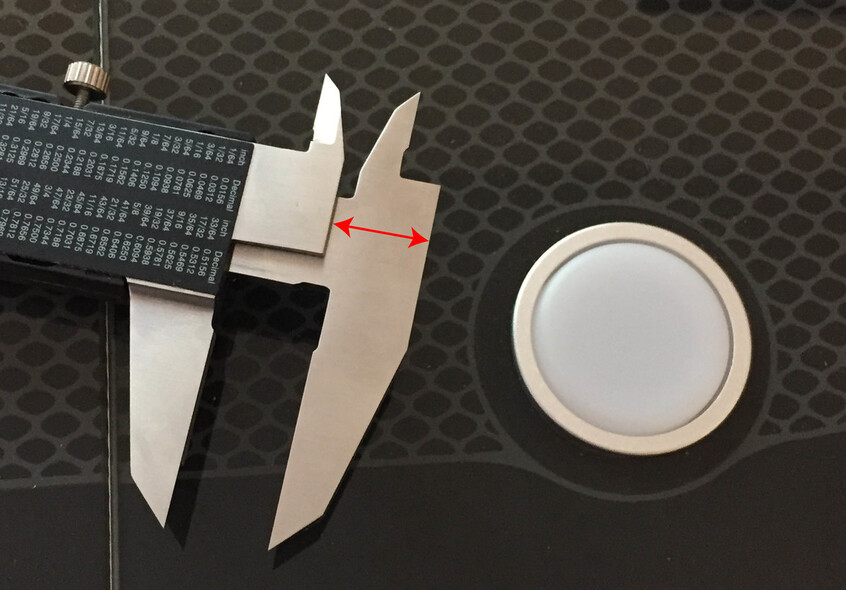
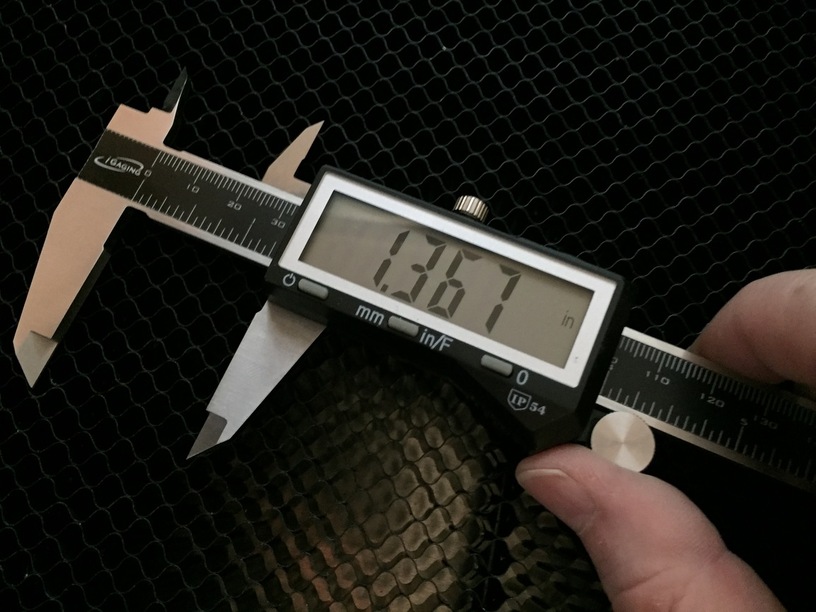
In case you didn’t know, the step measurement is the part indicated by the arrows here:

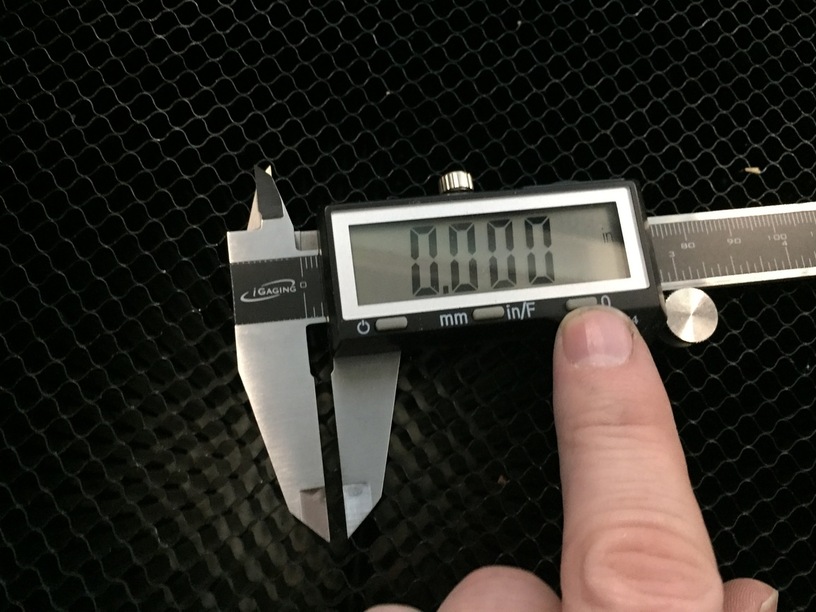
Now zero the calipers there:

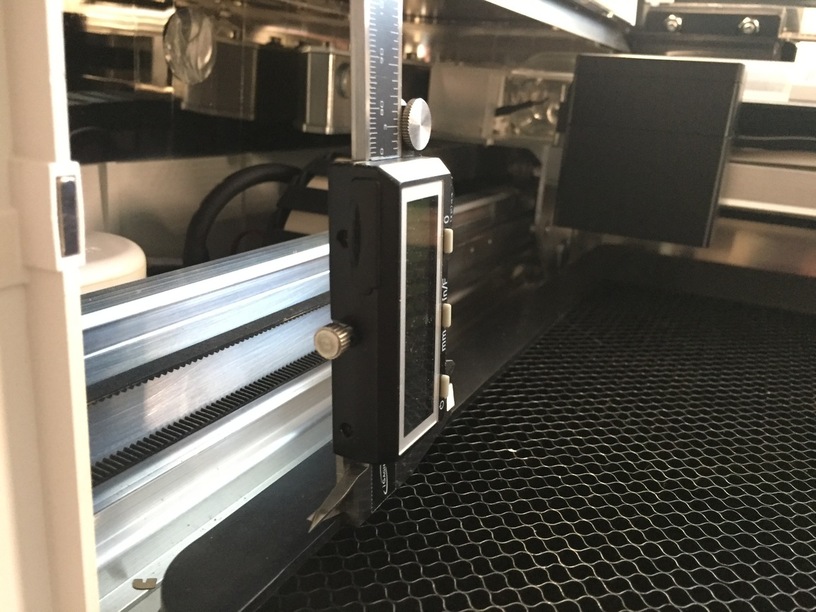
With the depth measurement of your calipers, measure the distance from the floor of the Glowforge to the top of the tray. There’s just barely room to squeeze it in there:

Since we already zeroed with the offset of the honeycomb from the top, you’ll need no math. The number you see on the screen is the height of the honeycomb above the floor. Commit it to memory, since it’ll be your new most-important number, and you’ll use it again and again. Or write it down, I suppose, but since I promised no writing I’m not going to tell you to.

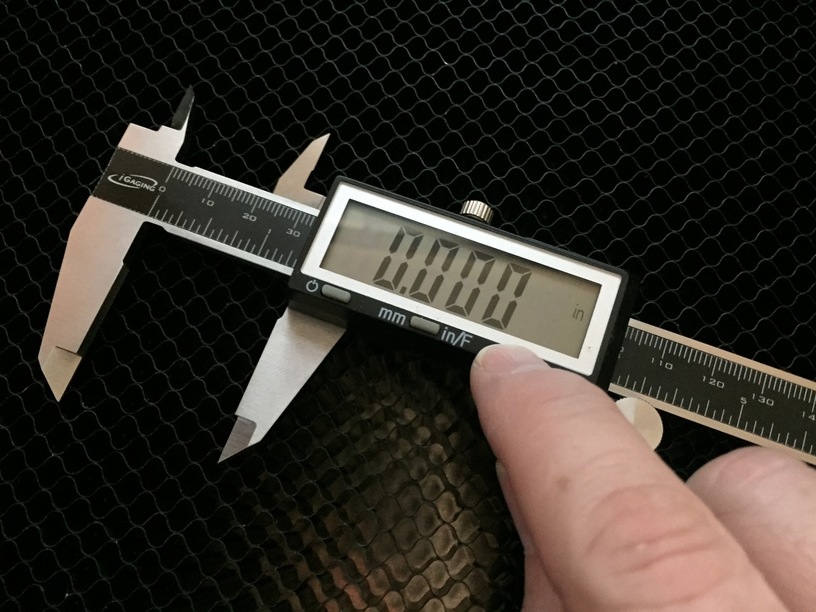
Now close your caliper’s jaws and zero again:

Open the calipers to the number from before. Zero again. This is now your baseline for no-crumbtray measurements. In the future you can skip right to this step—just open your calipers to this number and hit zero.

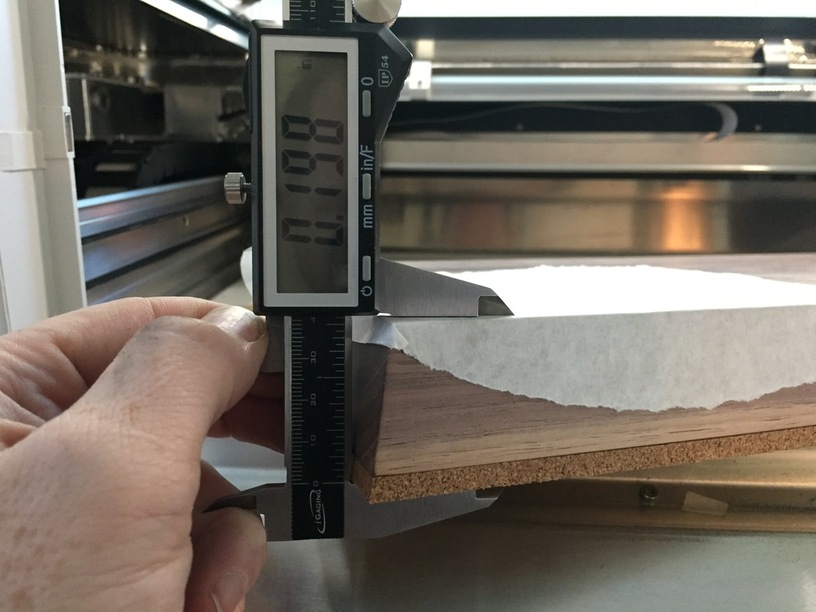
Measure your material. I’m engraving a piece of 6/4 walnut that I’ve made into a serving board. I put a piece of cork underneath to raise it up. When I measure the entire thickness, it tells me it’s .198" (because we re-zeroed it at the height of the crumb tray). If your measurement is negative, you’ll need to raise your piece. If it’s thicker than .4 (subject to change, I understand), you’ll need to lower your work.

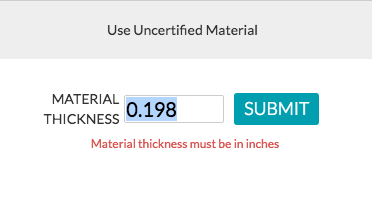
Enter that into the material thickness interface and you’re ready to go!

34 AM

223 Likes

Ohmygosh, genius! Thanks so much for this!

7 Likes

Yeah got to admit…learning there was such a thing as a freaking step measurement ability on calipers is going to come in very handy in the future. :+1:

(I’m going to shift this into Tips and Tricks, and link in the Matrix. Great tutorial. :grinning:)

17 Likes

This is an outstanding tutorial and excellent images to demonstrate the technique.
Related to this this, I remember an “app” (excel spreadsheet) that accomplished somewhat the same result. Now, I can’t seem to locate it, no matter what terms I enter in the search bar. Can anyone point me at the post. Promise not to lose it again.

2 Likes

But how did your engraving turn out? :wink:

Nice write-up!

3 Likes

What a great Idea! Genius!:grinning:

1 Like

Nice trick! Thanks!

1 Like

This is brilliant! The worst part of taking out the crumbtray is all the math!

3 Likes

This is a small brilliance. I have a fairly nice set above Prometheus and for some reason, I have never thought of the zero for anything but zeroing the thing with the jaws closed.

Thank you, thank you, thank you.

Great tip! Thanks for sharing.

Bookmarked! Thanks for the tutorial!

Brilliant use of calipers !!

I don’t have my GF yet so forgive my ignorance. I find it surprising that you had to take into account the distance from the honeycomb to the top of the tray. Since many small items would just sit on the honeycomb why isn’t that surface considered the top of the tray?

The tray has a lip on the left and right sides, and that lip sits proud of the surface of the honeycomb, so the top of that lip is the top of the tray.

The referenced surface is the top of the tray because it’s the highest part of the tray.

Perhaps you’re asking why the tutorial isn’t showing how to measure directly from the honeycomb surface to the floor of the Glowforge. The reason for that is that the tray has a sheet of metal (I think) below the entire honeycomb, this metal makes it impossible to measure directly from the honeycomb surface to the Glowforge floor, so you have to measure up from the honeycomb to an intermediate surface, so that you can then measure from that intermediate surface down to the floor. The top surface of the lip on the tray is a perfect intermediate surface.

8 Likes

Ahhhhhh

2 Likes

Here’s a pic of the tray that I hope clarifies things.
The measurement we want is A, the distance from the floor to the top of the honeycomb.
If you put a depth gauge through the honeycomb you’ll only get measurement B because it hits the floor of the tray.
So instead we measure C and subtract D, because it’s easy to reach both.

The fact is, though, that A is supposedly pretty consistent from machine to machine, so you don’t even need to measure it on your own. Just zero your calipers at something like 1.37 or 1.38 and you’ll probably be close enough.

34 Likes

Thank you very much for explaining it in such detail (as well as showing me the step on the back of my caliper.)

3 Likes

Fabulous tutorial and clear illustrations & explanations. Thank you for the insights and time to put this together.

1 Like

Thank you very much!

1 Like