Lather, rinse, repeat. I feel like that’s what has been going on lately.
Wake up.
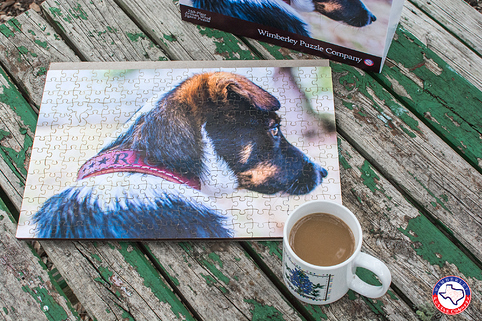
Feed the dog.
Play with the dog.
Tell the dog, no mouth.
Make some puzzles.
Tell the dog, no mouth.
Tell the dog, down.
Feed the dog.
Play with the dog.
Tell the dog, no mouth.
Make some puzzles.
You get the picture. I hope.
I haven’t really made anything new with the Glowforge in a while. I love making the really thick puzzleboard puzzles. And really love making the baltic birch puzzles…
But, I wanted something new.
I had a bug in my head the last few days. One of those that you can see in your mind, but you don’t know exactly how to describe it - much less make it.
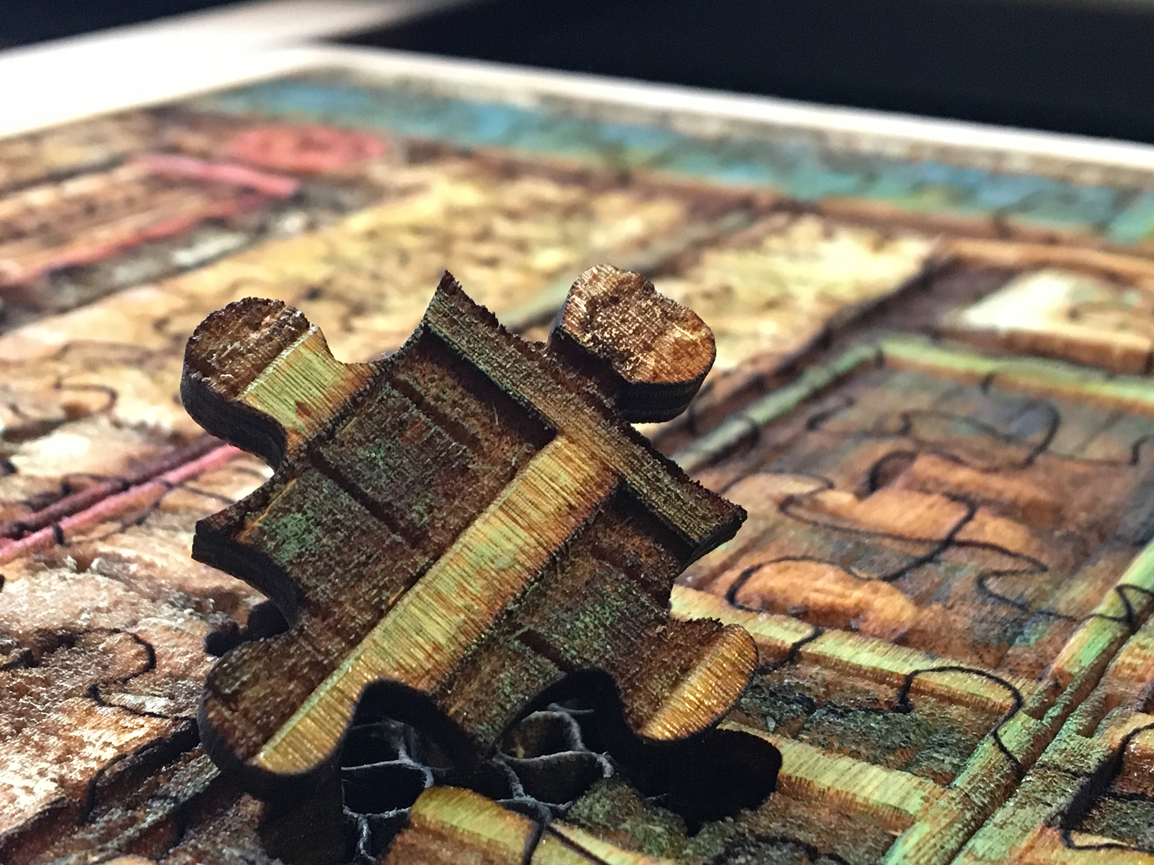
I wanted to do a 3D relief puzzle… but, something that was actually dimensionally correct - not just a vary power 3D engraving. After some discussion with some awesome forum members to get the ideas rolling, I stumbled across a decent solution.
I hit print on a 3-hour 3D engrave at 1am this morning. Mensa is knocking at the door, I’m telling ya.
At 4am, I ended up with… something.

Dang.
I decided to sleep on it.
And this morning, I busted out the alcohol. Breakfast of champions, right? At least for 3D engraved baltic birch.
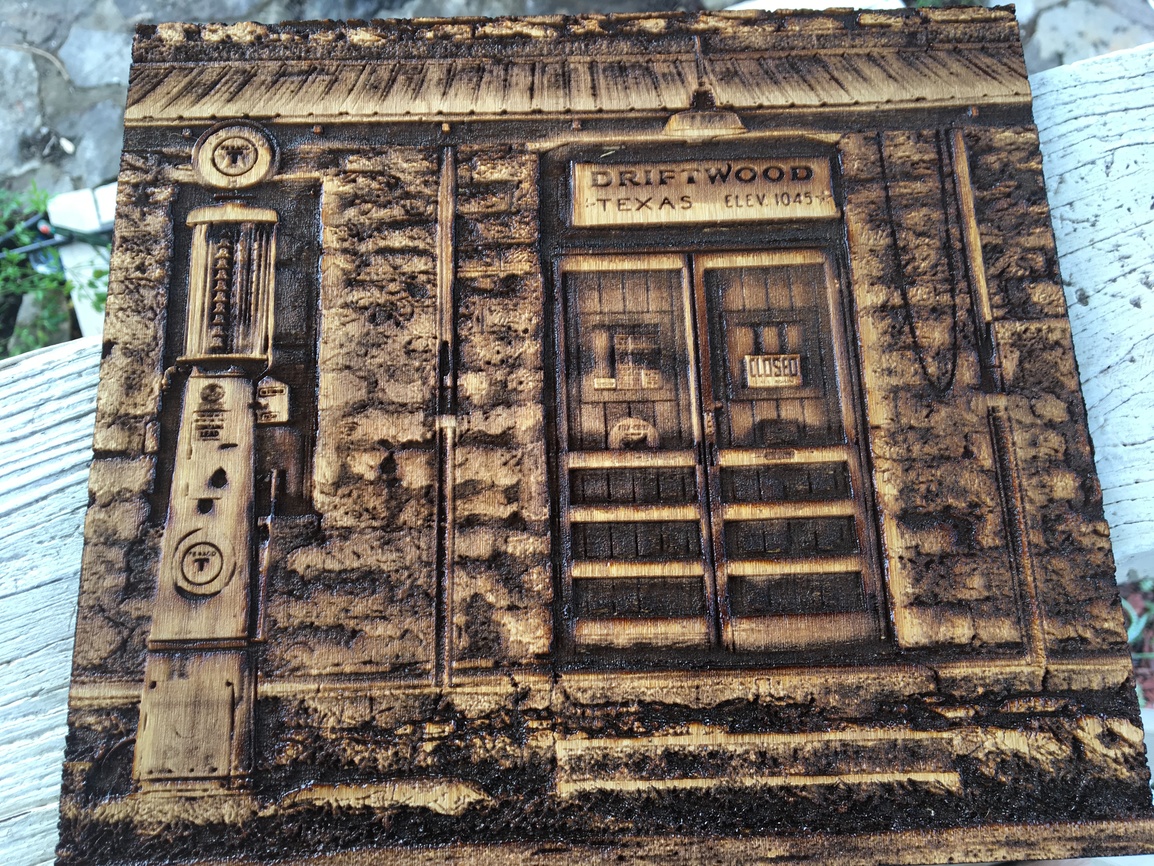
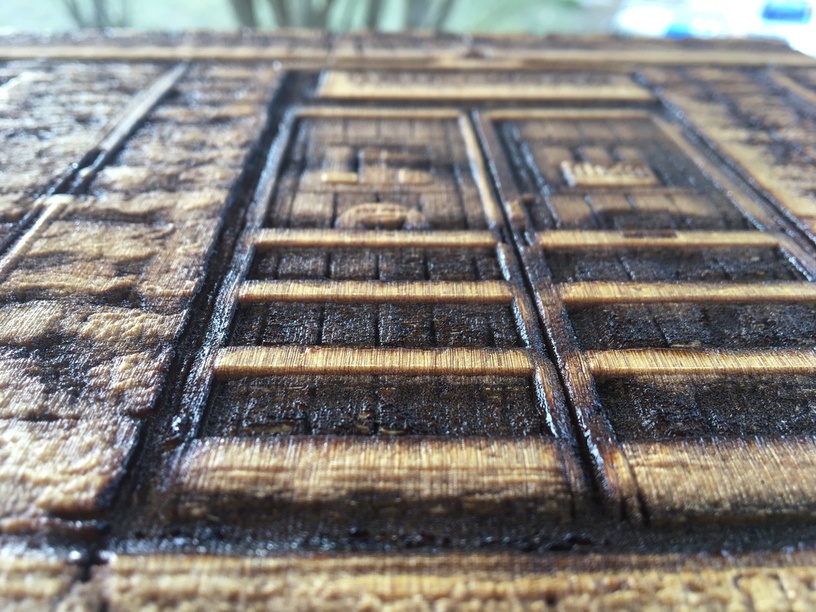
That makes me feel a little better… kinda cool. Not what I saw in my mind.
I’m not a huge fan of wood engravings… or maybe I’m just a picky jerk, so I kinda knew where this was going to go from the beginning… but it was kinda cool, at least. A neat experiment. Nothing to sell. But, trying to be creative is good.
Maybe it needs some color. Color makes everything better. Brighter. Happier.
Where are those acrylics? Did the dog eat those acrylics? That would explain a lot…
Ahh, buried under that thing, that’s buried under that other thing…
I tentatively dipped the brush into some red paint and smothered it on. The brush was dry. Is this a dry brush technique? I’m not much of a painter, so like with most things, I’m just gonna wing it.
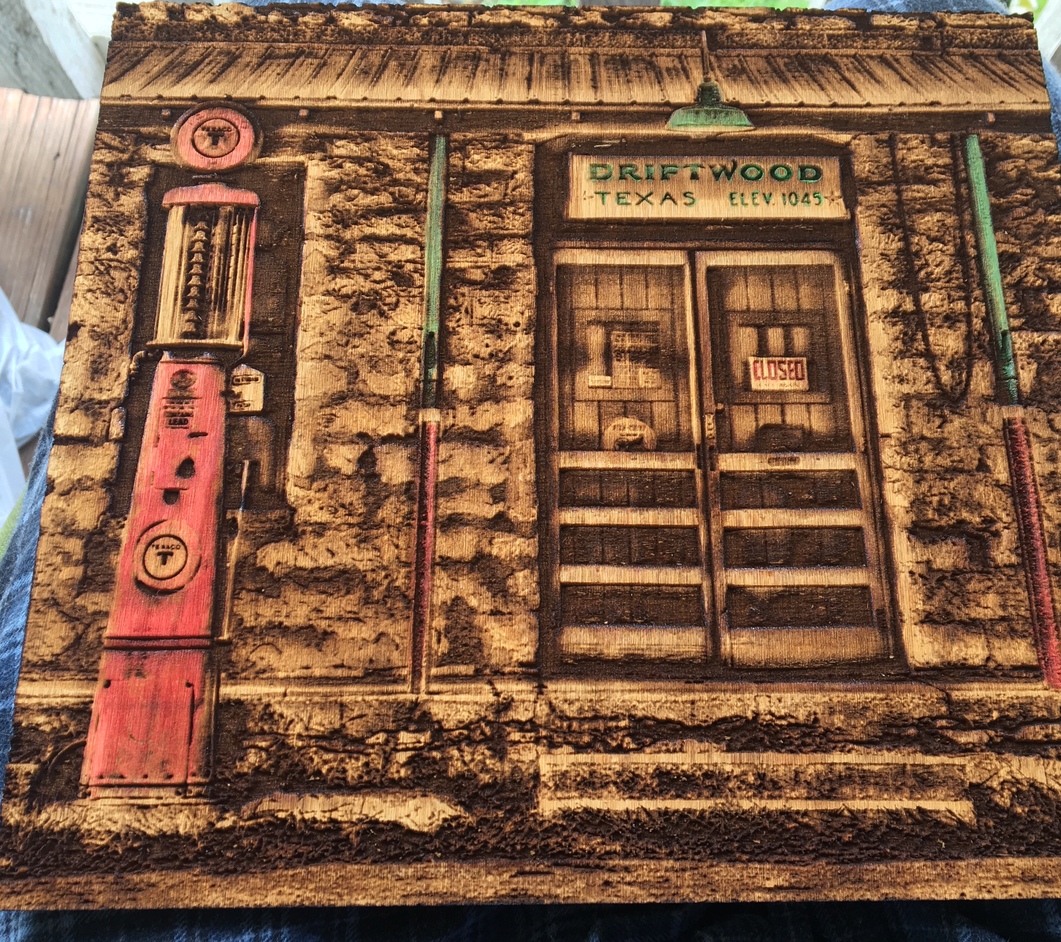
Hey, that looks better already… more is bettah! Right? Like a stick of buttah?
A couple hours later, I have this:
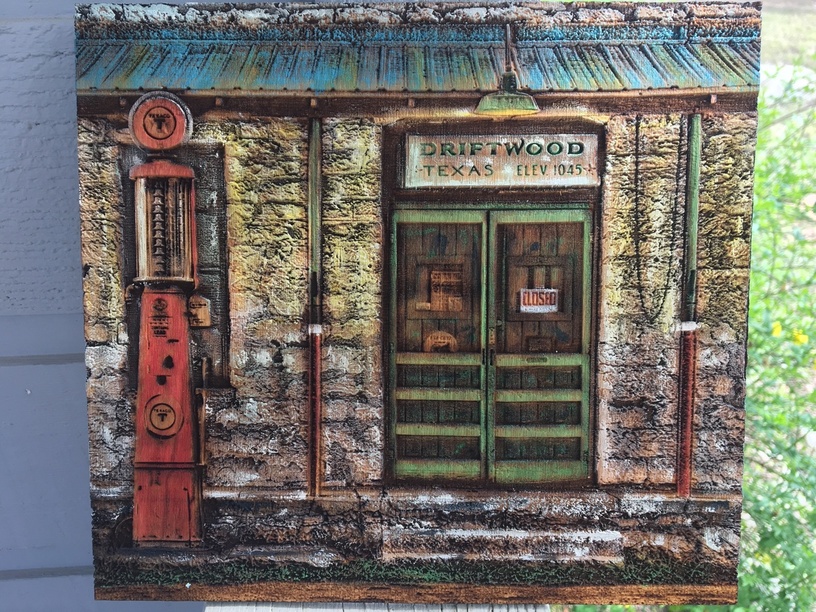
Hey - now we’re cookin’ - with buttah!
I figure that’s pretty cool… stick her back in the laser and run a few passes with the new puzzle cutting technique I came up with a few days ago.
And, as Emeril would say: BAM!
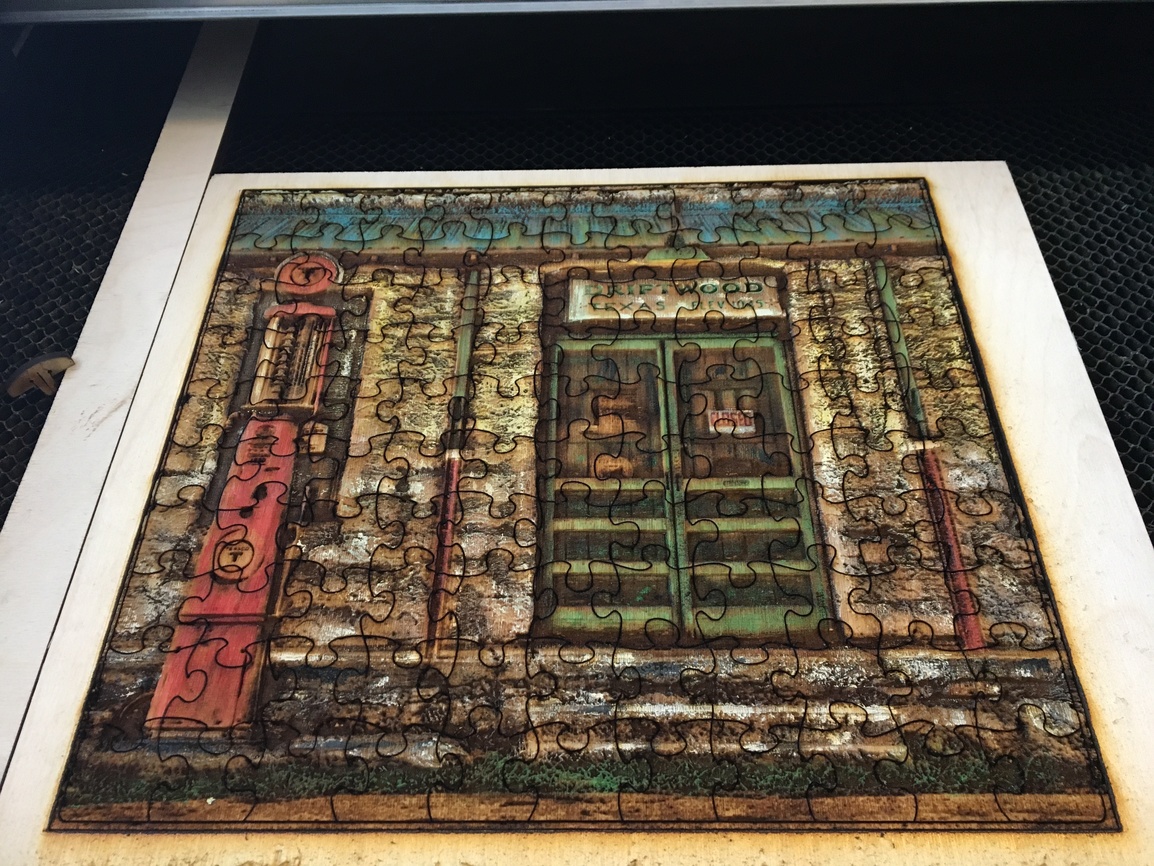
(Don’t ask me where the celebrity chef theme came from - things evolve, ok?)
 …
…


