I do that but it completely starts the entire process again. I have done it now 4 times
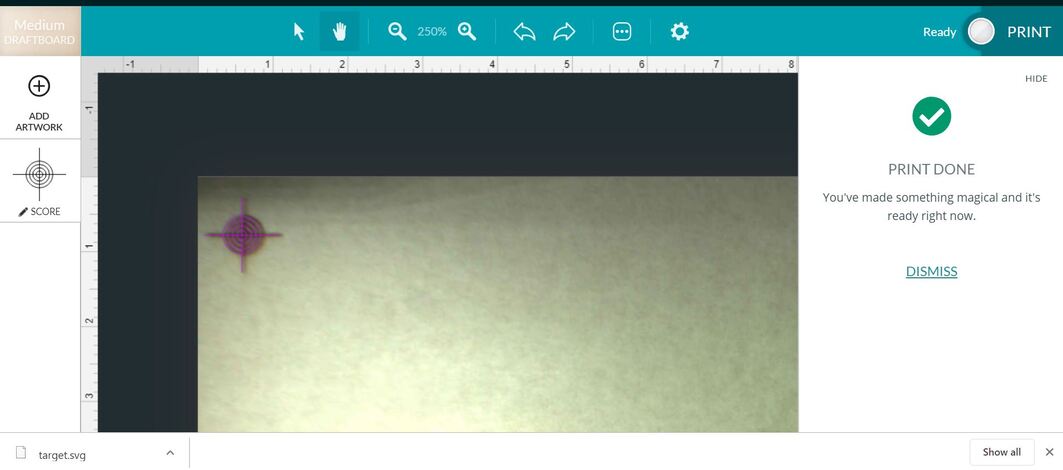
Here is mine. Still slightly off but not nearly as far as before. I’ll probably run a few more test scores and give an update, but this is amazing!
2 Likes
Thanks for the suggestion! I ended up re-running the calibration, then rebooted the machine, and I am back to a good visual alignment!
5 Likes
Wonderbar … it is interesting though: when printing in upper left corner (using my plywood settings) 9 seconds to print … in the bottom right corner 12 seconds to print - I guess the difference is the additional travel time.
Original score is duplicated by the second score being right on the money.
Thanks 

3 Likes
I did the calibration using medium draftboard. Tested using the target you provided at all 4 corners and the center. I am off very uniformly 1/8" side to side, all four corners and center. Up and down it is spot on right side, center is off very slightly, left side off a bit more (probably less than 1/32" which I’m very good with). I can provide photos if required.
1 Like
Mine was unusually accurate before. It’s dead-on, now. I have aligned things visually a few times and, it is perfect.

7 Likes
That usually helps. ![]()
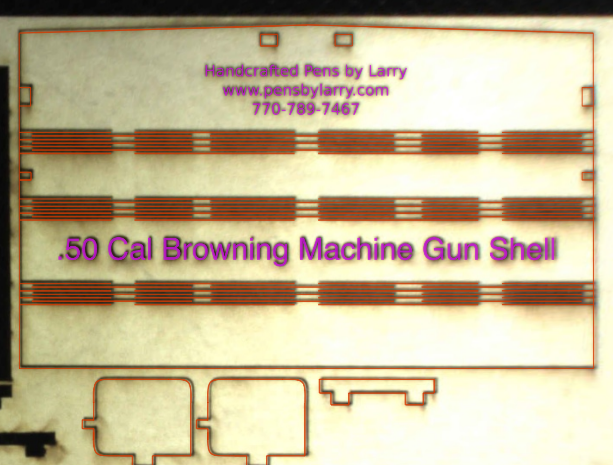
Love the Lid Camera Calibration.
I have always been leery of getting too close to the left and lower edges of the material but no longer.

This is a screen shot of the test at 1000%.
This is a screen shot of an actual print at 100%.
With this kind of progress can a rotary device be expected soon?
8 Likes
Jules i have now tried it 7 times and all i get is the expired message? what gives? This is really frustrating.
1 Like
Yeah, sorry, i actually stepped away to feed my husband…he was getting very cross with me.
Just hold off on further testing for now. Have you reprinted through seven sheets of draftboard?
2 Likes
I did the front and back of 3 sheets and one sheet by itself. I just removed the barcode sticker to get it to work, so yes all fresh sheets, 16 dollars worth of worthless calibrating…
2 Likes
Yeah, okay that’s testing above and beyond the call of duty…I’m going to tag @kevinmcvey so he sees your post.
(Quit for now.)
2 Likes
Just did this and holy crap it’s amazing! It is flawless now. Thank you Glowforge team for pulling this off!
12 Likes
Thanks for letting us know the details of the issue you ran into. I appreciate you taking the time to post those screenshots as well.
Often, when we see an offset this large, it occurs because the printer head was physically moved or accidentally bumped, which affects the current calibration. I extracted the logs from your Glowforge to investigate the test print you sent a screenshot of, and it looks like the printer head did not start from the “home” position, resulting in a large offset. At times the head might be moved or bumped while preparing the material for printing, and this can be fixed by rebooting Glowforge to recalibrate.
I apologize for the inconvenience, but would you mind trying this test print again after rebooting your Glowforge?
3 Likes
Thanks for letting us know, @wilsonpf. I pulled the logs from that test print to take a closer look, and it appears that the printer head may not started from the home position. This could explain the small but uniform offset. Could you please reboot your Glowforge and try the test print one more time? If this doesn’t improve the alignment, please let me know the time you ran the print, and provide a screenshot if possible.
3 Likes
Looking at the logs from the test print for more details, I notice that you printed targets in all four corners. It also looks like you ran Set Focus before printing. Could you please let me know where on the material you ran Set Focus? Thanks!
1 Like
I’m sorry you ran into trouble. So I can investigate further, I’m afraid I’ll need a few more details to better understand the issue you’re running into.
Could you please let me know the following?
- Did this behavior begin only after you ran the lid camera calibration tool, or were you experiencing this issue before?
- What was the date and time you attempted the non-Proofgrade print that was unsuccessful?
- What was the date and time where the printed results did not match what was onscreen in the Glowforge app?
- Could you please provide a screenshot of the UI issue you’re describing?
Thank you in advance.
1 Like
I think the rotary attachment is not near the top of the hopper - but maybe it will come right after perfect pass through software and a few other things.
1 Like
it would be a tiny little rotary device, since there’s just a 2" height limit (and some of that would be eaten up by the bottom of the rotary).
6 Likes
Skeletonize the carriage so the bottom of the material is just kissing the bottom of the GF ![]() Then it could still be a nominal 2" diameter.
Then it could still be a nominal 2" diameter.