Thanks! I considered that, and I guess it could be the issue. It failed in the first minute or two all three times, which seemed a little too coincidental to be a lost connection.
Oddly, after I gave up and decided to get the work done that I needed to, my camera did seem a bit more accurate than it normally is.
I’m going to see if they can pull my logs. Thanks for the help!
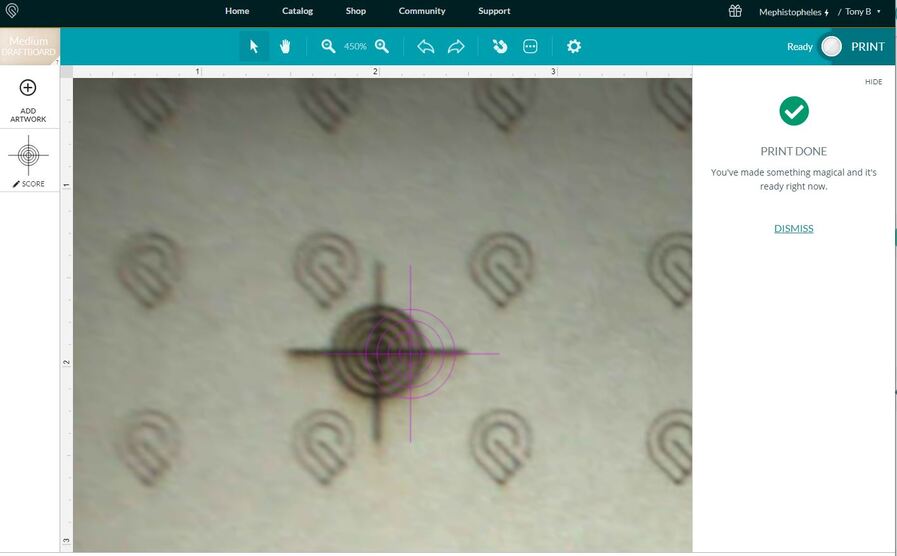
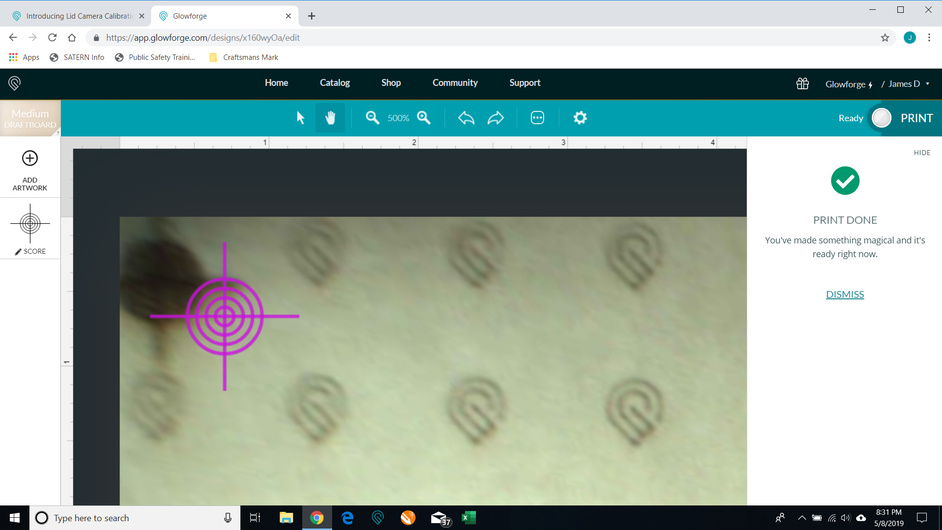
Good call!. New left side test.
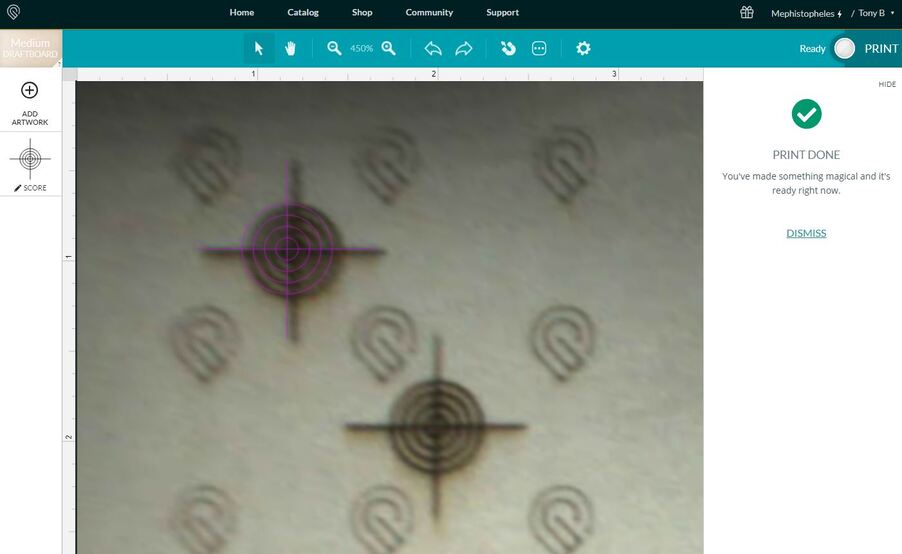
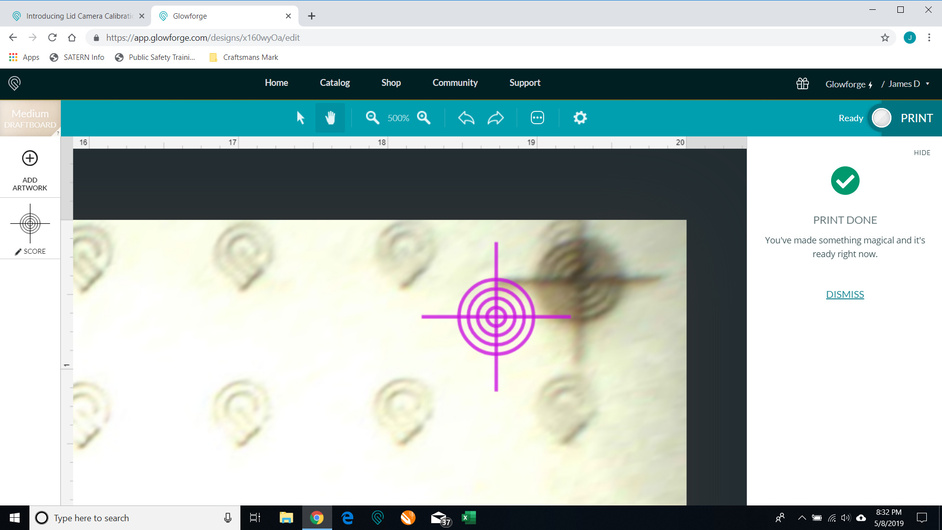
New right side test
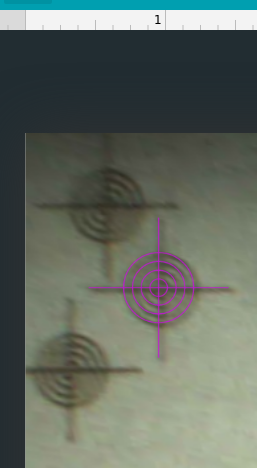
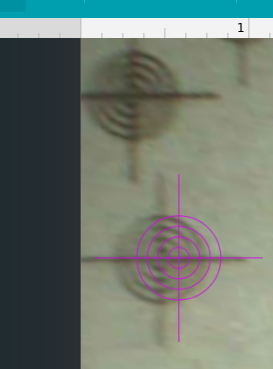
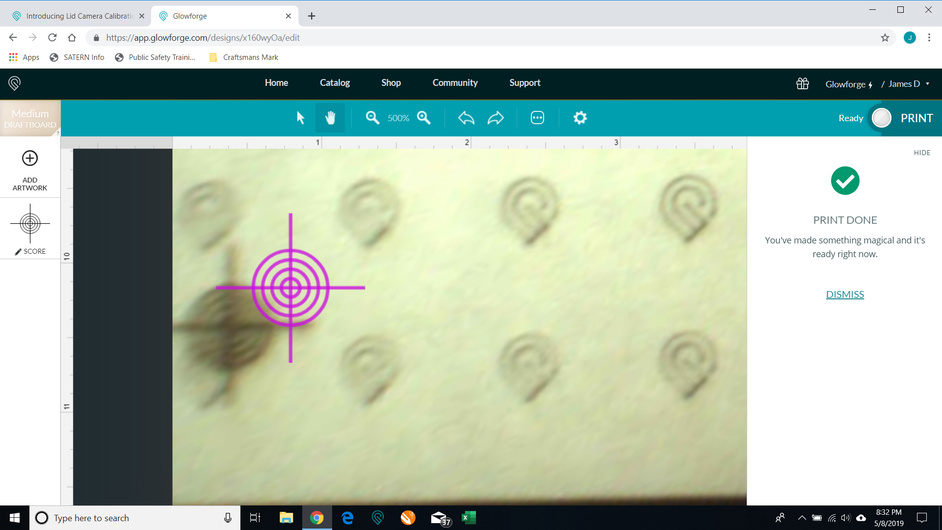
I did notice that the hatched area on the right that indicates the limit of design placement changes when you turn on the focus feature and the hatched area increases to the left. I may have tried to place the cross hair image in the at area. When the focus is made, it goes back to the left. I will have to see if I can reproduce.
I think that I may have reproduced the shift I saw yesterday.
The design was moved to right, but still to the left of the hatched area. I then started the autofocus feature. I could not put the red target for focussing inside of the target design as it is grayed to inside of the the hatched area.
I focussed just to the left of the hatched area, which is the left arm of the target. Now the image and burned area no longer overlap.
Seems like a bug to me.
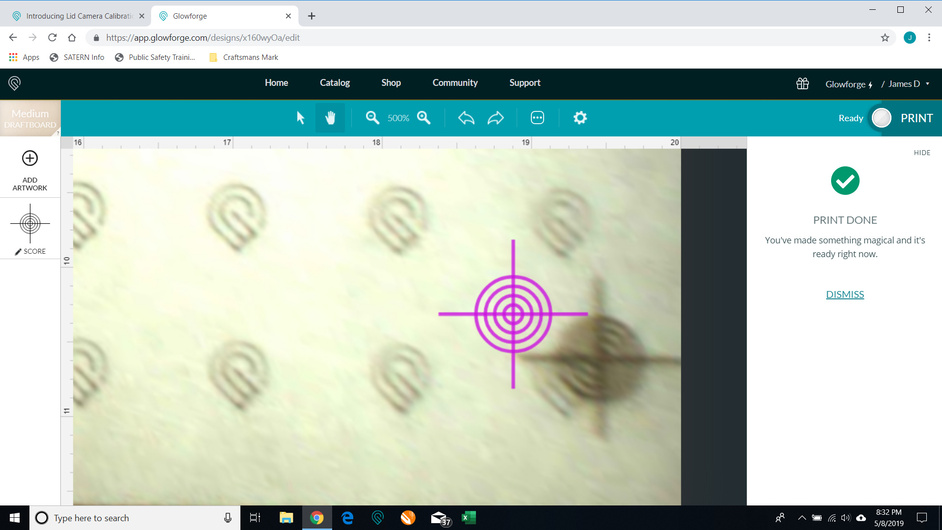
Moving the target design to the left and running the laser cut show that there is now a displacement on the left side of the cutting area.
Well, after seeing jgf’s post just above I tried to cycle the machine as cynd11 suggested and it’s now much better. perhaps not the same spectacular results that others have but darn good.
I recall this happening in some of the beta testing… maybe alpha testing, since this is the beta testing. IIRC, most of the times the calibration took successfully - it just got hung up on giving status updates to the end user.
Might let it hang for a little bit and then run a quick test before you do the recalibration again.
Have noticed that a lot of people perform the calibration and observe a considerable error in the image placement. Be aware that the Set Focus feature only accurately dewarps the lid image once. The value is not saved. If you open the lid, refresh the lid image, or load a design the lid image dewarp goes back to what it was before using Set Focus. Either way it would likely be in error.
Prints on Non-Proofgrade
I checked out the logs from a couple of failed prints around the time you mentioned, and it looks like you were trying to print on material that was too low for the Glowforge to focus on. Please note that when printing without the crumb tray, the surface you want to print on will need to be brought up to a height between 1.5" and 2" above the bed of the Glowforge in order for the print to be successful.
Final print does not match the Workspace
I located the print in question, but I’m afraid I was unable to find any discrepancies between the design that was sent to the Glowforge and the final print. This doesn’t appear to be related to the lid camera calibrator, however. If you run into this issue again, could you please do the following:
Wait until the bed image refreshes after the print finishes.
Take a screenshot showing the design as it appeared in the Workspace along with the bed image of the finished print, to show where the two are different.
Email the screenshot to us at support@glowforge.com, along with the date and time of the print.
Print Load Error
Thanks for including that screenshot, and I’m sorry you ran into trouble. This error would also be unrelated to the lid camera calibrator. Based on the logs I extracted, it looks like you received this error when trying to print on an object too low for the Glowforge to print on. I apologize for the confusion. Could you please let me know if you still see this error when using Set Focus on a material surface between 1.5" and 2" above the bed of the Glowforge?
Hi, @blowry, welcome to the forum! I’m sorry you kept running into an Expired message when trying to run the lid camera calibrator. I extracted the logs from these attempts to see what the problem was, and it looks like your Glowforge is having trouble maintaining a stable connection to Wi-Fi. You can take a look at our Wi-Fi troubleshooter for steps to solve the most common connectivity issues. If you’re still running into trouble, please let me know, and we’ll be happy to take a closer look.
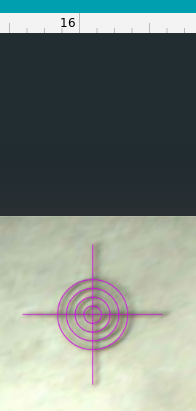
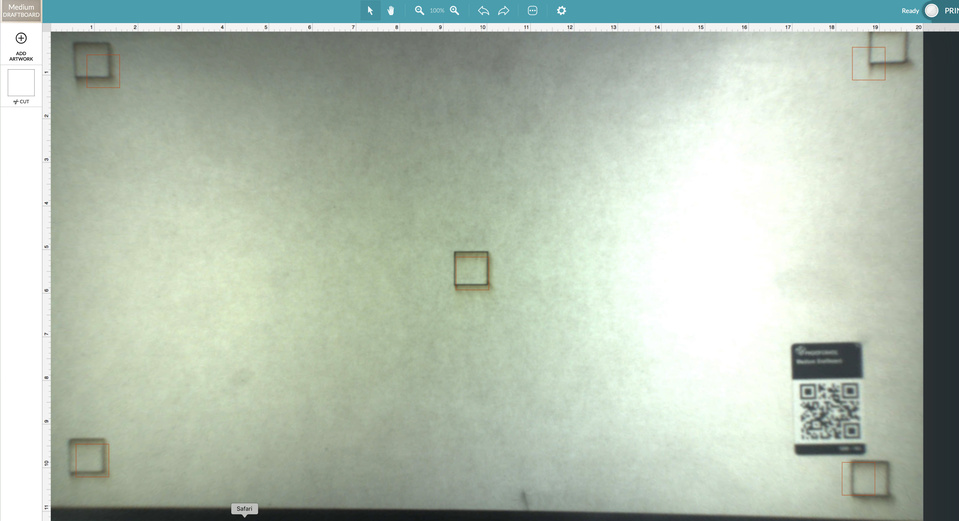
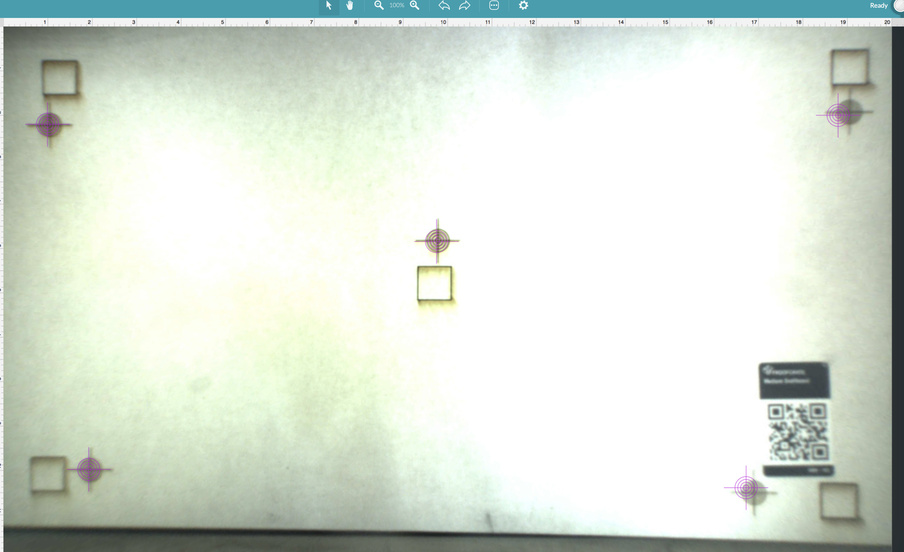
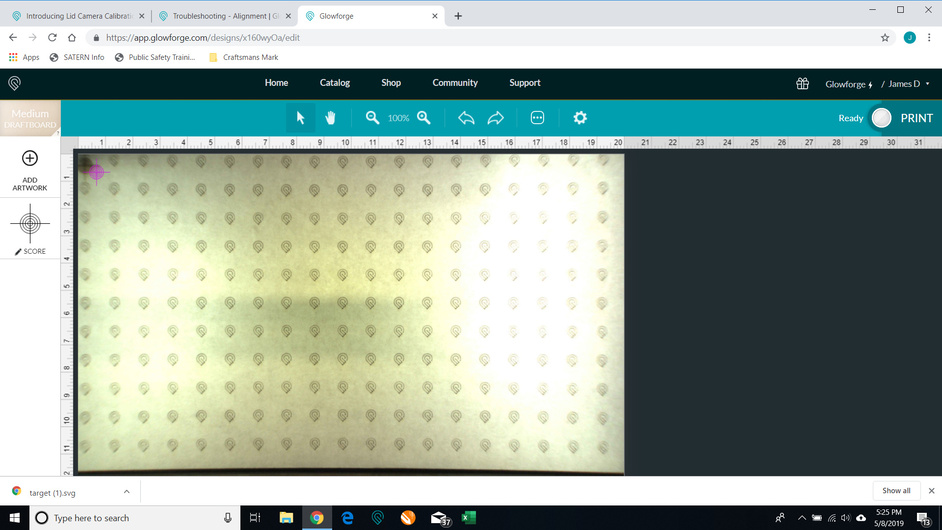
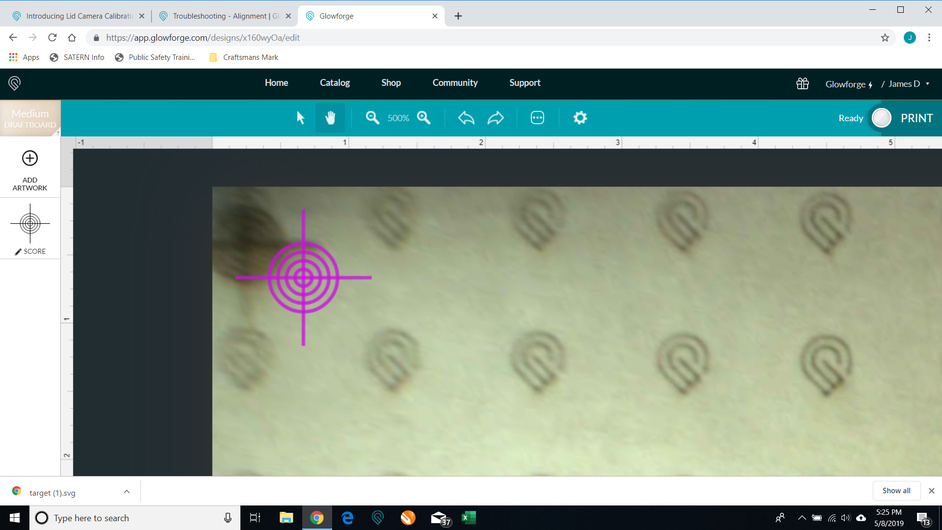
My alignment has always been terrible even with a clean crumb tray - it greatly affects the usefulness of my Glowforge. I took the first screenshot this morning (squares), ran the Lid Camera Calibration and took the 2nd screenshot (targets). Still very off - I’m so jealous of those who got alignment! Can the Glowforge support team please help? Thanks.
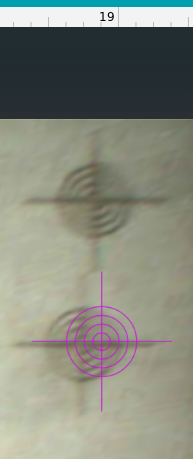
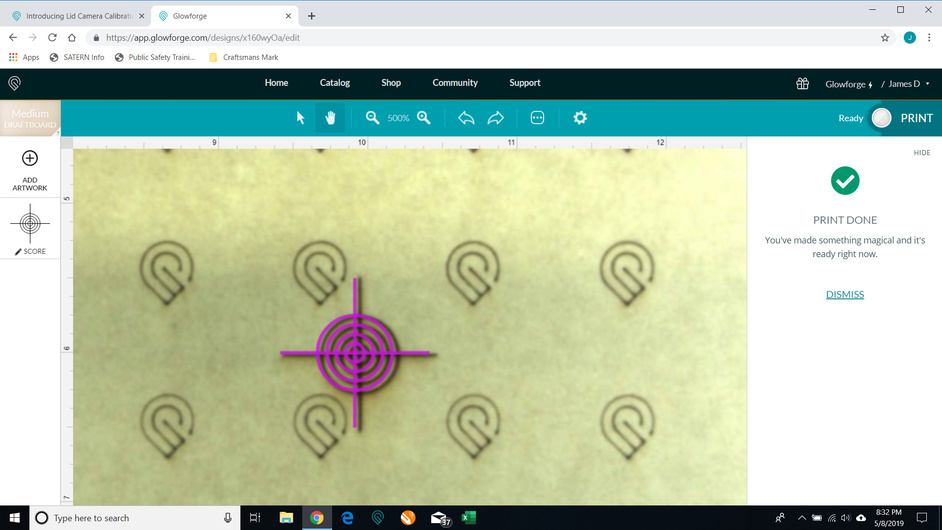
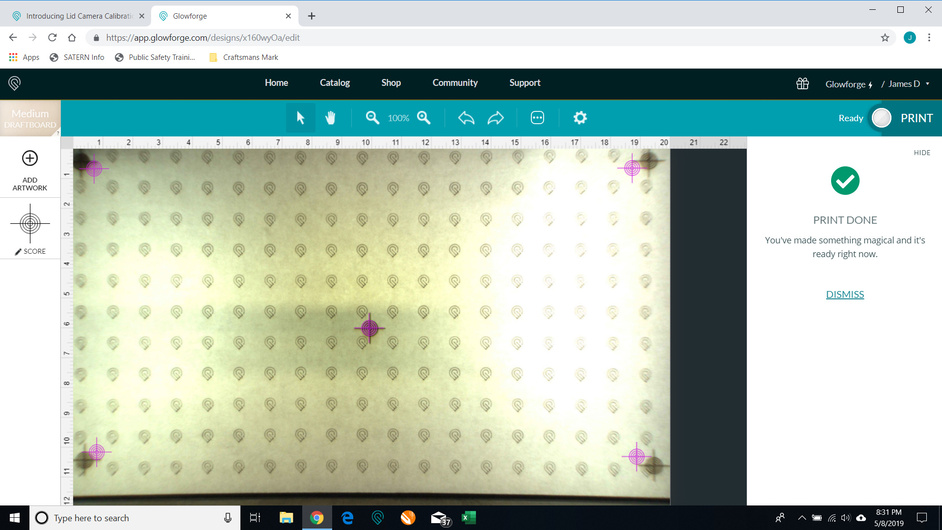
Thanks for letting us know how those tests went. I was wondering: when you printed all of the corners, did you use Set Focus in the center of the material? If so, you might see offset in the corners if there is even slight warp in the material. I’m interested to know whether the results improve if you run four different target prints in the corners, using Set Focus before each in the intended location?