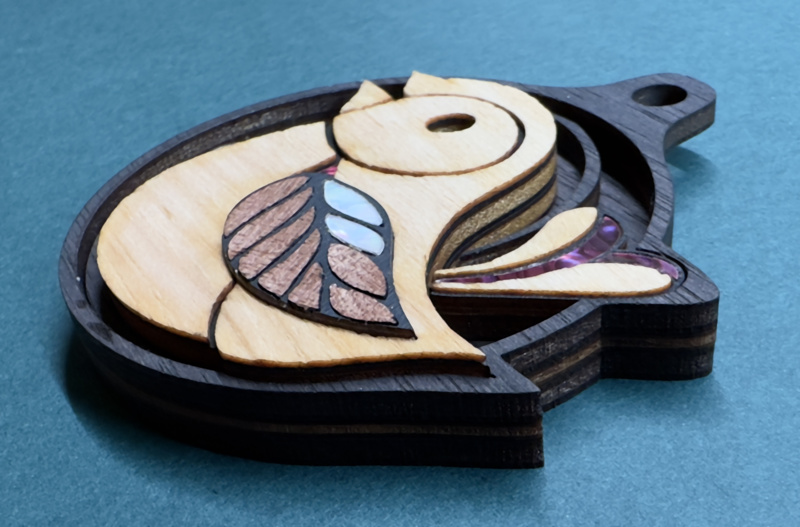
For the wing, I engraved sockets for the ‘feathers’ to fit into.
For the body, I made an alignment jig, a simple wooden outline of the body. Then:
Fixed a piece of transfer paper to the table, tacky side up.
Put the outline on top, upside-down.
Assembled the veneer pieces, upside-down (adhesive side up), inside the outline. Used spacers where there were supposed to be gaps. The transfer paper helps keep the pieces from shifting.
Pressed the base layer down on top of it (upside down). The outline ensured good alignment.
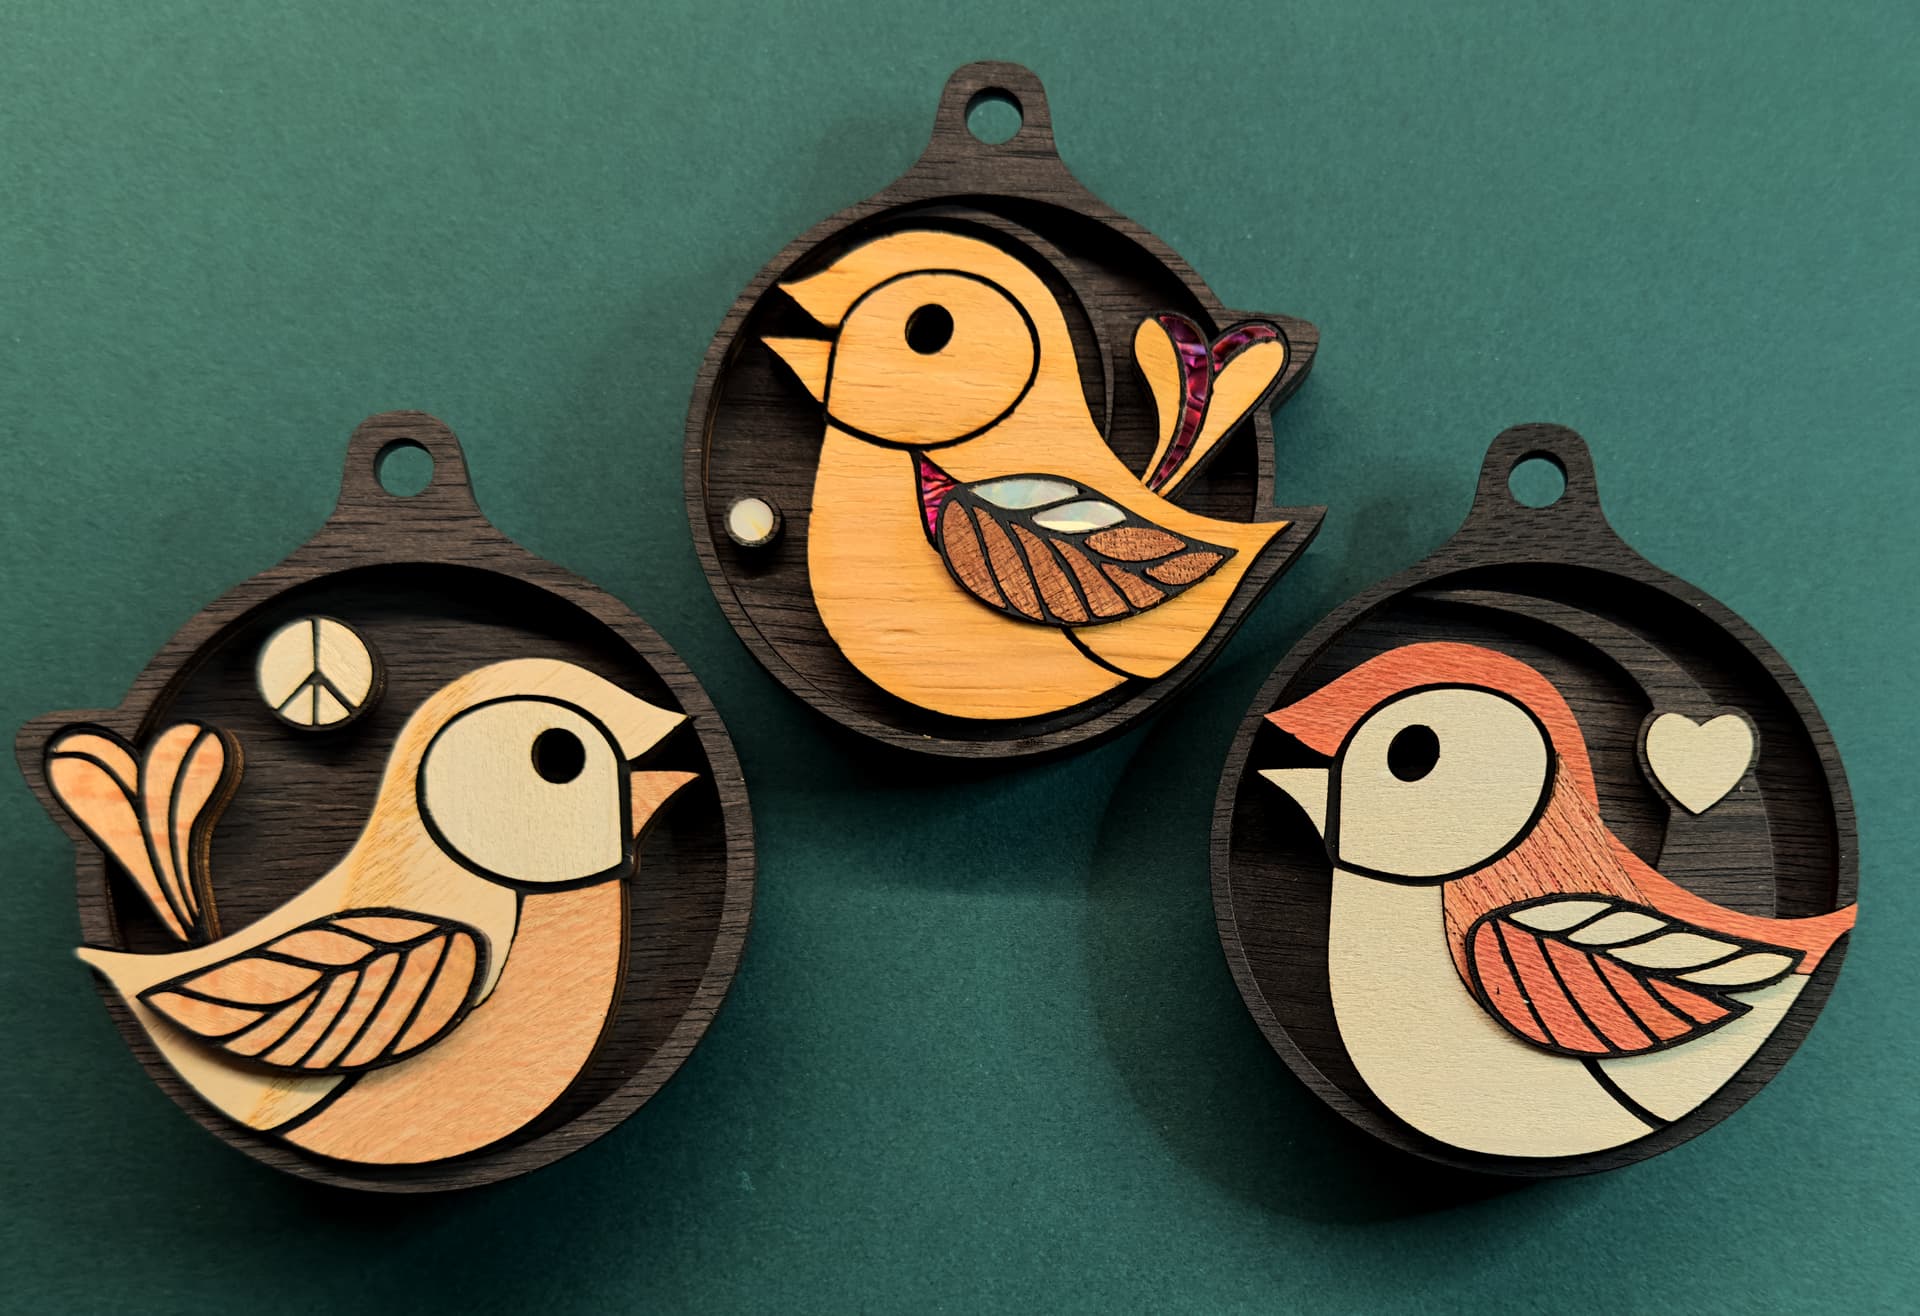
Thanks! Veneer variety packs are fun, aren’t they? Here are some of the trial pieces, with the above-mentioned veneers plus lacewood, tamo, pod mahogany(?), cherry, flakey oak, and fiddleback macore.
For truly deep colour/grain improvement I’ve found nothing to beat tung oil. You mix the pure stuff 50/50 with mineral spirits, stir until it gets all filled with bubbles and then smooths out (about 30 seconds for a shot glass worth which would cover an entire 8x10x8 box in multiple coats) and then paint it generously (not dripping) over your wood. Come back a few hours or the next day and if it’s not quite there sand it lightly with 400 grit or higher (I use 1200 cuz I’ve got a lot of it) and do another coat. The more coats the shinier it gets.
Clean your brush immediately with a baby wipe and you can use the same one over and over again. If it dries completely it’s trash.
ya I get that. one thing I got for Christmas last year from my daughters is one of those lighted magnifying lights. made painting in some scored stuff quite easy.
Tweezers are essential. Another great tool is a small scrap of masking tape, for picking up and maneuvering small pieces. Less strain than tweezers, easier to pick up odd shaped pieces, and less risk of the piece flying across the table if you slip.