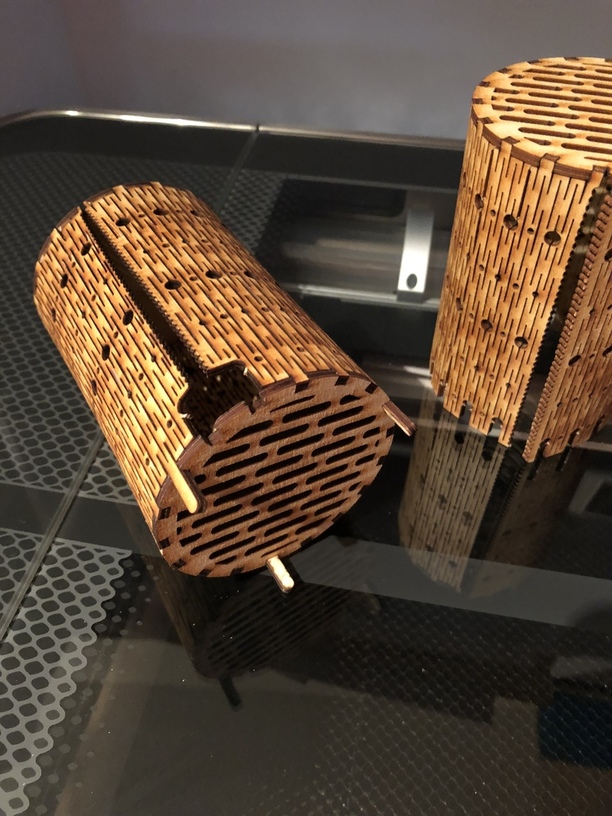
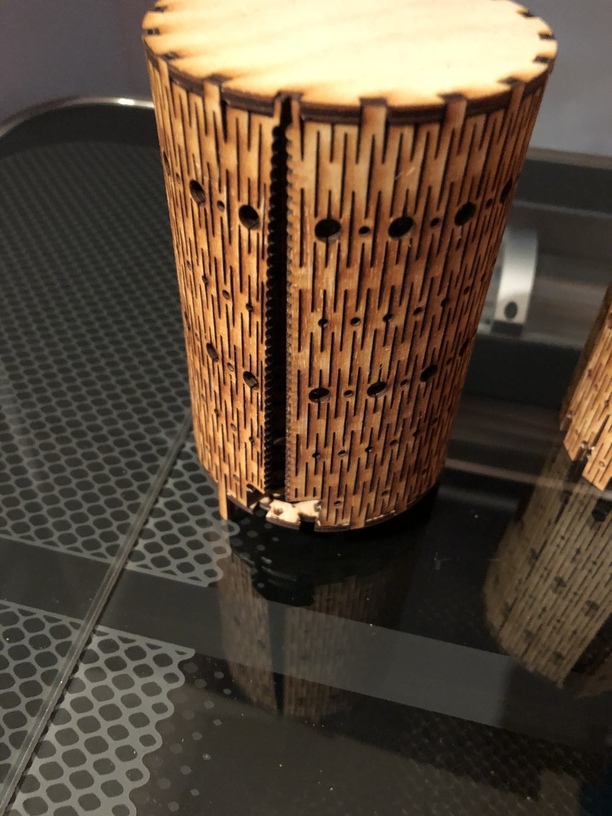
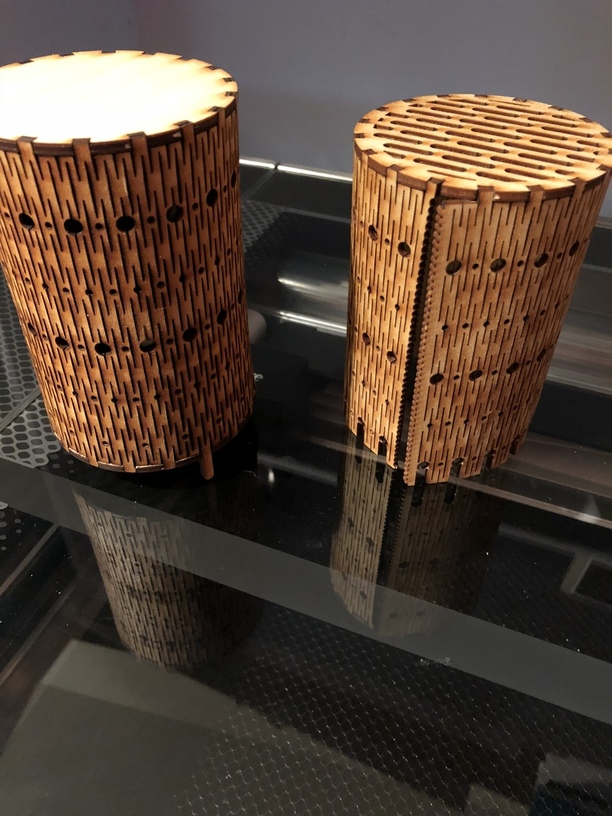
I was being very ambitious to attempt making a living hinge enclosure. I wanted to make a case for my raspberry pi motion eye project. The idea was to place the camera lense in one of the holes.
I used illustrator to make a vector pattern and then tiled on the area I needed and the expanded it and edited the stray points. It made lots of points. Almost too many for the glowforge to process. It took an hour to render. My first mistake was to push the button when it said it was ready. I discovered you have to wait until the red line traces the design. I only got part of it to print. I tried again this time waited 15 minutes after it rendered for the red line to render. My other mistake was making everything to thin at the stress points. I also made the seam to tiny.
Glad you posted it, all we see are the successes and there’s so much to learn from our mistakes. I’ve got a fail I’m working on now that I think I’ll be able to salvage, you’ve inspired me for my next post when it’s done.
You would not believe how many prints I did for the living hinge enclosure on my lamp. I made one where I accidentally used the length of the outside edge of the enclosure, so the result was too big, I made a couple where I tried to match the “outside edge offset by the width of the living hinge” which were a little too small (something to do with k-factor I suspect). I also was using some not-great plywood from Home Depot which had some voids and some filler and kept breaking.
Some things I learned:
If you want to wrap an enclosure of thickness t around a circle with diameter D, make the length of your enclosure the perimeter of a circle with diameter around about D+t/2. As I said, there’s probably some fancy k-factor math you could do to get the exact right length, but living hinges can compress and expand a little, bit, so it doesn’t need to be perfect. With really good plywood you can even do just D, but the hinge will be stretched a little bit, so everything will be under tension.
If you’re having a hard time getting your living hinge to wrap around your enclosure (things are breaking, it won’t bend far enough, etc…) get out a steam iron and liberally blast your living hinge with steam. It will bend much more easily. This is especially true for pieces where you’re going to glue everything in place, because you’re just trying to make a curve, and you don’t need it to “hinge”, but even for hinges it will help.
I made mine with squared off sides, so I could make the “join” on one of the squared off sides. This made it so the wood wasn’t trying to uncurl and fight against the joint while I was trying to make it. If you have your heart set on a cylinder (and, it’ll be pretty awesome if you pull it off!) I would try maybe printing out a couple of “forms” - like, imagine a square, with a circular hole the same diameter as your enclosure in the middle, then cut that whole thing in half so you have two “U” shaped pieces. You could clamp a bunch of these around your enclosure while the steam dries and the glue dries - should help keep things in place.
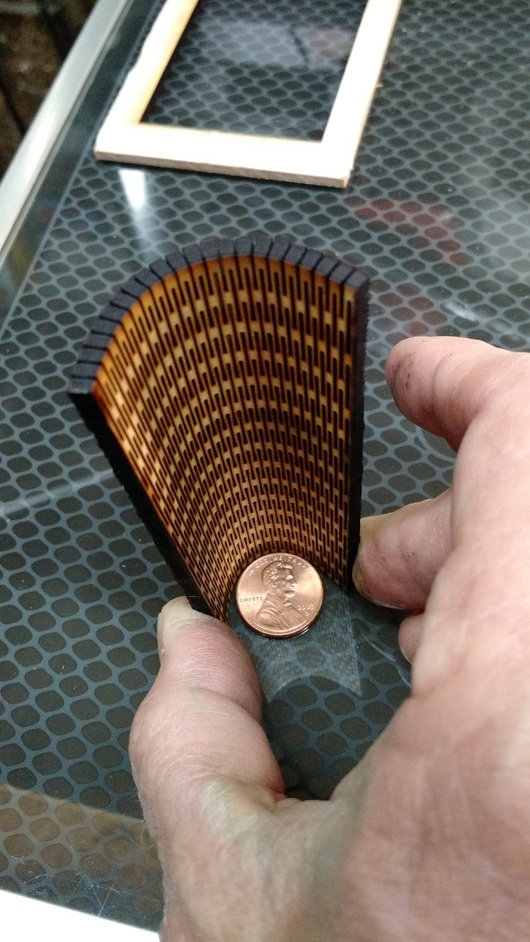
For your project in particular, maybe try some “practice” pieces by reducing the height of your hinge to 1/3, or maybe try printing out 1/4 of the circle to start with - this gives you something you can play with until you get it right, without having to wait an hour every time.
Most of all, don’t give up. Failure is just finding another way that doesn’t work. Like I said, I made a lot of prints of my lamp base before I found one that did what I needed it to.
Steaming the wood to make it bend more is exactly the right call. It’s an age-old tradecraft that was used for making everything from baskets, tools, and furniture to ships and planes. Great idea using the steam iron, if the piece of wood is small enough you could also use a vegetable steamer. I love mixing old skills with new! For tree branches, the old rule of thumb was 1 hour of steaming per 1" of diameter. So for 1/4" wood you might maybe need to steam it for 10-15 minutes at the very most.
So for 1/4" wood you might maybe need to steam it for 10-15 minutes at the very most.
I found with 1/4" oak ply from HD, I could just blast it with steam for about 10 seconds, and it made it much easier to work with. If you take a sheet of veneer that’s trying to curl up on you and hold the steam iron above it and hit the steam button, you can watch it flatten itself out over about two seconds.
(I read that discussion that @markevans36301 linked, and it was outside of my comprehension level without a lot more study on the subject.)
So, let’s say you have a circle with a 1" diameter, and you want to wrap a piece of string around the outside. 1" diameter means a circumference of ~3.14", so you cut your string to 3.14" and done!
So you might think if you want to wrap a piece of 1/4" oak around your circle, same deal - cut it to 3.14" and go. The problem is, a piece of 1/4" oak is essentially going to make a “pipe”, where the inside diameter is 1", and the outside diameter is 1.5" (because there’s 1/4" of oak on either side). So what you really want is a piece of oak that is 3.14" long on the bottom, and 4.71" long on the top… Except that’s crazy.
Now, 1" diameter is a pretty tight circle to try to bend a 1/4" piece of oak around, so this is an exaggerated example, but if you have a 10" circle it’s the same idea - if you cut your piece 1/4" oak to be 10" * pi = 31.4" long, it’s probably going to be a little too short. If you cut it to 10.5" * pi = 32.97", it’s probably going to be a little too long. You want something in the middle, where the outside part of the wood stretches a bit, and the inside part compresses a bit. That k-factor stuff is a way of determining exactly how far in between you need to be. But, with living hinges, you can stretch or compress the entire piece of wood a little bit because of the “springiness” of the hinge itself, so you can pick something “in the middle” and hope for the best.


 Like I said, I made a lot of prints of my lamp base before I found one that did what I needed it to.
