i’m not sure what you mean by “fill in the rest of the background.” Can you send a screen shot?
Man I feel like I’m back to square one on figuring out how to make a damn stamp!!! I have my design, completed in Illustrator CC. Can someone make a list or video showing how they take their .ai file design and get it onto a rubber stamp?
it seems like with so many changes in the Adobe (dreadful program, crashes, menu changes and deletions, etc.)… it’s tough for someone to explain how to do something with their Adobe CS5 or 6 or 8 or whatever… Example: I use CC, the online version, the cloud. SO, things are different than when I previously used CS5. So some are saying just do A B then C but those options are NOWHERE to be found on Adobe CC. Frustrating.
Not sure if this is what you need, but…
2 Likes
I…
I did not know it did this!!
1 Like
yeah i saw that a while back and got started on this whole process! but thats led me down this rabbit hole that i so badly want out of!
yeah i’ll be blowing out my GF afterward!
would it help if i shared one of my PSD files? I can do that if you can open a CS5 PSD file
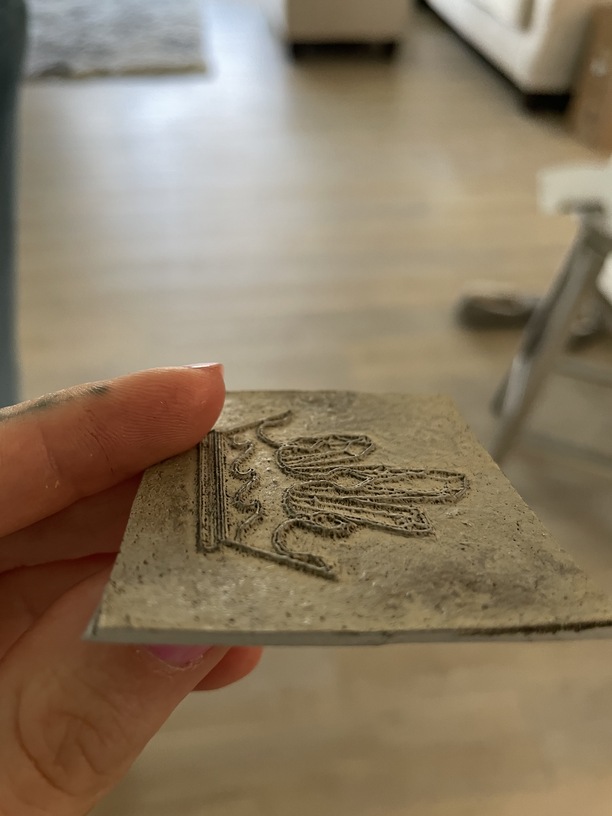
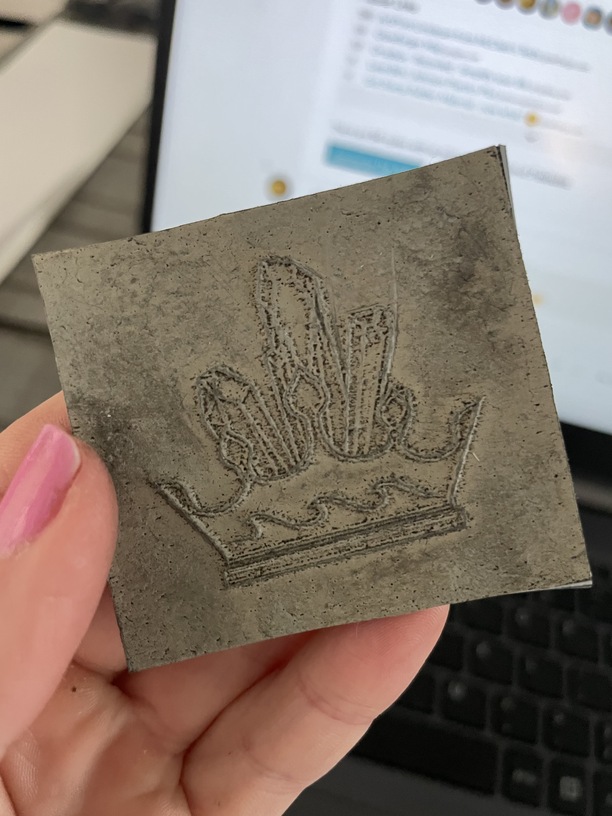
and anyone else that might need an example(i usually do well with one) here’s my tax stamp i made for myself
there’s a PSD, some PNGs and an SVG for the final glowforge file to make the stamp. Will be happy to answer any questions - Photoshop file was made in CS5
tho 
1 Like
So there was a lot to read through so sorry if I missed this. (thank you for the settings and link to material just purchased some)
I have been using the stamp maker feature on the GF software and currently have been running test pieces on the cheap amazon orange stuff to get the hang of it, but 1. the stamp itself doesn’t sit far away from the base to be able to stamp items without getting the background on so I’d love some feedback there (is it just my crappy test material?) and 2. What adhesive do you use to mount the rubber stamp on a block? I used e6000 on my test pieces and the rubber curls up and doesn’t lay flat. I tried small clamps and the inside bubbled since the edges were forced down.
Any insight would be appreciated thank you!
Hello and welcome. I’ve used the orange stuff, too and it seems to be OK, but I glued it onto a piece of craft foam first (guessing it was about 1/8" thick) and then onto the stamp handle. So far haven’t had any curling issues as you describe.
2 Likes
Hey thanks! With e6000? I’m also having issues with the cut itself I think, the stamp part doesn’t stick far enough out to work properly, would you share your cut settings? Maybe link the craft foam too? Not sure what kind of foam you mean, sorry for all the follow up questions! 
Not sure about the glue…but yes, I think it was E6000. My saved stamp settings are;
Engrave; speed 340 power 70
Grayscale convert to dots LPI 225
Cut 200 / Full power
The craft foam was just a scrap piece I had leftover from another project and I honestly don’t remember exactly what it was. If you go onto Amazon and just type ‘Craft foam’ in, it will bring up many options.
Hope this helps.
2 Likes
Not quite sure what you mean here, like the “blank” areas are showing when you stamp? What should be empty space is getting ink onto what you’re stamping? Could be the material, but i’m no expert - i use an old copy of photoshop & illustrator, so I’m not familiar with the new built in ‘stamp settings’ at all
I just use a CA glue(super glue) - generally a gel type with the thinnest nozzle I can find. Double-sided permanent tape is also a good option, I worked in a frame shop years ago that made their own stamps & use double sided tape to adhere the rubber(the pink smelly kind) to the handle & it worked just fine
Can’t remember if my settings are up there, but I engrave at 220 speed, 62 power, 105 Lines per CM, but again, this is on the Low Odor Grey Laser Rubber, so I have no other tips on other materials
Then i cut the rubber - in a fully engraved area(black in the PNG) at 300 speed, Full Power
I also just add a 3/16 thick piece of plastic between the rubber & the handle part to give more space between the rubber & where you hold it

if you missed this one entry–> Low Odor Gray Laser Rubber - A Starting Point - #32 by aj_stewped
this is all the info i can add to what other folks have added, I’m happy to answer any other q’s that I might have info on, good luck!
3 Likes
Those are part of Premium in the ![]() user interface, nothing to do with Adobe
user interface, nothing to do with Adobe ![]()
That picture is super useful for new stamp makers!
1 Like
Thank you! So I bought the recommended rubber and just got it in. I am not savvy enough with Adobe Illustrator or Inkscape be able to design the stamp in a way that the GF needs to print. I tried the Stamp making function on the GF software and used the suggested cut settings and it doesn’t seem to go deep enough to effectively stamp without getting the background too. (I got the craft foam to glue the rubber to, then the block) Can anyone link a tutorial for Adobe on how to make a stamp? I feel like I saw it on a thread (maybe here?) but now can’t find it. I think I’m going to have to try to learn because the GF software isn’t working to make a stamp that can actually stamp. Thank you!
The Glowforge stamp maker does pretty much what needs to be done in that it inverts the image so that what you want stamped is left alone, and the other elements are engraved away. If you are not getting good results, change the settings on the Glowforge so that you get a deeper engrave. I suggest trying a really simple image and adjusting settings, although you are going to be limited by the thickness of your material. Once you get a good result, switch back to your actual design.
2 Likes
Try this foam backing.
It is NOT laserable. Cuts easily with scissors. Double sided adhesive, so no glue!
I’ve made about 15 stamps and it’s easy peasy to use.
Good luck!
Jackie
1 Like