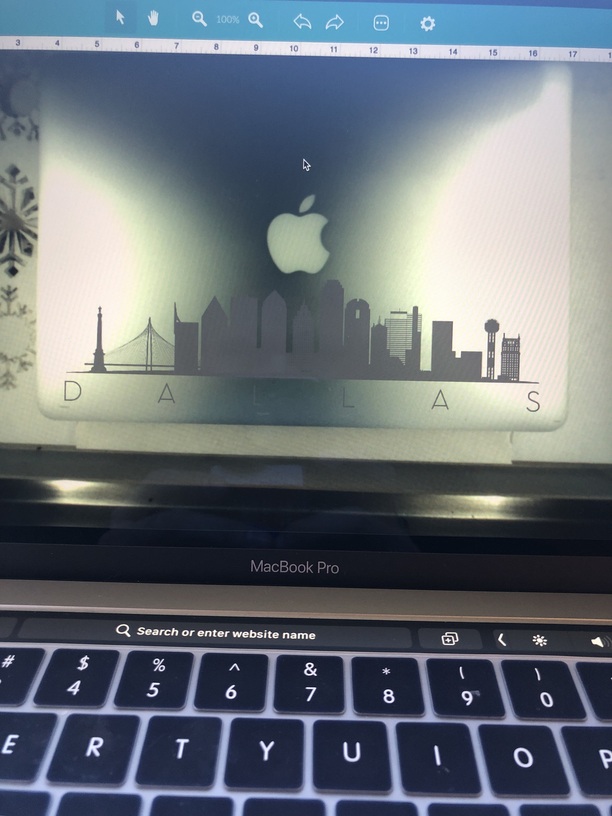
So I just tried to etch my brothers new MacBook Air. (New two weeks ago, so not the recently announced model). I cancelled it after about 3 strokes because the image was about half an inch to the right and off center. It didn’t get bumped, and after I cancelled it the image that popped back up on the screen was exactly what I wanted.
It is unfortunately normal for the image you see in the app to not be perfectly aligned with where the laser will go. When placement is critical you need to take additional steps. For example, you can tape paper to the top of the object, and zap a super fast, minimum power outline of your art to see if it lands where you intend. If not, scoot the object, and test again.
You can also put a bounding box around your design the exact size of the laptop in a different color, register a piece of cardboard on the bed with tape or magnets and cut the box out ignoring the engrave, put the laptop in the hole and run the engrave.
After you remove the cutout and close the lid, the new image of the bed will show the design displaced. Ignore that. If the cardboard jig hasn’t moved, the design will register perfectly.
Like GrooveStranger and PrintToLaser said. Another thing - are you sure .1" is the correct material thickness given that the computer “is supposed” to be .6"? Best to double check all measurements after reading the various posts about using the Glowforge without the honeycomb tray. Nice image. Good luck. I hope you succeed and share a photo.
You’ve got guts. I’ve ran the bejeezus out of my GF over the last year and there’s still no way I’d put my own laptop in there and expect it to turn out right, much less someone else’s.
The first time it’s hard to push that button You know in your head you can’t do any damage since it won’t cut the metal…but…your stomach doesn’t know that so you have to squash the butterflies and press the go button and watch what comes out.
Since this problem is being seen on materials that were purchased from another company, we can’t offer support for prints that don’t come out as expected. I’m going to move it to Beyond the Manual so other folks here can help. Should this happen with a print on Proofgrade materials, please open a new ticket in Problems and Support and we’ll help you right away!