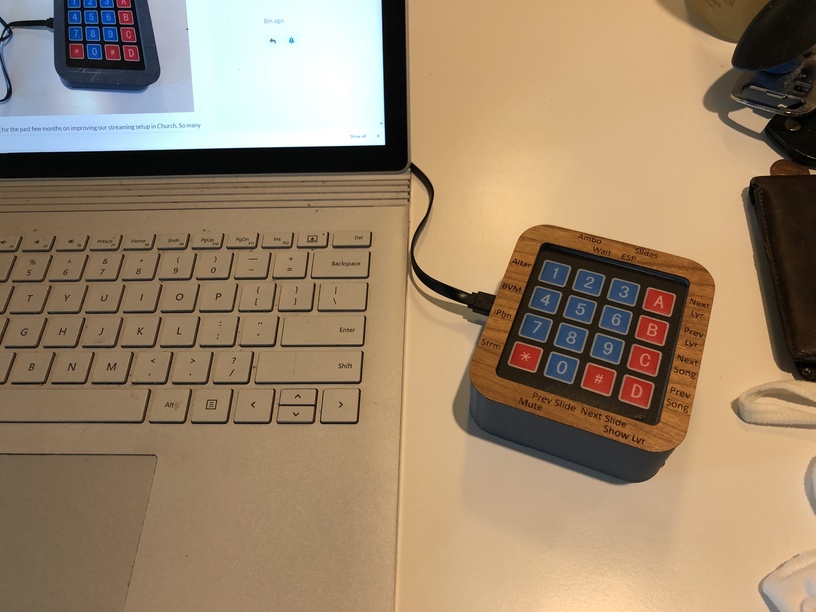
I have been working for the past few months on improving our streaming setup in Church. So many different ways to improve (and so many ways to mess up a stream). I did a lot of custom camera and phone holders with my FDM 3D printer and one with the Glowforge. I had tried a Microsoft Bluetooth keyboard but the range isn’t big enough to go through the sanctuary.
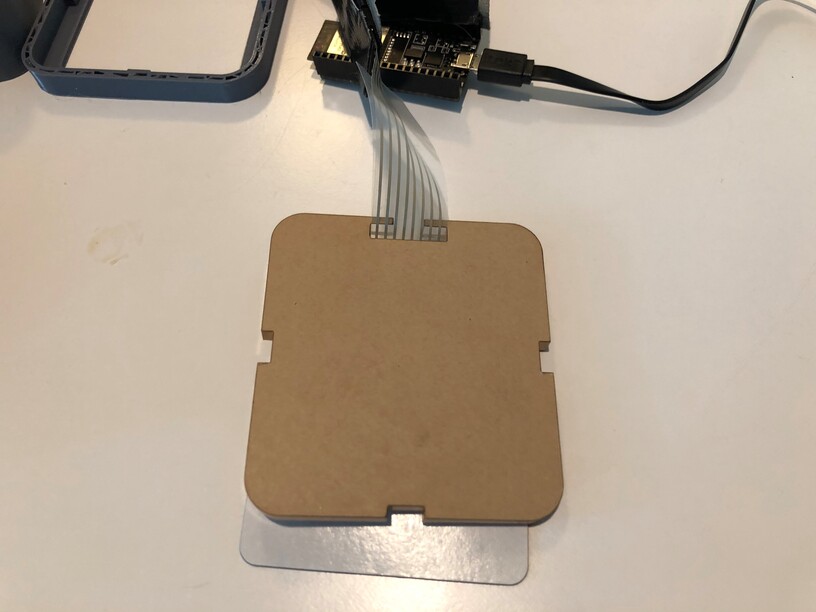
The Glowforge figured into the build by making this 6mm acrylic backing plate and the top veneer and legend.
I had an ESP32 board that has been looking for a good long-term project and this is perfect since it has both wifi and bluetooth. This is as simple as it gets. Plug in some jumper wires.
Get the Arduino IDE set up for this ESP32 board. Copy the code provided in this video that I link to below. Map the output of the keypad to the pins on the ESP32. Plug in and it works perfectly.
I am documenting my build process in the hopes that it might help others extend their skill set into the electronic world. And simply to have a placeholder to help me remember things for the next build.
One way to improve streaming is to have hotkeys for OBS. An improvement on that is to have a separate keypad that you can operate remotely so if there is no one to assist in the scene switches, I can do that. I used an iPad for a while, but touch screens are not the best solution when you are trying to handle things and risk and accidental button press. Also, needing to prevent sleep mode from kicking in.
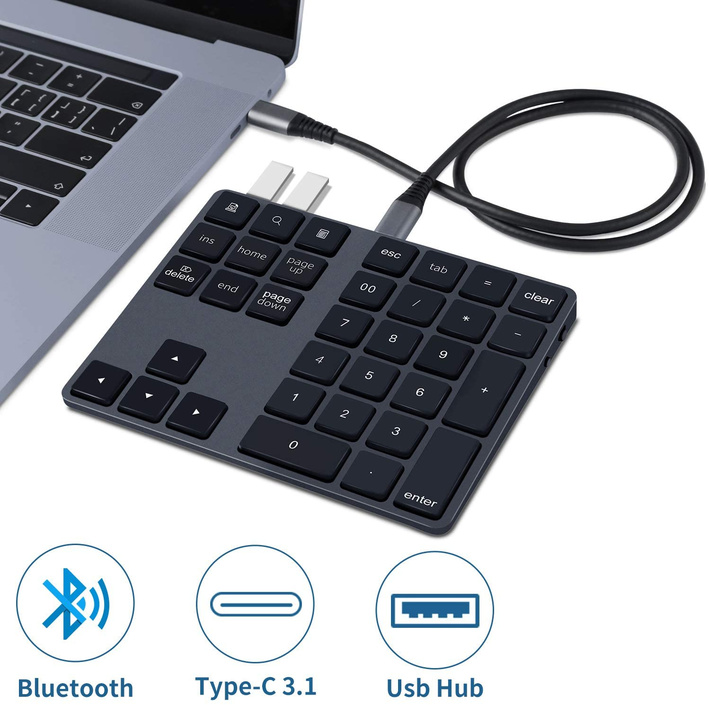
So I bought this. Was inspired by a BoingBoing post I think.
This works out great and best thing is that I could have it sanitized and then operated by another person and they wouldn’t have to sit at the computer using the same keyboard and mouse I had been just using.
There are drawbacks to using normal keypads for macros, one of which is that if you map a key incorrectly and its normal function kicks in, you get bit. So the arrows keys. There is a way to totally map an external keypad or keyboard with something like AutoHotkey and other solutions. I’m just dipping into this world now. My interest in keyboards has been to learn the keymaps to other languages like French, German, and Spanish, and also I dabbled in doing Dvorak or Colemak switch, but never did it. I guess any gamer would know all about how essential it is to get your keyboard rig fine tuned.
Another use case is macro keys for software productivity. I know that I can use this to map some of my Inkscape functionality to some buttons and save me some time.
Need comes first, but then there is that part of the creative process that gathers information to possible solutions. So just understanding the keyword terms for search like “hotkey” or “macro keypad” will help see what’s out there. These two videos helped.
, Cherry Switches + Stealth Foot Pedal")
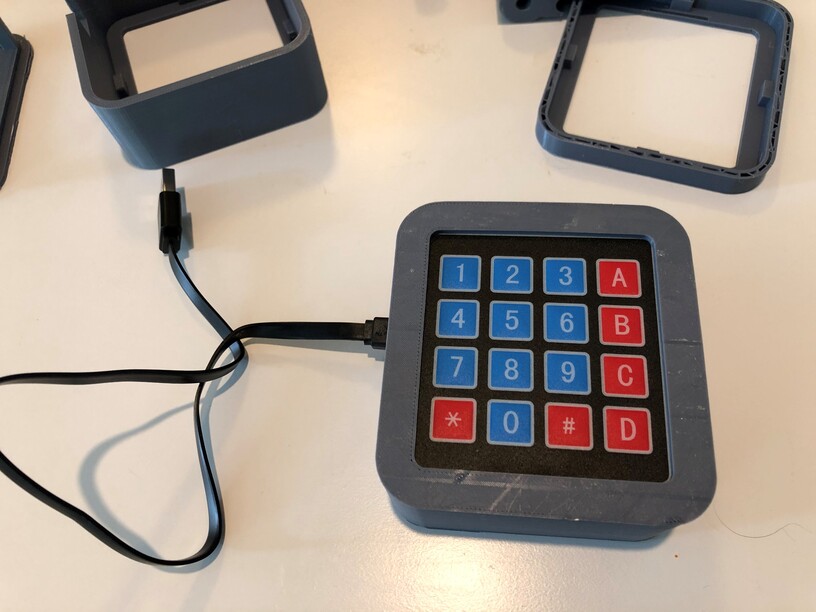
Here was a good solution that gave me some general idea. After seeing the contact pad keypad that was shown in the video, I remembered I had one of those in my Arduino starter kit.

That lead me to a video that made me realize that I could make this thing with what I had on hand.
About a half hour getting the keypad electronics set up, code running correctly and working with OBS. No problem.
But the case or enclosure is one of the more important parts of this project. Having my 3D printers and the Glowforge allows me to make project boxes easily. An FDM printer can do so much, but the laser excels in fast and precision cuts for plate work. Any time I see a maker pull out a scroll saw, I cringe. Yes, in some cases they are necessary for thicker materials and stuff you can’t laser, but for many uses, the 40 watt Glowforge Basic is just the ticket.
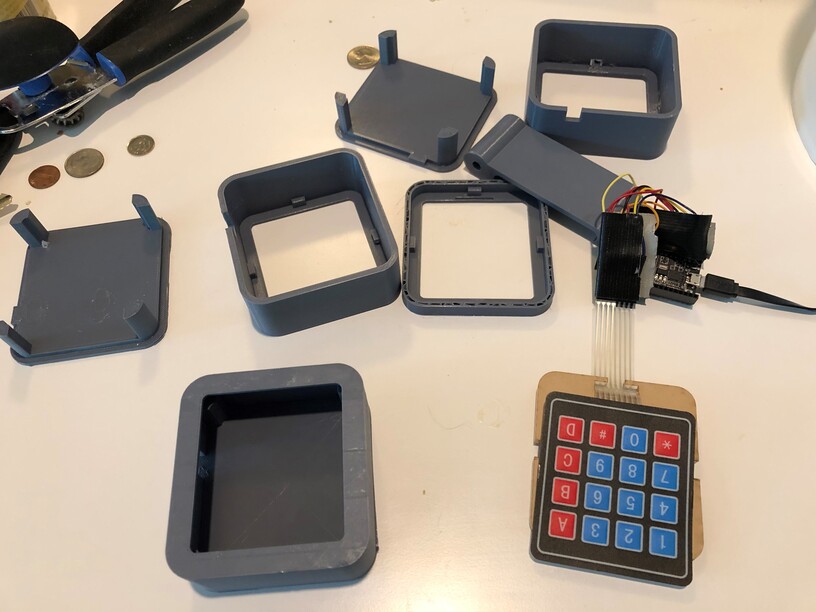
Here is the result of a few efforts to get a case. Designing the position of the USB slot was several iterations. I had to allow for the ribbon cable fold path. Got that figured out and then when I went to plug it in, I noticed that I had the slot for the USB connector to exit out the right side of the keyboard. Not good for a right handed person. Needed to shift to the left side and reposition so the cable and jumper wires fold easily.
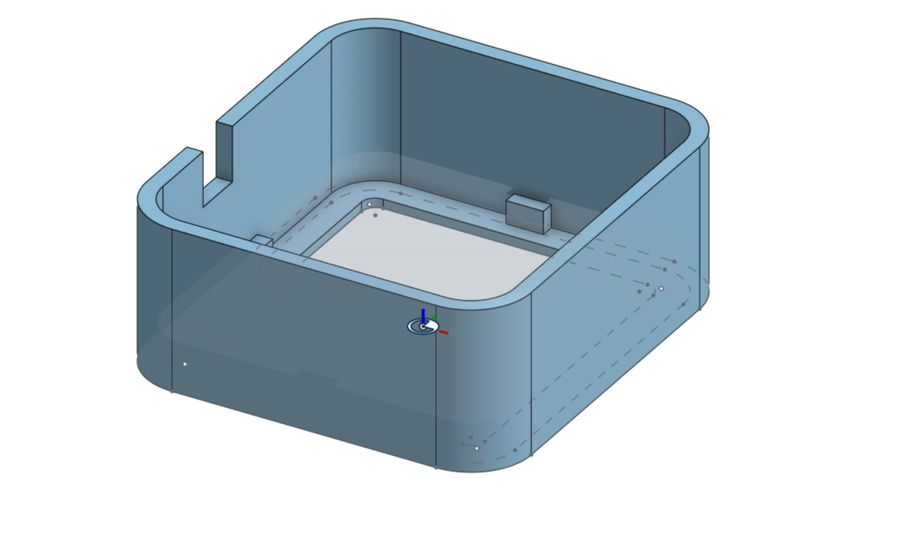
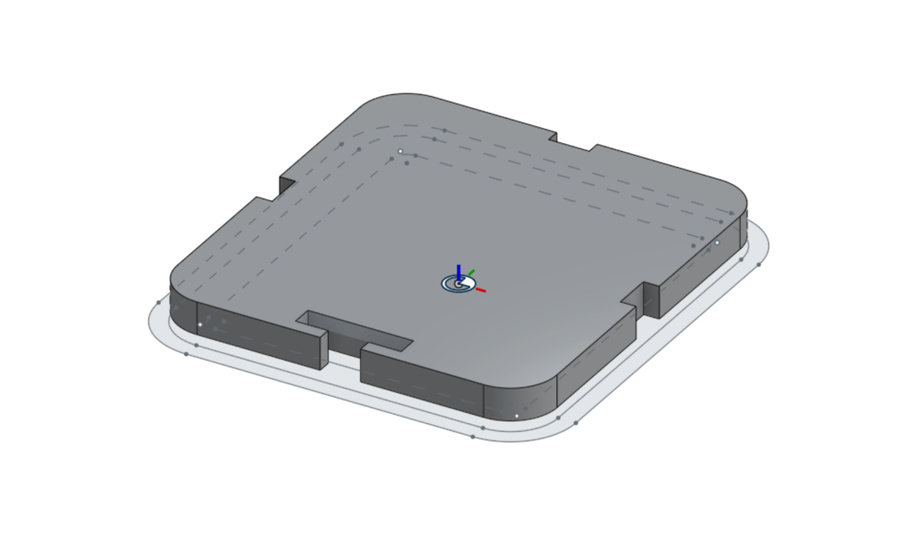
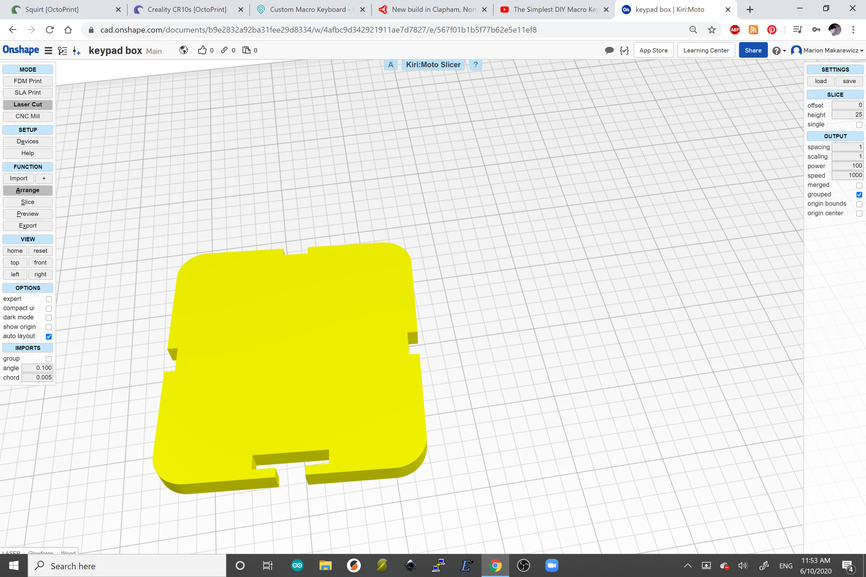
I use Onshape for my 3D design. The new skill I learned on this build was how to use a boolean for those four registration cutouts for the pad plate.
Love the KiriMoto plugin for getting perfect SVGs. Stewart keeps improving the program, He has improved the CNC functionality recently and It works very well for 2.5D milling.
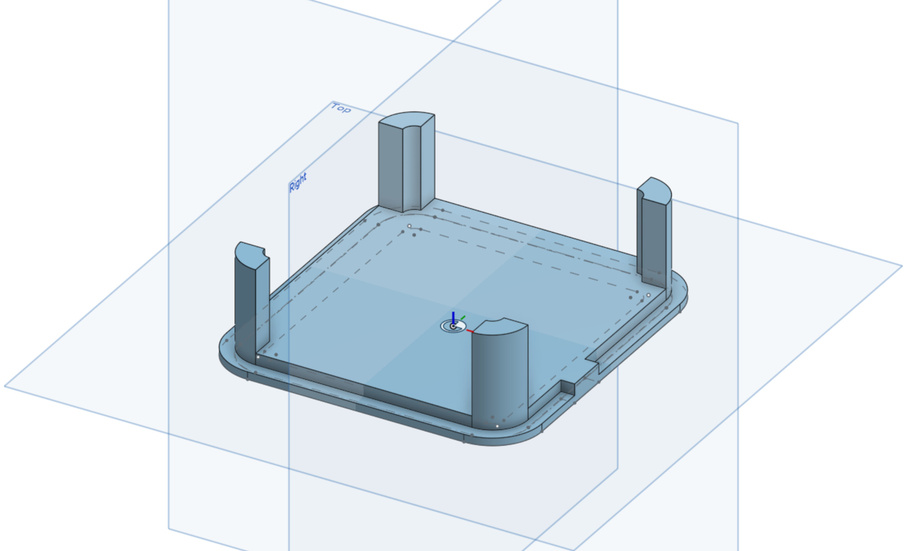
One of the challenges of making a box it getting the bottom to hold to the top. I needed something to push the pad plate up against the top of the case and also something to snap the top to the bottom. Hence these four pillars. It all snaps together perfectly and holds. Easy enough disassembly with a utility knife to pry apart.
The next step is to get a rechargeable battery fit into the build. I haven’t done one of those yet. In the meanwhile, this will work well. It has enough buttons to manage my stream needs in OBS.
Here is a nice example of a Launch pad DIY by Great Scott.

I did order some cherry mechanical keys to get to the next level. I thought a 20 key project would be great. Cheaper than a stream deck. And that might be the road to learning how to make a PCB and get it manufactured. Every time I see one of those JLPCB pushes, I feel a little inadequate that I have yet to design my own PCB. It’s a maker rite of passage.
I might mill it, or I might use perf board. Or just bodge wires. We’ll see what happens. In any case, the Glowforge is perfect for aligning the keys, making templates, custom keycap covers.
Here are some other links