I am working on setting up a process for turning the airplane plans from FliteTest into something i can laser cut. I used to make these airplanes for my kids, but have run out of time lately to cut these out by hand. I decided to try and make the FT-MiniArrow. These are the plans they provide. the problem in a single wing side is bigger than the cut area of the glowforge. so I had to find a way to match up 2 separate cuts. First i converted the plans to something the glowforge can understand
(IMAGE A)
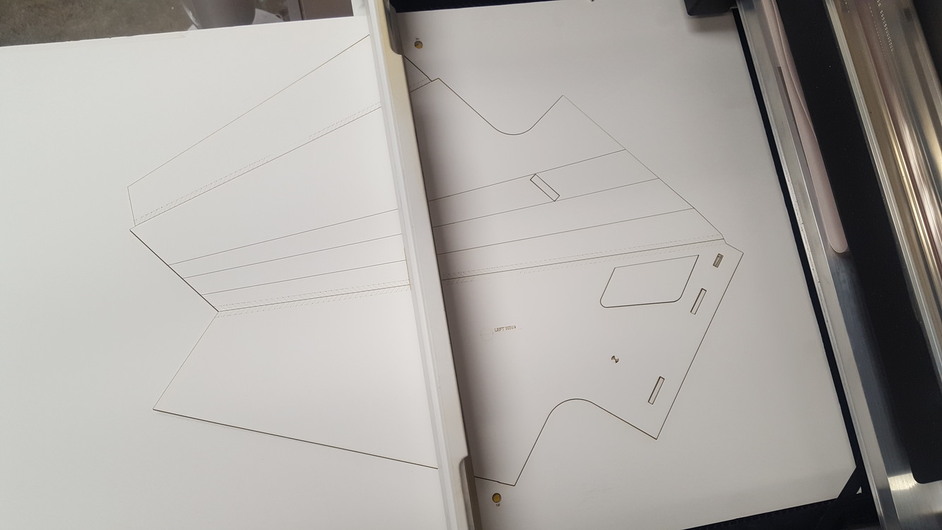
The blue box represents the cut area of the glowforge. I moved the plans down so that half of the plans fit in the blue box, then I placed circle markers in the bottom corners of the cut area making sure they were not over the plans. next i made a line that cut the bottom of the plans just above these circles. i sliced the plans along this line and also copied the circle markers so that both pieces of the plans have the markers. I rotated the bottom half and moved it up until the markers lined up with the first half.
(IMAGE B)
I placed a piece of foam-board through the pass-through slot.
(Image C)
i had it cut out the first pattern.
(Image D)
Making sure to have the marker holes cut out on this pass.
then I removed the foam-board, taped down some paper in the from corners and loaded up the second part of the cut. i had all parts ignored except for the marker which i set to score the paper.
(Image E)
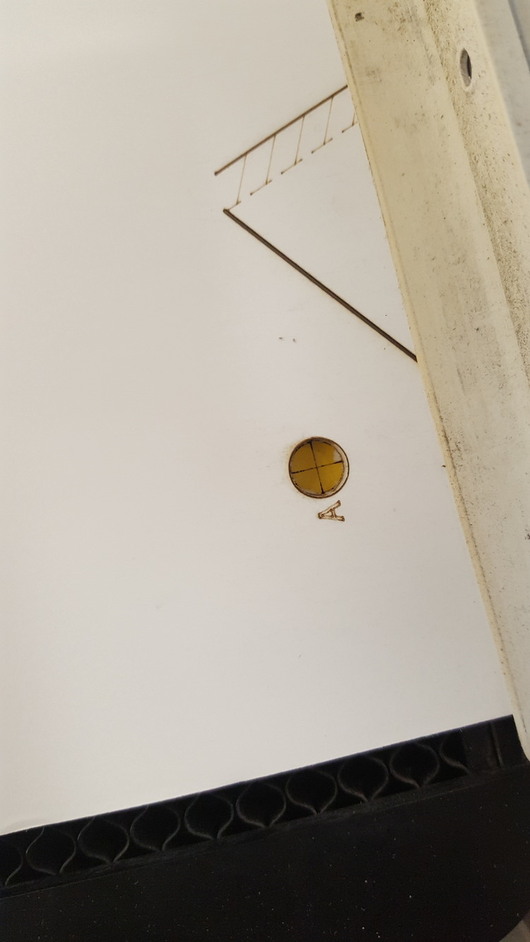
then i turned the foam-board around and put it back in the slot, looking through the marker holes I cut earlier and matching them both up.
(Image F)
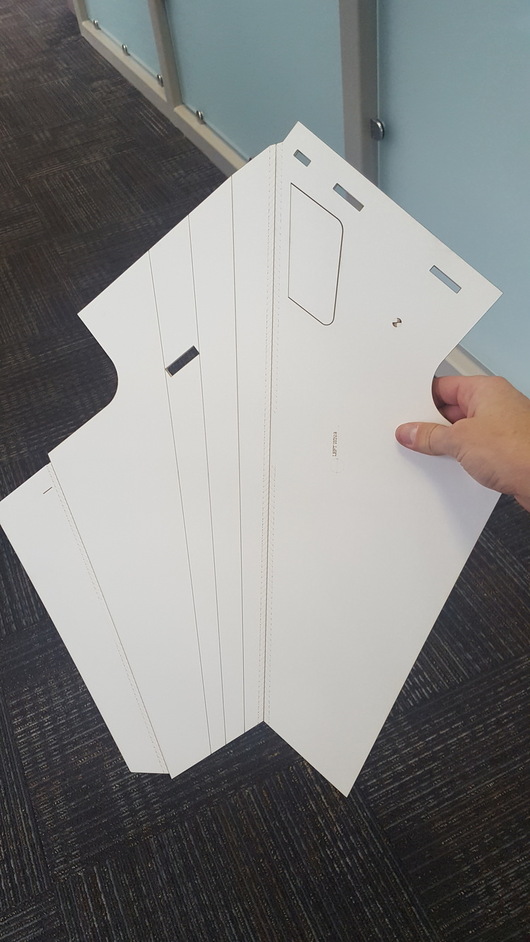
I ran the second part and it matched up perfectly.
(Image G)
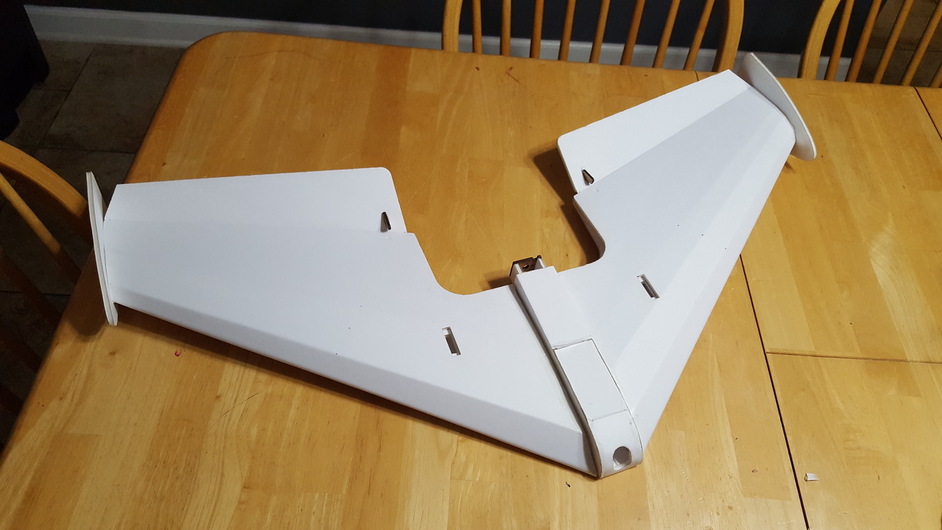
you can not even really tell where the cuts connected. The score cuts worked out great as well and i was simply able to bend the wing into its shape. I will finish this up next week and post pictures of the finished airplane.
my cut settings for foam-board
etching letters on top paper(not cutting through) 500/1 focus 0.17
cutting- 130/30 focus .085
scoring - 200/30 focus 0.17