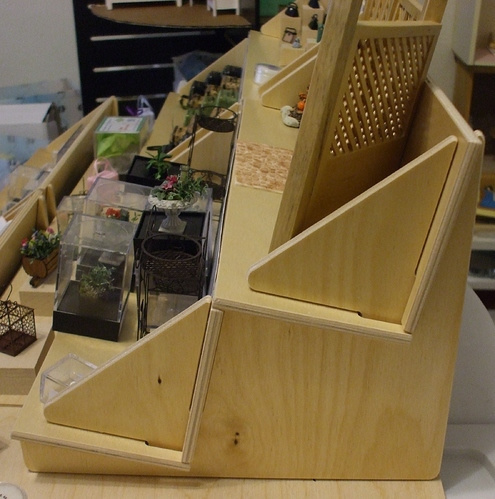
@MiniMouse contacted me a few weeks ago requesting some aid in redoing some shelving for the display of her beautiful miniatures. The shelves she has are fine, but the side brackets are cut so that the shelves aren’t flat but dip down toward the back. The miniatures tend to slide to that back with the existing design.
I thought this would be a nice project to work on. Since the design is pretty simple and uses standard 6mm /.23" 5 ply craft plywood, I could make matching side supports for her. I did a rough design and printed it in cardboard to get a feel for how the design works and @MiniMouse got busy tracing out the existing pieces and modifying it to keep the shelves level.
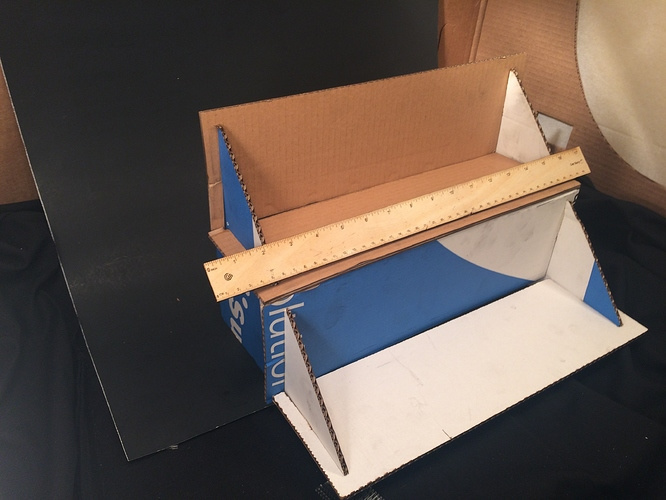
The cardboard model worked great. Now I have a design I can use to print my own display shelves when I get to San Mateo for Maker Faire using recycled found cardboard!
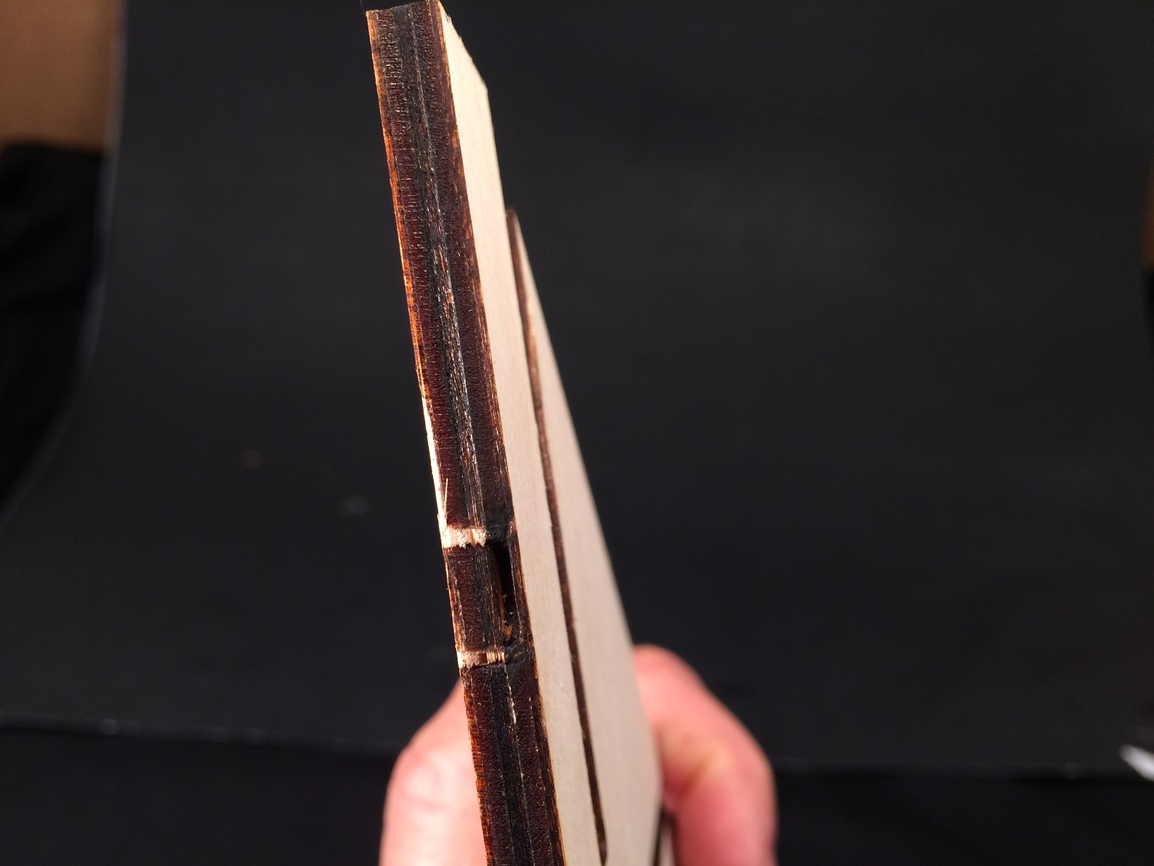
@MiniMouse’s design worked very well so I could see how deep the notches needed to be. The only thing was to test the plywood (I bought a couple sheets of 12 x 24" Menards). and see how the kerf works to adjust the slots for the .23" thick plywood.
One thing I learned was that in compensating for the kerf, when you are cutting a thicker material, like this plywood, the kerf wider at top and narrower at the bottom does make a difference. I made the settings so that the cut just barely makes it through. That means that if it fits snug at the top, it will be too tight at the bottom. So for the .23" plywood, the slot needed to be .24" wide for a snug fit. This is an interesting point because I just assumed I’d use the normal .014" allowance. I kind of knew this since it is what I had to do for making the bookcase/cd shelves a while back, but I didn’t quite catch the whole issue.
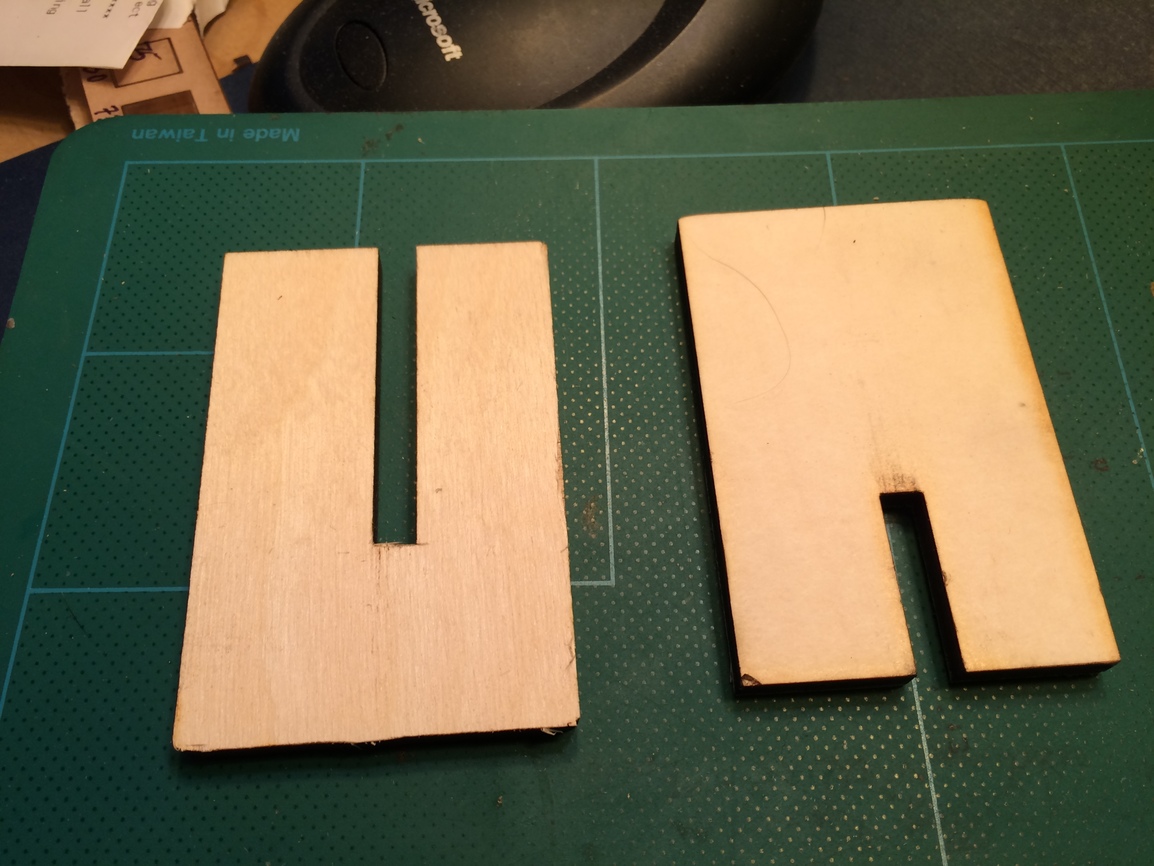
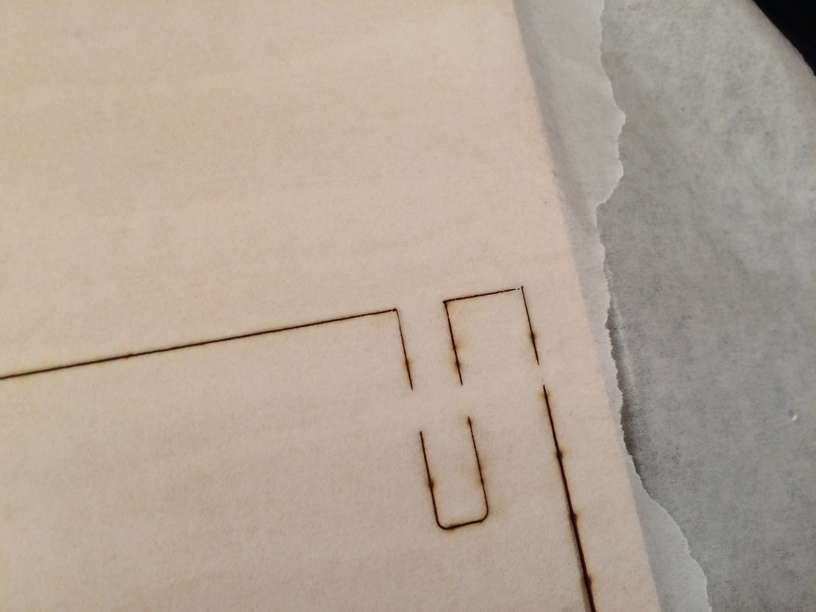
Test notches both for getting the dimensions of the notch correct and for getting the cutting settings correct.
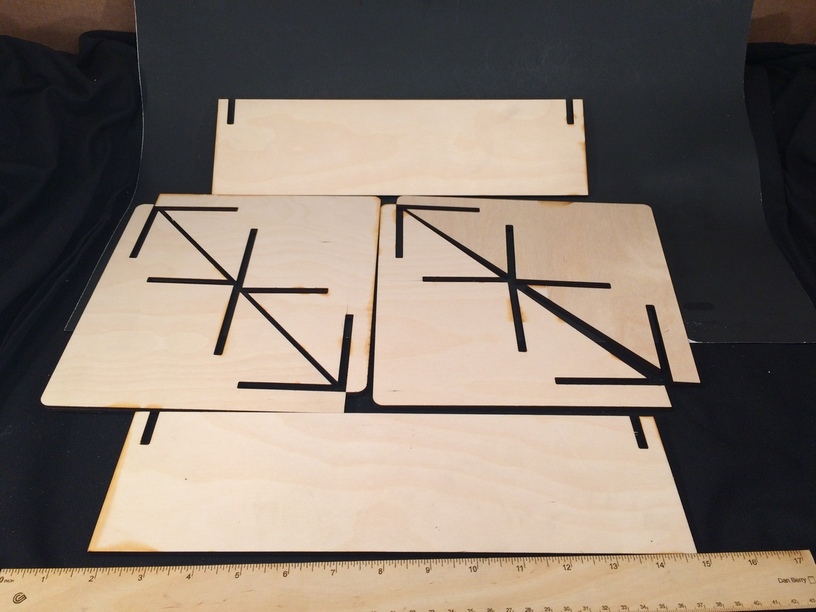
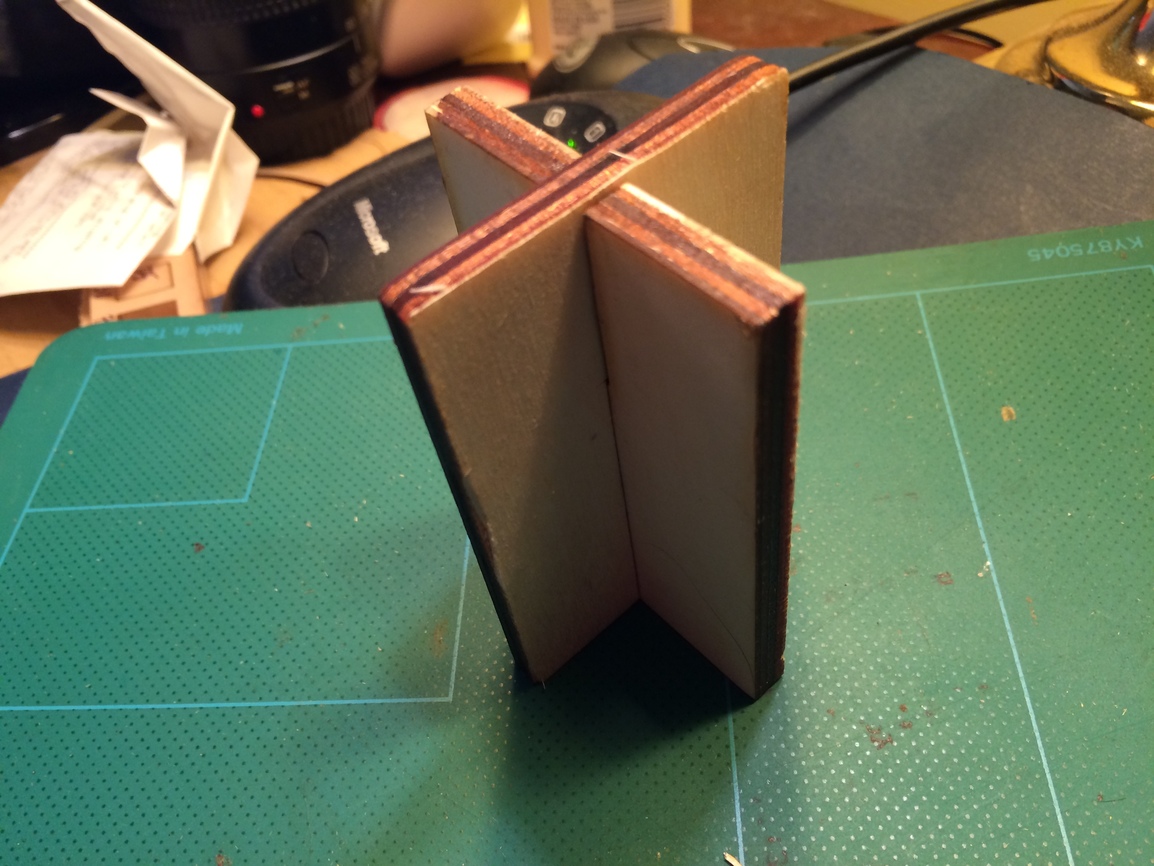
End supports and two of the four shelves needed.
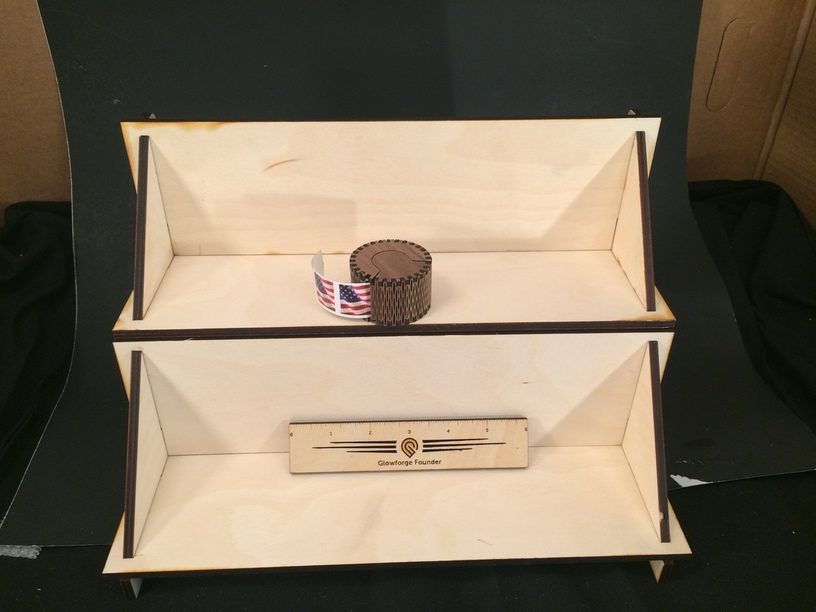
Assembled.
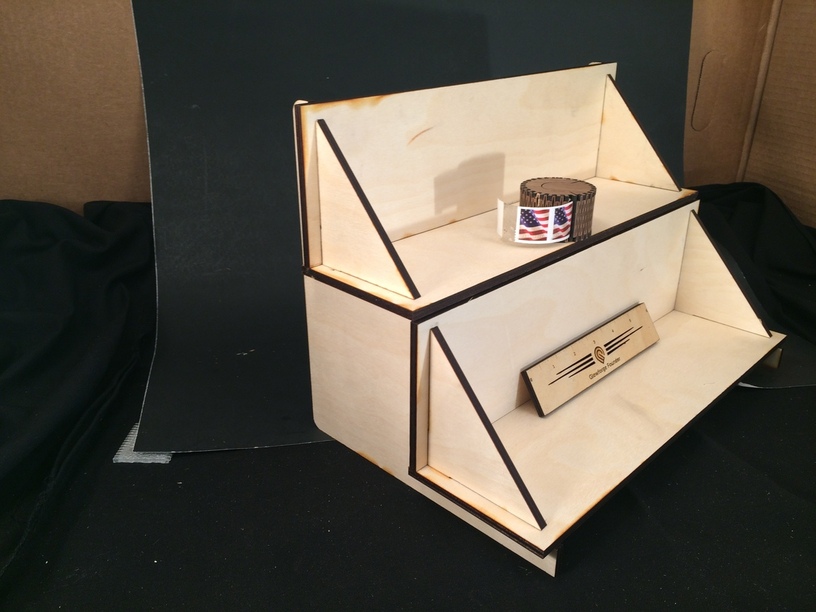
In adjusting the notch dimensions I left a little play since I was only doing the side supports and @MiniMouse would use the existing shelves for these brackets. But it holds together tight.
A couple other points to consider:
The laserbits masking does not stick very well to this unfinished plywood. The surface of the ply is not very smooth. So I have to be very careful to press the masking on firmly and keep an eye on the cut. Loose masking can interfere with the cut and burn. So there is a little sanding to do at the end because of the loose masking.
In regards to using hardware store plywood: another point to consider is that almost every cut had areas where there were skips due to voids or some type of knot or harder substance in the inner layers of the ply.
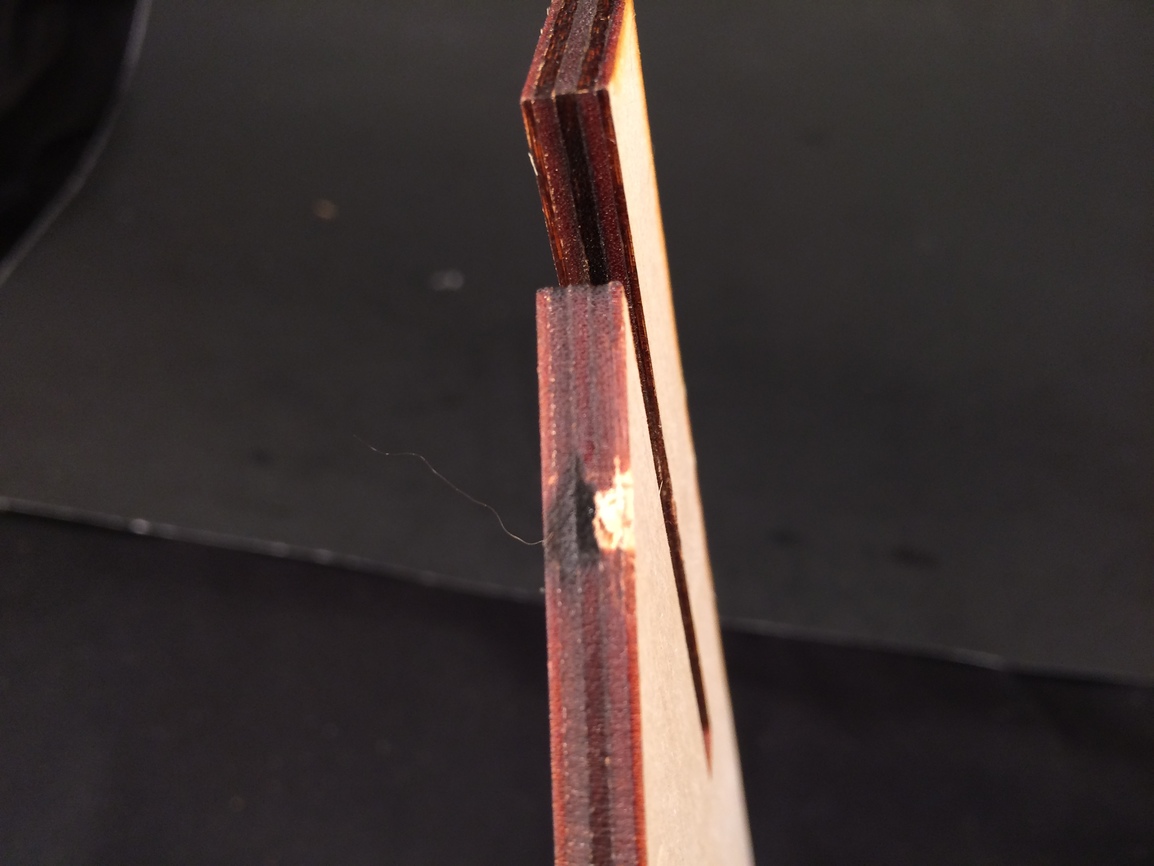
I used an small razor knife to finish the cuts on a few of these spots. Some of these voids made it difficult to release the form from the matrix.

Here is the design file. I thought of several different ways to do this in laying out for optimum nesting and material usage. One problem is though if you include the shelf in the design and have all the other shelf brackets duplicated, it all overlaps and you can’t position it separately in the Glowforge. So it is easy enough to copy and paste and rotate. Cut two side bracket supports and four shelves.


