*I’ve added the zip above so you can get the raster image. It went from a flat black/grey image to the depth it has using the “matte jelly” filter in Inkscape - I then took a screenshot of the depth image, posted that back into the raster program, then copied that back into Inkscape. (The dance is because the GFUI doesn’t recognize vector shading) then using Edit > Make a Bitmap Copy before uploading to the because the GFUI doesn’t recognize vector shading
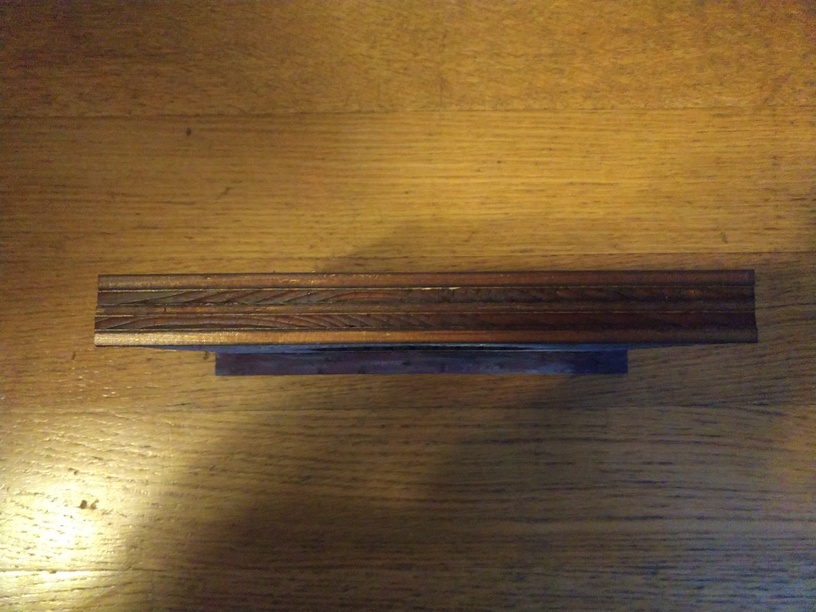
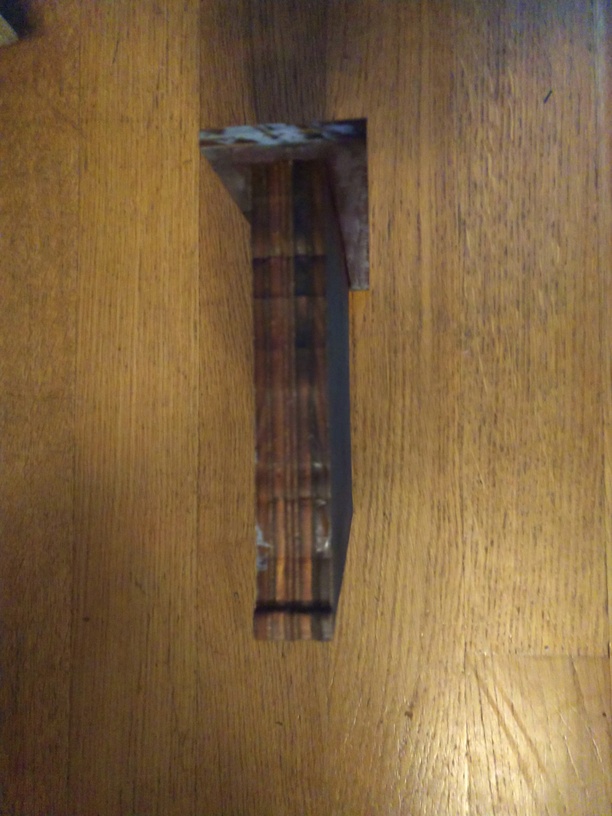
There is some variation in depth in 1/8" materials, so worth measuring the depth of your main piece before cutting the hole in the base
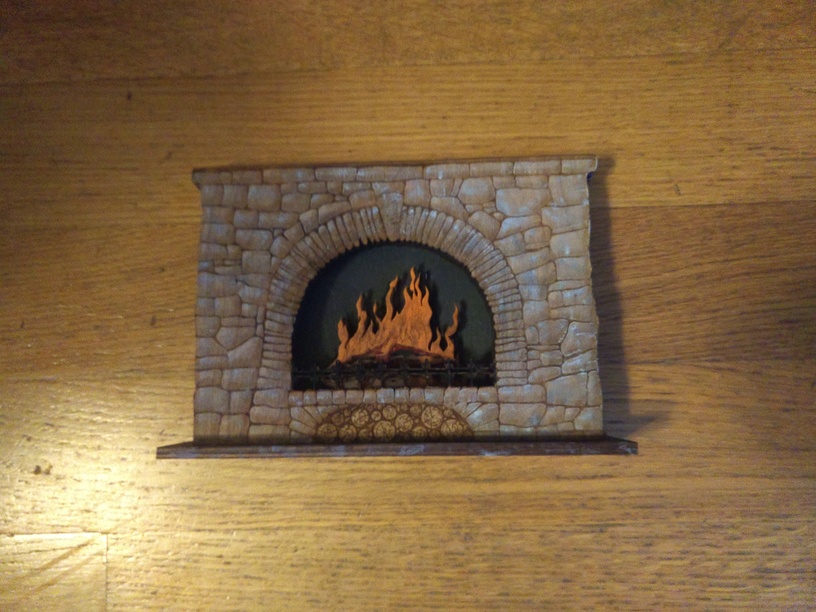
SD Graphic Engrave
Medium basswood ply Cut/Score
Put together with Elmer’s glue, and then dry brushed with white/grey/black acrylic paint
I added some paint touches to the orange acrylic, which I should have done before glueing it together!
Love this! (As I am making notes on how to use this for gingerbread next year )
Do have a question though, I am not familiar with the filter you mentioned in Inkscape, so I am going to look into that to see what it does. But you mentioned the screenshot and loading into the raster program to copy back into Inkscape. Couldn’t you have exported that as PNG and loaded it back in without going through the step of putting in the raster? It’s similar to what I did for my stone chimney, although I did mine a bit differently since I didn’t know how to get a vector shading. I just used blur in gimp and then inverted the colors.
Possibly - but I knew the screen shot method would work so I went with it! I did try exporting to the raster program and it came it as flat grey, so I presumed anything done via the vector program would be wiped…worth testing though!
Yes, I realize that I’m going to have to pull apart your design a little bit and adapt… if you don’t mind! It reminds me of the fireplace I created inside a match box once - using card stock and water color.
this is something I have never tried before… Including the painting to look so real. If only there was a video… Thanks for the parents. maybe I will acquire an artistic friend in the near future.
The technique is called dry brushing - and on something that’s already three dimensional it’s shockingly easy - and as a bonus, if you don’t like what you did you can always laser another one! This video has a nice overview. I tend to use a much smaller brush (1/4" wide or so), and dump less paint on the paper towel, but this is pretty similar
I used a mix of white/black/grey - and didn’t mix them smoothly which got a random mix of those colours. The other option is to do each colour individually starting with the darkest.

 )
)
