I have cut a lot of stencils by hand over the years.
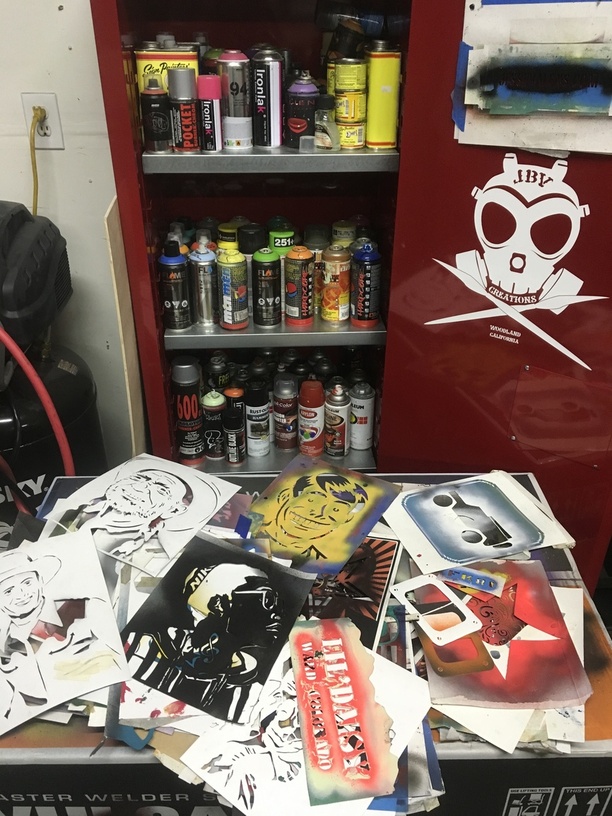
I like my old stencils, but a lot of the ones that I still have are on the brink of disintegration.
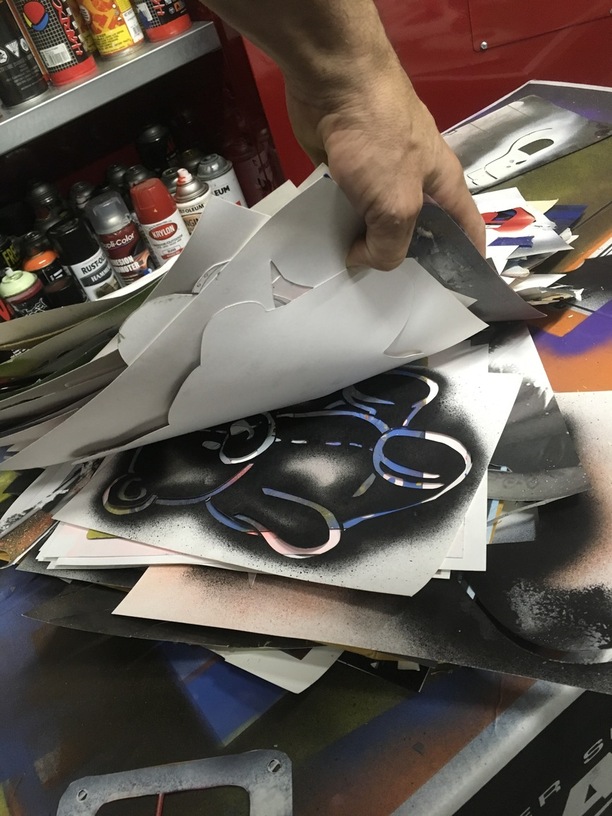
Time to put away the knife, and let my laser do it’s thing!
Started by taking a reference photo of my hand, used an apple pencil to draw it out using the Adobe Draw app on my iPad pro. Sent that to Illustrator, cleaned it up a little bit, added some reg marks, and ended up with this:

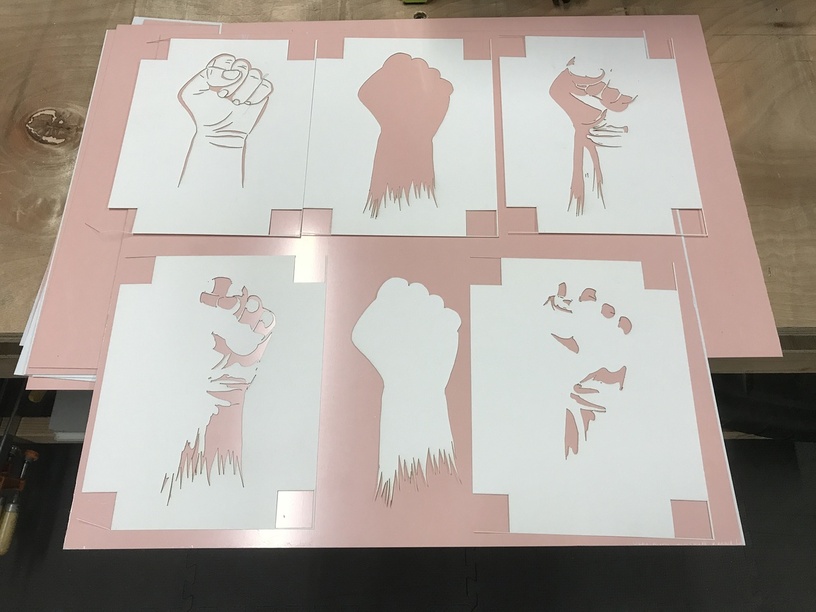
I placed my first sheet of cardstock, set rectangle magnets on three sides to register the following sheets, and then used small circle magnets to hold the page down.
Using settings that I had worked out earlier, I set the blue registration squares and my first layer to cut. When that was done, I placed a new sheet up against the magnets, turned off the first layer, turned on the second layer, left the reg squares turned on, and cut again. Rinse and repeat for each layer.
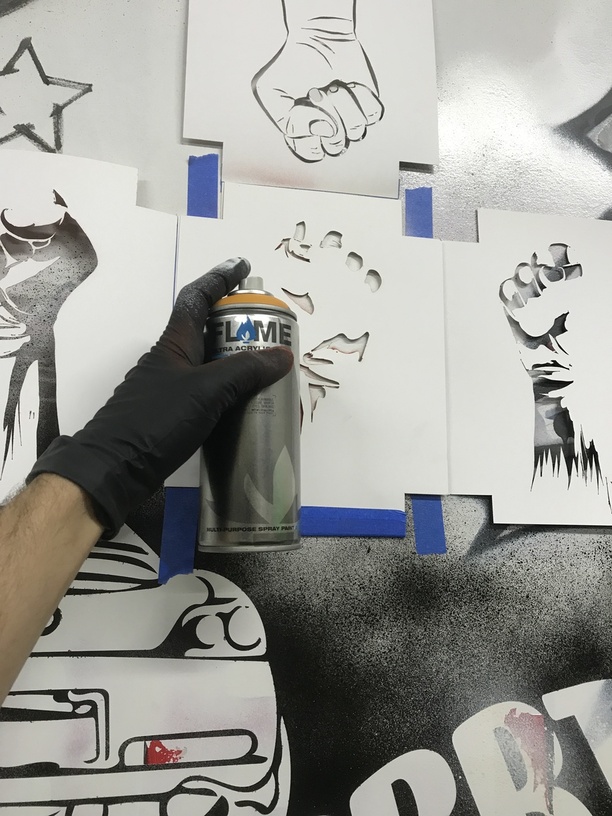
Then I made a… flappy-folder-registered-stencil-color-swapper… I don’t have a name for it.
Stencil-stack? I taped it to the wall.

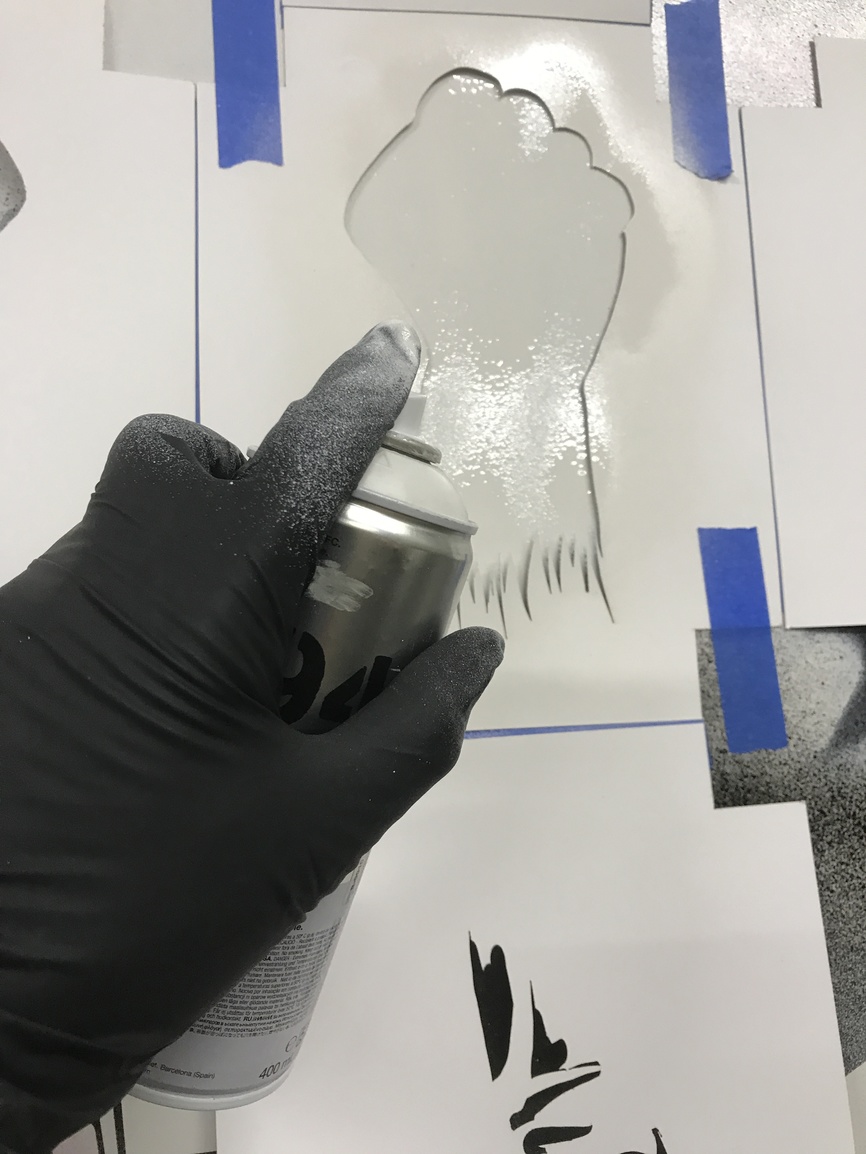
I put on my respirator and nitrile gloves. I’m using MTN 94 black and white and Flame acrylic colors.
Outline layer gets a base coat of white:
Fold the red layer into place, coat of red:
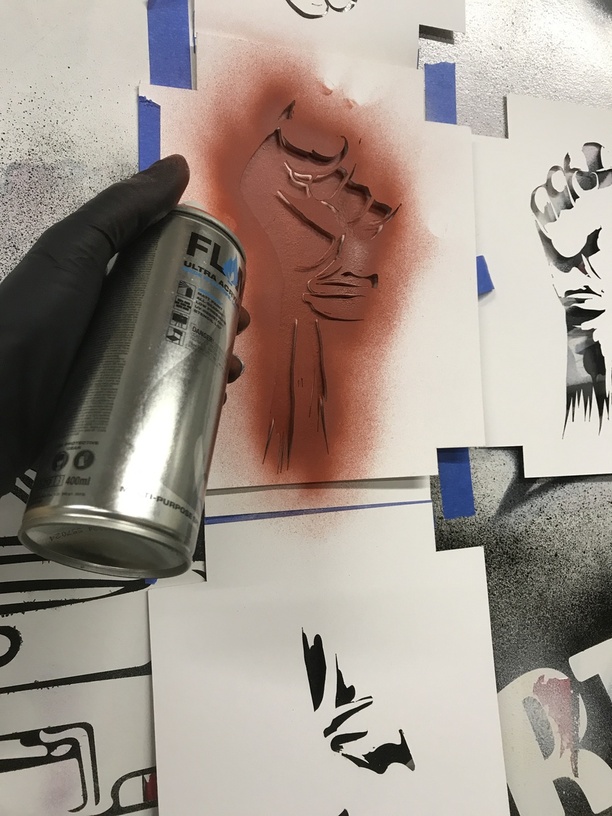
Neat. Fold it back out the way, and wait a few minutes.
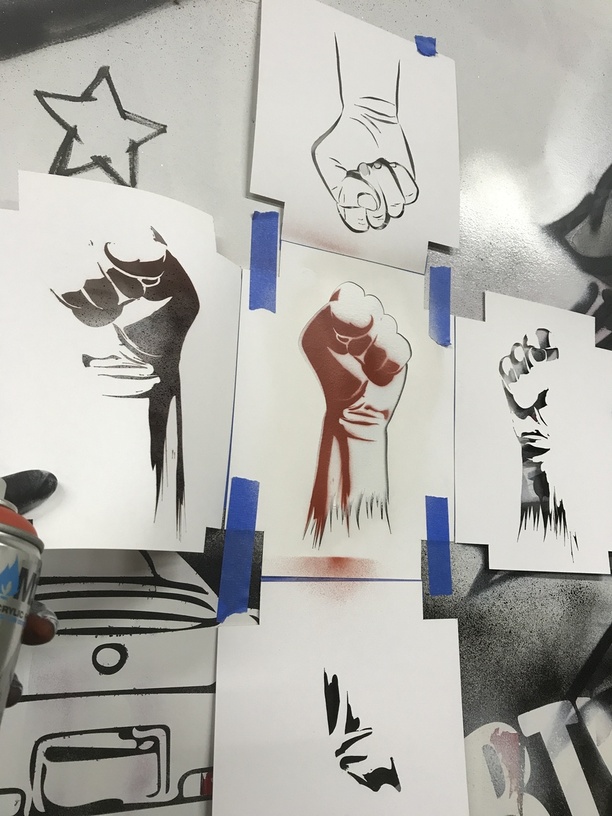
Repeat with the next two layers:
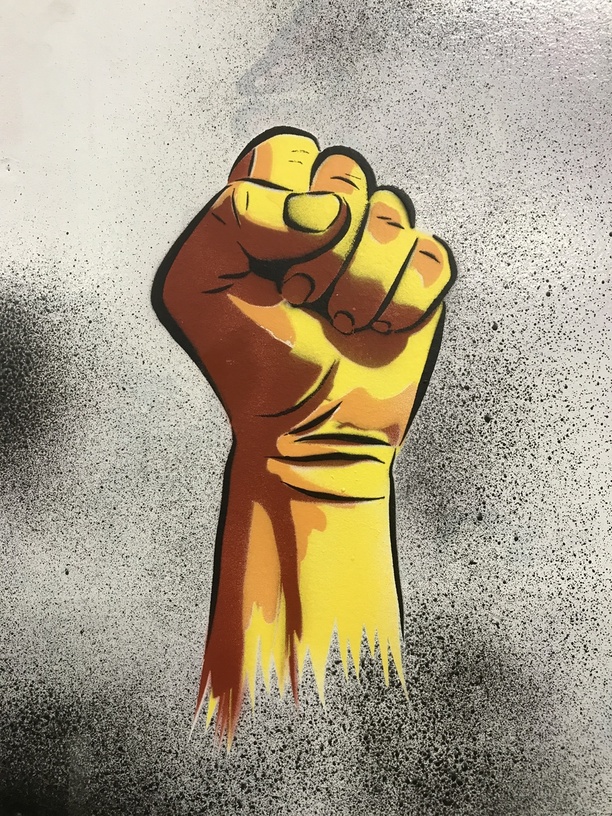
Last layer to go down is the black:
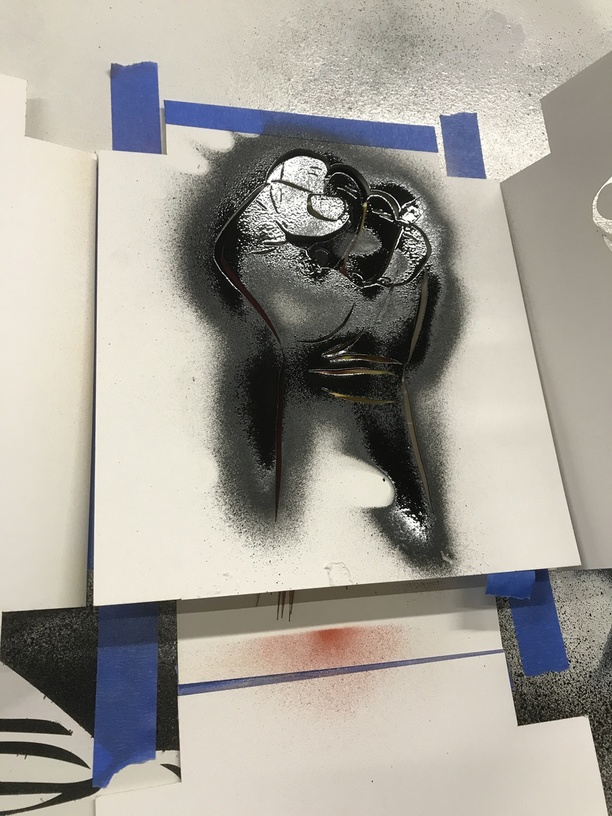
Don’t rush when pulling the… flappy-folder-registered-stencil-color-swapper… off the wall. It’s easy to get excited and smudge the paint while the last layer is still wet.
Yay.