Hi,
Fairly new here but I had a good experience scoring on a 1.02” thick, 18” round (Pine) and wanted to share what I learned.
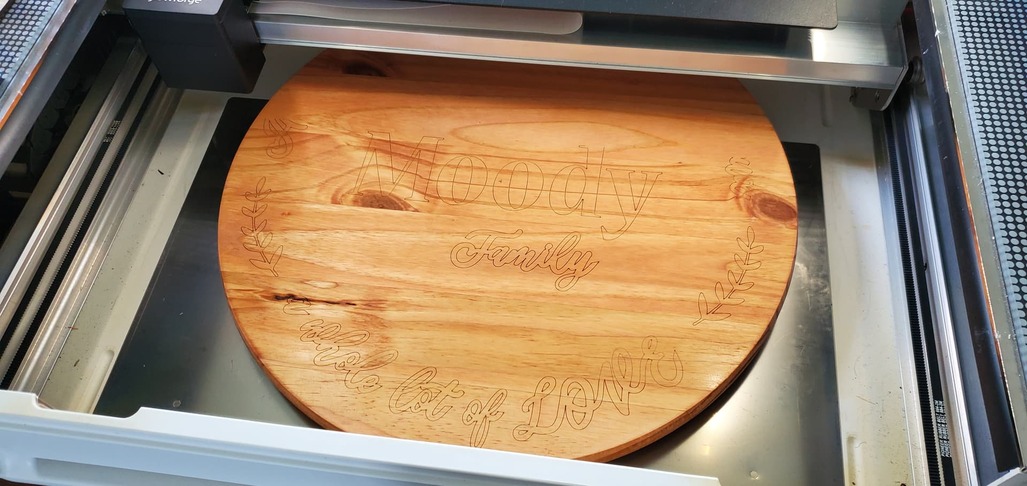
I found some 18” pine rounds at Home Depot and wanted to make a wood/acrylic sign for a friend that just got a new house. The acrylic cuts were no prob, even though I didn’t use proofgrade, the GF default settings were perfect. My problem was I was really nervous about glueing down my acrylic without a guide on my wood round. Soln, score my design in.
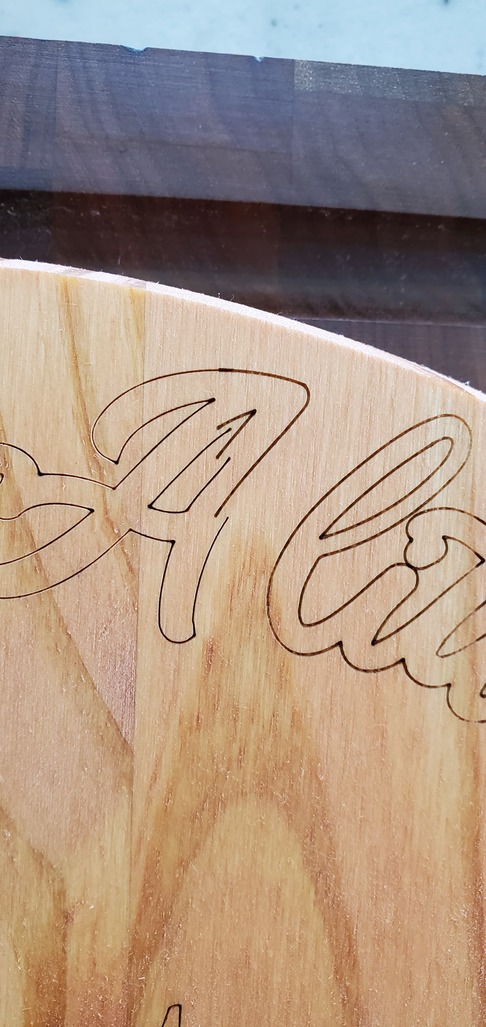
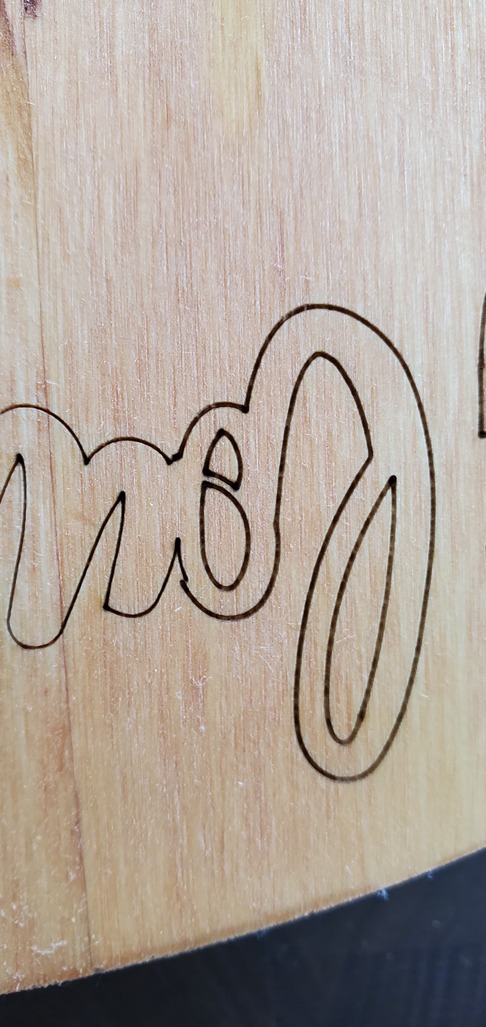
After some research here in the community, I figured out my calculated depth as .138 ( math below ), but because I was using non-proofgrade, GF force me to enter score settings manually. From another posting, I saw that Med Maple Ply would work so I took the leap (Speed 300; Power 40; 1 pass). It worked!! Pics attached – hope this helps!
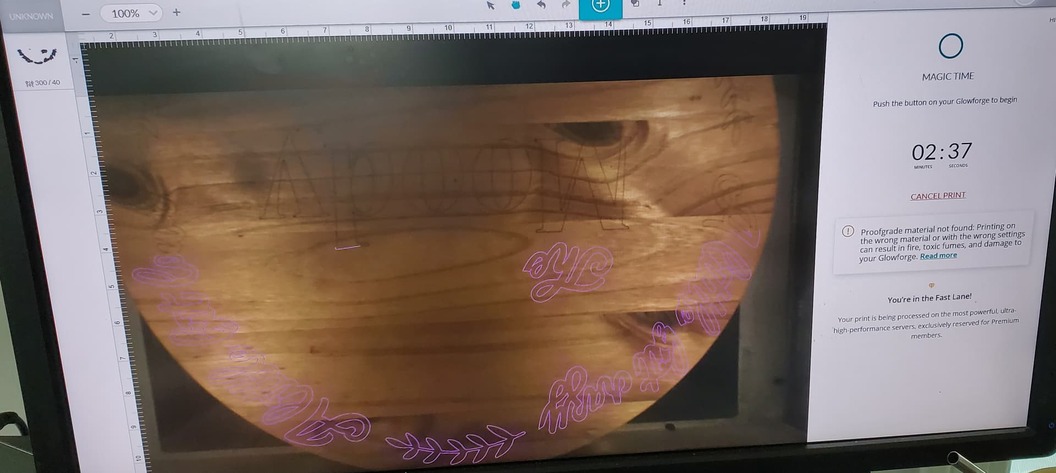

**The round fit in the GF perfectly but the design was too big for a single pass. I have a pro but obviously that wouldn’t have helped so it was a matter of manually lining up the second half of the score to continue. I HATE manually aligning (not even thrilled with GF auto-align) so it is a little off ![]() – it worked out ok because it is only a score line and it hides pretty good behind the acrylic! lol
– it worked out ok because it is only a score line and it hides pretty good behind the acrylic! lol
Math:
Thickness of 18” Round [1.02] + Spacers [.518] - Crumbtray [1.4] = .138” , right within the allowable depth range of 0.01" - 0.4".
Good tutorial for the math - Tutorial: How to cut without the Crumb Tray (Honeycomb)


 ) but that can provide an absolute repeatable location for the bottom perpendicular that would make it easier to have all the text the same distance from the edge.