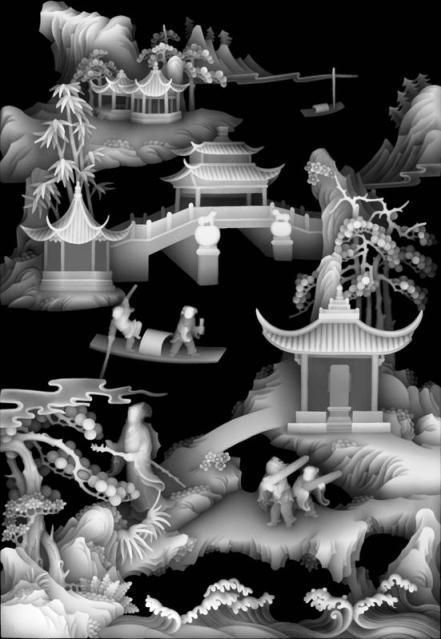
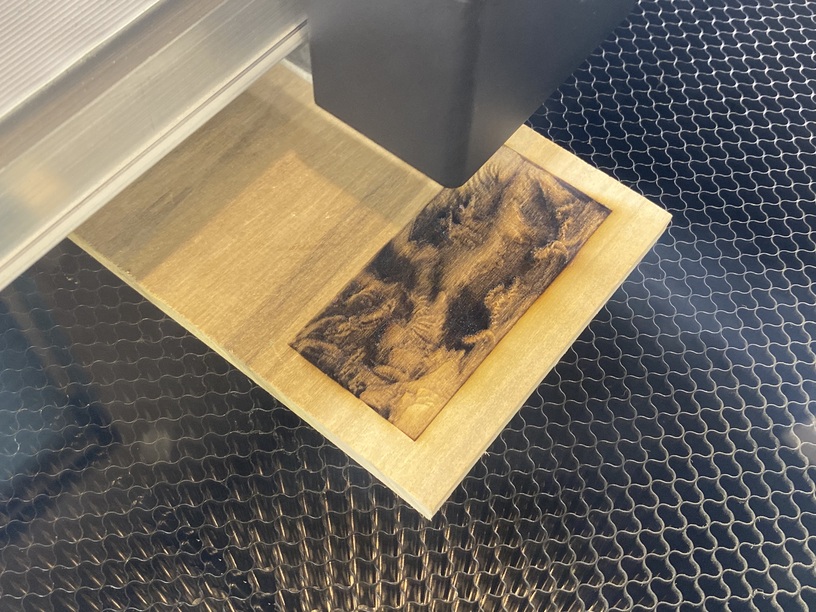
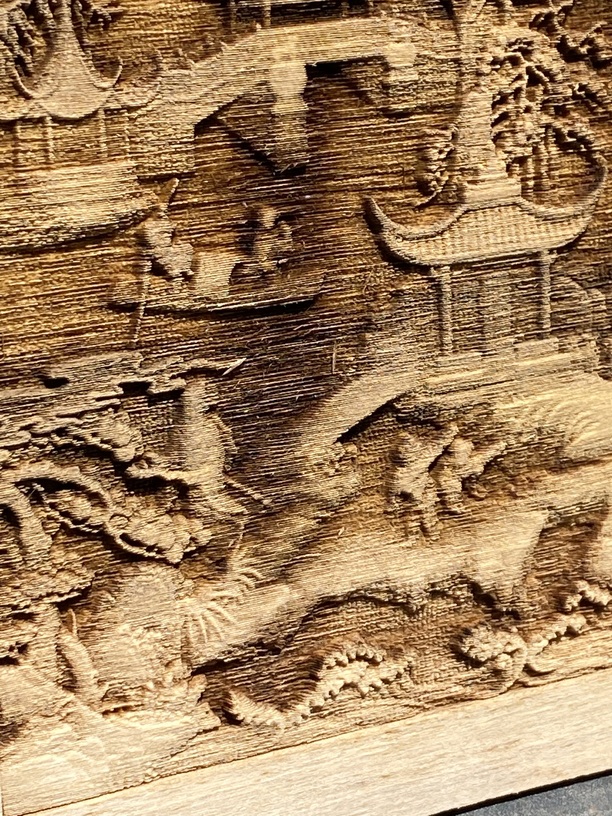
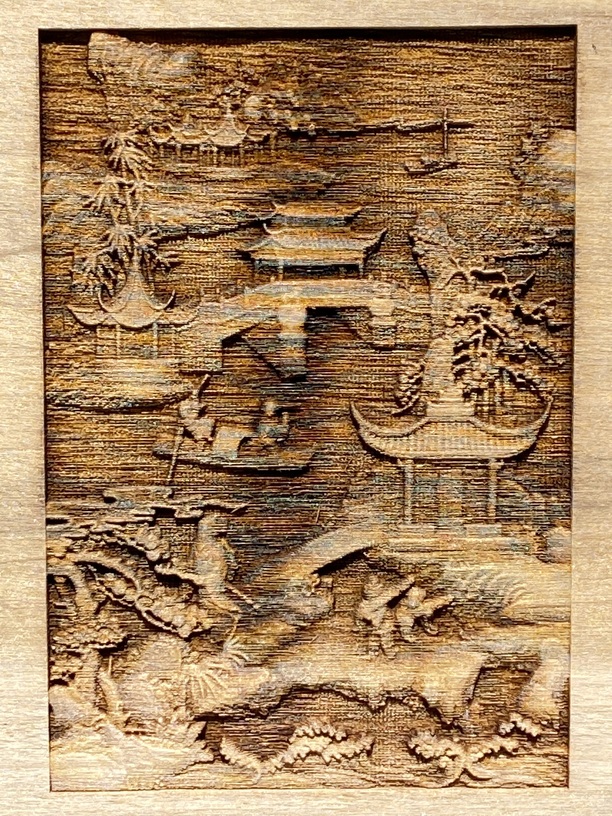
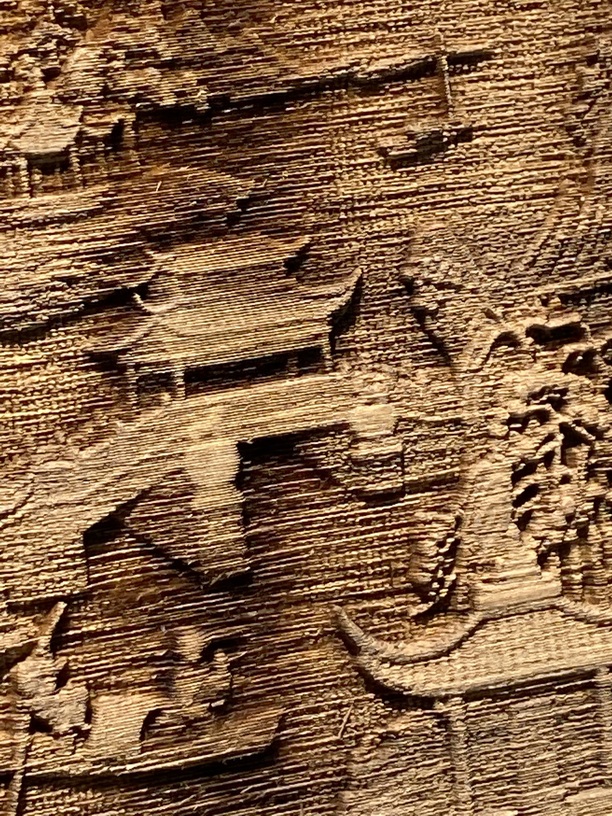
Today I made my first 3-D engraving test… I use the scrap of quarter inch poplar from Home Depot. Grab the file off the Internet, Then proceeded to try to figure out what the setting should be??? First pass 100% power 500 speed at 335ipm Second pass 20% power 700 speed and 150ipm’s. I then cleaned out some of the burn and pitch using dish soap and electric toothbrush. (Hey don’t judge a new at this just trying to figure it out ) hahah
Also does anybody know of any videos and/or software the trains how to create these 3-D files?
That is not too bad for poplar. Oak and Poplar have strong grain that is hard to overcome, The hotter the cut the lesser the grain effect so I try to cut full power and very high LPI and only one pass and make up for not going too deep by speed . Under those circumstances the difference in result by grain is lessened.
Note that doing this takes a longer time than just cutting something out, and several hours is not uncommon. But the difference 640 or 1355 LPI with the speed adjusted (often 1200 to 1400)makes I think is worth it. As you can see from the piece you made white cut little or none and black cuts at full power. If you are 3D carving at say 50 power the range of possible powers is cut in half, so you always want to go at full power,
To make your own files you have to organize your thinking differently. If you were photographing a wall of cast concrete or nice carved marble on a very cloudy day, the deeper parts would reflect less light that the parts in front, and there would not be different colors in the work itself. Such circumstances are rare, but that is what would work best say on the side of a building that had a lot of details.
To build the image from scratch in say Gimp high amounts of detail might be very difficult but if you had say lettering that was white on a black background you could use a Gaussian Blur to spread black into the white in grays to get a nice curve on the letters.
To go further you need an actual 3d image in something like Blender and play with a black to white Blend texture but even then you need to play with it so the black is not wasted in things you can’t see, there are only 256 shade of gray and there will be no resolution between adjacent stuff that is the same shade, and what you can distinguish by eye will be hard to distinguish when carved,
The example you used was probably a wall carving someone made a 3d of.