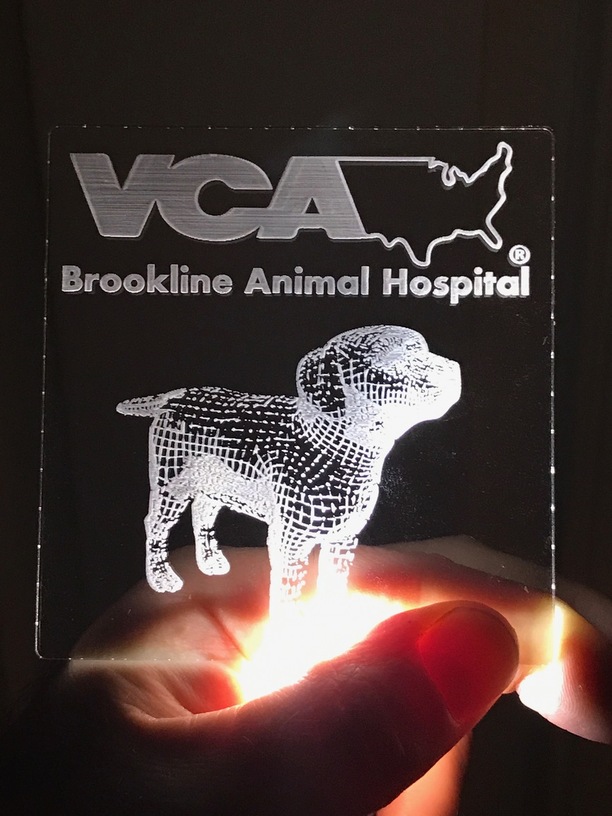
So never done an edge lit sign, and wanted to see how it worked. So got the logo to my Wife’s hospital online (actually only had a low res png which I auto traced in AI). I kind of wanted an animal on the sign, one of those cool wireframe ones, but I’m way to tired to make one in one of my 3D programs, so got the Autodesk 123d demo dog and just took a screenshot of the mesh in MeshMixer. Then traced that in Photoshop using a color range selection which I converted to a work path and then exported as curves to illustrator… Put a cut around it and let it rip on Proofgrade 1/8 clear acrylic.
Super easy and after 15 minutes, realized I don’t have an edge lighting rig (yes, with a 3D printer and many, many, many LED strips this is solvable but not at 11:30) so took a flashlight and held it in my palm perpendicular to the edge… Looks amazing even with that!
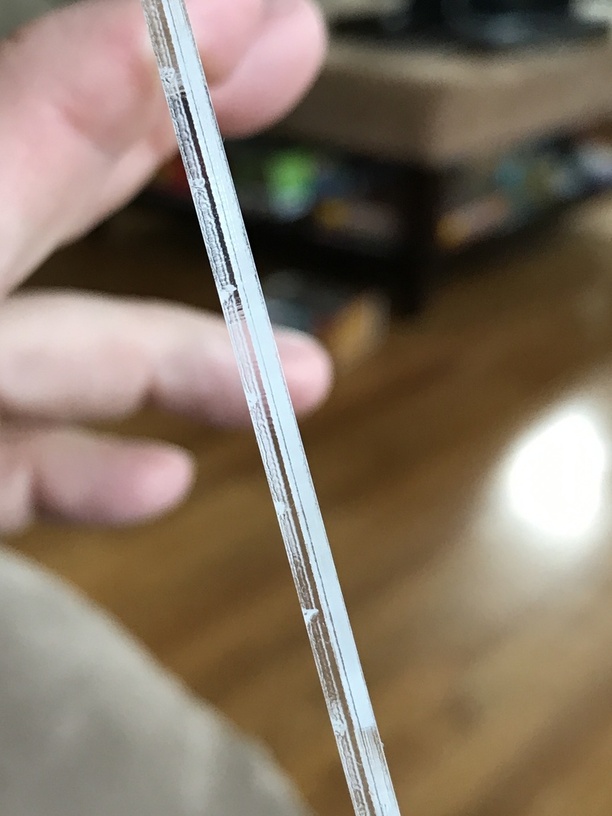
I think that is because I don’t have a “real” edge-light made yet, and that is one of the 9-LED flashlights that I am just holding up on the bottom in my palm. I noted those, but there is nothing on the acrylic itself…
Yeah, and it’s going to be an entire edge-lit sign that fits inside a Chiclet…
I haven’t got a Chiclet on hand, but sadly, I do have a tiny Chiclet sized piece of acrylic and I am trying SO HARD to ignore it and get on with the current project.
agreed.
I am stockpiling 1/4" acrylic for the edge-lit explosion.
I sure hope my relations and friends like them, because gifts for the next little while…
I’m delighted that every dawn brings me one day closer to my Glowforge.
I know, and a day closer to death; but we don’t really focus on that.
Double check those dits. Look on the underside of the acrylic and see if there are signs of flashback. They look pretty well spaced out at about the size of the honeycomb cells in the crumb tray.
Damn you’re right. Have to look from the side, but you do see them. How would I have prevented that? I used the recommended settings and this is proof grade.
About the only way to avoid on acrylic is having it cut just enough to barely make it through the back masking, which is a challenge. As @karaelena has pointed out before, using standoffs helps keep reflection off. There are all kinds of solutions to this and worth investigating for pristine acrylic pieces.
We’ll be making some changes that will reduce this, but as @marmak3261 says, getting the best possible result is a lot of fussing (for a result that most people won’t notice).


 agreed.