Okay, I am sorry this took so long…my mother called with an emergency.
(Note: To save support some time, I will link to the other thread where you posted pictures.)
I know that you have a Plus, and the settings are going to be different from what my machine uses, so I need for you to reset your settings to the default settings for Proofgrade Draftboard to run your first test.
Do this:
-
Open or create a New file. It can be a simple small circle or square.
-
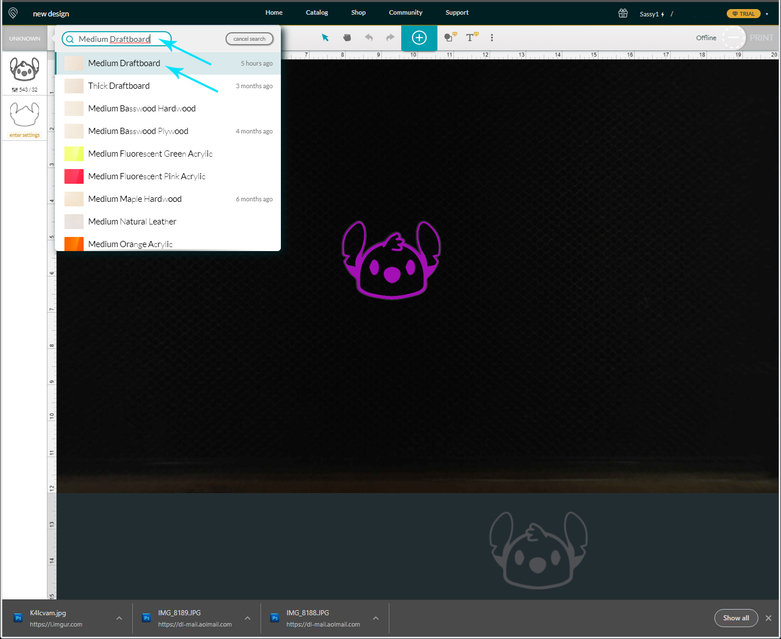
Click on the top of the thumbnail column where it says Unknown, and type Medium Draftboard where the little magnifying glass is.
-
Then Click on Medium Draftboard to load the default settings.
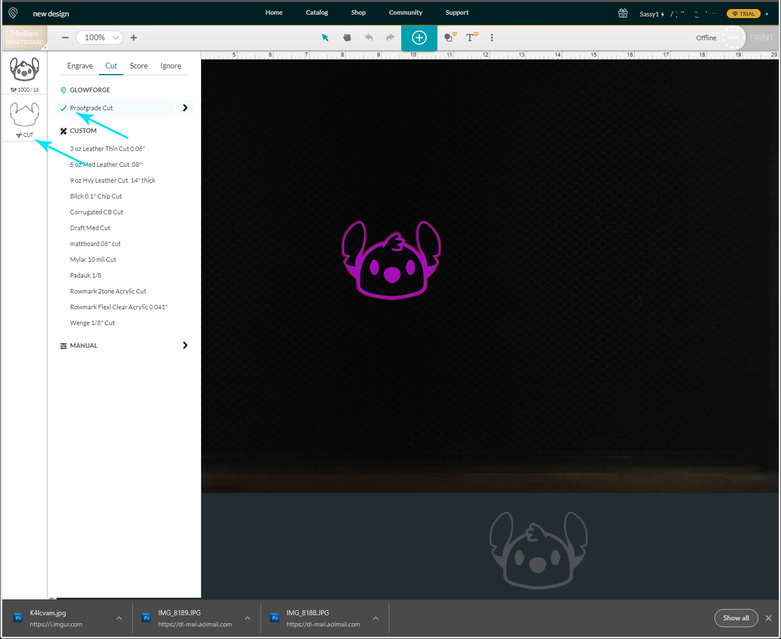
- Click on the Thumbnail for the Cut.
- Click on the Words Proofgrade Cut, or make sure there is a little blue checkmark next to them.
- Run a test print using the default settings on a sheet of Medium Draftboard and see if it cuts all the way through.
If it does NOT cut completely through, but you could see the cut almost made it through, you can adjust the settings slightly and it should finish the cut.
-
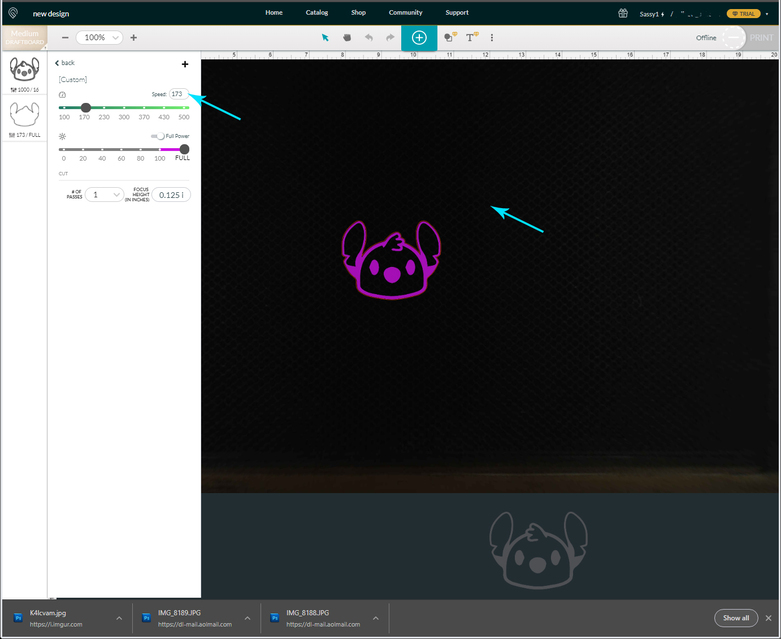
To adjust the settings, click on the thumbnail , then click on the little carat to the right of the words Proofgrade Cut.
-
Lower the Speed by 10 points. Do not adjust the focal point. Do not adjust the power. Just the speed. Then click out on the artboard to close the settings and try another print.
If the little circle or square still doesn’t cut through, you can lower the speed another 5 points and try the last two steps again. Keep doing that until you have cut all the way through in one pass.
That will be the settings for that material. If you have to lower the speed more than once, you might have an issue that needs to be addressed. (Beyond humidity swelling.) But the first test should get you pretty close.