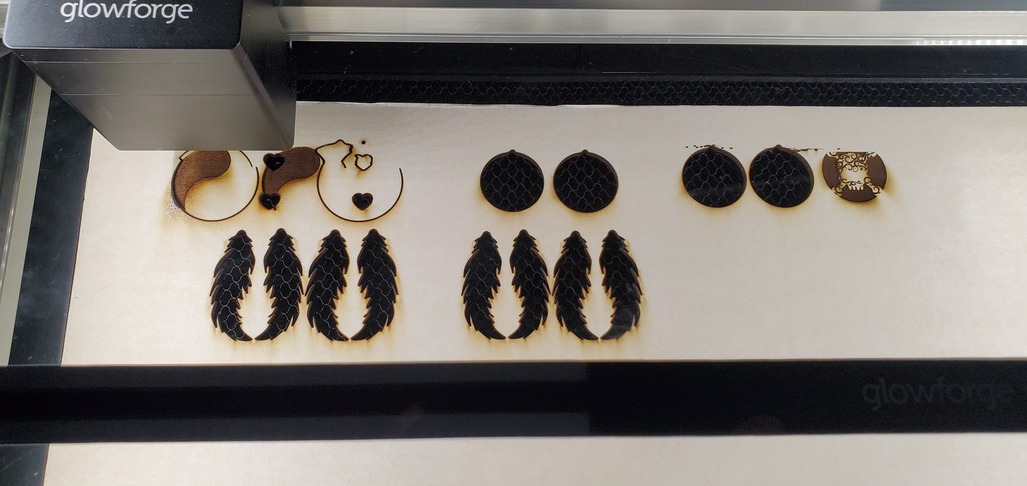
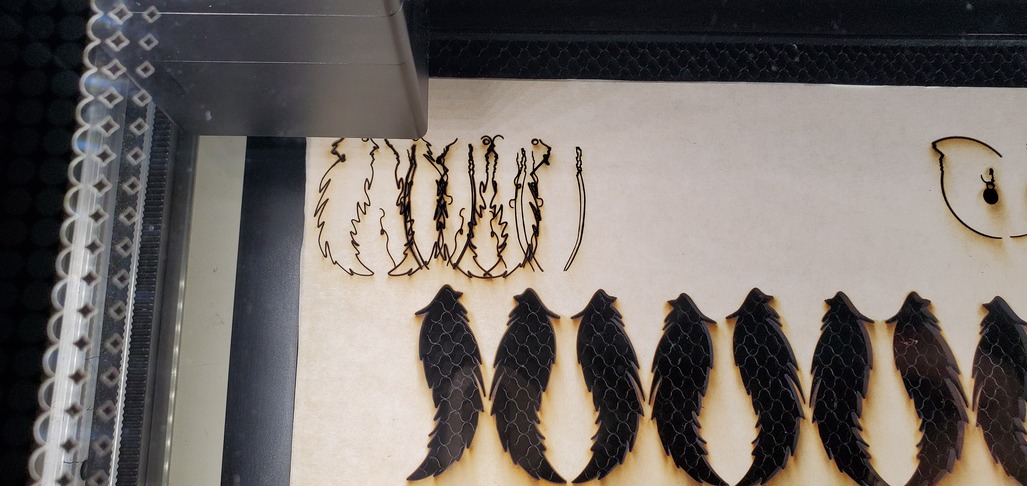
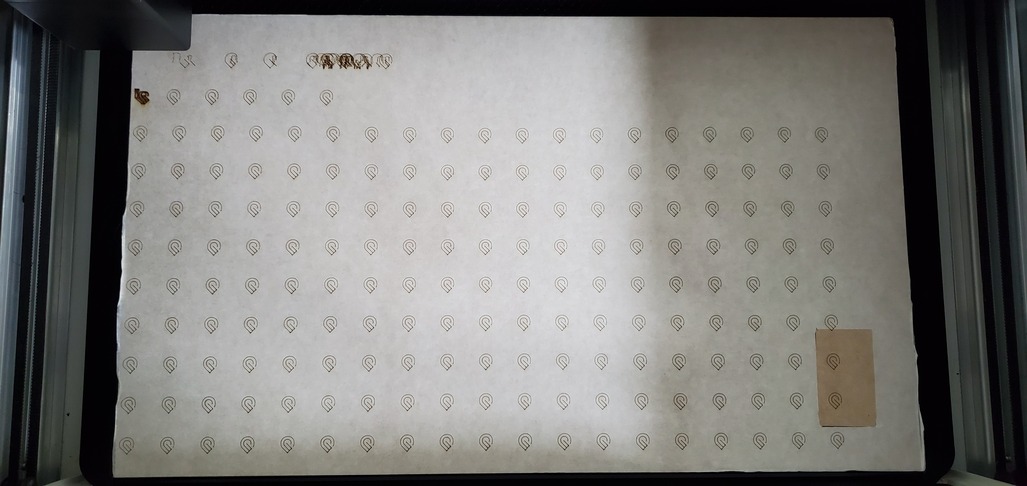
I am using Proof Grade material that is auto detected. The size prints fine…but it is not aligning up. I place it say next to a spot already “Cut” (used) so that i can conserve material. Instead of Printing where i put the pattern-it moves over an inch or more.
I have rebooted machine, Rebooted the App, Removed the file and re-added it. I am using GF material and had just cleaned ALL the lenses and rails and everything about a week ago (i am a low to moderate printer). more than just this files does this…if you look at one of the pics every print on there was actually set right next to the other (that and then sometimes like the yin and yang show here it starts out great but ends up printing way off kilter .
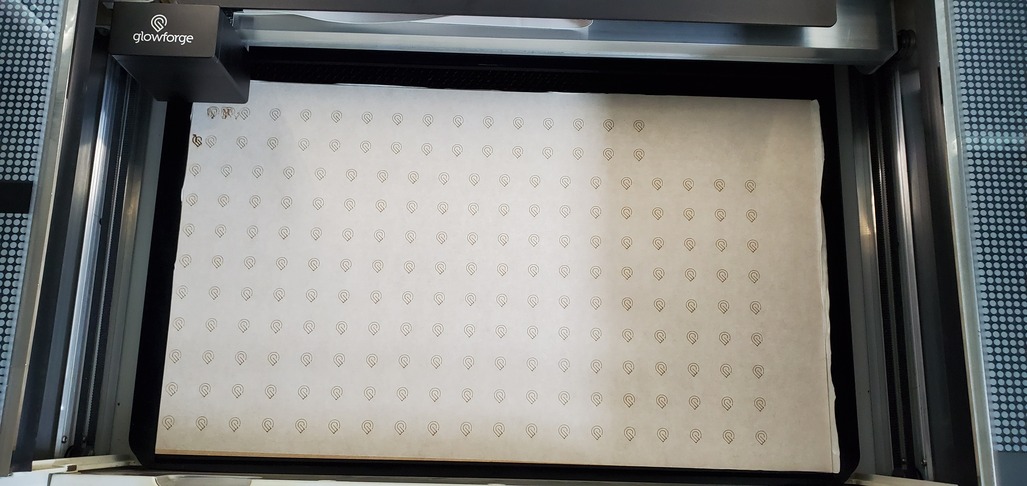
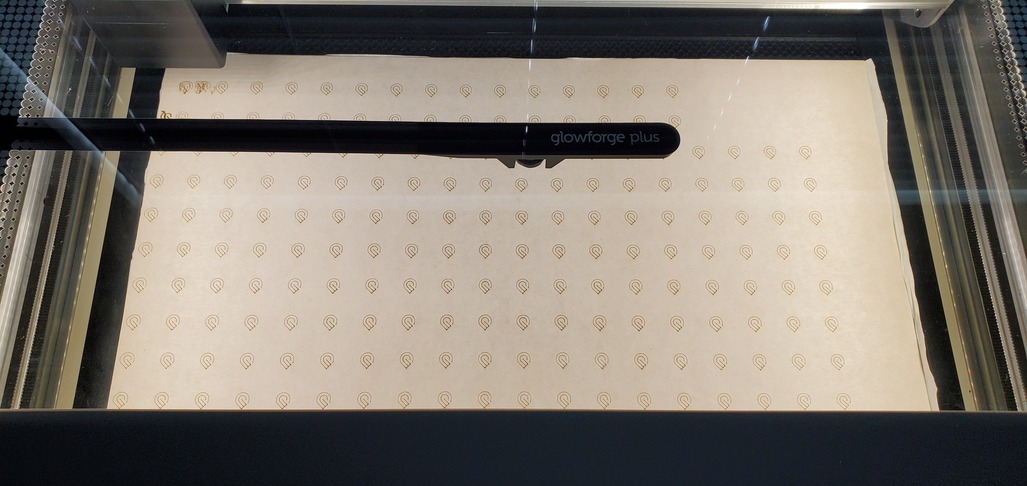
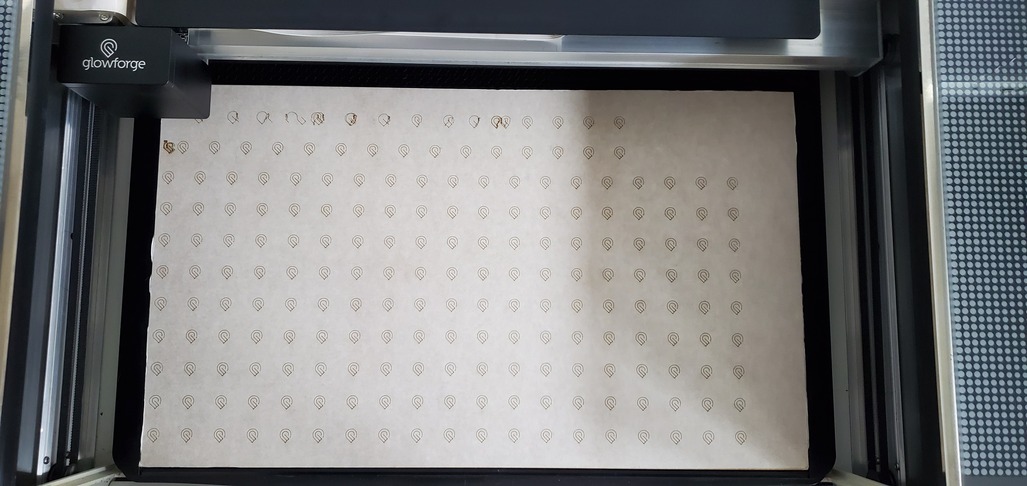
These all are prints that have been successfully printed before (and in alignment)
Run the Calibration program at the link here, then use Set Focus to place your design.
Whoops! Since you added photos of the misalignment while I was typing that up, before you do those steps, you’ll also want to check the tension on the belt underneath the laser arm. Instructions are below:
Hello, thank you for letting us know about the trouble you’ve run into with your new Glowforge. To assist with troubleshooting, would you please check your X and Y axis belts for me to ensure they’re correctly tensioned?
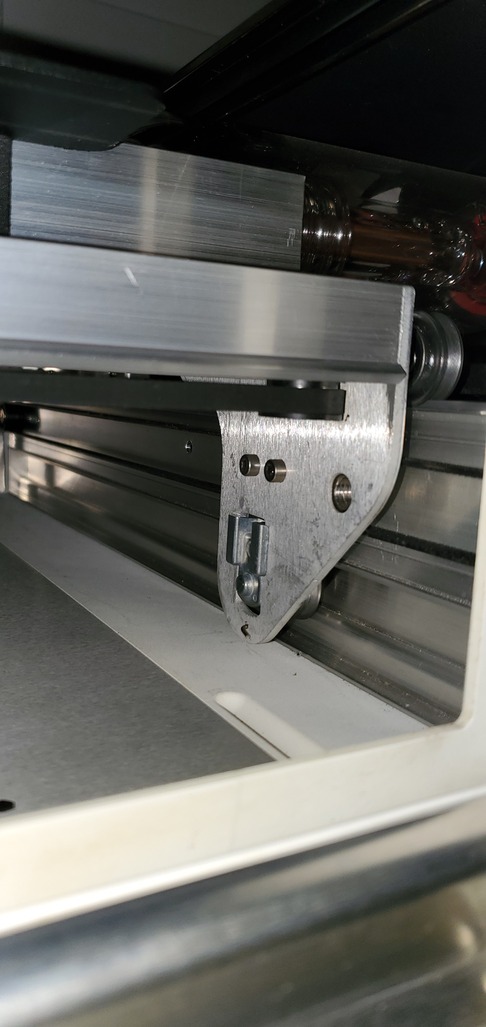
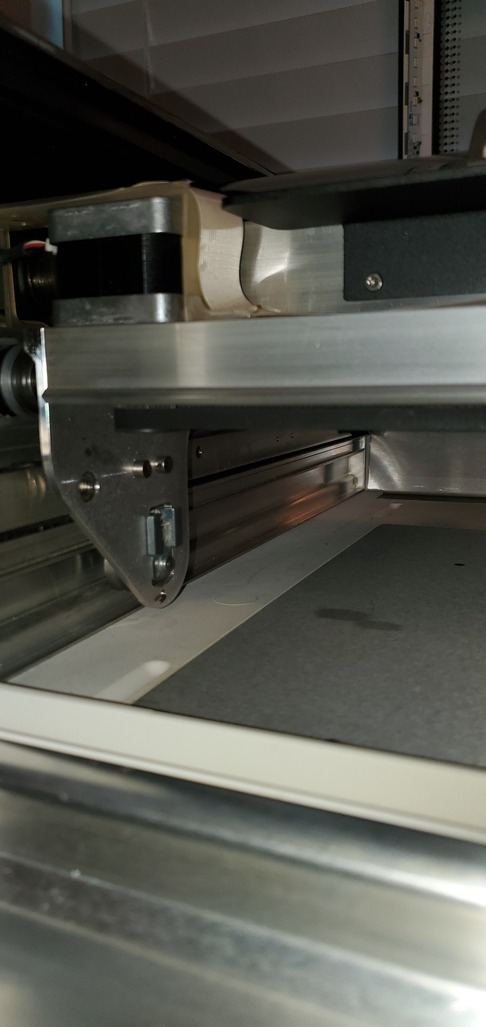
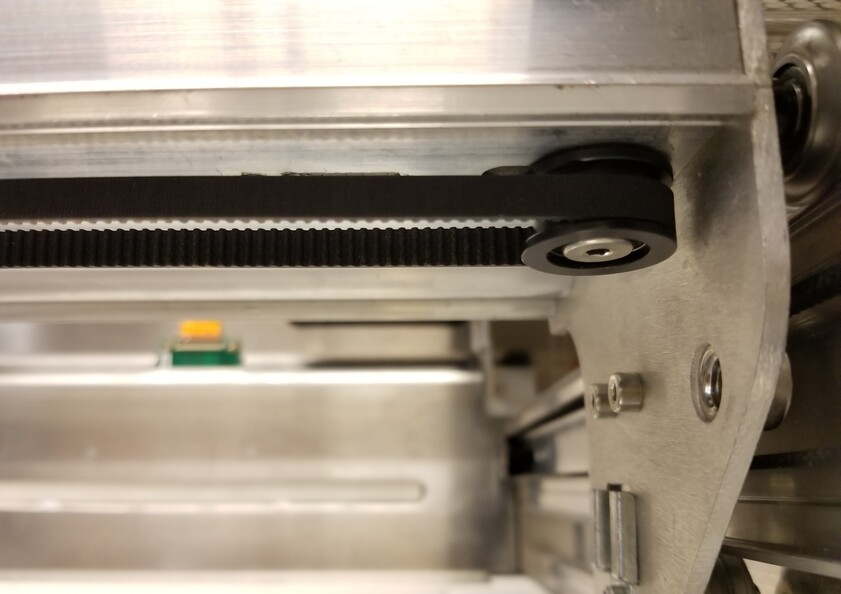
For the X axis belt (Located under the Laser Arm)
Turn off your Glowforge.
Carefully remove the crumb tray.
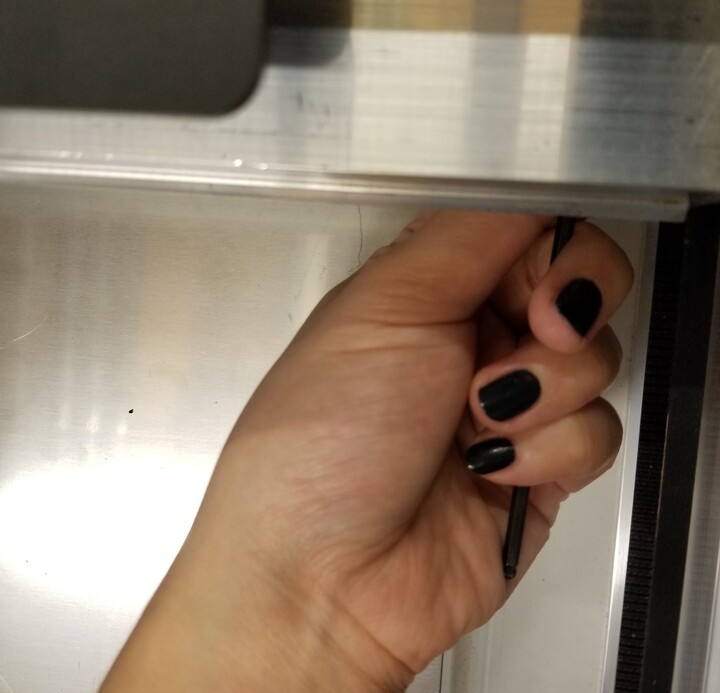
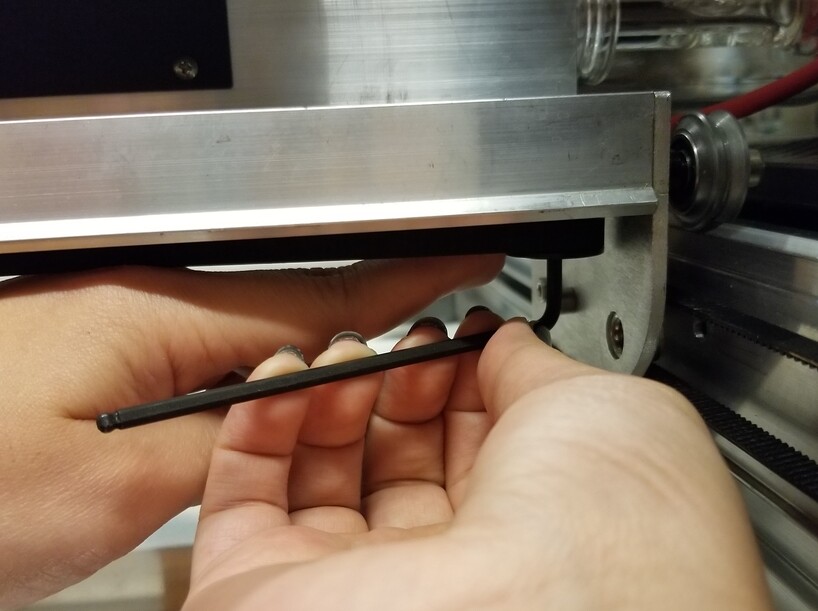
Without removing the carriage plate and belt, locate the black pulley fastened by a metal screw on the right end of the laser arm.
5. Turn the key clockwise to loosen the screw until the pulley can slide with some friction. Don’t remove the key from the screw.
6. Holding the key with your right hand, use your left index finger to push the pulley to the right until the belt is taugh. Don’t stretch the belt or touch the belt with your fingers as this can affect the tension on the belt.
7. Applying firm pressure with your left index finger, turn the key counterclockwise to tighten the screw. Make sure the pulley doesn’t move during this time.
8. Continue tightening the screw until you can’t turn the key anymore.
9. Gently slide the carriage plate from side to side to ensure it moves smoothly and the belt does not catch or sag.
10. If you’re not satisfied with the tension on the belt (it should be taut, but the belt shouldn’t be stretched), go back to step 4 and try again.
11. If you are satisfied with the tension on the belt, try a test print. Print the Gift of Good Measure on the Proofgrade Draftboard we included in your material shipment for troubleshooting, and let me know how it goes!
If you have any questions or run into trouble along the way, don’t hesitate to reach out! I’m happy to help.
For the Y axis belts:
The Y Axis belts are located on the left and right side of the interior of your Glowforge.
Turn off your unit and move the laser arm to the front of the bed. There should be a black pulley connected to each belt on the far end of the rail. Try to wiggle the pulley and let me know if it’s secure.
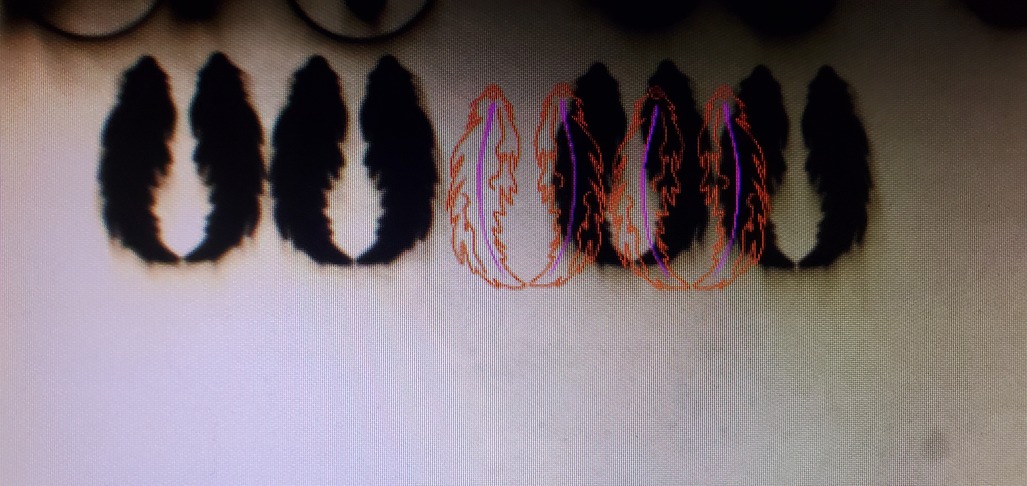
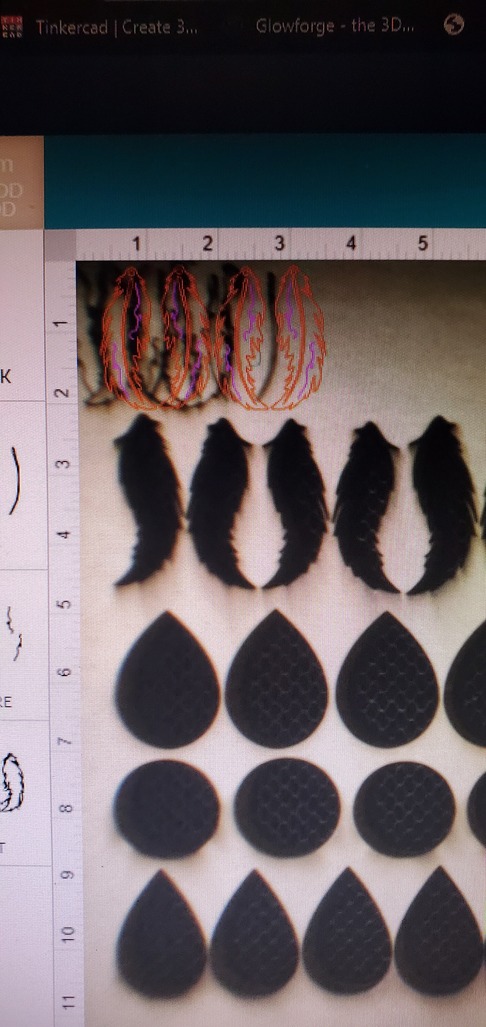
So Now after doing all that this happens…you can see this print has printed fine before and even last night but now it’s aligned but the pattern is fubar…wth is going on??
Your machine head moves relative to a starting position, and your starting position has gotten seriously out of whack. You should not be able to print at the far left edge of the material.
Try this:
Close the file. Turn off the machine, shift the head out slightly by hand about half an inch right and forward so that it is more over the gridded area of the tray, then restart the machine, letting it complete the startup calibration completely before you reopen the file.
This is what you are seeing with the uncut inch on the left side of the board…it is supposed to be there.
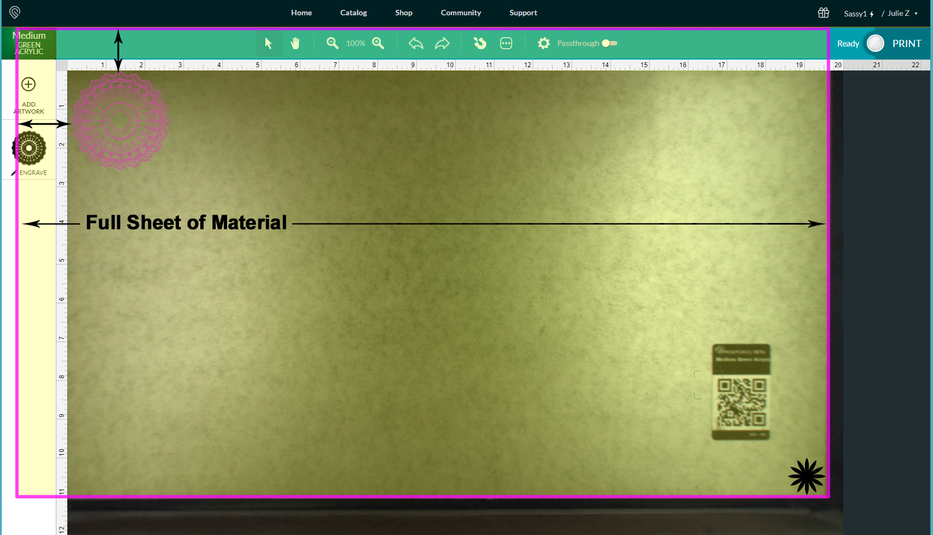
There is about an inch of material hidden underneath the thumbnail column on the left. If you want to use a whole sheet of material, work out from the lower right corner. (Black Star) Make sure the metal gridded area is completely covered with material.
Often, when we see an offset this large, it occurs because the head was physically moved or accidentally bumped, which affects the current calibration. I extracted the logs from your Glowforge to investigate the print you reported trouble with, and it looks like the printer head did not start from the “home” position. The head may have been inadvertently moved or bumped while preparing a print. This could also cause the offset in the parts of your designs that you’re seeing.
I see that you have printed successfully since posting. If this happens again, could you please try the following steps:
Turn your Glowforge off, and wait about five seconds
Turn your Glowforge back on
Wait until all motion has stopped for 30 seconds
Try your print again
If you are still having issues, please let us know. We’re happy to help.
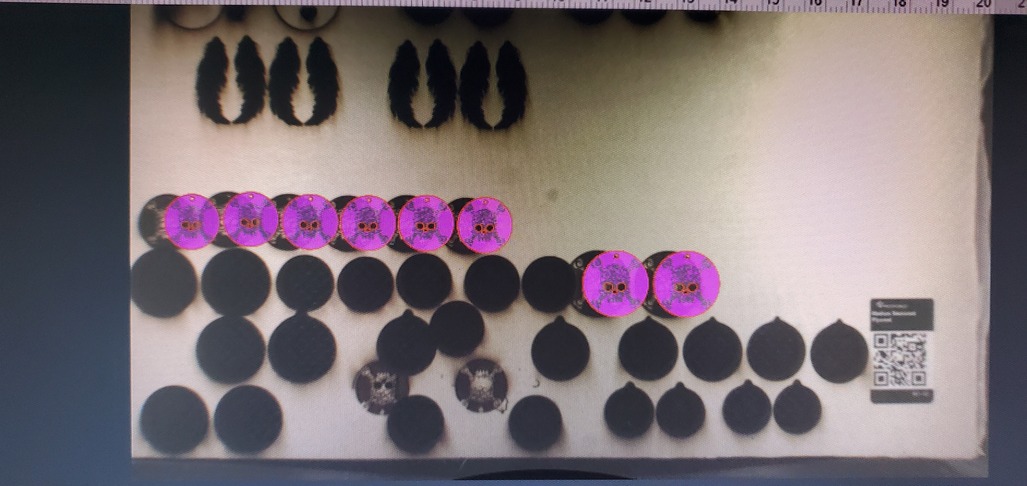
So, sometimes it works and sometimes it does not. My first print today-after leaving it off all night. Making sure all Lenses, belts and such were clean and tight and where they should be. Turned off again and let it naturally go through start up then refreshed the bed a couple of times…focuses a couple of times…made it was line up where i wanted it and then refocused again…this is what happened.
No bumps to the machine -its on a very stable table. It doesnt do this all the time and i even deleted the file i had stored and incorporated a new one.
What else could be causing this please?? Like i said sometimes its good and spot on then sometimes its off by a 1/2 inch. You can see where i placed these when i started to print versus where they ended up in the picture
Did you ever run the Camera Recalibrator program that I linked to in my first response to you? (Didn’t see that specifically mentioned in the things you tried.)
I do use set focus…so just in case i dont understand that…where am i setting focus…in the middle of my print, in the middle of the material , or somewhere else?? Also i am reprinting the calibration now (my daughter ran off with the last piece to draw on)…I just started it but it definitely looks like there are some issues
Well, see if the Recalibrator improves things (restart the machine after you run it). If not, support is going to need to tell you what the next steps are.
Gary i did some calibrating well ALOT of calibrating this morning and added some pics and link to my google drive where i shared the video as well…it looks and sounds like something is wrong…Since doing the calibration as well now it wont detect my material…brand new piece of GF material and doesnt see the qr code or recognize it
Thank you so much for sending over these images. I’m so sorry to hear that you’re continuing to run into trouble.
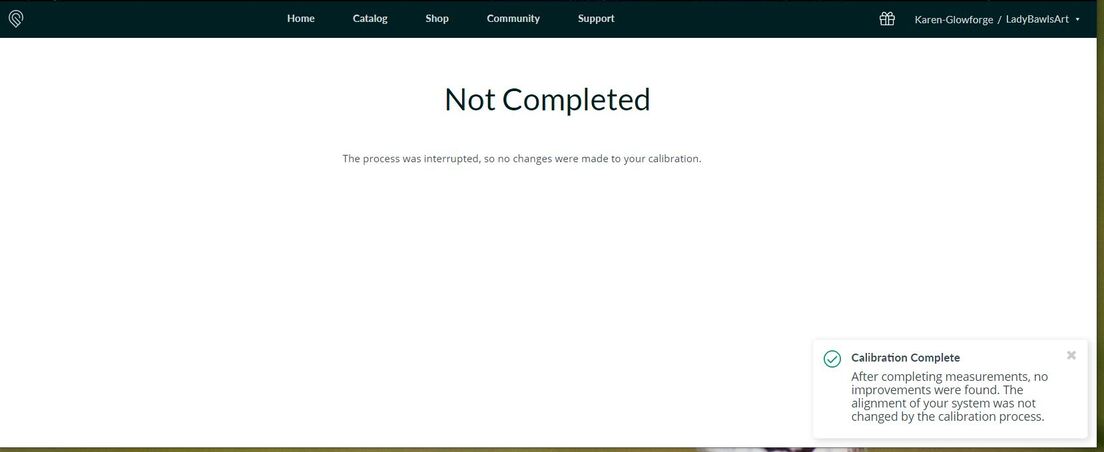
After reviewing the information you provided, and comparing it to the log files we’ve extracted from your Glowforge, Unfortunately, it looks like your unit is experiencing an issue that we can’t resolve remotely. I want you to have a reliable unit, so I’m recommending we replace this one. I’ll be in touch via email to sort out the details. I’m so sorry about the bad news.