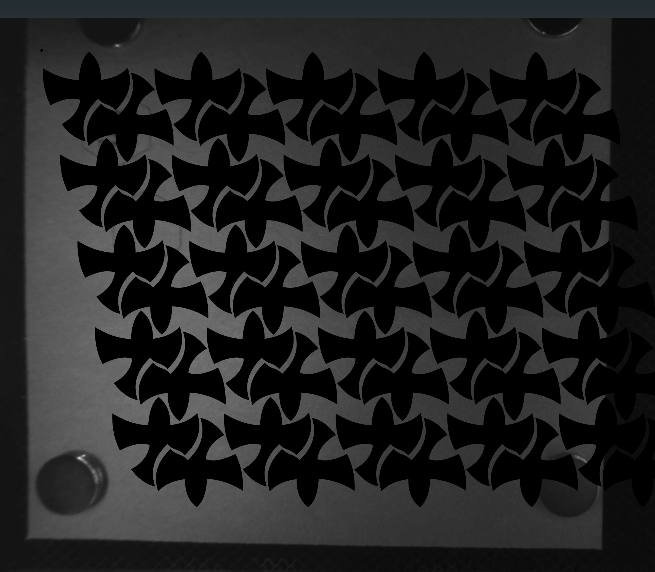
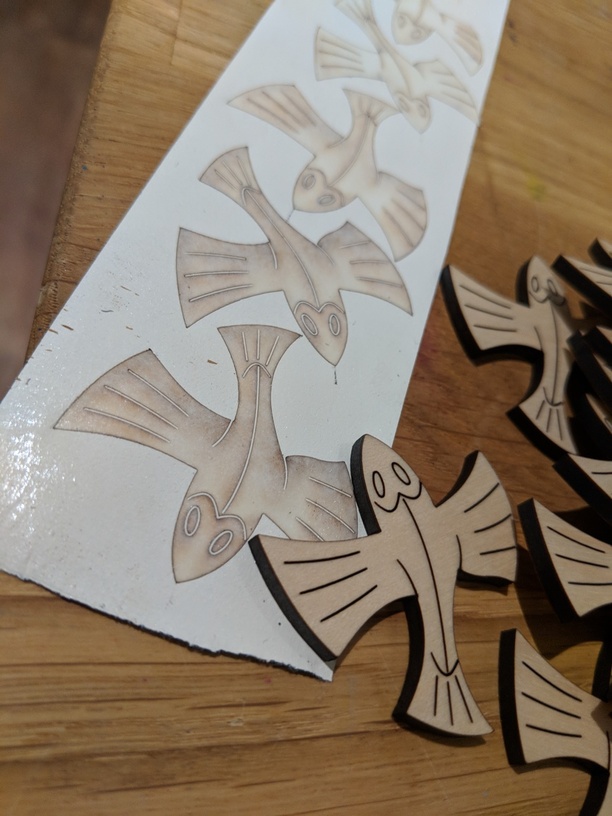
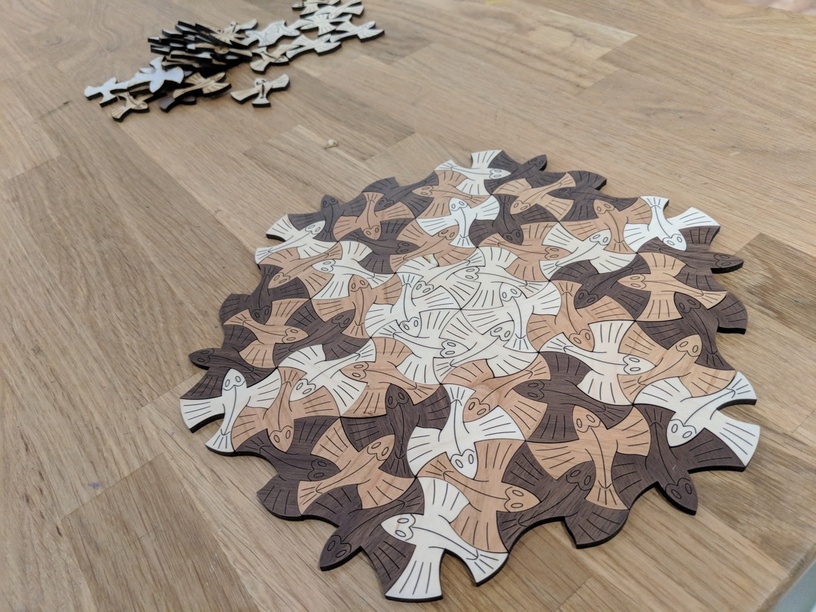
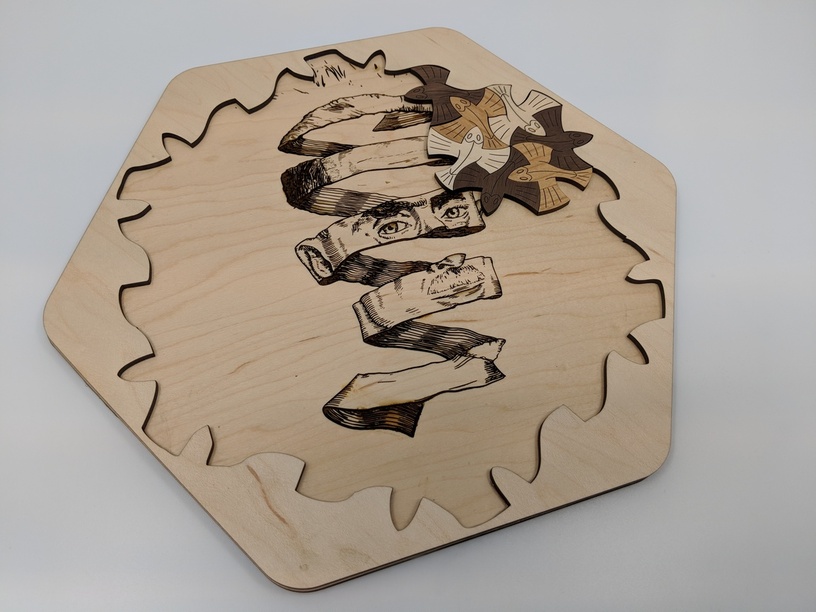
As you can see from the GF bed, the fish came separated. So there is no lovely outline from which to cut a frame. Now I want to create a frame to sit them in. So here I am again… tapping my fingers on my desk wondering why I am not a Illustrator ninja by now.
So I wonder if you have any suggestings on how to do this.
In racking my brain on how to approach this problem, I thought of or tried the following:
Try to assemble the fish in illustrator and get an outline from this. This make the most sense, but I am not at all comfortable in illustrator. I tried the pen tool and it mocked me and ate me for breakfast.
I tried importing a photo and doing image trace. Again, mocked.
I tried capturing an image using Adobe Capture but it was a mess.
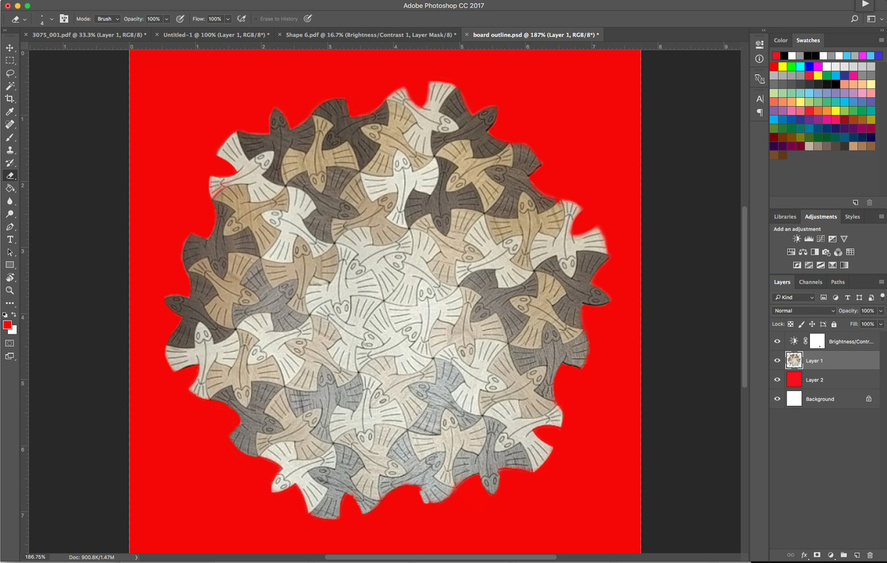
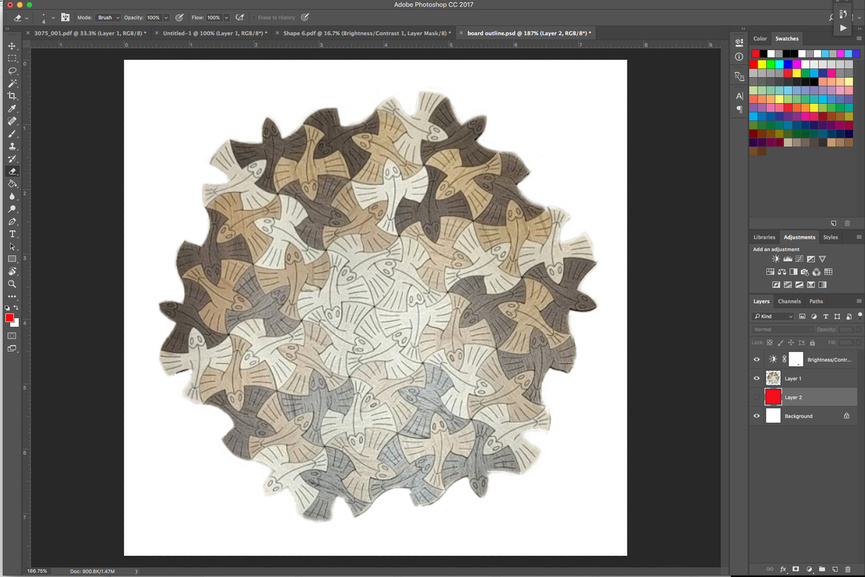
I bring in a photo into photoshop which I am more familiar with. I tried isolating the image from the background and using it for image trace. Nope.
So, dear glowfolk, I am sure some of you are seeing the folly of my ways and can think of a dozen ways to successfully do this. So, if you don’t mind, I am all ears.
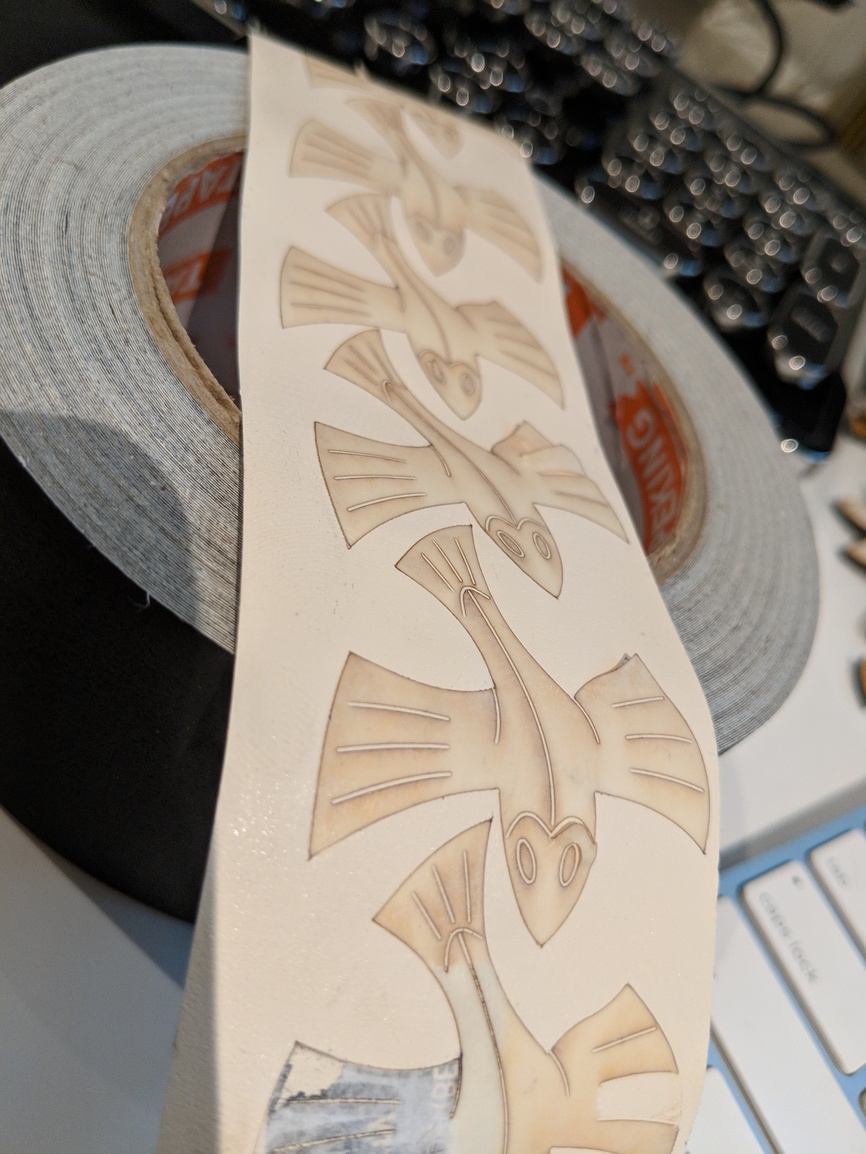
By the way, here is someting else I learned… Weeding can be awesome if you use it as a meditation. After filing though my thumbnail, I grabbed the tape and found happiness in the ease in which it worked.
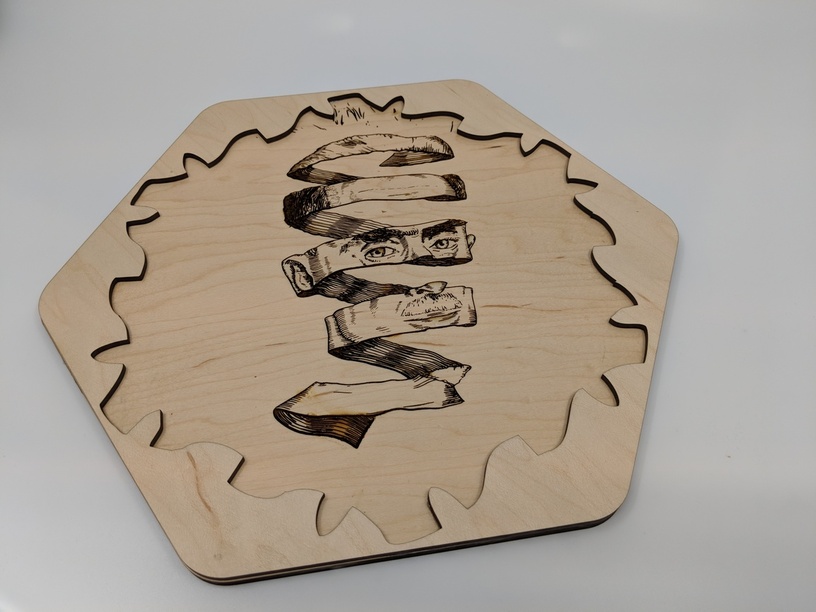
Have you considered an hexagonal frame, or even a circular one ?
Why go easy when you can make it more difficult !
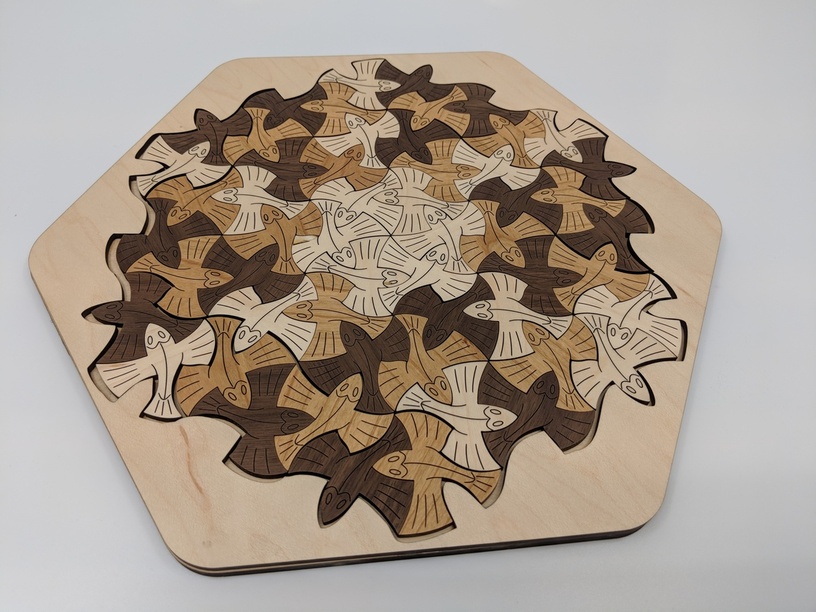
Seriously, are you wanting a frame to keep all the pieces ‘locked’ together, like having an inlay , or is it for a backing piece to glue them to ?
My personal preference would be for a backing piece, which in turn has a stand off support to hang it up on the wall, but ‘floating’ in front.
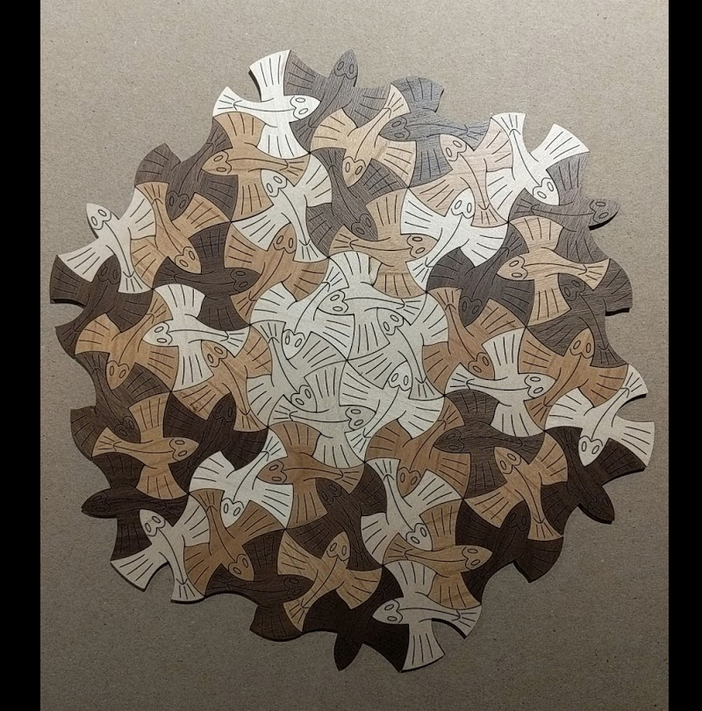
I’d be tempted to try the old school method. Place all the pieces on a large piece of paper, tape them with drafting tape so they don’t shift, and hand trace around them. Take the hand tracing and either use the Glowforge to trace the outline, or scan it into Illustrator and use one of the following methods:
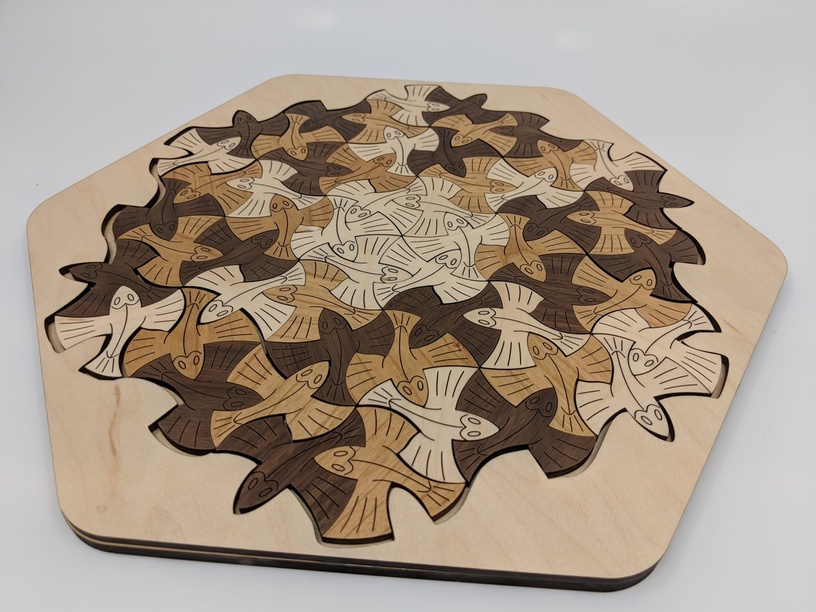
Ok. Great suggestion on using Photoshop outlines. I didn’t get it quite right though. I think I stumbled onto something.
I was using thin chipboard and think cardboard to prototype the outline until I got it quite right. When the final proofgrade went in, does the thickness changed the size? It seemed to fit well in the cardboard but the proofgrade is loose. I’m thinking the other explanation is the cardboard was more flexible. Any ideas?