I got my GF Plus for Christmas. Its not aligning properly. It is 3 or more inches off, I have done the camera alignment 7 times to no avail… I use set focus all the time… the whole left side and top of boards don’t get touched… it seems like the laser arm doesn’t go all the way back or all the way to the left to where its supposed to… the full board never shows in preview, most of the crumb tray shows… I have emailed support (right after New Years Day) and was asked to send pics which I did and NOTHING, its been over a week! I have even sent my response email 3 more times to try and get a response! I just want to use my new machine! This is ridiculous! I’m about ready to just pack it up and return it!!! A machine this expensive should have great customer support and I am extremely disappointed that I have a $4000 paper weight right now!
Welcome to the forum.
If you post your pictures here perhaps someone can help you while you wait for the response from Glowforge Support.
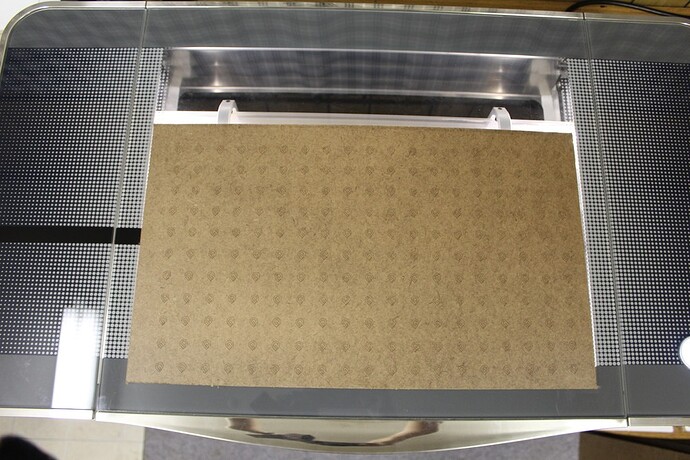
Not 100% sure how much of this is an issue and how much is normal. A properly aligned unit can never see all of the crumb tray. You lose quite a bit of the left side of the crumb tray and inches at the top. Check out this…
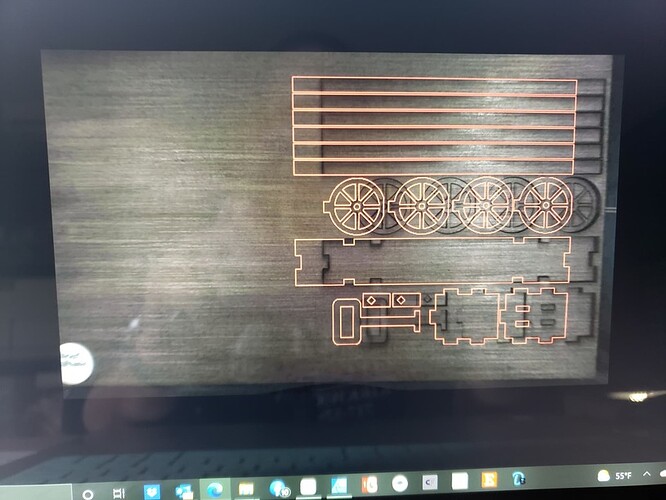
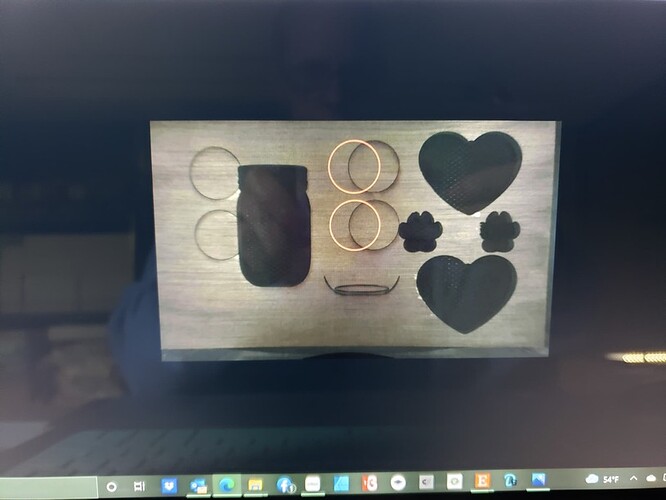
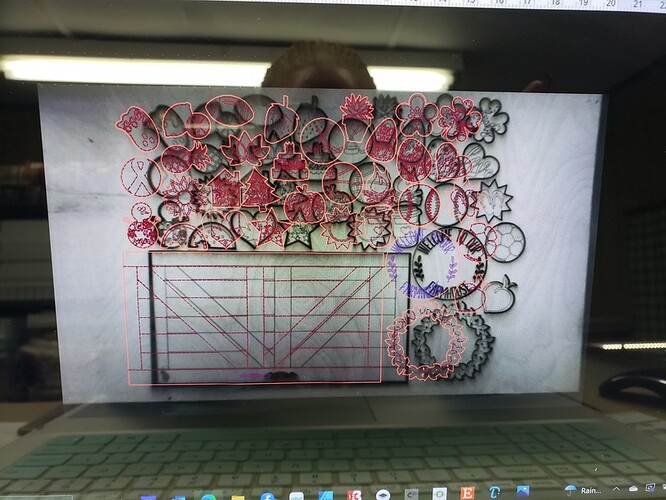
Here are some pics I had on my phone, I have more on my computer but not there now… the alignment board is all that I had left to use since I had already used the PG boards for past alignments… Are you saying this is normal?? I have seen pictures of peoples alignment boards and they are centered evenly on the board and their images cut/print very close (like 1/4") to where they had placed their image… I can’t imagine mine is normal and how its supposed to be… in the pics of the print vs where it was supposed to, I did not touch anything…
No not saying that is normal. Your original P&S post could have been read two ways. It’s not unusual for folks to be less than clear, or embellish the problem. More info was needed. Had hoped that because you were a new user you didn’t understand that much of the crumb tray was not visible in the preview image and that it is normally offset. Your issue seems to be an offset print error for some reason.
It’s interesting that your first image shows that the unit printed further toward the edge of the material than your preview image shows. Usually it’s the other way around. Did you not try to print close to the right edge?
No problem, I really researched it before I got it because I didn’t want to be intimidated when I did get it (my husband and kids surprised me with it for Christmas, which was a huge surprise) I’m sorry I was not clear in my post, I feel like I have explained it so many times that I should just copy and paste it by now 
I was not trying to print on the edge only because prior tries never printed that close when I tried so I moved my design further away from the edge and it printed close to the edge!! Of course thats my crappy luck and what has me so darn baffled!! I literally have tried every piece of advice I have read on this forum and on FB GF groups waiting on responses from GF… since I have had it, all I am doing is aligning, checking parts or test printing/cutting something… I just want to be able to use it correctly, not just as a tester to try and figure out whats wrong, which is what I have been doing so far… Thank you for your help. I really do appreciate any help at this point!
On one hand the top inch or so of a full board is never in view or available and and about an inch on the far left isn’t available either. Your grid of alignment logos looks pretty normal.
On the othe hand, your post print alignment does look more off than the 1/4” spec and since you’ve calibrated several times already it sounds like Support will have to tell you what they’re seeing in the logs.
As for this…
The good news is that you can reuse alignment boards, just put a layer of masking or two over the marks so they’re not visible anymore. If you don’t have masking handy any clean flat sheet the same size will work - like cardboard without logos.
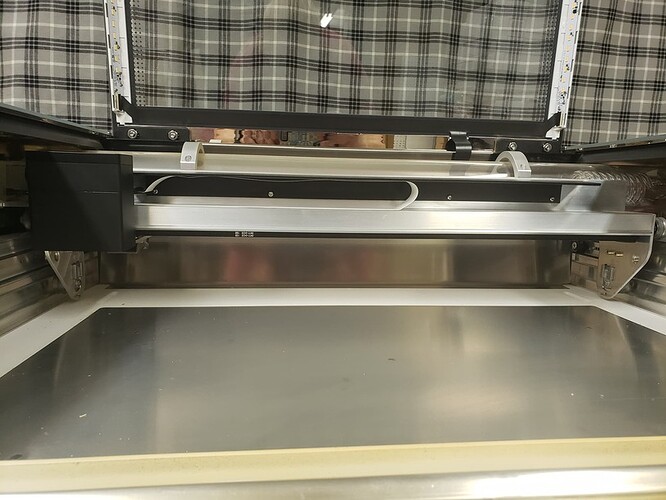
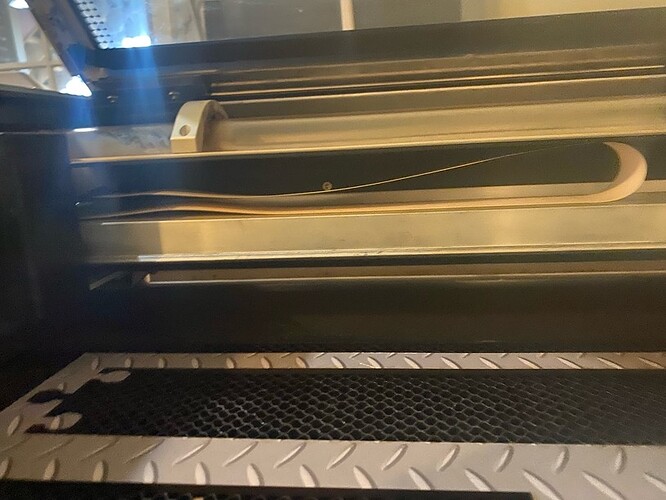
One fairly common cause of this is from the white ribbon cable being installed incorrectly. I can’t tell from your pictures if that’s the case, since the ribbon isn’t visible.
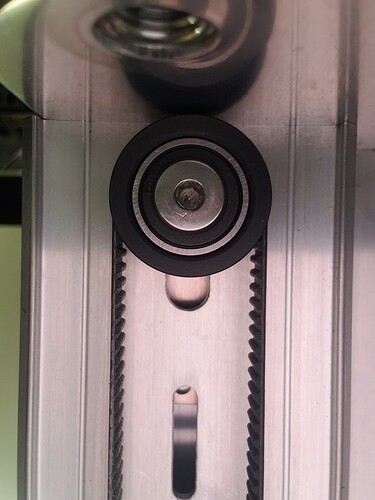
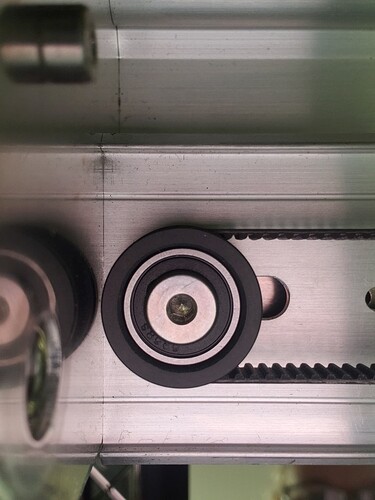
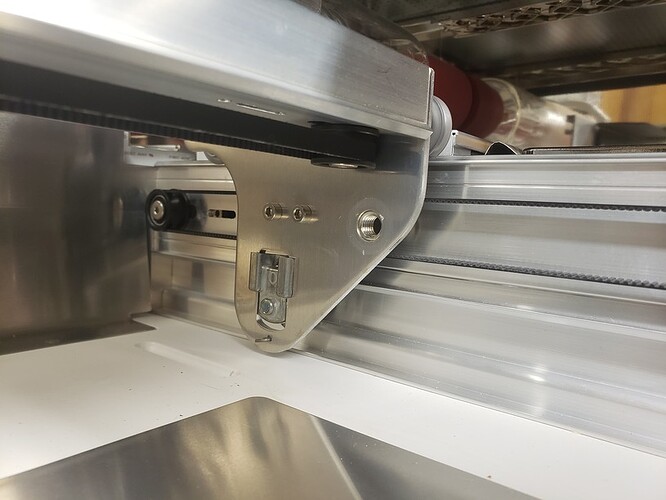
Another common cause is the belt being installed incorrectly, but this is less likely if you’ve never removed it. Meaning, they’d have installed it incorrectly on the assembly line - which is possible but less likely.
Thank you for the info, I did re-mask some of the PG to reuse because they had said that PG was the best to use for the alignment… maybe I can re-mask again if I need to do more alignments but right now it’s just producing the same outcomes so not very helpful to do at this point. I already have a request number through support so I don’t want to do another request and mess up the 1st one but I’m getting pretty impatient with support…
Maybe a silly question but…do you use set focus before you place your image or after? It must be used first.
I usually do it before, then I started doing it after… I have done it both ways to see if either is better…
Set focus must be used before placing your artwork.
There is something off about your white cable. It seems to have been pulled up from the original adhesive.
Yeah you always must do the set focus first on the material where you plan to place your image. Doing it after will not give you the proper results.
All I have done is clip it in when I assembled it, what part looks “off” to you? Could that be the problem??? I have used the set focus on just the material 1st and then placed the design, then printed and I also have placed the design, then set focus, then printed… it really hasn’t made a difference as you can tell from the picture of the circles above and the one with the wheels (the wagon)… the circle one was set focus before I placed the circles and the wagon was after I placed the wagon design on… it doesn’t seem like much of a difference to me…
From your photos, I cannot see that things are 3" off as you stated. That being said, they are not aligned properly horizontally, but seem ok vertically. It looks like either the printhead was moved while the machine was turned on (it looks like the printhead was slid over to the left while the machine was powered on) or something is impeding the movement of the printhead. The camera alignment print, however, looks like the entire print area is being utilized.
I have never moved the printhead while the machine was powered on, I knew that was a big no-no before I got it… one of the “tests” I was told to do while the machine was off (I unplugged also which I do when not in use) was to move the print head from left to right on the arm to make sure it was moving freely…
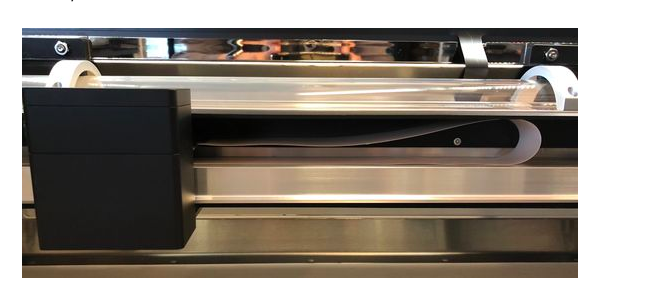
Comparing your photo to the Glowforge photo (and my machine) your white ribbon cable hugs the top of the cable area rather than hanging loosely near the lower part of the arm
Hmmmmm… thats one of the pics I was asked to send to support (I haven’t heard back from them since I emailed back Tuesday)… I actually had an email from a different GF person just the other day saying they haven’t heard from me (not the person that asked for the pics) so I forwarded my email to the new person as well with the pics… this is so frustrating!!! Now I wonder what the ribbon is supposed to look like!!
