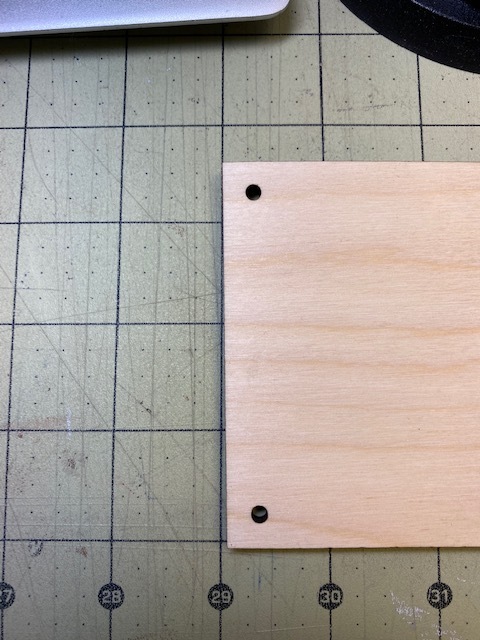
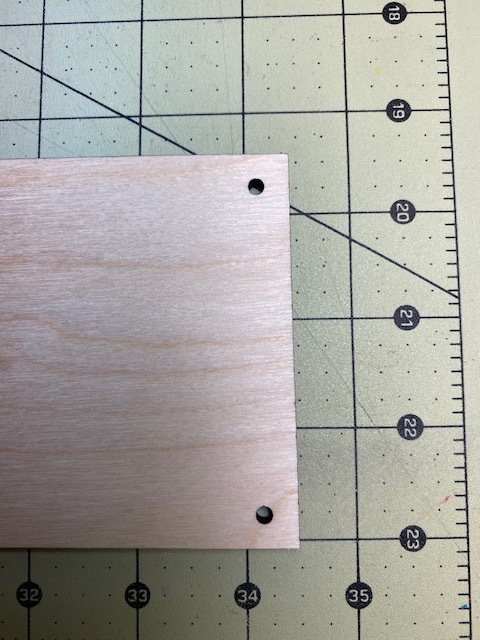
I’ve created a couple designs and it is cutting “crooked.” One piece is simply a rectangle, 90 degree angles, but when it cuts the corners aren’t squared up – if that makes sense. It’s off by about 1/8”
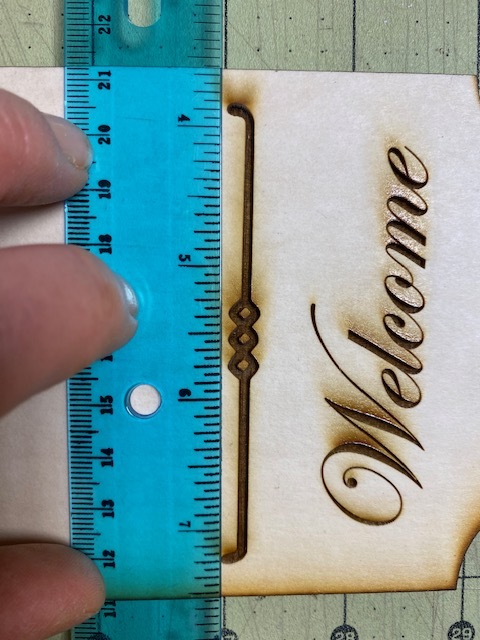
Another piece has a couple design lines on it, and those too are coming out slightly angled down.
Any ideas what might be causing this? And how to rectify it?
I’m so sorry to hear that you’re running into trouble! I’d like to take a look at a specific print to ensure that your Glowforge is performing within specification.
We’d like to have you try a few troubleshooting steps for us:
Turn off your Glowforge.
Check for small pieces of debris or dust.
Check the lower door to make sure it closes all the way. It may require some force to open, but open it, wipe any dust off the edges, and close it all the way.
Remove the tray and clean any dust or debris from the surface underneath. Pay careful attention to remove all debris from the four dimples where the tray rests.
Check the lid to make sure it closes all the way. Small particles of material, such as dust or debris, can prevent it from closing completely.
Check the surface your Glowforge is on to make sure it’s flat. Ensure it is not twisted slightly and that there is no debris propping up one side of the machine.
Turn your Glowforge back on.
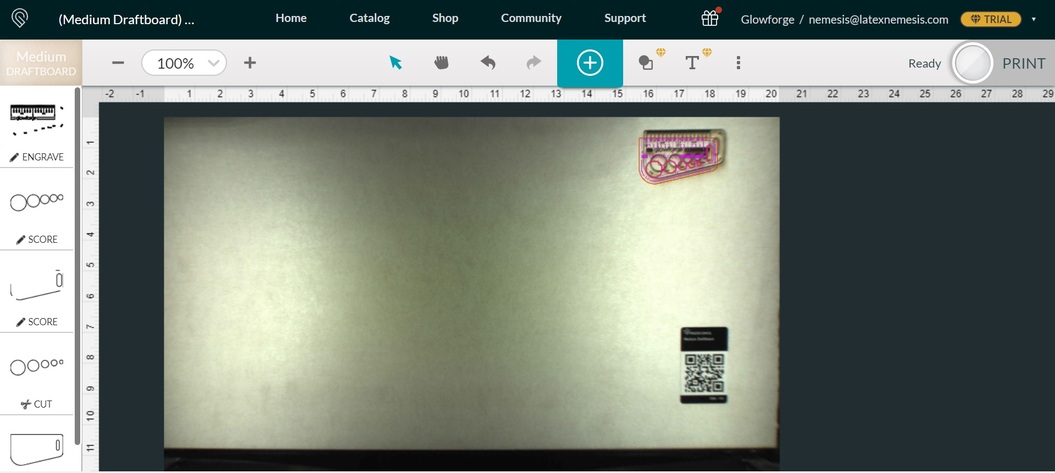
We included an extra piece of Proofgrade Draftboard with your materials shipment for troubleshooting. Place the Proofgrade Draftboard in the center of the bed and print the Gift of Good Measure using the default settings.
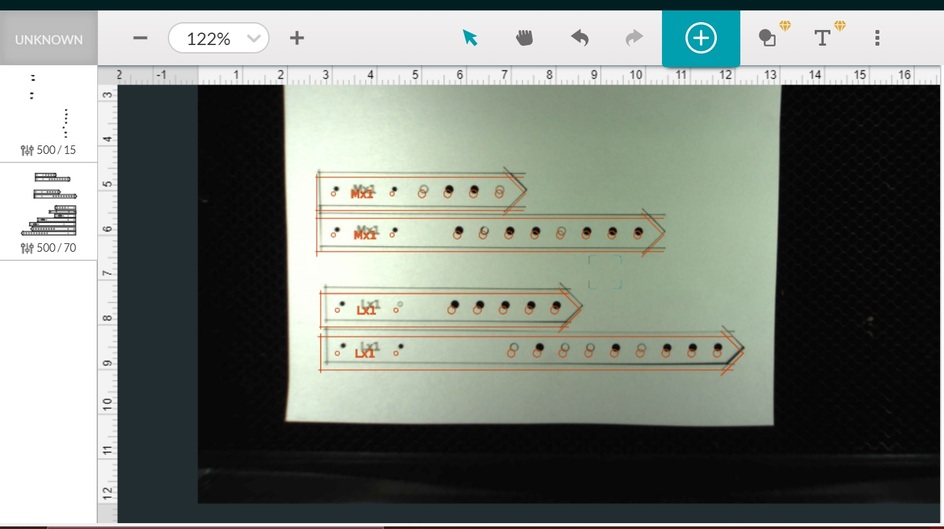
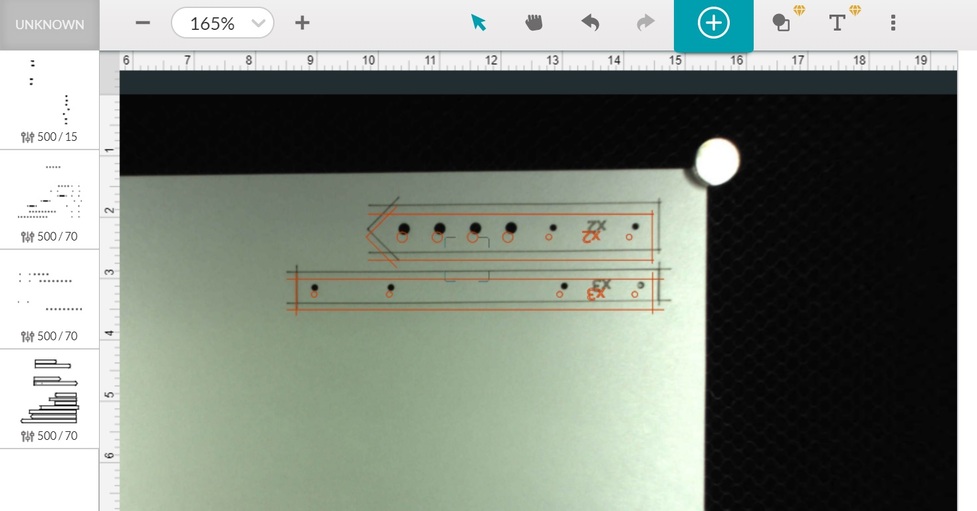
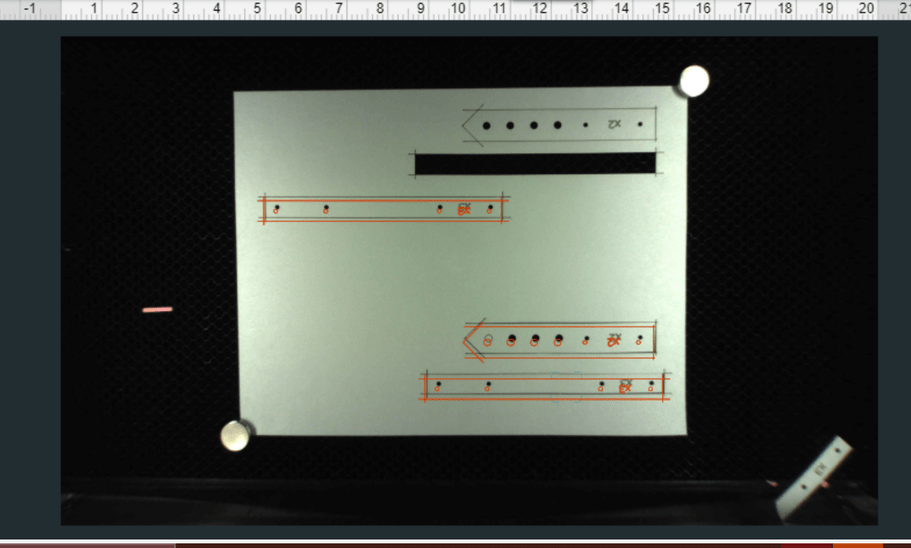
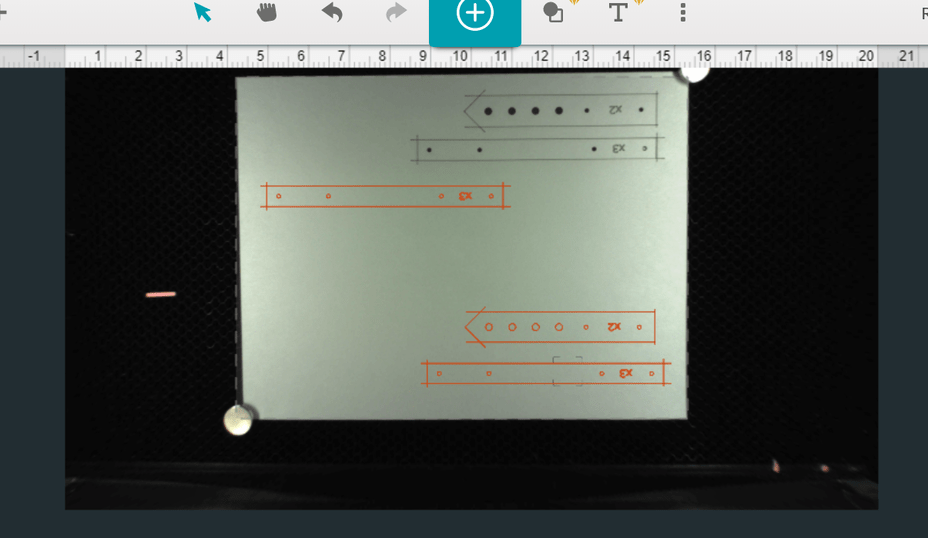
When the print finishes, leave the lid closed and wait until the fans stop and the picture updates. Without moving your artwork or your material, take a screenshot of the Workspace to show us the difference between the artwork placement and the actual print placement. Make sure to include the rulers in your screenshot and show as much of the bed as possible.
Mac: Press Shift-Command-4 and click and drag a box around your image. You’ll find the screenshot file saved on your desktop.
Windows: Click on the Start Menu and type “snipping tool”. Open the Snipping Tool > New then click and drag a box around your image. Click the Save icon and name and save your file.
Send us the screenshot along with the date and time of the print, and we’ll investigate.
You can square the gantry with the machine turned off. There is a published procedure for doing this. How do you know whether the actual piece has 4 90 degree corners? Well after you cut a square or rectangle flip the part over from side to side and try to put it back into the hole that it came from. If it fits then you are cutting square corners within the kerf width over the run of that cut.
Do a quick search, and you can see that it is possible to skew the gantry due to there being 2 independent Y axis steppers. By independent I mean that they are not mechanically connected. When your machine is powered up the two steppers are"locked" and move in synch. Unless you have belt issues or mechanical binding which causes missed steps, the gantry will move parallel to this angle when powered up. If it starts out of square, it will stay that way until it is corrected.
I am having the same issue. It has gotten really bad. I have cleaned the forge. The lens and mirrors - with microfiber cloths. I have turned on and off and even tried setting focus, nothing helps, the right side is always out of focus and blurry.
It’s been a little while since I’ve seen any replies on this thread so I’m going to close it. If you still need help with this please either start a new thread or email support@glowforge.com.