Greetings All -
Definately going beyond the manual on this one. The GF part of this post is limited to cutting HDPE and PLA. And the ‘going beyond’ project, well, follow along to find out. Obvious disclaimer, I researched this and HDPE & PLA seem pretty (health) benign to laser cut, given my machine ventilation is excellent. And for melting the raw materials I’ll be working in my open garage, with a niosh mask. So let’s get to it already -
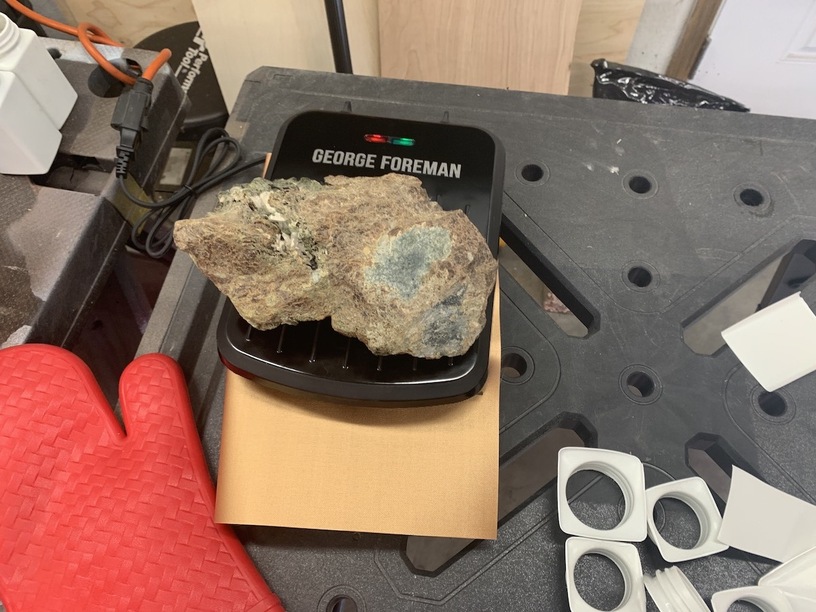
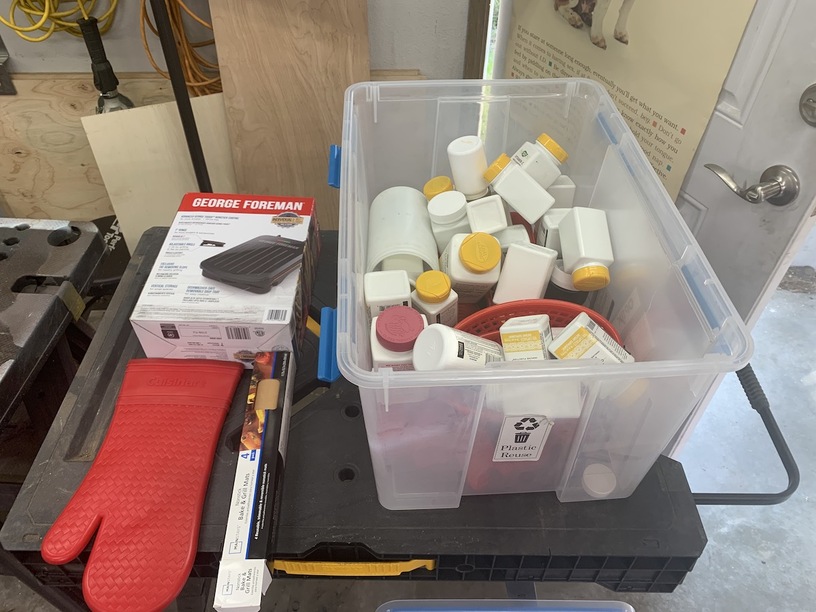
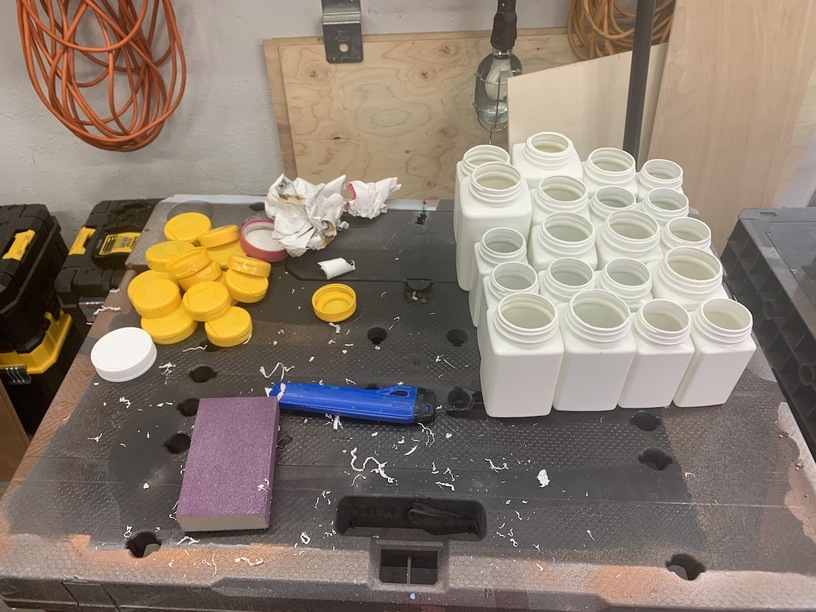
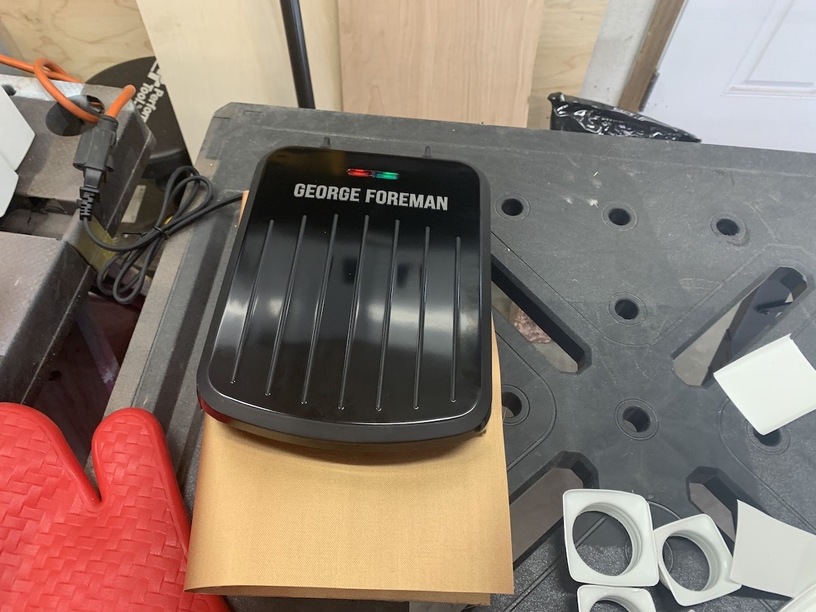
I’ve wanted to do something with up cycling plastic since watching Brothers Make melt HDPE into stuff, that was June ’21. Since then I’ve been saving my vitamin containers as they are HDPE and ‘clean’. I also got the George Foreman grill, probably last year, in prep for this. Don’t let me down George…
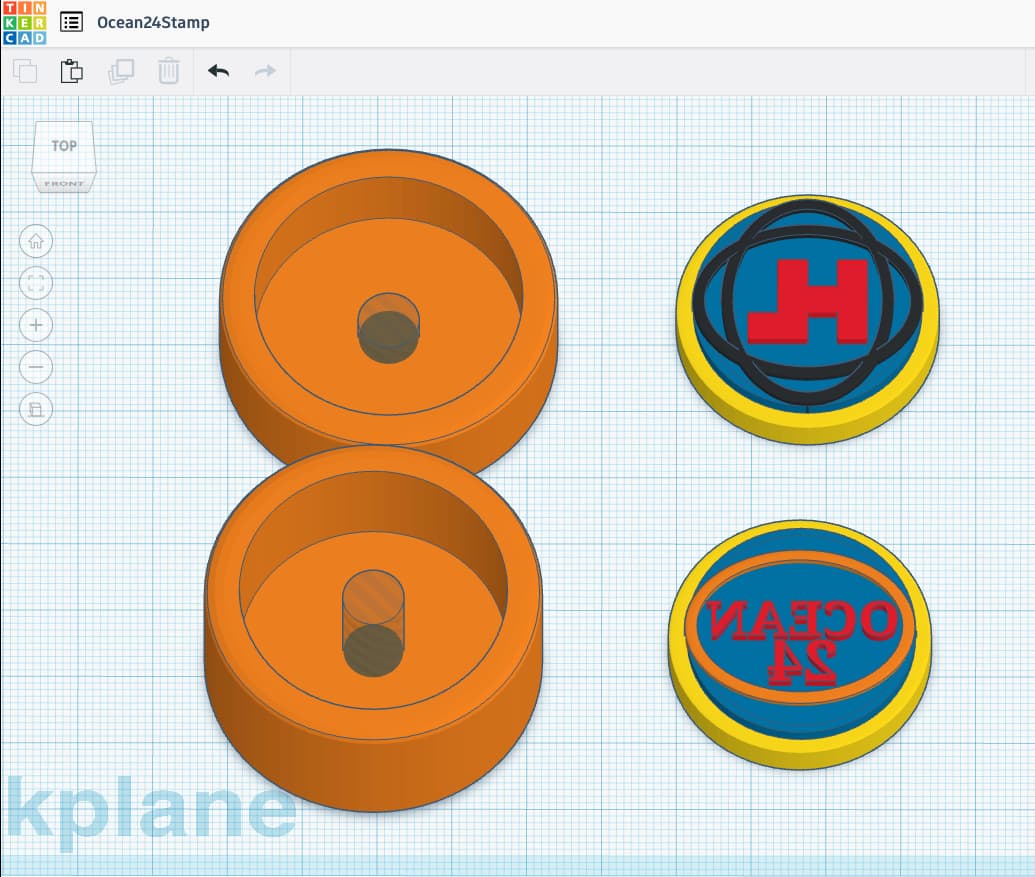
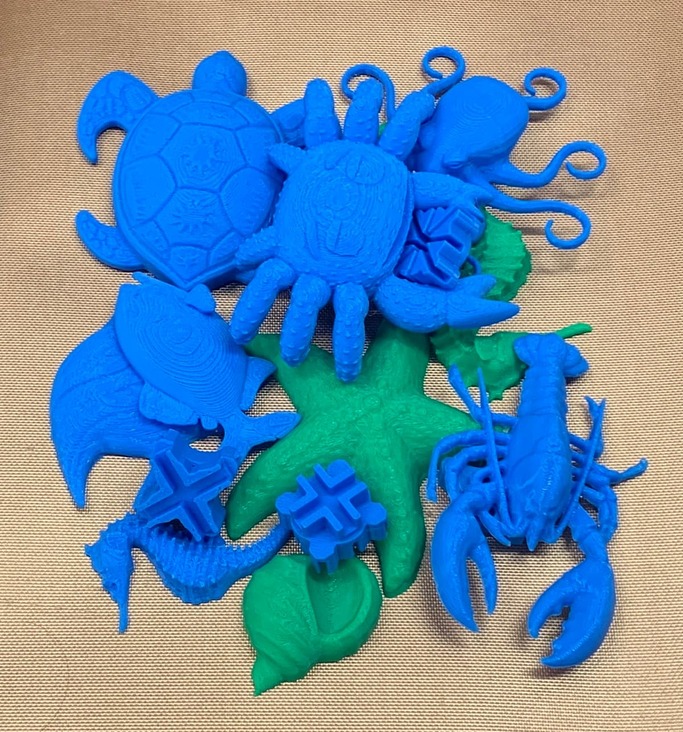
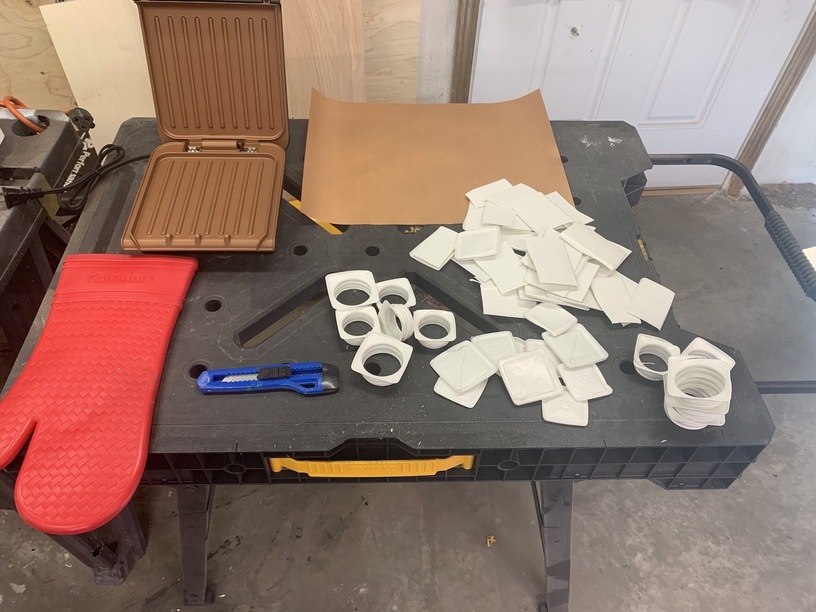
Having just finished The Aquarium (the working title and filename is Ocean24) I have a lot of ‘testing’ PLA items left over, so why not give them a go as well.
So let’s melt some $hit and try not to wreck anything, including my health. I’ll do the HDPE first, so let’s clean up the bottles and get prepped.
I don’t have high hopes for this HDPE, but it’s just an experiment, there’s no success or fail really. The PLA I think can be usable, we’ll soon find out. I guess there could be fail involved, based on the risk factors. But I’ll take it slow and see how it goes. Ready -
Set -
Let’s make it hot George -
15 minutes later - I’m not impressed. But stick to the plan. Throw some more in, mabey that’ll help…
30 minutes later - It is pliable, sort of. I’ll squash it around, kneading with the glove and some pounding with a mallet to redistribute and flatten it a little. Again, not terribly promising, but I am an optimist. Back into the heat -
55 Minutes - Seems to be sort of ‘done’. Once more out of the George Forge.

It’s still thicker on one side so a little more mallet pounding and massaging.
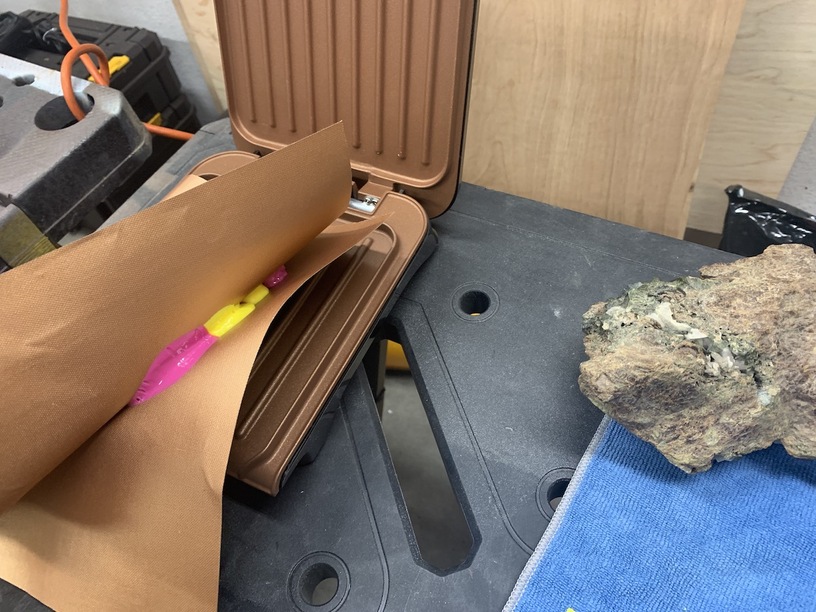
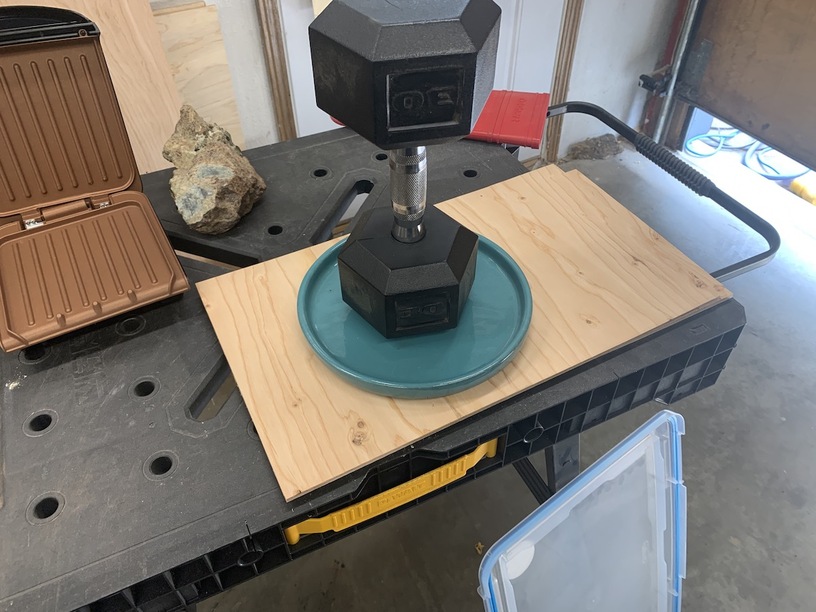
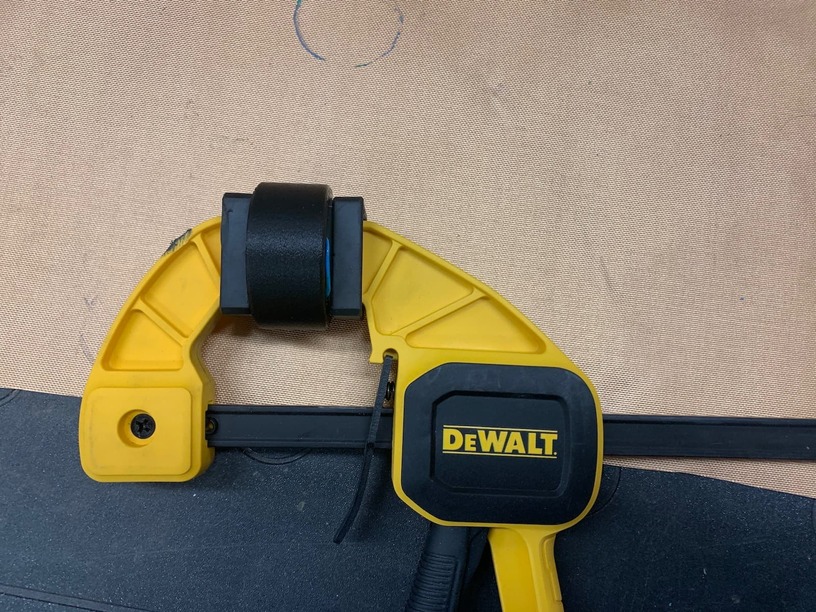
A quick 5 minute reheat on the George Forge and pull it out for the last time. Work it over with the mallet just a little more. Finish by quenching in oil. Sorry, with all the (re)heating and hammering I feel like the wuss version of Will Stelter…. ![]() Let’s just sandwich it in plywood and do the dumbbell routine shall we…
Let’s just sandwich it in plywood and do the dumbbell routine shall we…

I should probably have rewatched the Brothers Make video before doing this. But, more aptly, in between stages I’m watching ‘How to Fail and Keep going’ by Bill Making Stuff. Genius, but it’s giving me the feeling of foreshadowing.
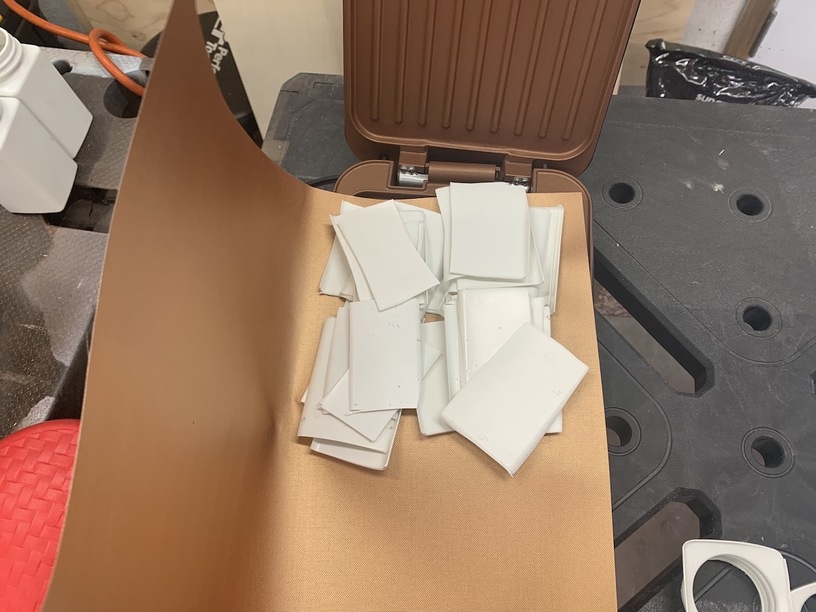
Anyway, we’ll let that possibility, and slab of goo, ruminate and cool. Since old George is still hot, and I already have an investment of effort in what is mostly likely a fail, why stop at half the wasted time. I also want to try these PLA scraps. At the least it’ll likely be interesting.
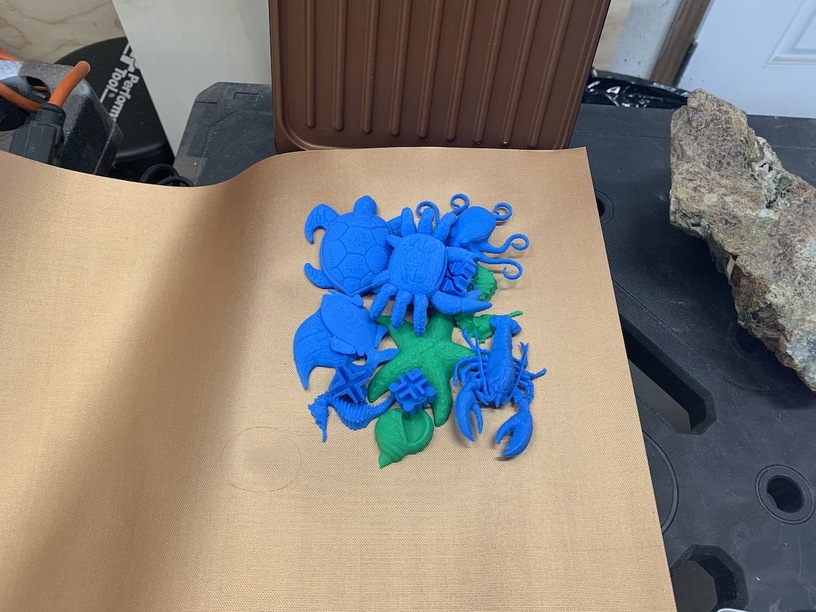
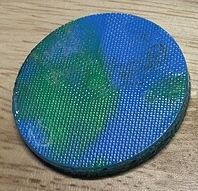
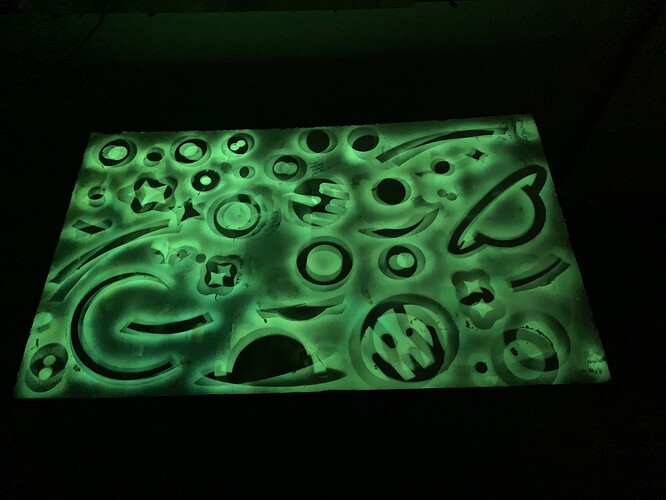
Seems a little sad actually, all these little creatures being being pressed like a Tuna Melt. If it’s a total fail, I suppose it could be an interesting tribute piece. Sort of like the Glow in Dark artwork from my Galaxy Project. Happy Accidents. I’ll be framing that thing shortly btw. Anyway…
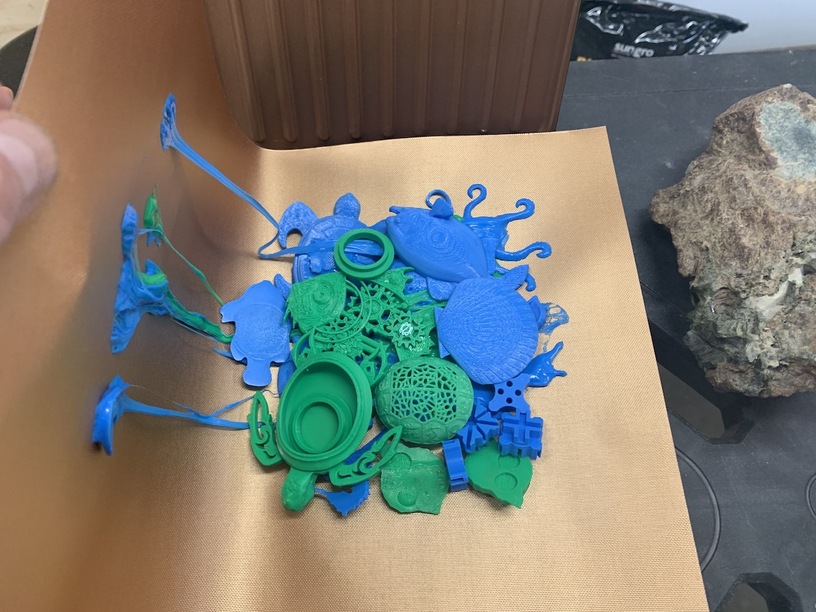
15 Minutes later - Back to this melted mess, and continuing to wreck the returnability of old George. It’s definately way more melty than the HDPE at this point. It could work…
To paraphrase Bill, add stuff till it’s interesting, so let’s add more fail, and go with it.
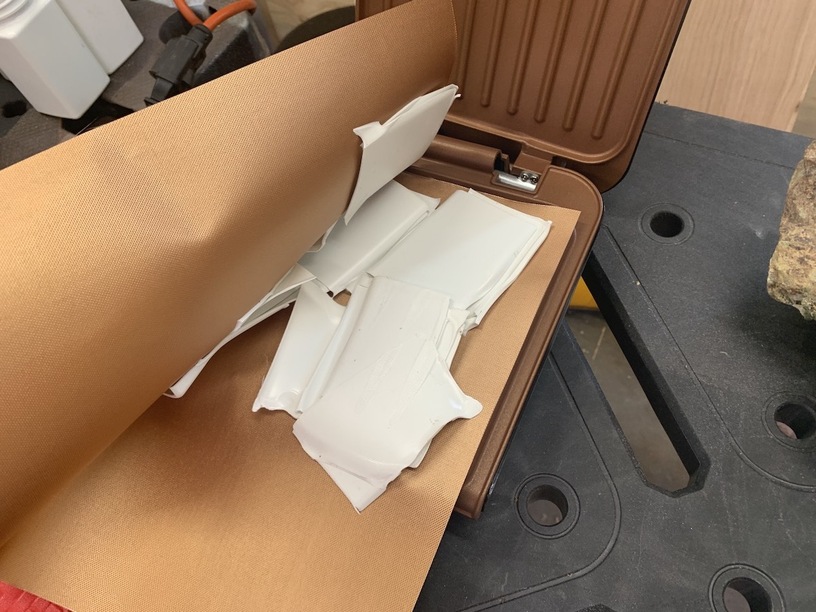
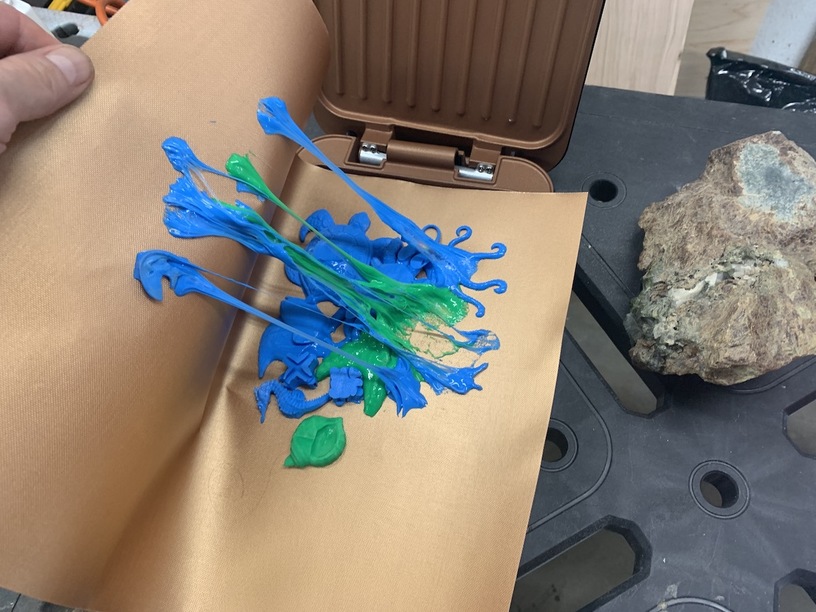
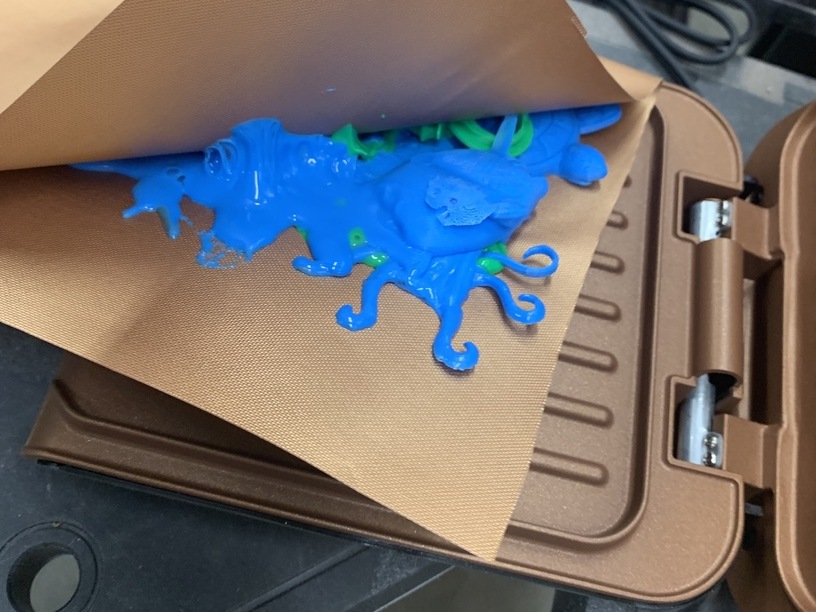
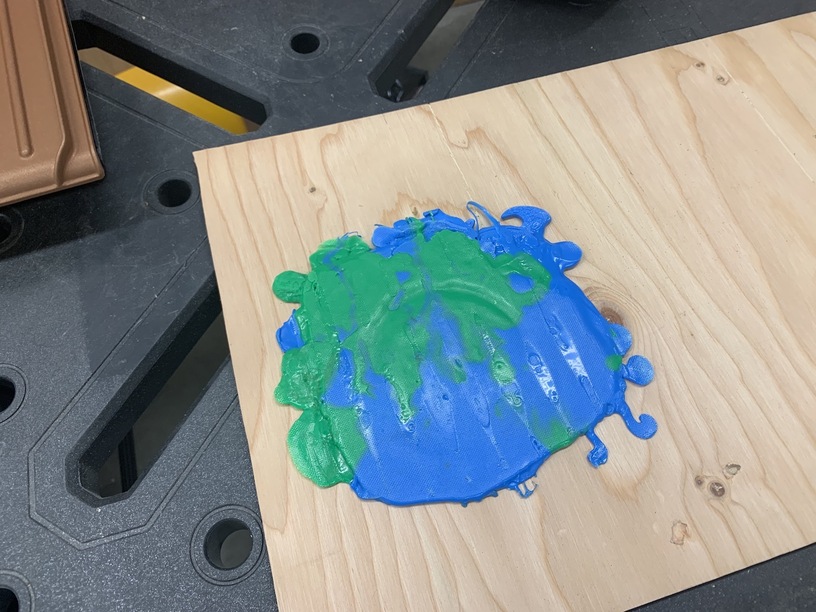
30 Min - Oh Dear, if you’re squeamish about wrecked sealife look away. ![]() But this will likely work. I mean, it’s getting melted together into a solid, and seems like it can spread thin enough to laser. It still may just melt into goo and not actually cut I guess. Beats me, but either way, we’re going to find out.
But this will likely work. I mean, it’s getting melted together into a solid, and seems like it can spread thin enough to laser. It still may just melt into goo and not actually cut I guess. Beats me, but either way, we’re going to find out.
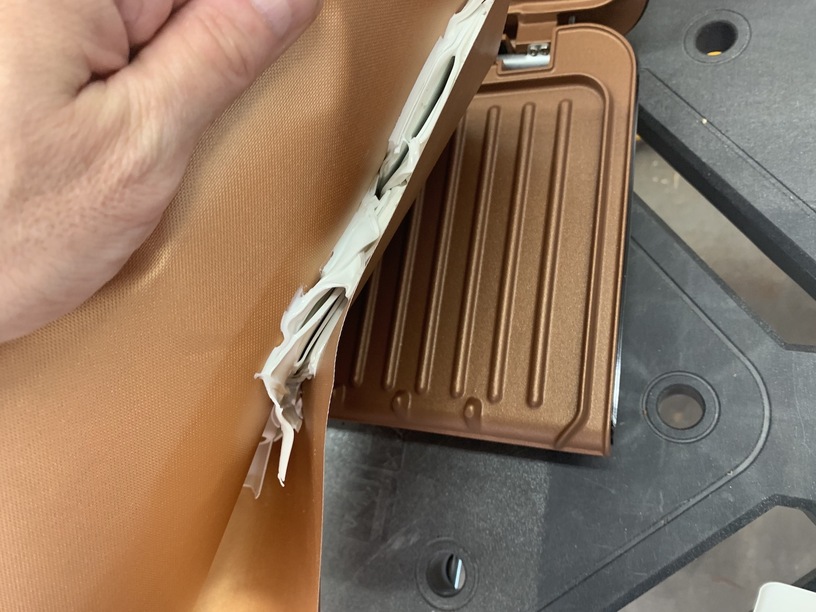
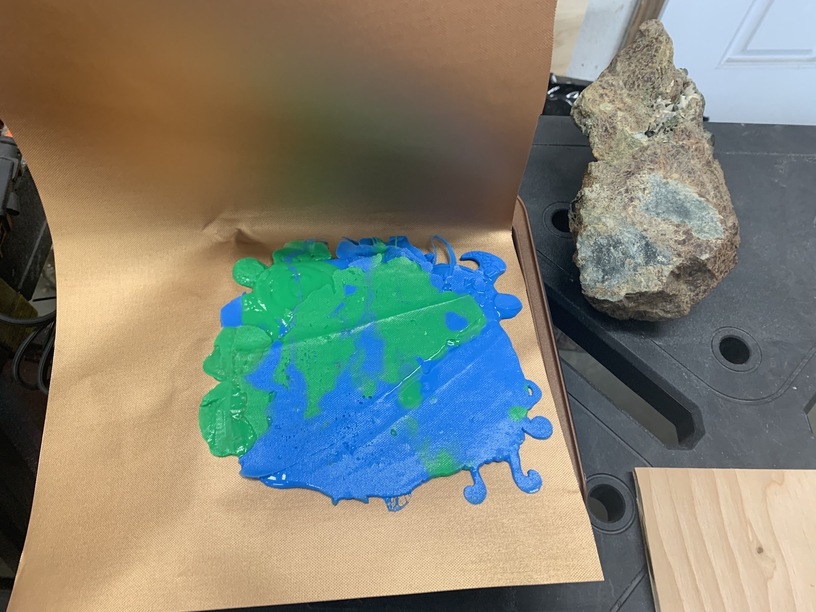
45 Min - Keeping it at a consistent thickness is impossible with old George here and his floppy lid. I’m going Stelter on it with the mallet and plywood, but I’ll still likely end up with a slight wedgie shape. But it is thinner overall, and that’ll give me a ‘range’ of thickness to test cutting / making goo / and or a fire, so that’s a benefit I guess.
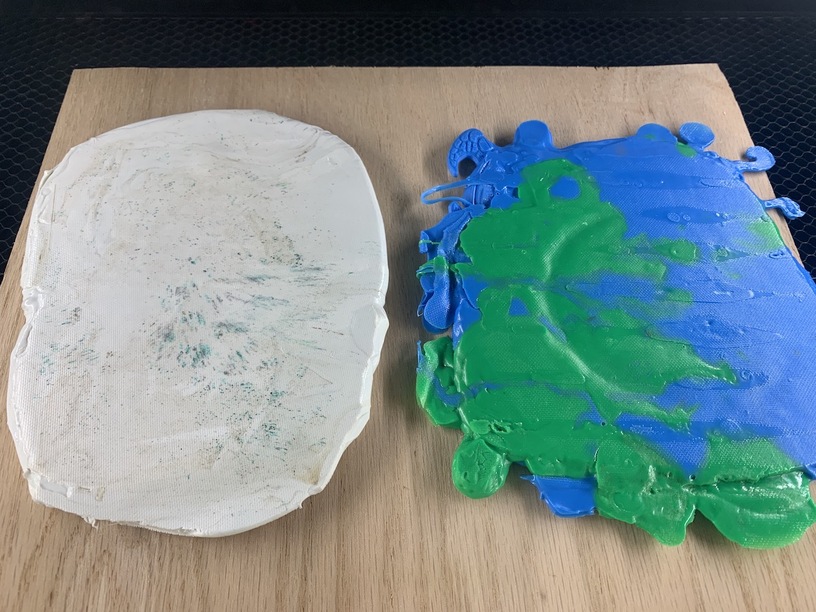
One more quick reheat to 55min and call it good. Square up the press plate as best I can, and let it cool.
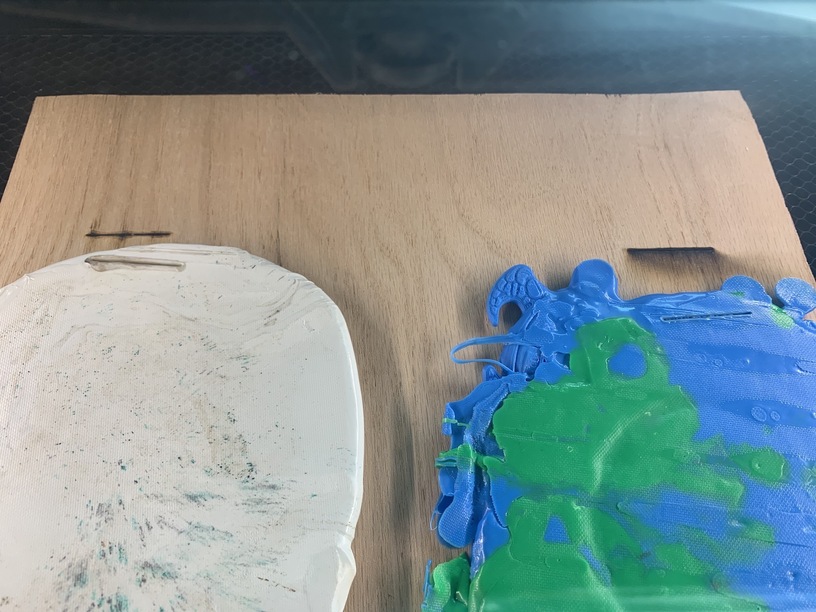
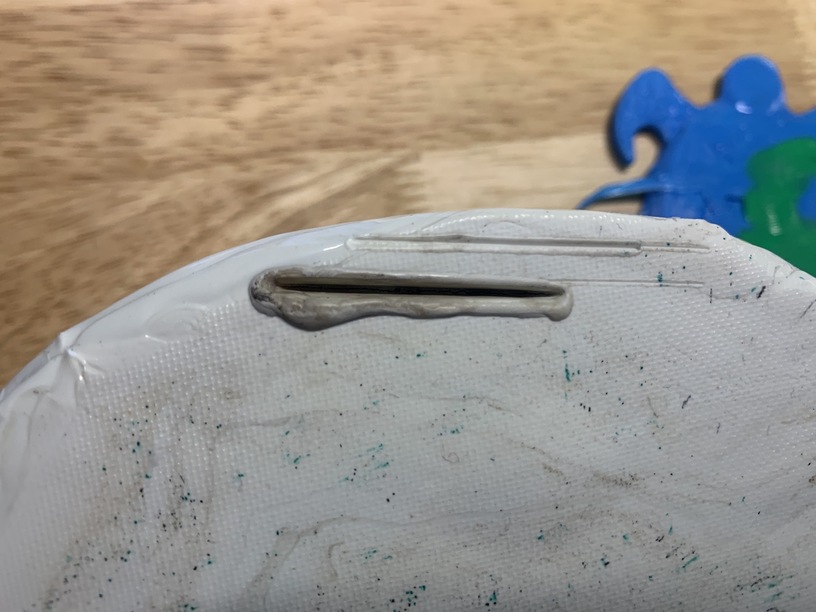
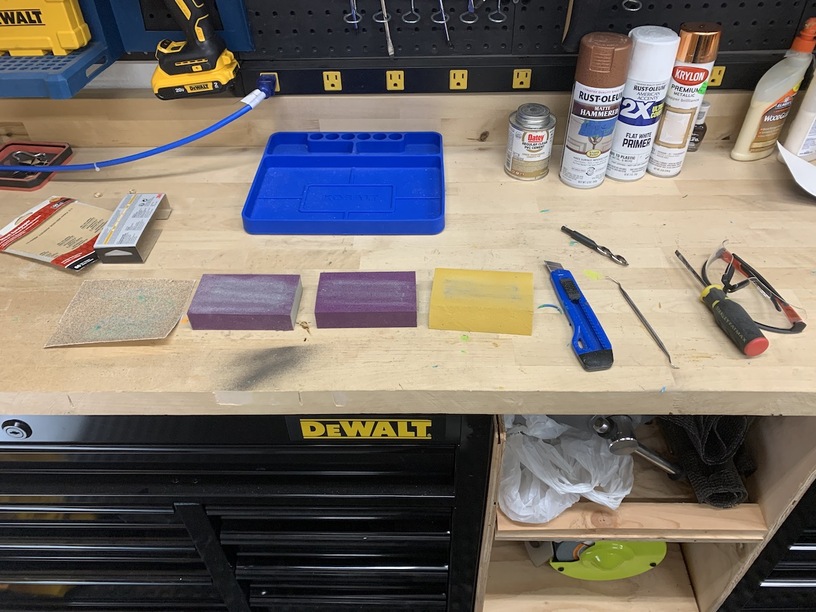
So this is what we have. The HDPE is about 3/8” or 9mm, ish. I’m not giving that one much hope of cutting through without melting into a mess.
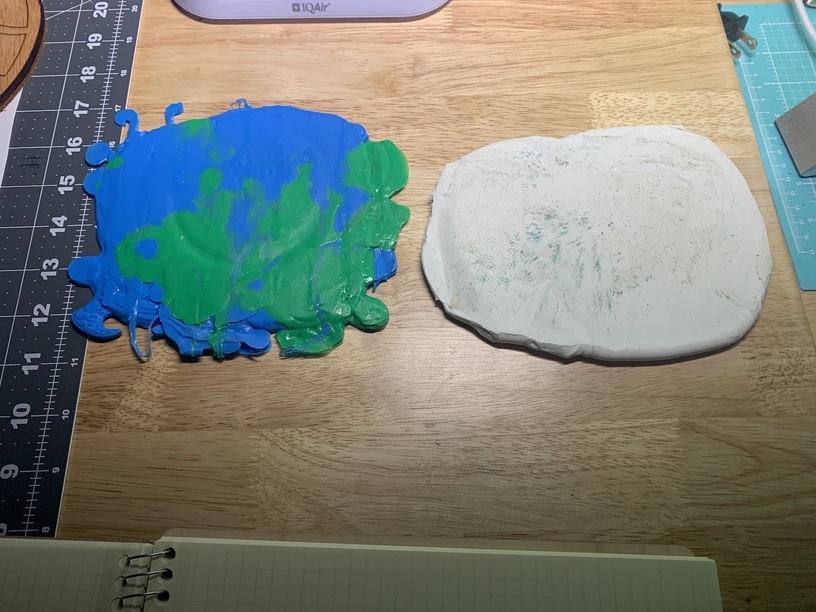
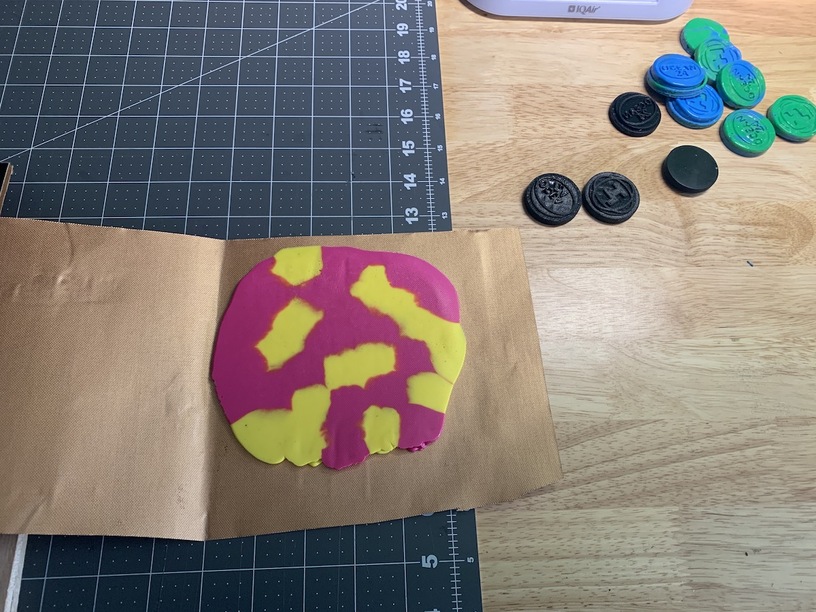
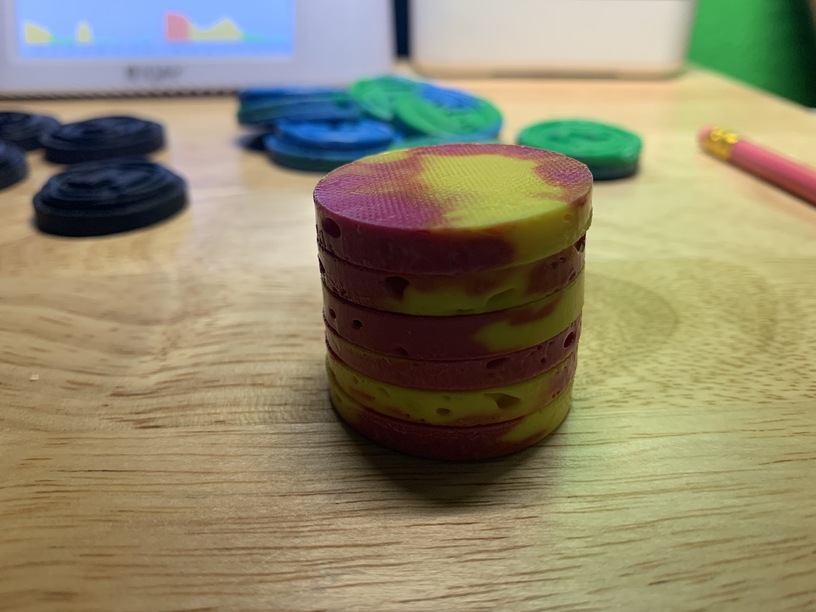
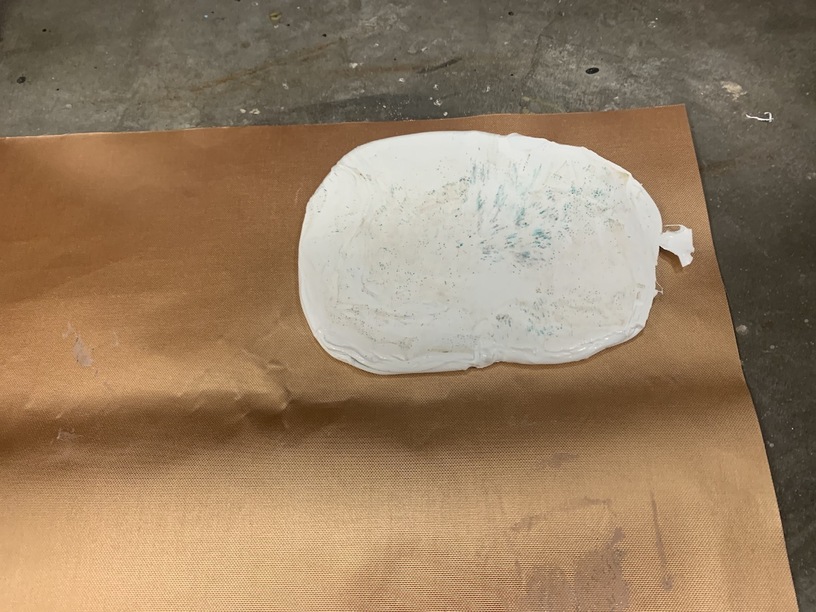
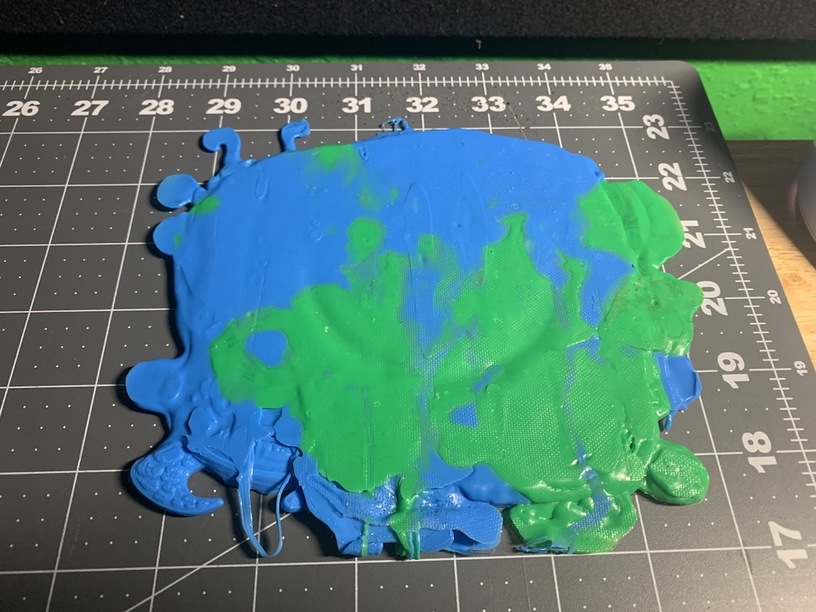
The PLA on the other hand came out to .2" to .27" thick. So easily in GF territory. Again, assuming it doesn’t just melt and catch fire.
Not going to lie, the PLA with the turtle heads poking out, is a little twisted and mabey sad, but also somehow humorous. ![]()
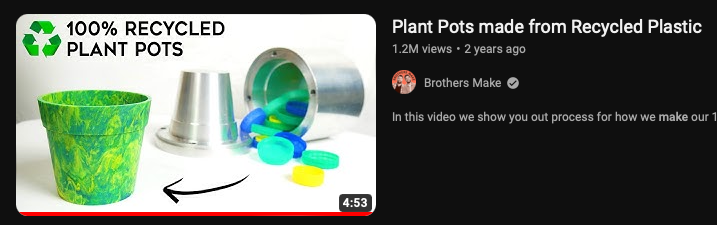
So now to the action. I’m looking at the Youtube video thumbnail from the Brothers Make episode where they make a perfect little flower pot out of recycled HDPE. Ya, that’s clearly out of my time and effort window for this project, not to mention budget for injection molding machinery.
Clearly, this ain’t going to be that… And I’m contemplating bailing out entirely on it. But ok fine, I’ll do a couple test cuts, I think I’m going to skip trying to engrave on either of these disasters. I mean, it’s already probably not worth the time I have into it. But ya, I made it this far so here we go…
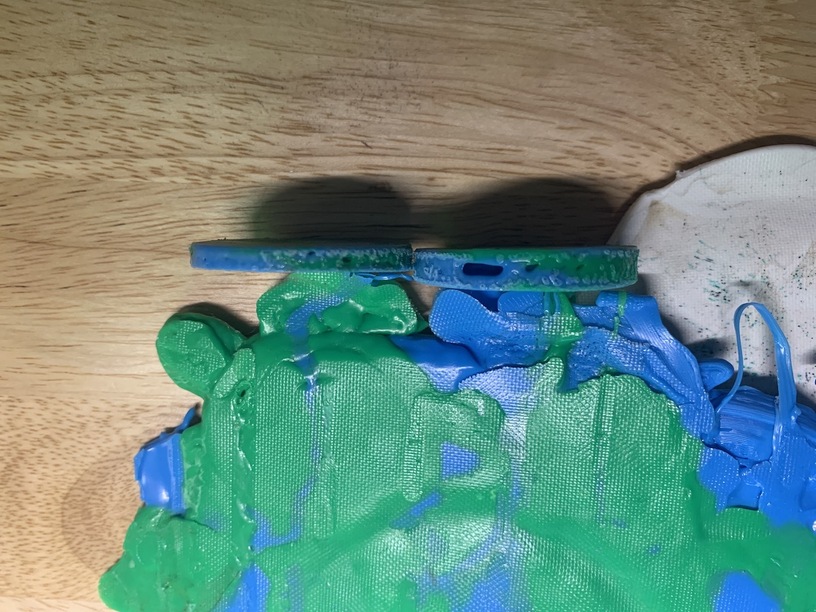
I tried a couple different setting until I got to the highest power and slowest speed I felt comfortable with. At first I didn’t think it was cutting all the way through, until I moved the pieces.
Ya, you’d have to be nuts trying this directly on the crumb tray. It’s already sketchy, and the absolute maximum height with the plywood under. At this point I’m ditching the HDPE and writing it off. It has an impending disaster vibe written all over it.
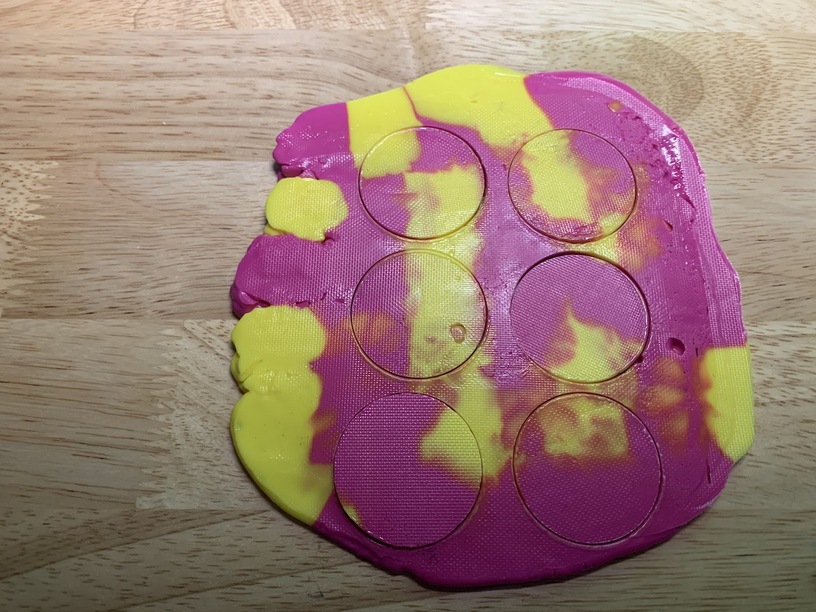
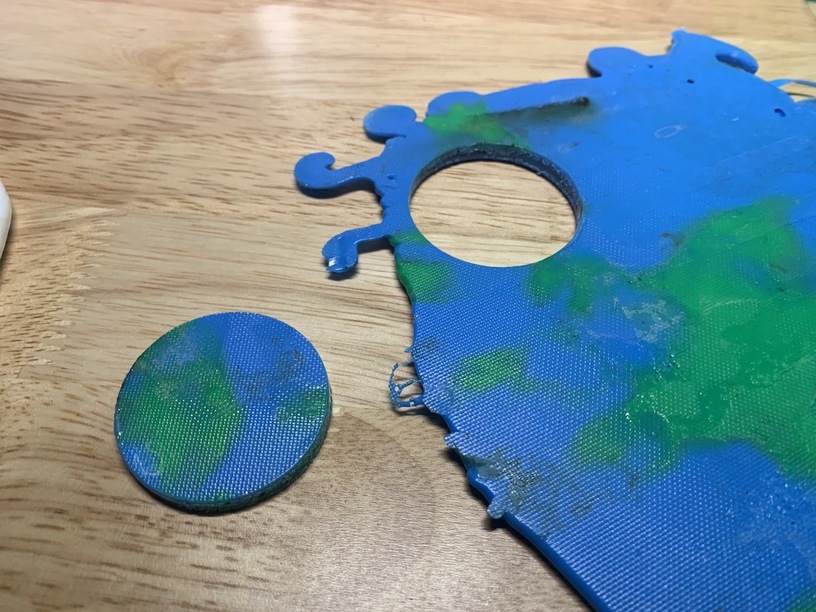
But the PLA is very promising. It cuts super clean, as in virtually no smoke or smell (although I do have the Cloudline6 on full tilt.) I just need to get creative about taking out the crumb tray and supporting this, while retaining a gap above a sacrificial bottom layer.

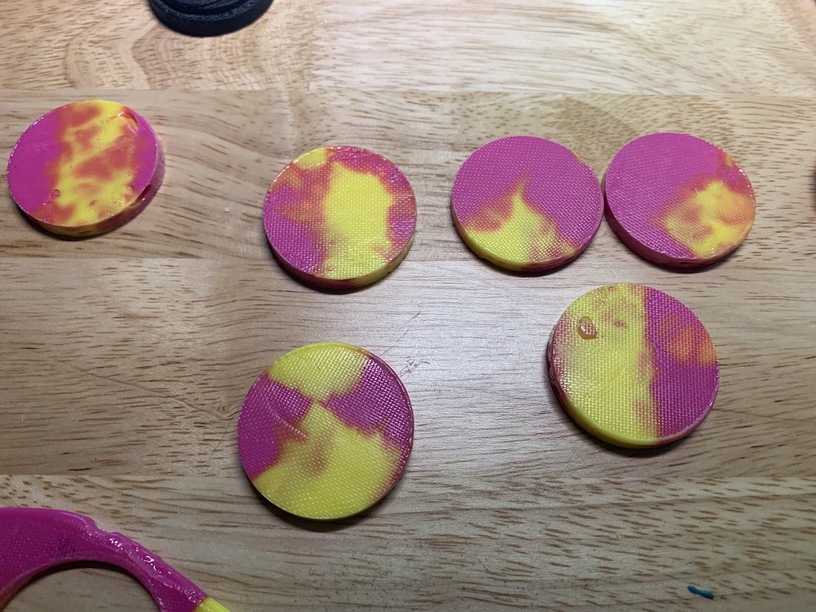
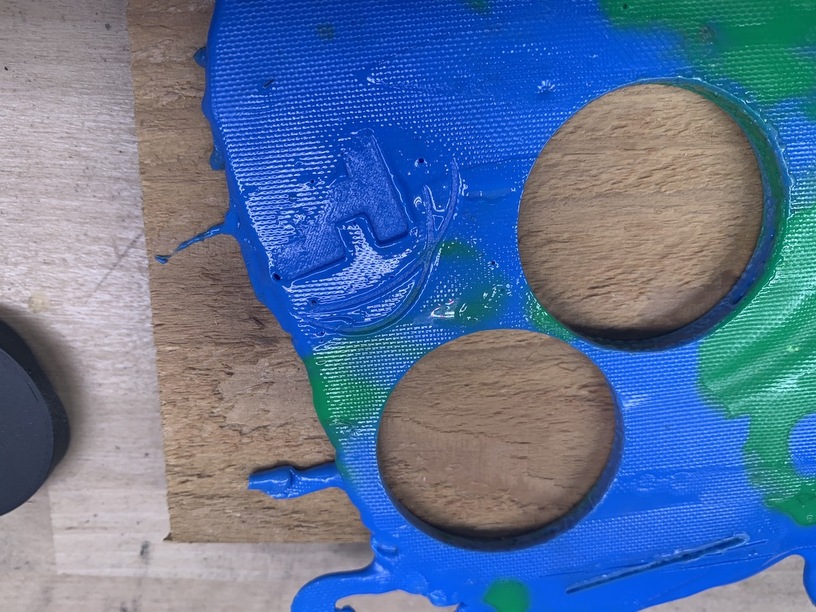
Ya, I’m not exactly proud of the ingenuity here. ![]() And certainly NOT encouraging anyone to try this, although it did work perfectly well. Circles don’t just ‘fall out’, but as the cut area is quite warm, if taken out right away, the circle can easily be pressed out. Even letting it cool, I was still able to bang out a circle with the blunt end of a screwdriver.
And certainly NOT encouraging anyone to try this, although it did work perfectly well. Circles don’t just ‘fall out’, but as the cut area is quite warm, if taken out right away, the circle can easily be pressed out. Even letting it cool, I was still able to bang out a circle with the blunt end of a screwdriver.
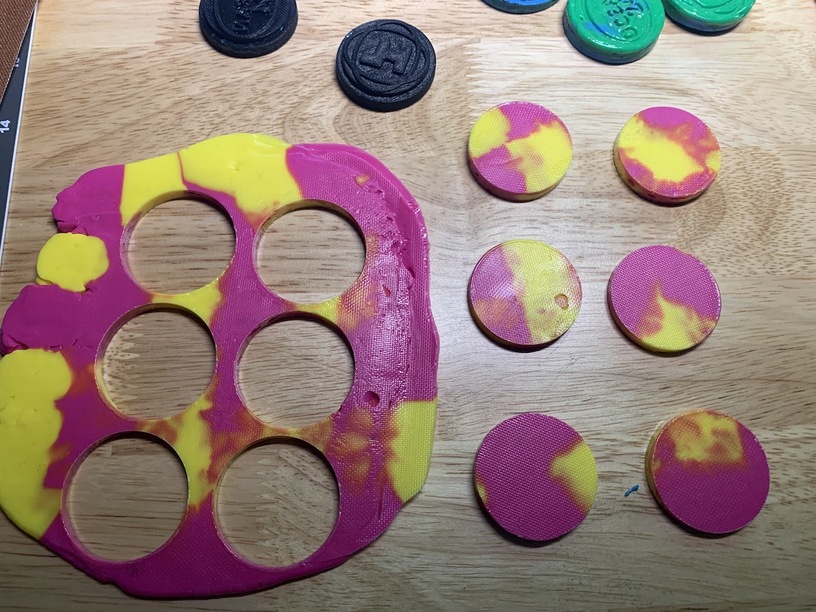
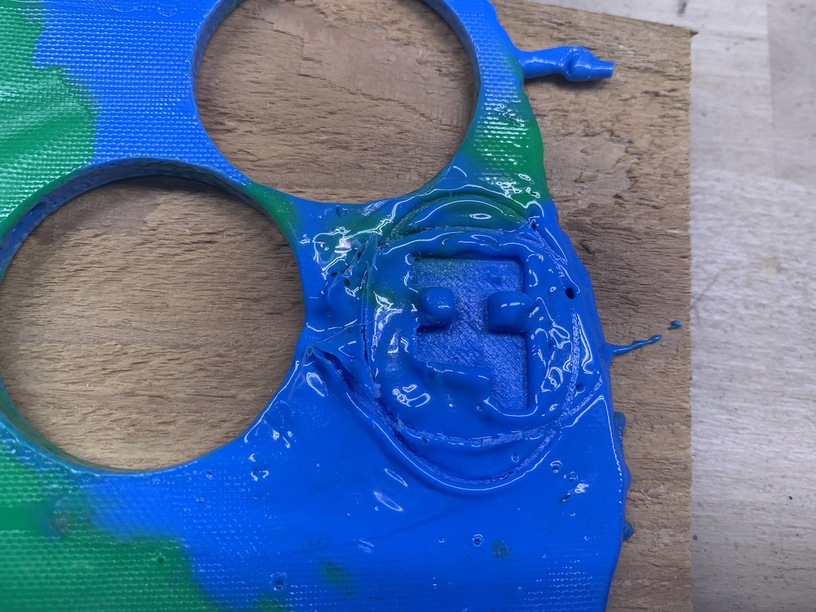
Some pieces were thicker, but they just had a gap inside - Still worked fine
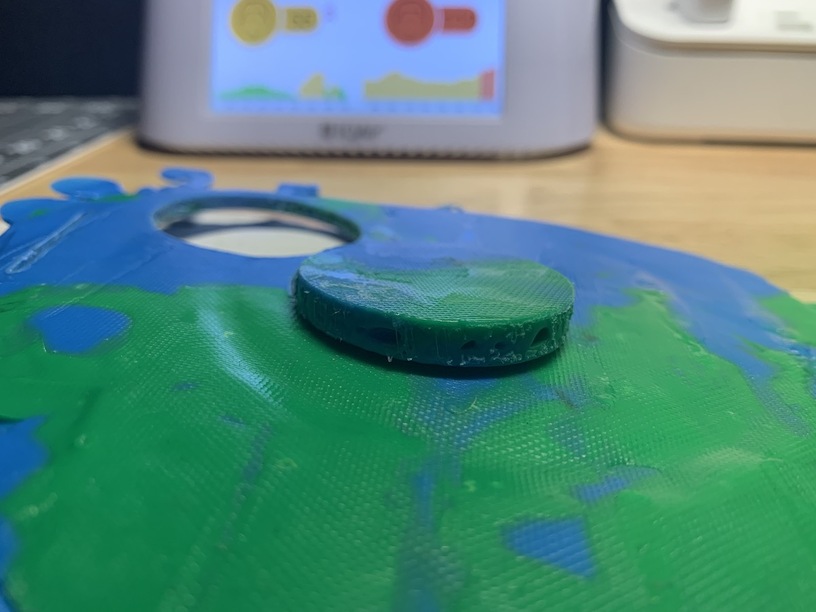
The thinner, solid section, was great. For what I’m not sure yet…
This experiment doesn’t have a use case for a ‘successful’ outcome. I just wanted to see if it would work. So this ends the GF section of this post, bottom line - HDPE does sort of work but totally not worth the effort and potential risks. PLA works pretty good, if you have a use for it. I mean, you could remelt them into something, or imprint the disks with something. Like hot pressing them into a coin. Wait a minute, hold please….

Ok. I’m ready to make some Lemonade out of this.
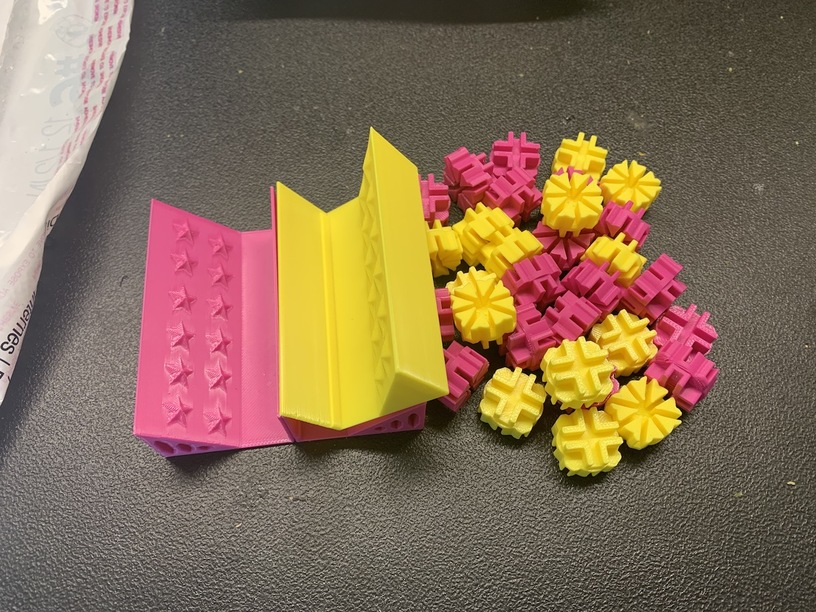
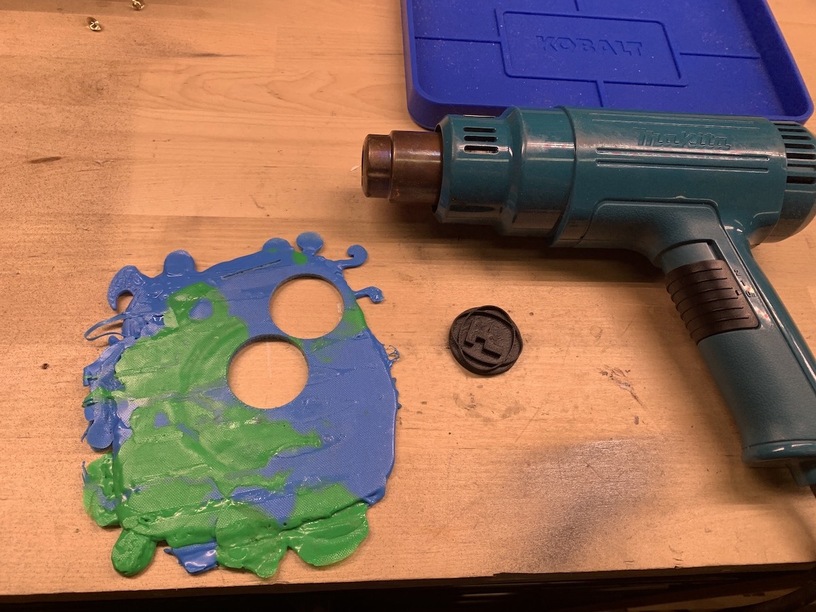
I thought about making a stamp, to press into both sides of the PLA ‘coin’ blank. I have some PAHT filament that has a much higher extrusion temp than PLA. So l’ll 3D print a Logo stamp out of it and use a heat gun to soften the PLA and press the imprint, or see if the stamp just melts too…
Pressing into the heated PLA - Not hot enough, but the stamp is fine.
Too hot -But the stamp remains unfazed. Although the PLA did stick a little to the stamp.
PLA has a low(ish) melting point, so pretty easy to melt with just a heat gun. Basically, when the texture from the silicone wrap goes away and the surface looks glossy, but NOT puffy, is about right. Almost ready -
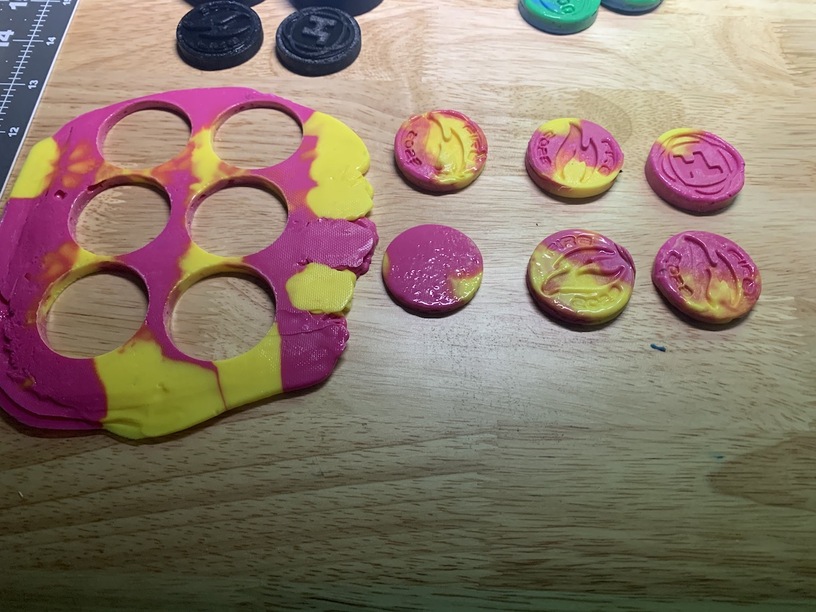
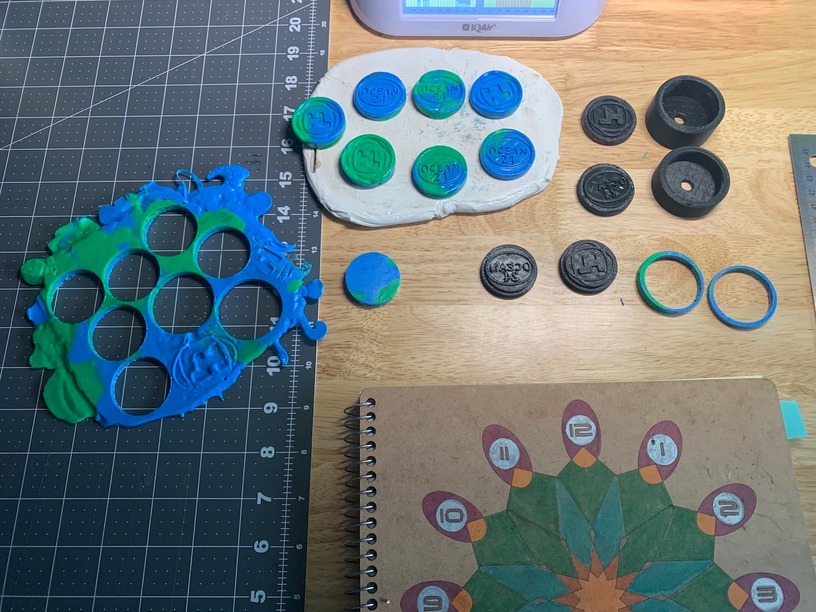
This is going well enough that it’s worth the time to go the extra step. It occurs to me that I have this melted PLA in a sheet from all the leftover parts from the Ocean24 project. And, I can cut them into coin shapes. So, I should make some ‘tribute coins’ out of it. Let’s make a stamp for the other side and some molds…
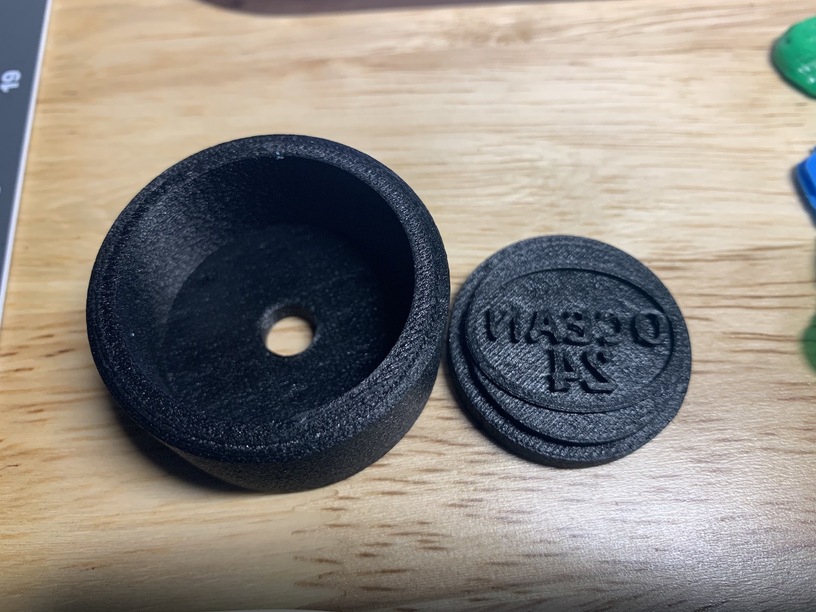
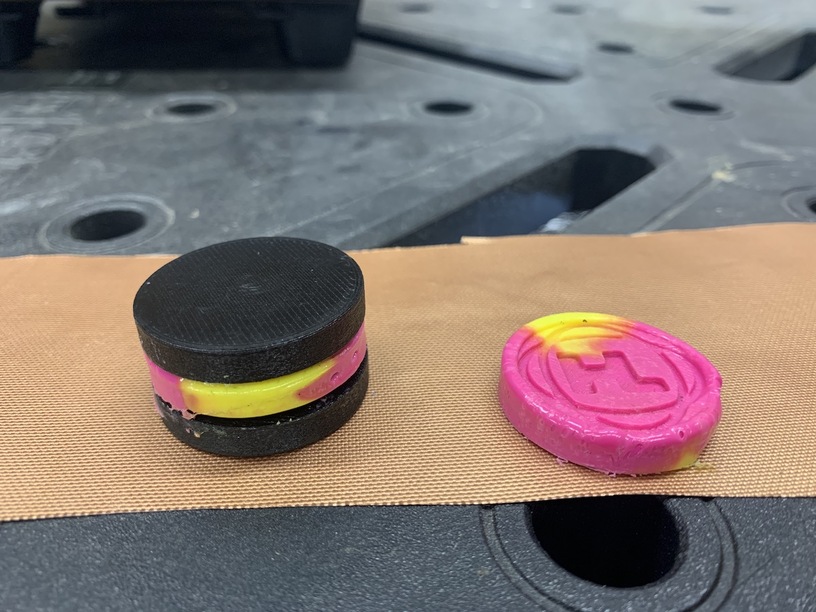
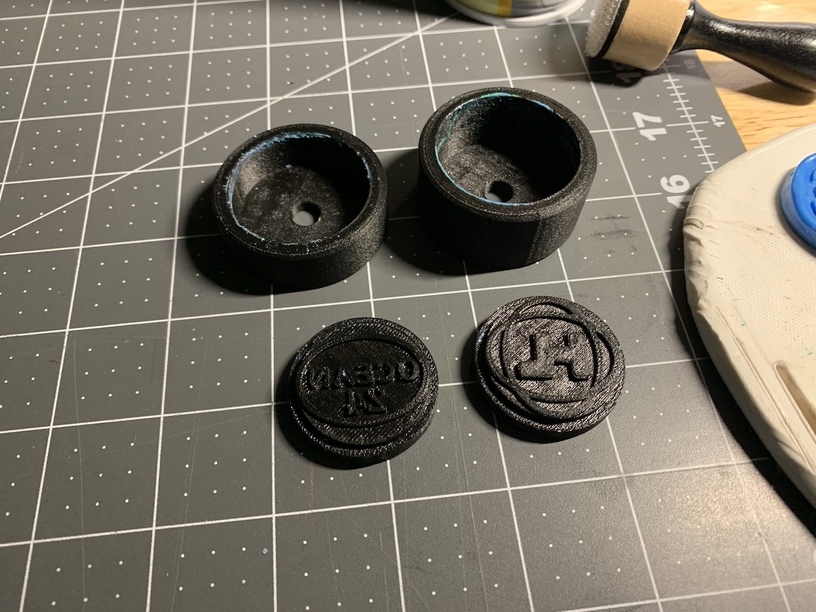
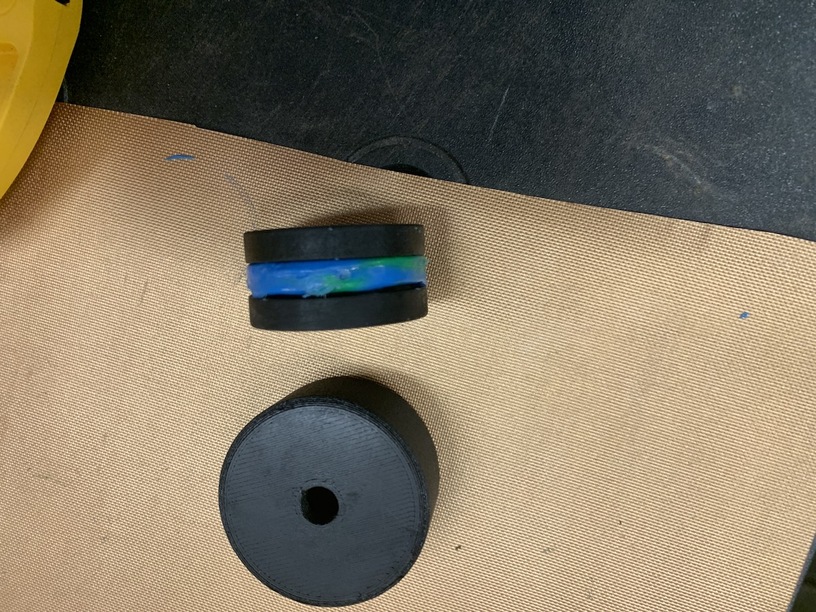
The mold ‘housing’ for each side is to keep the coin and stamp together while pressing, since each side will have to be heated and pressed separately. And I don’t want the soft PLA blank to just squeeze out in diameter. PAM is working well on the stamp to reduce sticking.

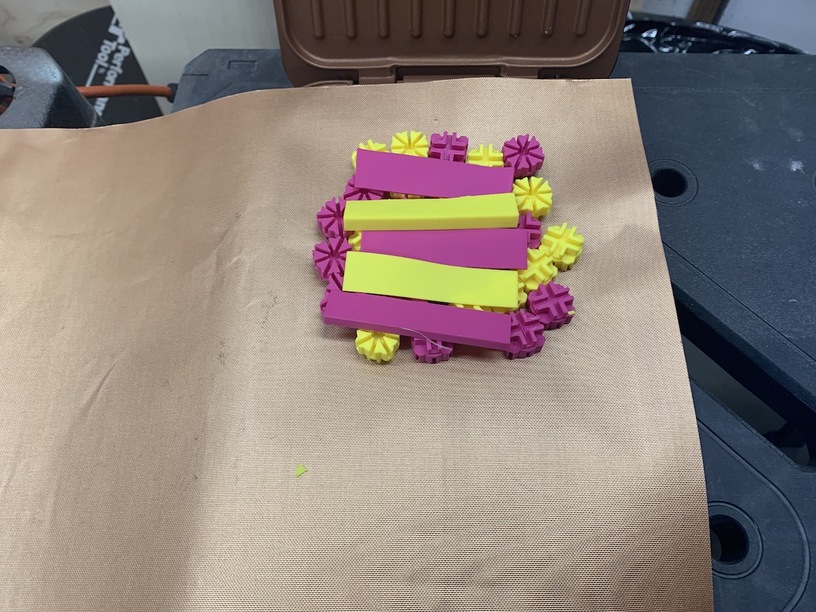
Heat and press one side -
Let it cool a little, and remove outer sleeve, but leave the first side stamp imprinted in the blank. Flip and heat other side of the blank and push the mold with second side stamp onto it. Press again and let cool. Push out both stamps with the blank in the middle.
It took a couple tries to get the mold vs stamp size within a tolerance that worked well, and the order of operation. Also, a little sanding of the edges cleaned up the finished coin nicely.
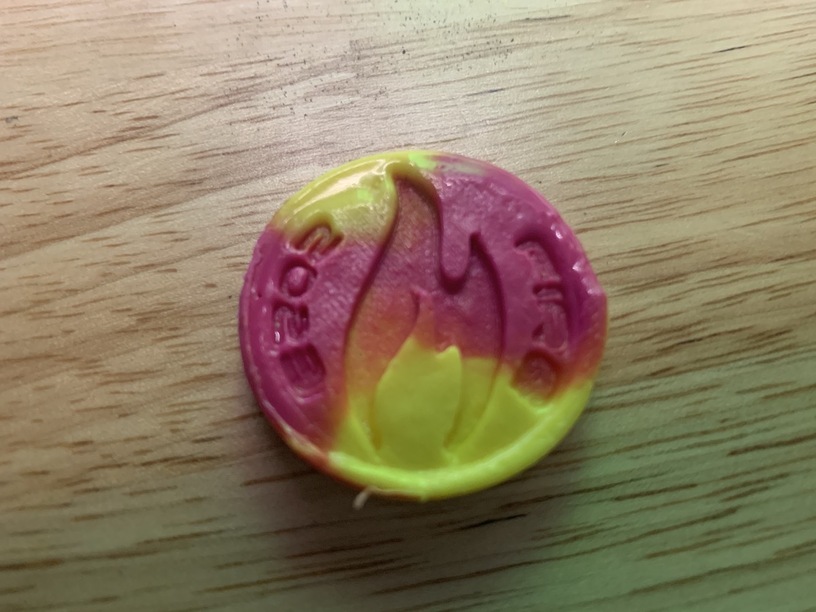
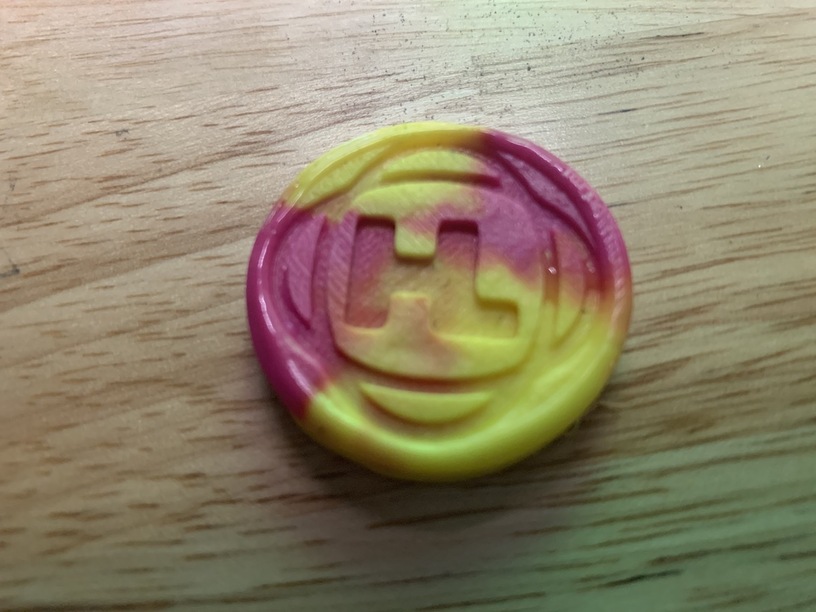
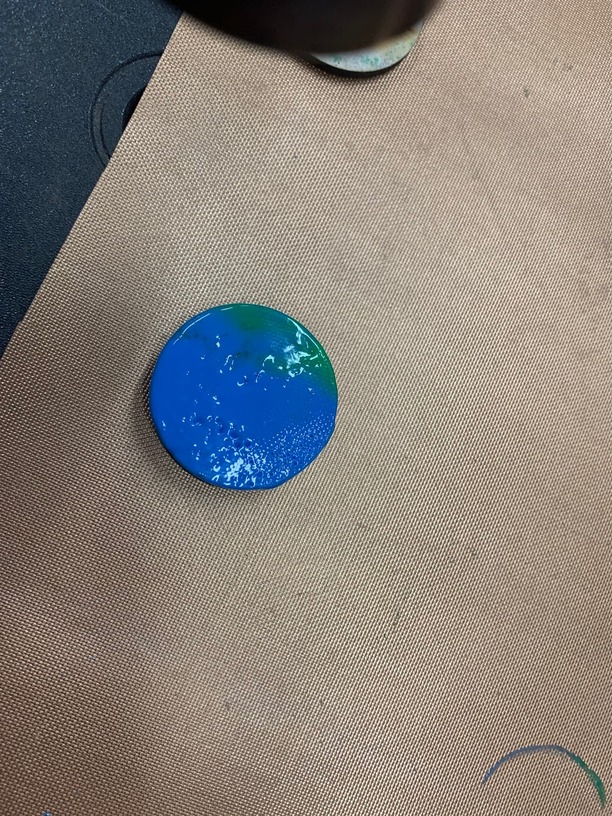
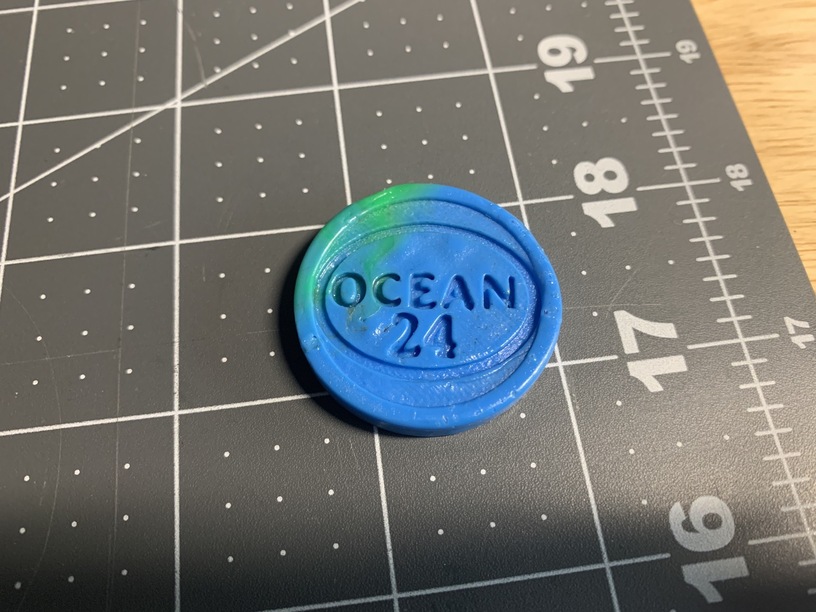
I can’t believe this is actually going to work, without incident. ![]() The pieces had a dull luster to them from being pressed, and sanded. Which I like as it looks like beach plastic. (Think beach glass). But I decided to give them just enough time under the heatgun to return their soft, smooth(ish), glossy finish.
The pieces had a dull luster to them from being pressed, and sanded. Which I like as it looks like beach plastic. (Think beach glass). But I decided to give them just enough time under the heatgun to return their soft, smooth(ish), glossy finish.
Lemonade, achieved…
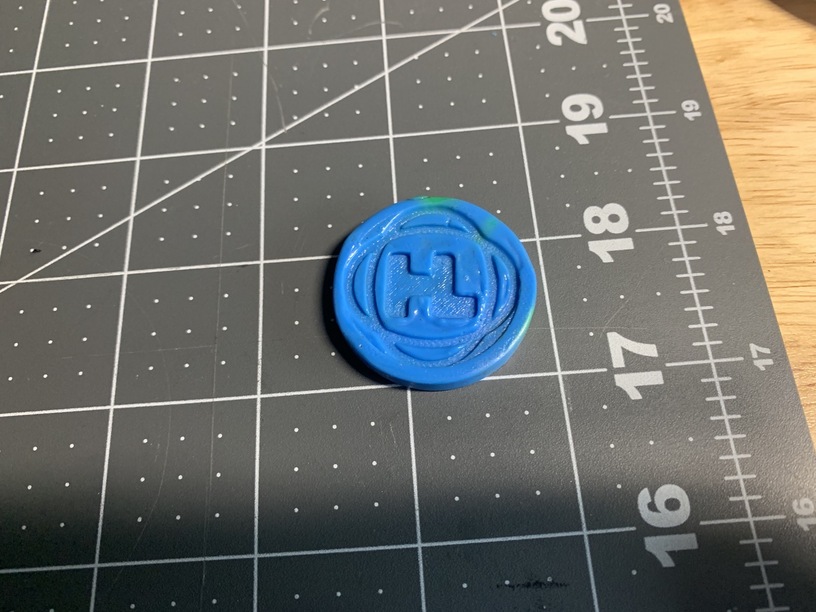
HL