The Galaxy Project

Greetings –

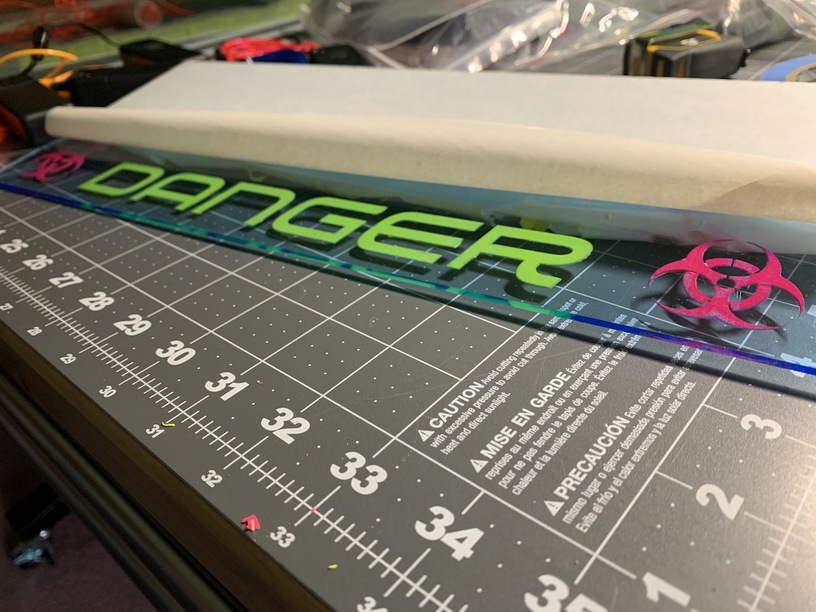
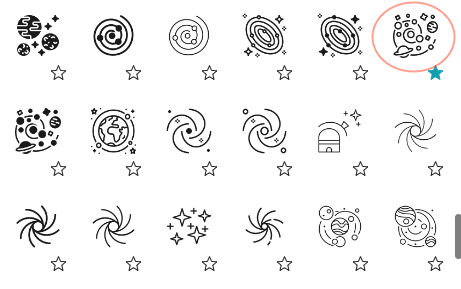
For this challenge I wanted to do a 3’ x 3’ piece, but made of separate components that I could attach to a felt covered backer board and hang on the wall. My subject thought was a ‘Galaxy’. So I searched the Add Artwork for Galaxy and selected the one shown below. There are two versions of this graphic available, one is a standard jpg/png that would only allow you to engrave the elements. The other one is (basically) an SVG where the individual items are separate pieces, so that’s the one I used.

Screen Shot 2022-06-10 at 11.36.11 AM

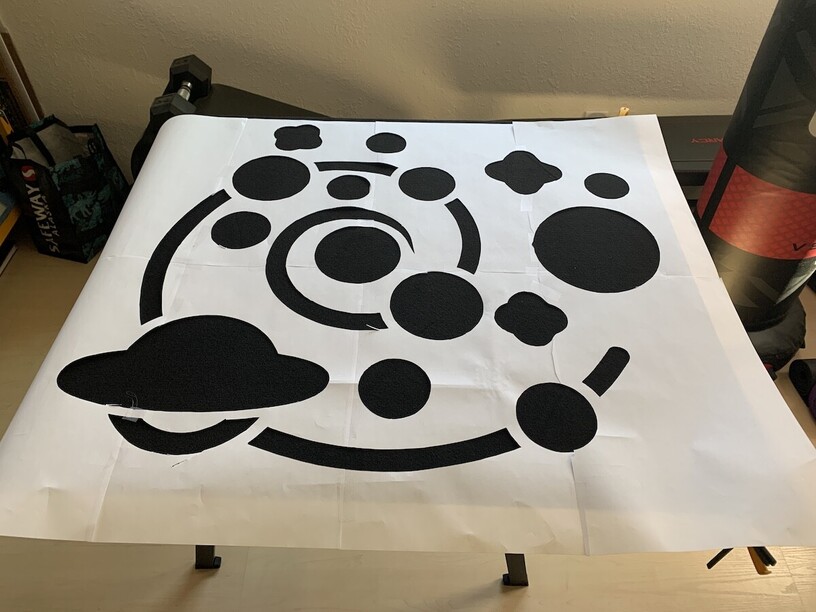
I sized it to 36” wide which changed the height to 32”, perfect. I exported it so I could bring it in to another program and print it ‘tiled’ at full size to use as a template, and make sure I liked the proportions. The design is simple enough I didn’t need to cut out the template, but I had the paper full size version anyway so might as well.

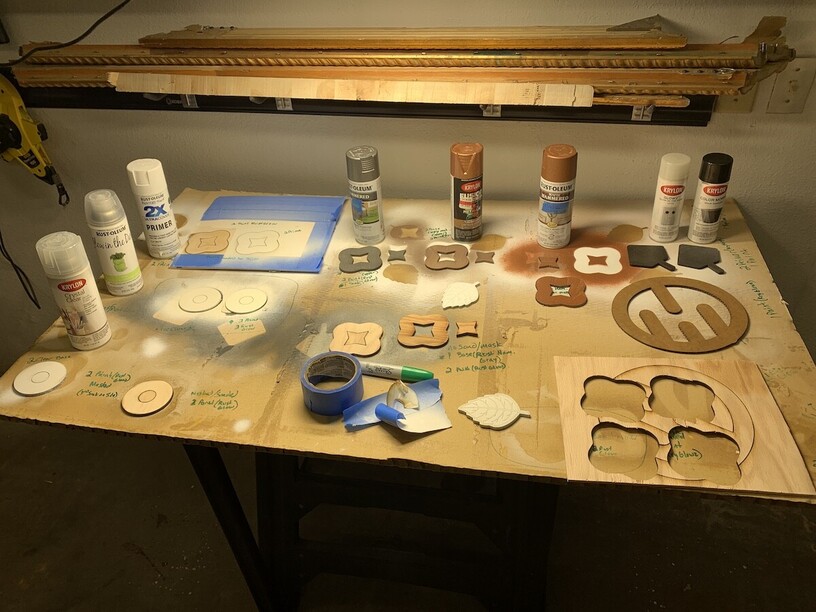
I really wanted this to be oak and maple, but, I also wanted them to ‘glow’ when the lights were turned off. :blush: I tried two different kinds of glow paint, and only one I found satisfactory, but when applied to the wood it didn’t glow at all on the oak, and looked blotchy and lousy on the maple in regular light.

So I just decided to go with Medium Draftboard. I then made four copies of the project in the dashboard and Tetrised the pieces as tight as I could get them onto separate sheets. I probably could have fit them onto three by really efforting the Tetris work, but I had already spent sooooo much time testing paint and wood, that I just needed to make real progress and went with four sheets. First batch cut and ready for paint.

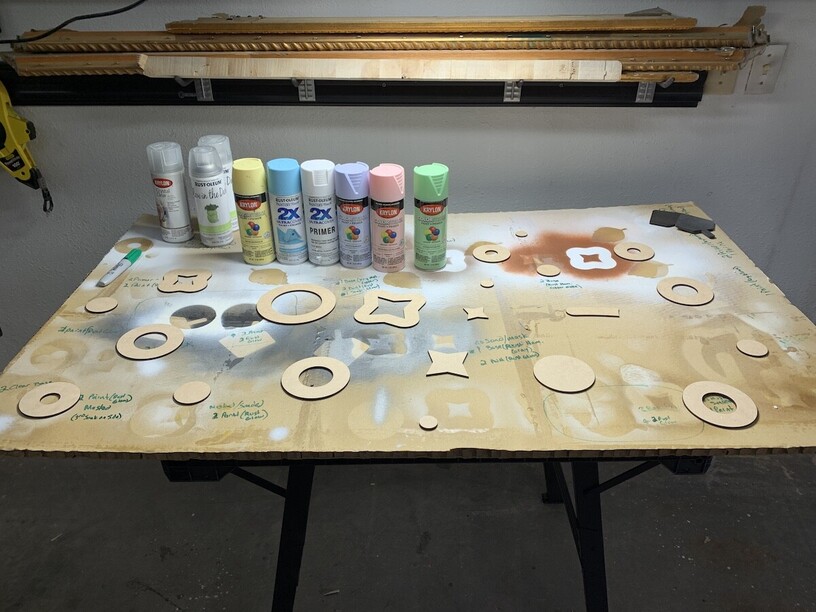
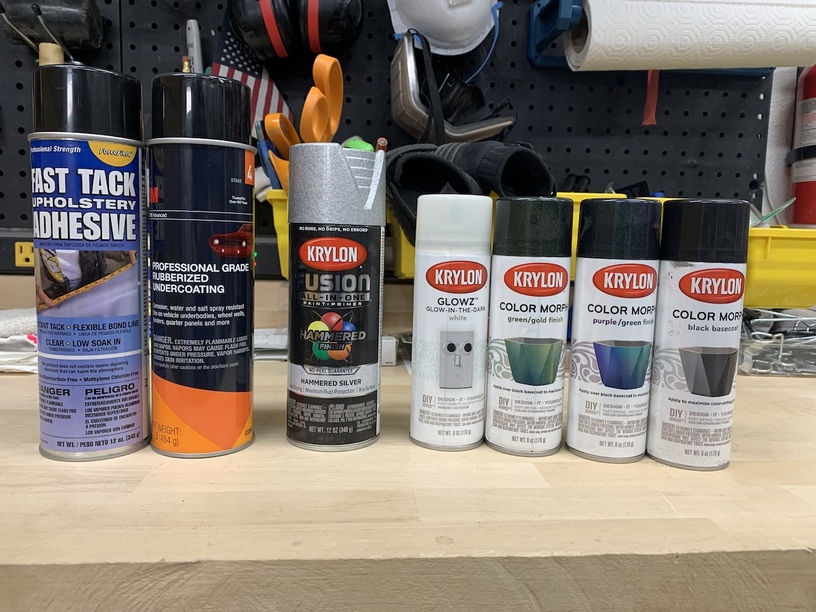
I also tried numerous paint colors, but applying the glow paint over dark paints just wouldn’t glow. Likewise, trying the glow paint on ‘glossy’ paint also looked blotchy and not very good. So I decided to go with just white matte primer and then 5 different light pastel colors in matte and satin. So it definitely looks like a ‘kids room’ piece, but that’s fine, I’m really only doing it to test the glow paint concept.

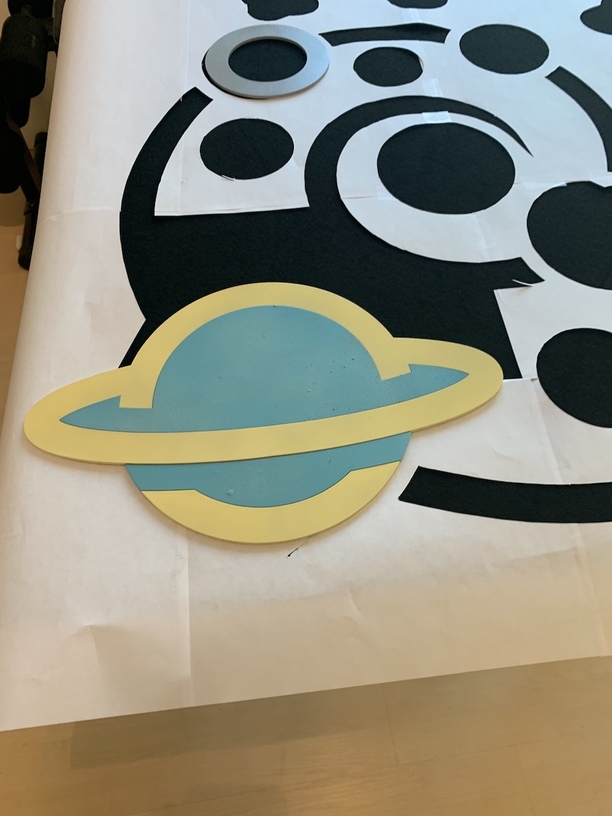
So on the ‘Saturn’ element, I had to modify the graphic to make it three pieces. After some head scratching, I added a circle around the planet section, which filled in the ‘gap’ on either side between the top and bottom half of the planet below the ring. I then added a .00” outline around the pieces and then deleted the circle. So most of the graphic outline would get cut twice, but that’s fine.

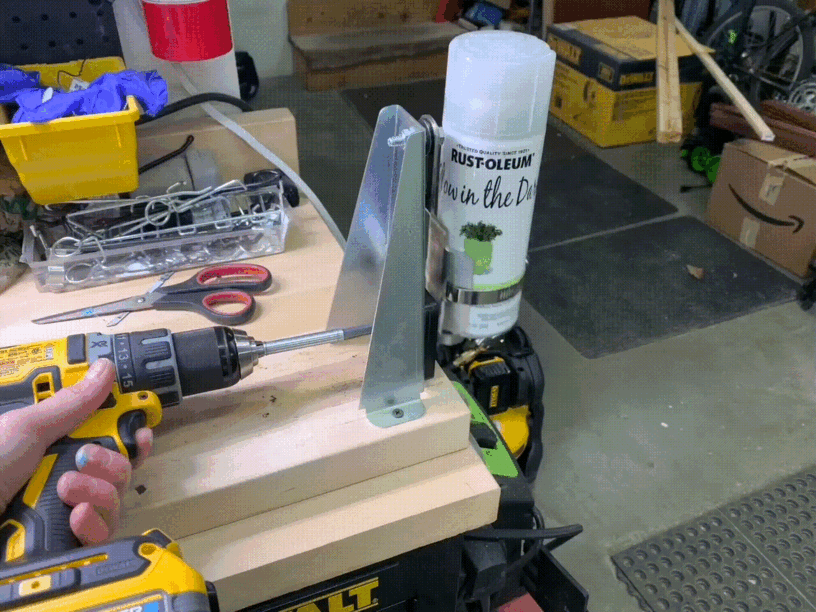
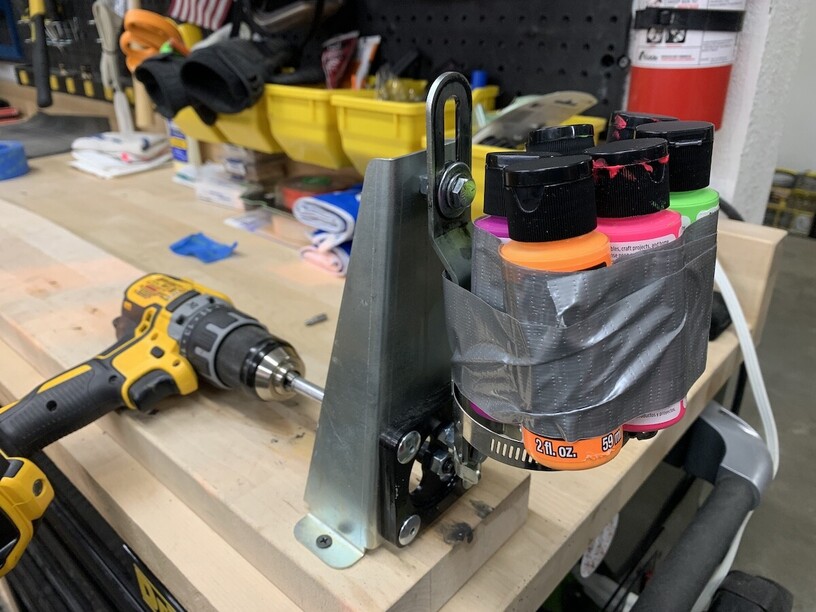
On to paint, and more paint, and clear coat. Two coats of the base ‘color’ paints, then two coats of the glow paint, then two coats of clear coat. Ya, that took forever…. Surprisingly, the clear coat doesn’t diminish the brightness of the glow paint, who would have guessed. For the glow paint, I came up with new terminology in figuring out how much to spray onto the wood. You want a ‘flood, but not a river.’ And as always, shake well. :blush:

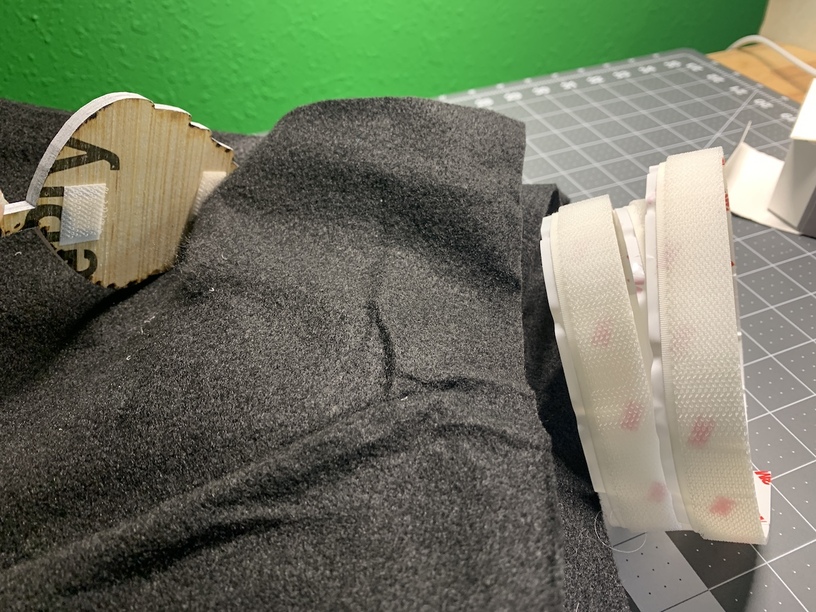
For attaching the pieces to the felt backer, I decided to just go with Velcro cut into little ¼” by about ½” pieces - and with 3 or 4 per piece it was more than plenty of holding strength to keep them on felt. I wasn’t too precise about cleaning up the wood edges, I just brushed lightly with a red scotch brite and left it at that. I also left the masking on the back, because I’m lazy. (Shown is just a test piece)

And here it is. I have to say this project exceeded my expectations. It looks like something someone would actually pay money for. HA!

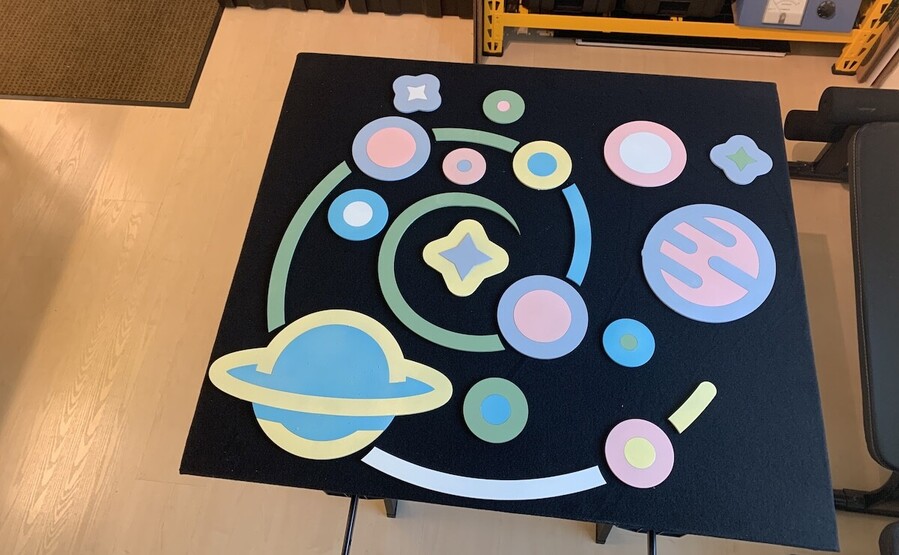
And yes, it totally glows in the dark!

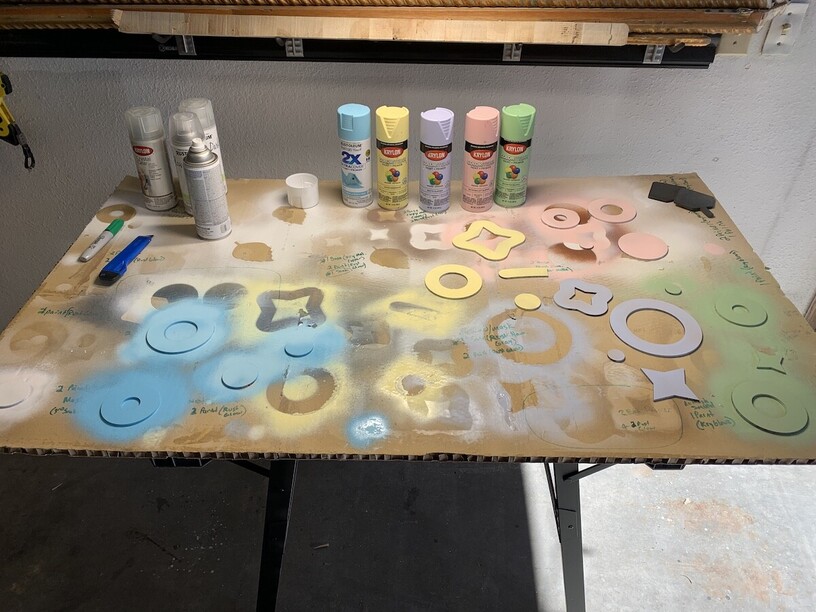
On a side note – I really enjoy the ‘artwork’ created by the overspray on my projects, which is why I usually use canvas. But on this project I needed a large flat surface for all the pieces to fit on at once, and I had a 2’ x 4’ section of cardboard laying around so I used that. When the piece was all done, I switched off the lights in the garage and boom!

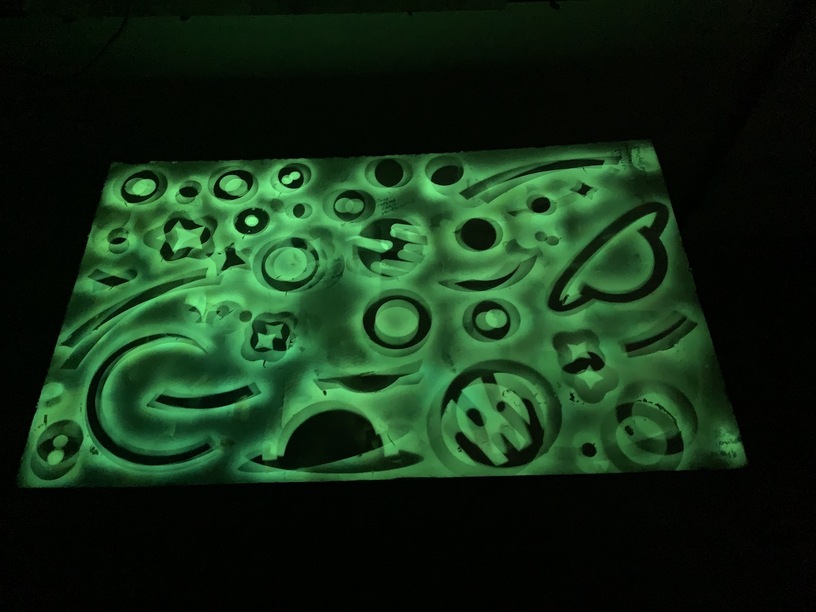
I really enjoy the actual piece, which I’ll give away, but this overspray mess is probably the coolest thing I’ve made so far, it’s mesmerizing, and will find a place on a wall in my garage for sure. And no, it’s not a blurry pic, between each coat of glow paint I shifted the pieces slightly so they didn’t stick to the cardboard. :slight_smile:

Hope you enjoyed the write up!

HL

50 Likes

Now that is a good use of the GF subscription service! And your chaotic accidental artwork is rad :call_me_hand:

11 Likes

Awesome write-up. And I think the little bit of splotchy on the planets looks more realistic, almost like a thin cloud passed by them. :slight_smile: It really is good to know that the clear coat doesn’t interfere with the glow in the dark paint. Just curious though - was it actually needed since the glow if the dark is also an exterior paint? But I think it looks really cool!

5 Likes

Thanks! :sunglasses:

The clear coat wasn’t totally necessary. But, mabey becasue I used matte and satin on the color coats, the Glow coats dried with a dull, almost chalky textured surface. And I wanted a clean ‘finished look’ sheen to the pieces. It took very little clear coat on each pass so that was no big deal. Touching up the ‘sides’ of each piece on the color coats however, pack a lunch. :slight_smile:

BTW - the first glow coat used almost an entire can of Rustoleum Glow in the Dark, soaking into the matte and satin undercoats. I was flooding the surface, but still surprised it took so much. But the second glow coat used probably less than half that.

Other lesson learned - the Glow paint was difficult to figure out how to use and get a consistent effect. I used up about half a can on my samples just trying to figure it out. Basically, when you start to spray, the actual glowing element in the paint doesn’t come out right away, but you can’t tell. So you need to spray off to the side for a second or two before you swipe over your piece. And shaking often helps as well. The other glow paint I tried, Krylon Glowz (white) I couldn’t get to work consistently at all, so I gave up on it and stuck to the Rustoleum, since I liked the green glow way better anyway.

9 Likes

This is all great information! Thanks so much for sharing your experiences. I definitely want to do something like this for my kids.

5 Likes

That does look fabulous! Congrats :slight_smile:

I haven’t used it yet, but I picked up a tin of glow in the dark stuff that you’re supposed to be able to add to others colour as a top coat. I wonder if that would have gotten you the look you were going for originally.

7 Likes

Thanks!
Interesting paints, and probably would work really well.

But I prefer to shake it, shake it good.
Glow

There’s also a ‘Shake & Bake’ joke in there somewhere. :wink: :sunglasses:

22 Likes

Nice work man, but the overspray and that paint shaker - :kissing_heart: :ok_hand:

9 Likes

Wow, nice way to elevate that humble Noun project art! I loved the writeup and the final piece, as well as the “ghost” piece. Now that you’ve reached for the stars, where will you go next?

5 Likes

Very cool project. I really like the overspray board. It reminds me of how often I pull something out of the glowforge and realize how cool the leftover bits look.

9 Likes

That is so cool. Looks like the telescope needs some corrective lenses like the Hubble’s!

And I’m glad you put the animation of the can shaker. I was thinking that perhaps it was some battery powered paint sprayer that uses rattle cans. I have no idea of all the cool tools that makers use. Thanks for being so detailed in your presentation!

8 Likes

Thanks for your write up! Love glow in the dark stuff…

4 Likes

To the danger zone. :safety_vest::shushing_face:

5 Likes

Take the highway.
great art!

2 Likes

Thanks all!

Yesterday was recon and prep. Today, I’m going in for the win…

HL

8 Likes

Wow this is fabulous! Thanks for sharing your process (and the shaker!). The end result of both pieces is amazing :slight_smile:

3 Likes

how do I make the shaker?

4 Likes

I bookmarked your project; what a great writeup! The last photo had me looking for another pair of glasses. I think it’s the best part of the make.

2 Likes

Thx again! And the shaker I saw on a YT video, don’t remember the source, but it says ‘Shake Right’ Max 300 rpm on it. Same style can be found on Amazon here - Spray Can Shaker

AS uses a spinner style and I suppose that would work as well, and be more simple. But this ‘shaker’ can do other paints like acrylics. Up to 6 at a time stay on there pretty well. Don’t judge, it works. :slight_smile:

It also works on those 6oz. mini spray cans with the existing clamp. But it’s easy to swap out the hose clamp for a smaller one if you were doing a lot of the thin spray cans. And of course the bigger cans as well, like adhesive and rubberized undercoating.

For a project like the Galaxy, where I used 9 separate cans (on the finished project), plus 5 additional colors in testing, it’s a must have in my book…

HL

11 Likes

I have one of these (currently out-of-stock) things, which works pretty well, too:

I have heard that they eventually fail but, are easy to repair with nuts and lock washers.

There are some 3D printed DIY versions of this floating around, too. e.g.:

I have seen versions for smaller paint bottles (like the Vallejo paints) as well.

4 Likes