Ocean24 Medallion - Cutting HDPE and PLA

Greetings - Thanks all -

I’m going to keep this thread going, as I have additional projects finish. So let’s get on it -

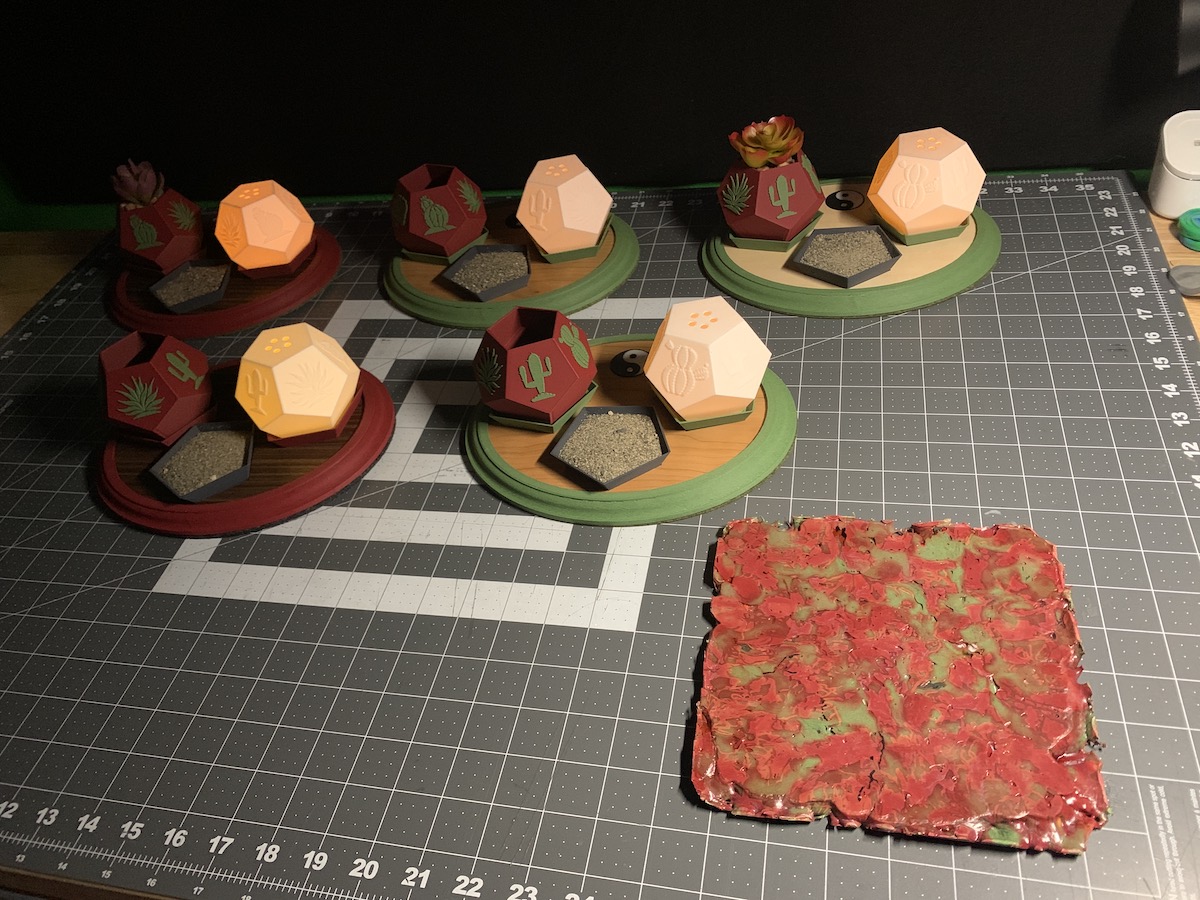
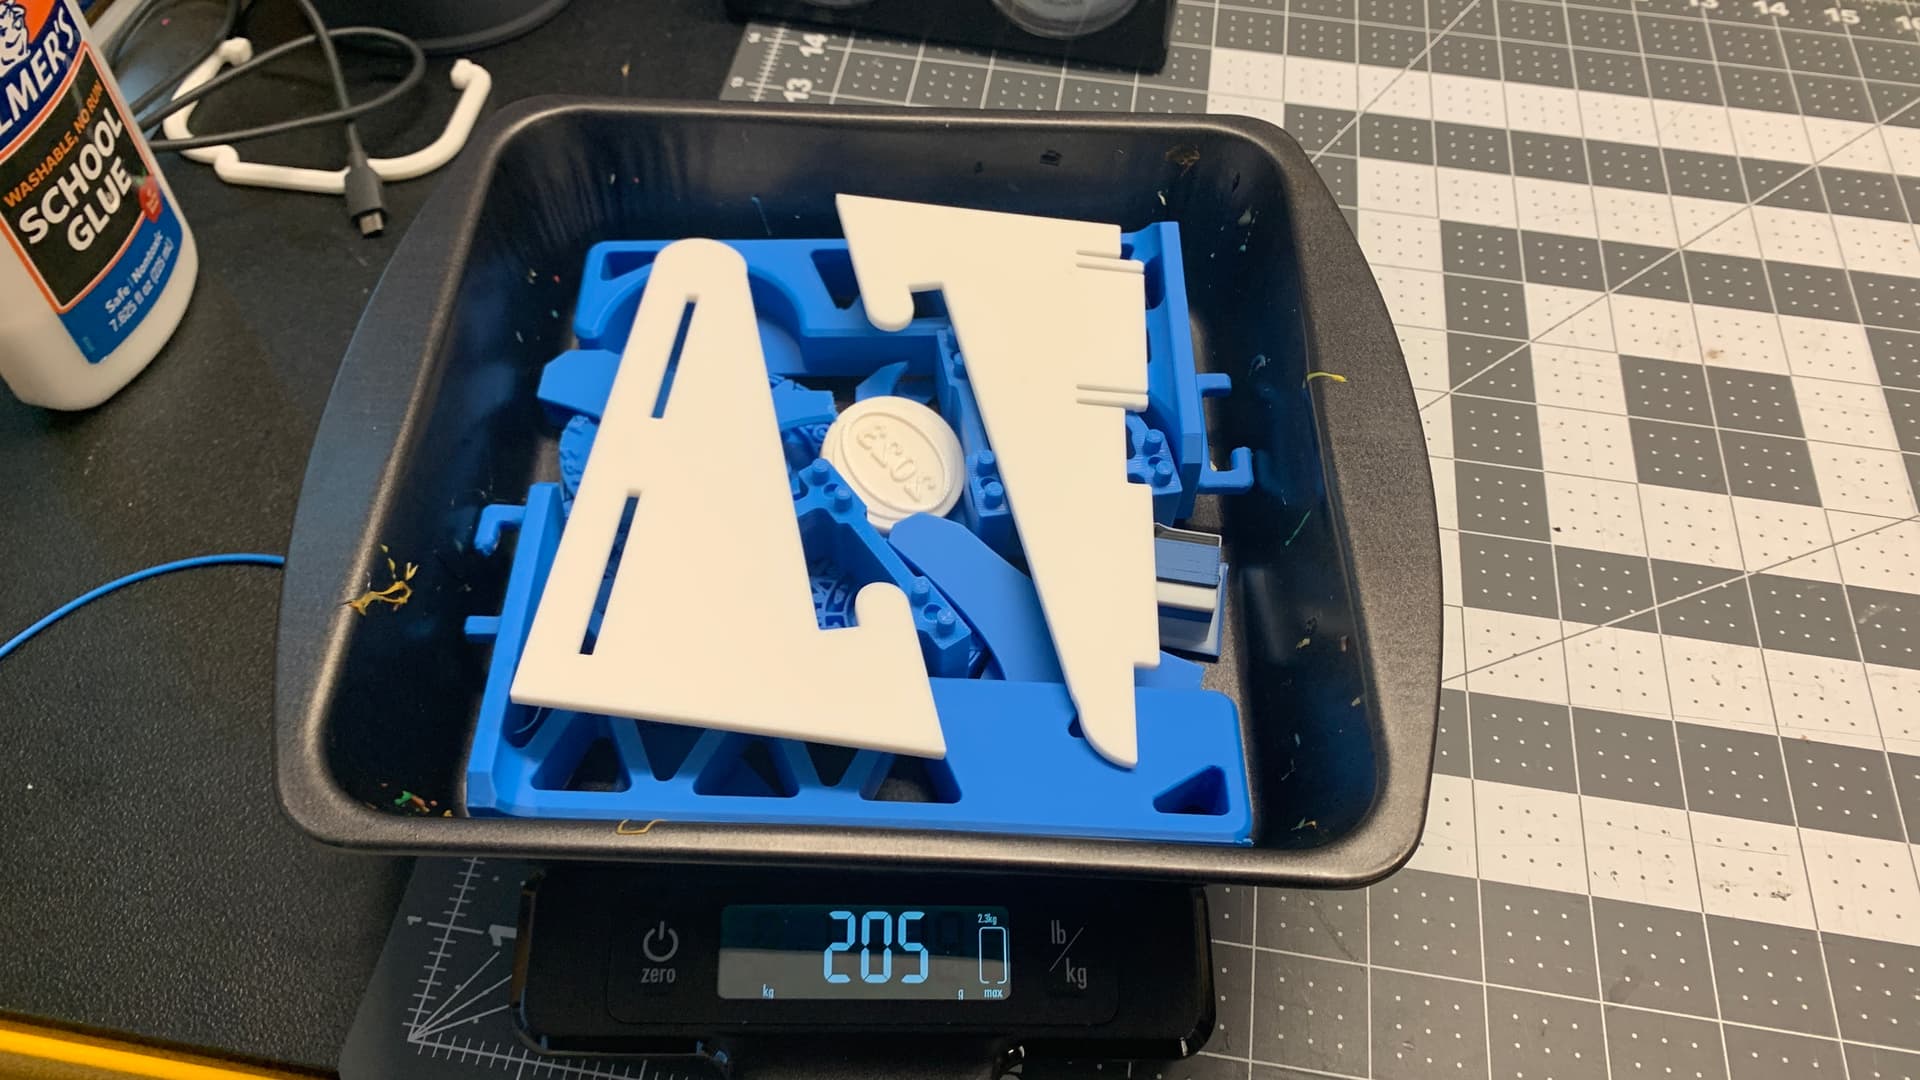
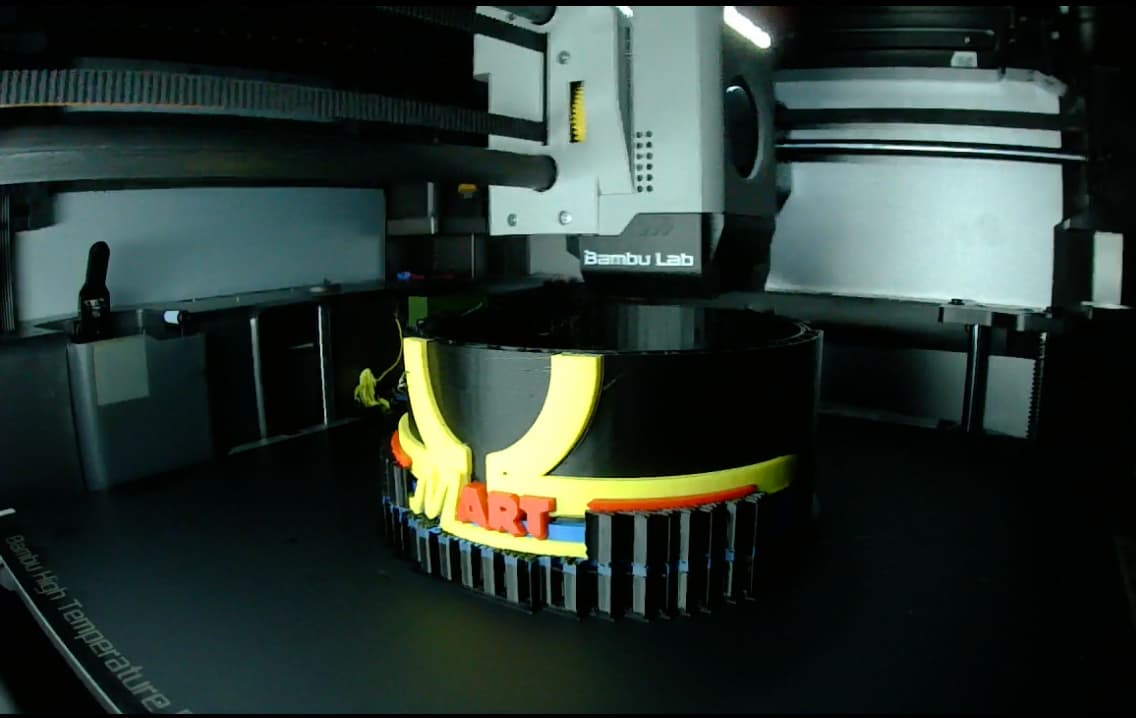
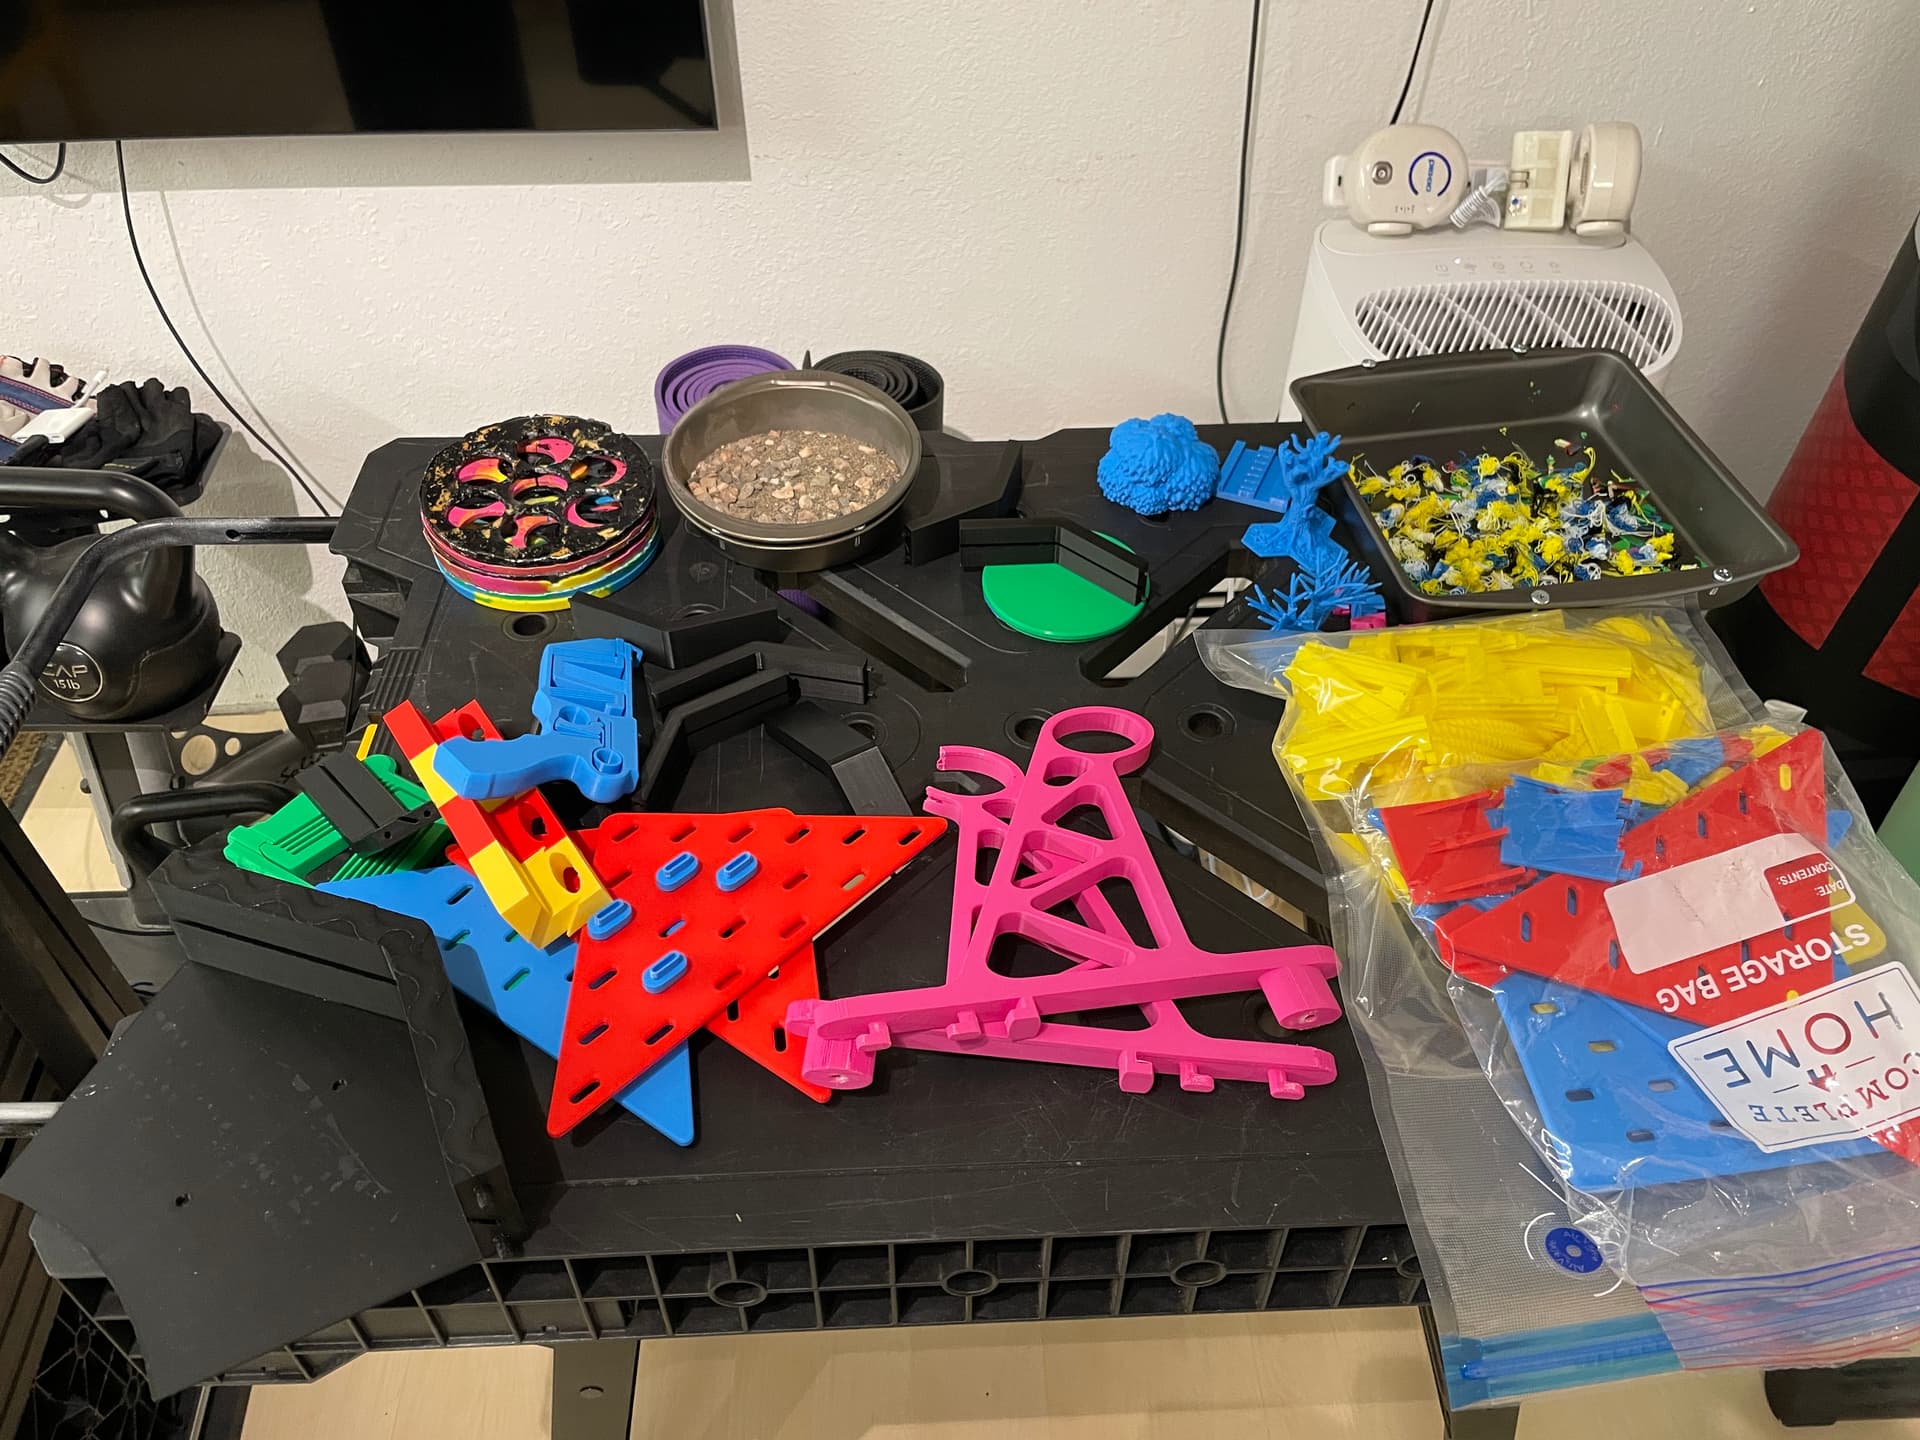
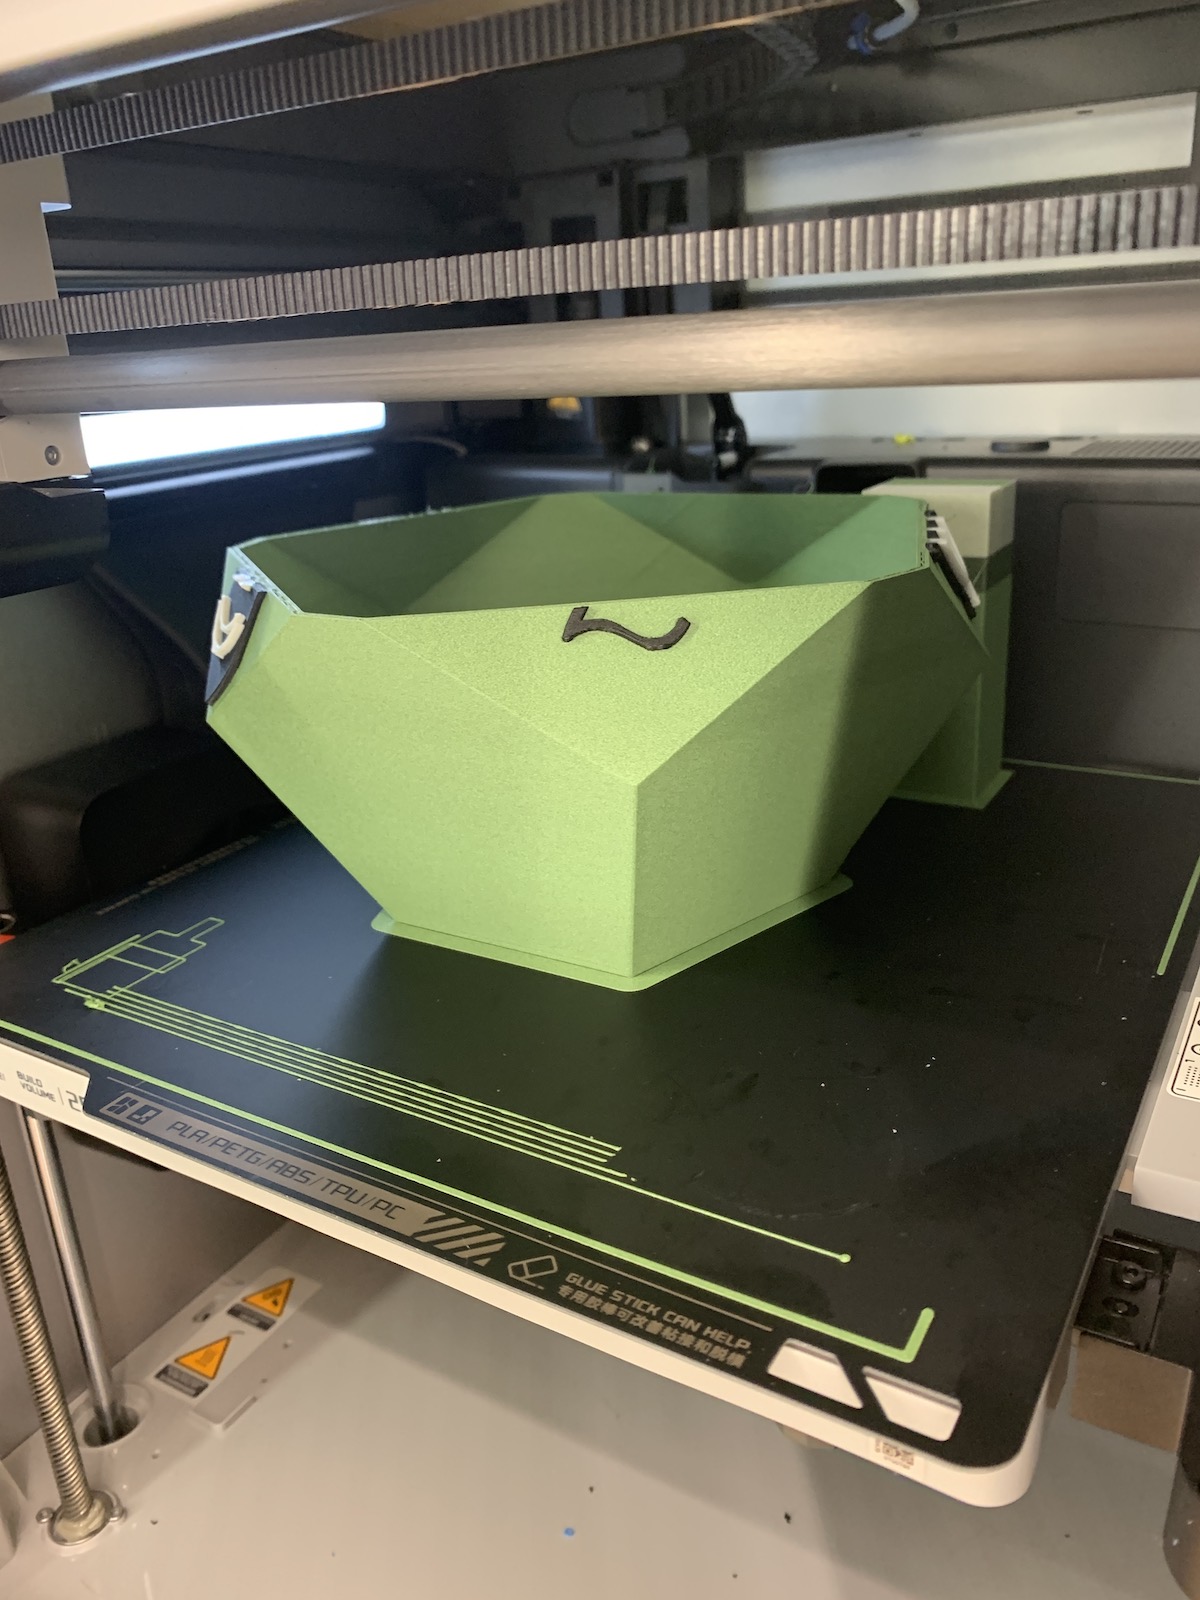
After the Aquarium and fire builds, I decided to work on mesh editing and do a large dodecahedron planter pot for my kid. With symbols from their favorite band, multicolor printed into it. Pretty fun, but I didn’t write it up as it was a ‘learning experience’, and personalized, so I didn’t want to show it. The pot came out pretty good though -

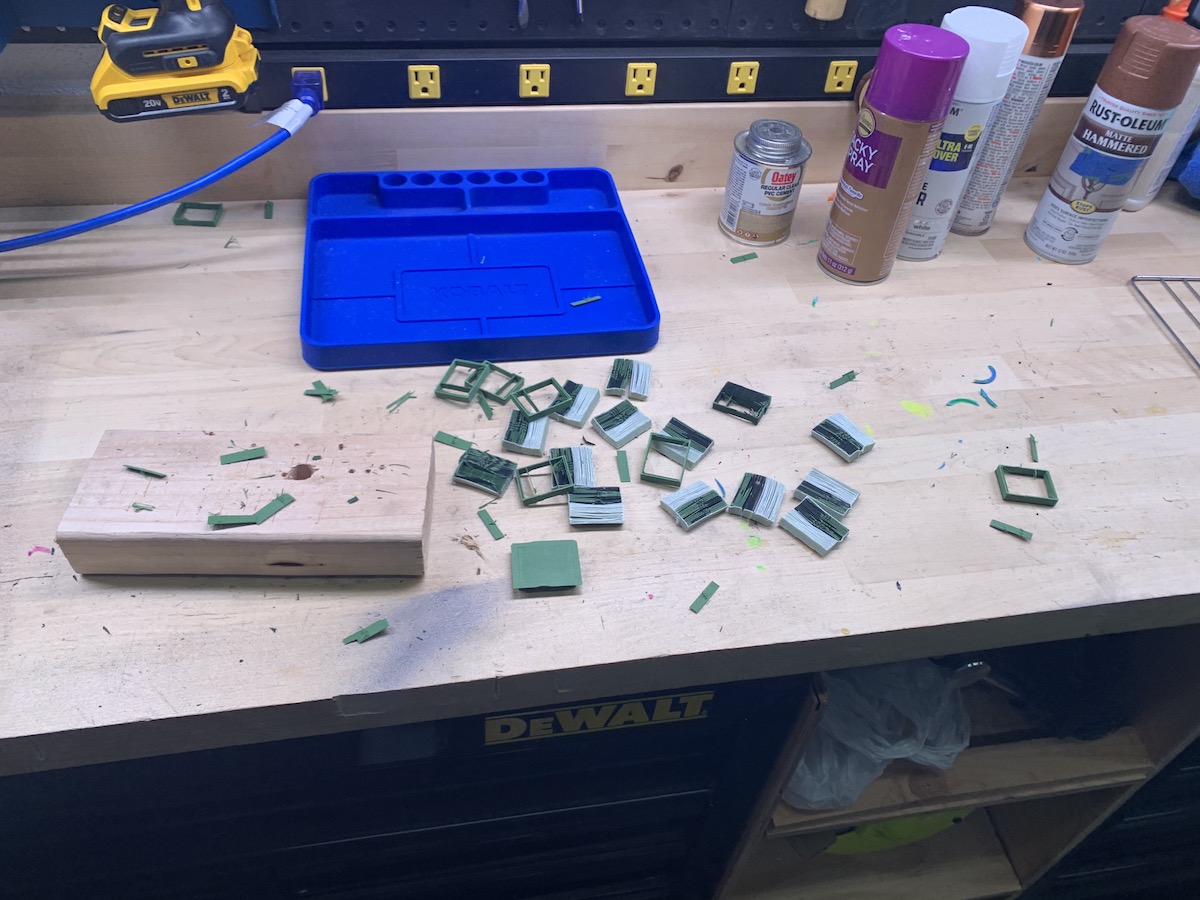
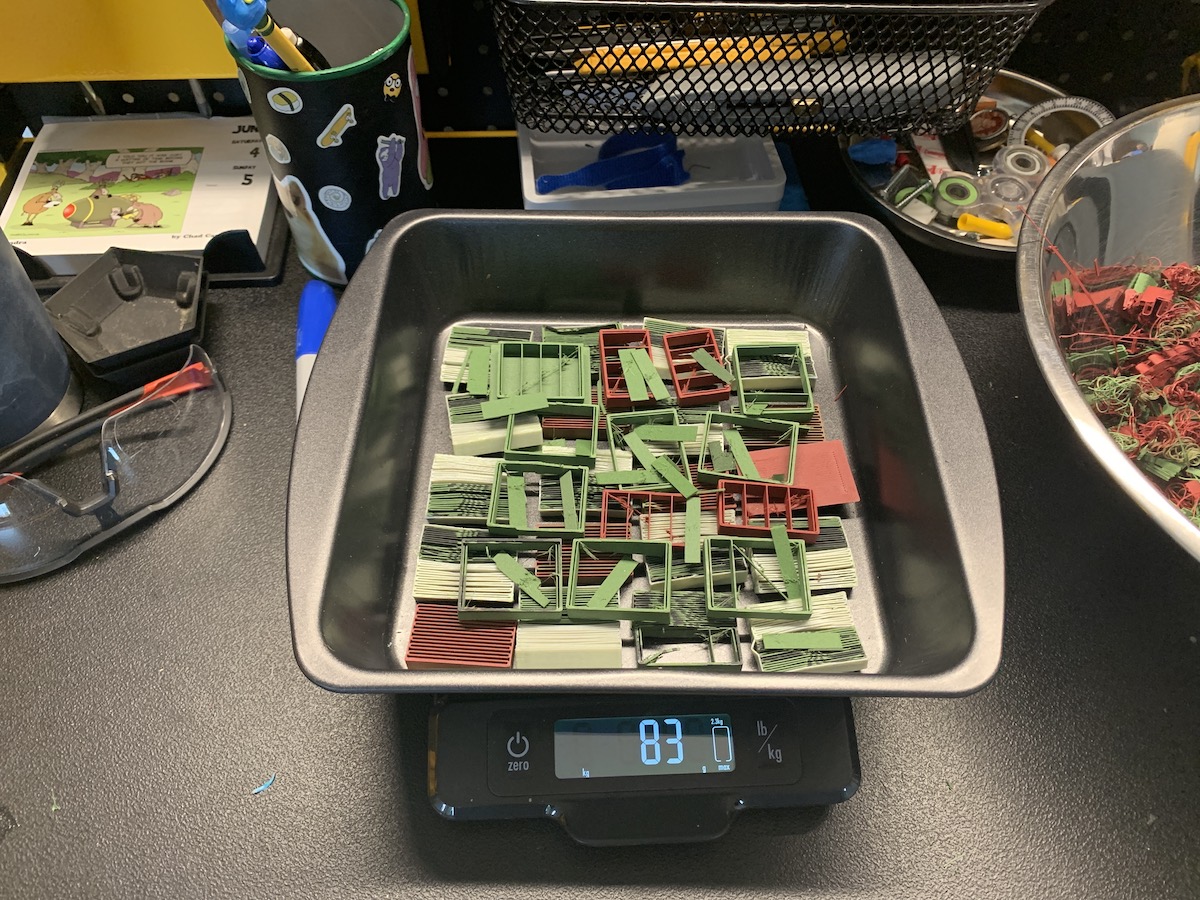
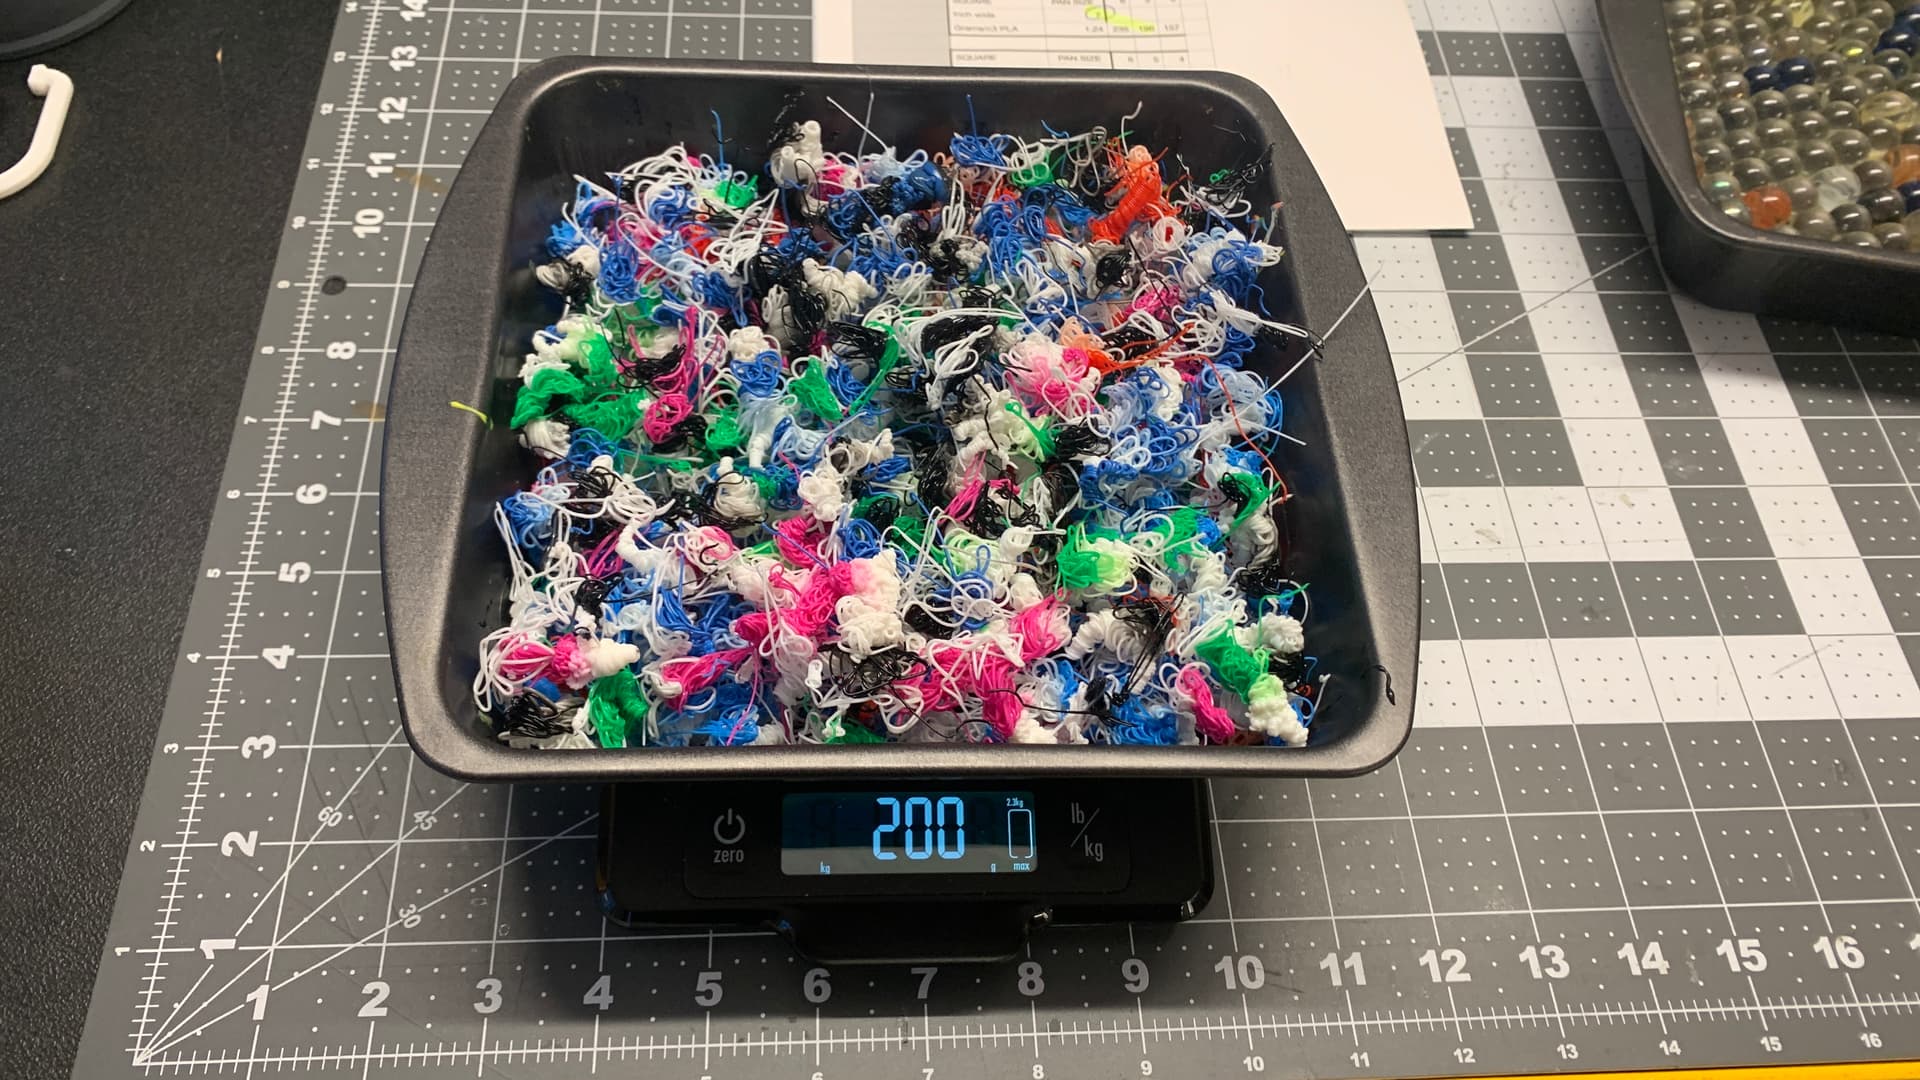
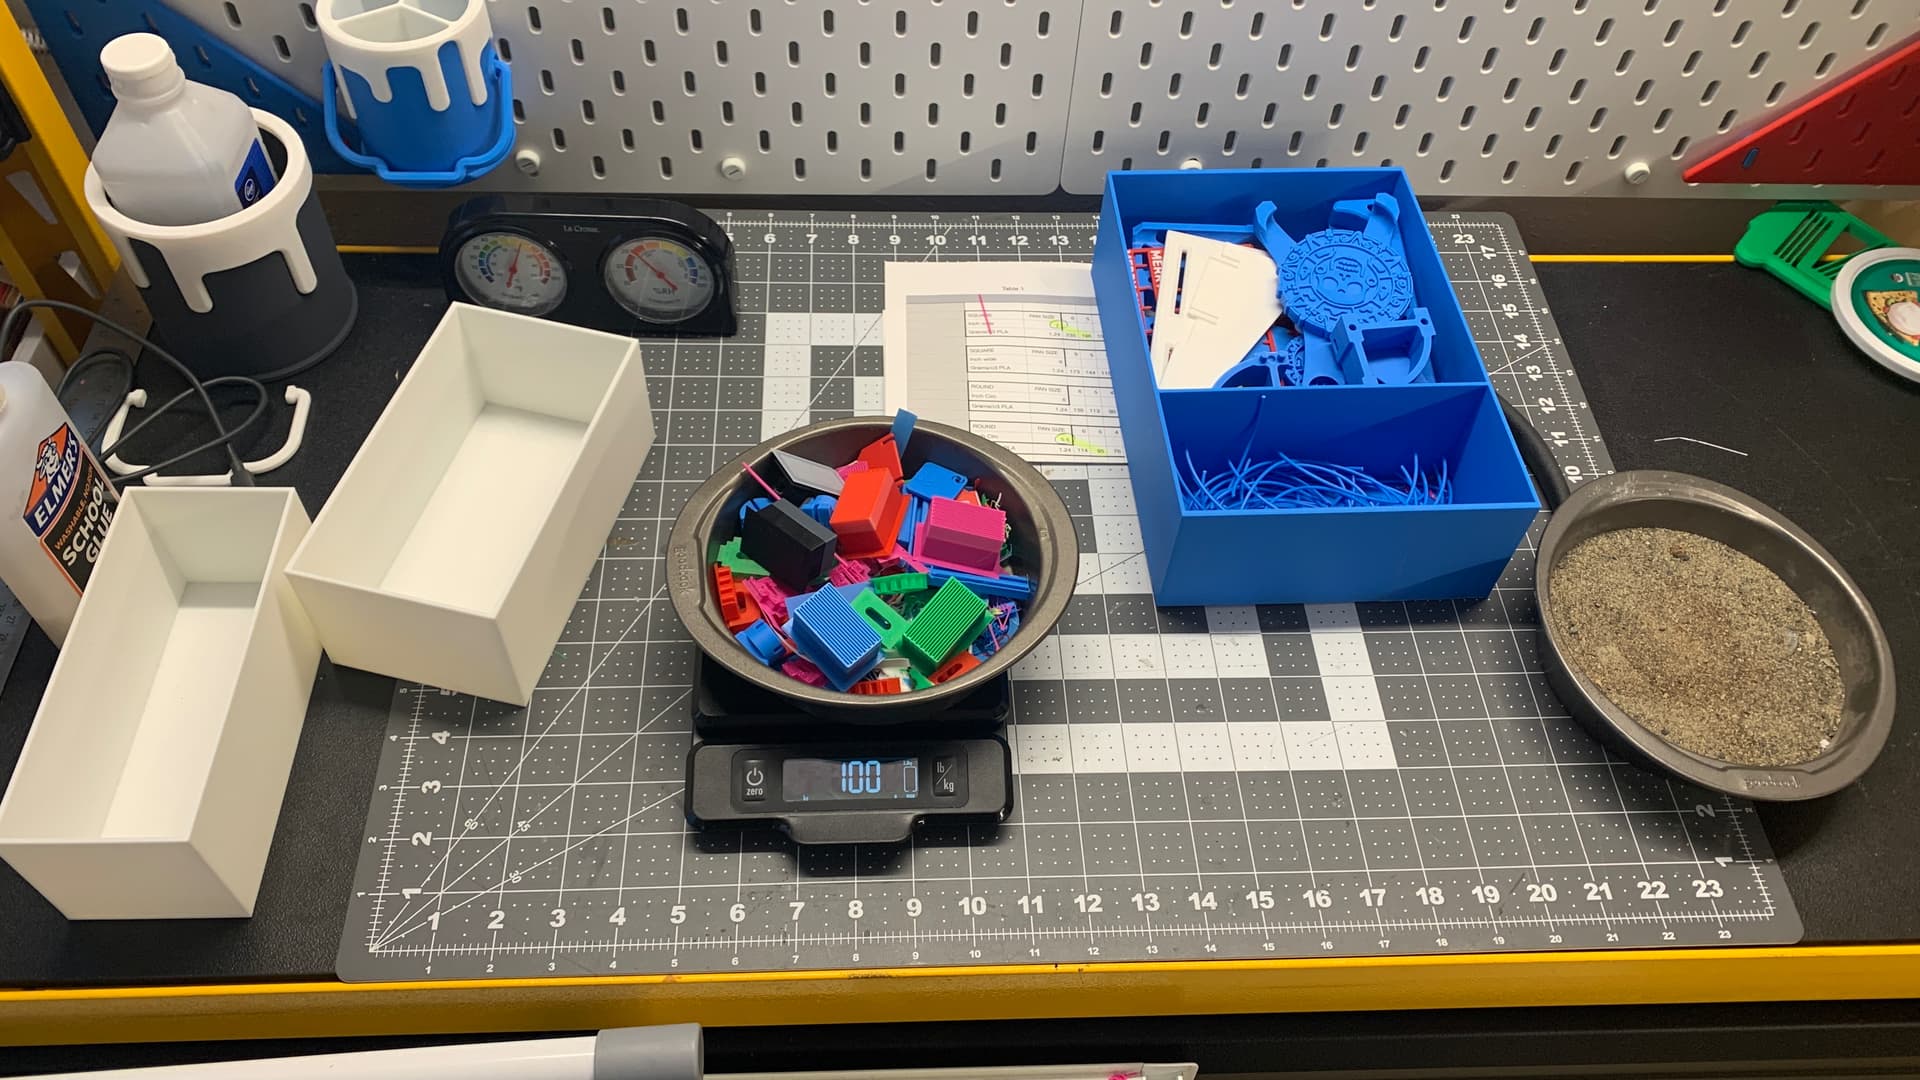
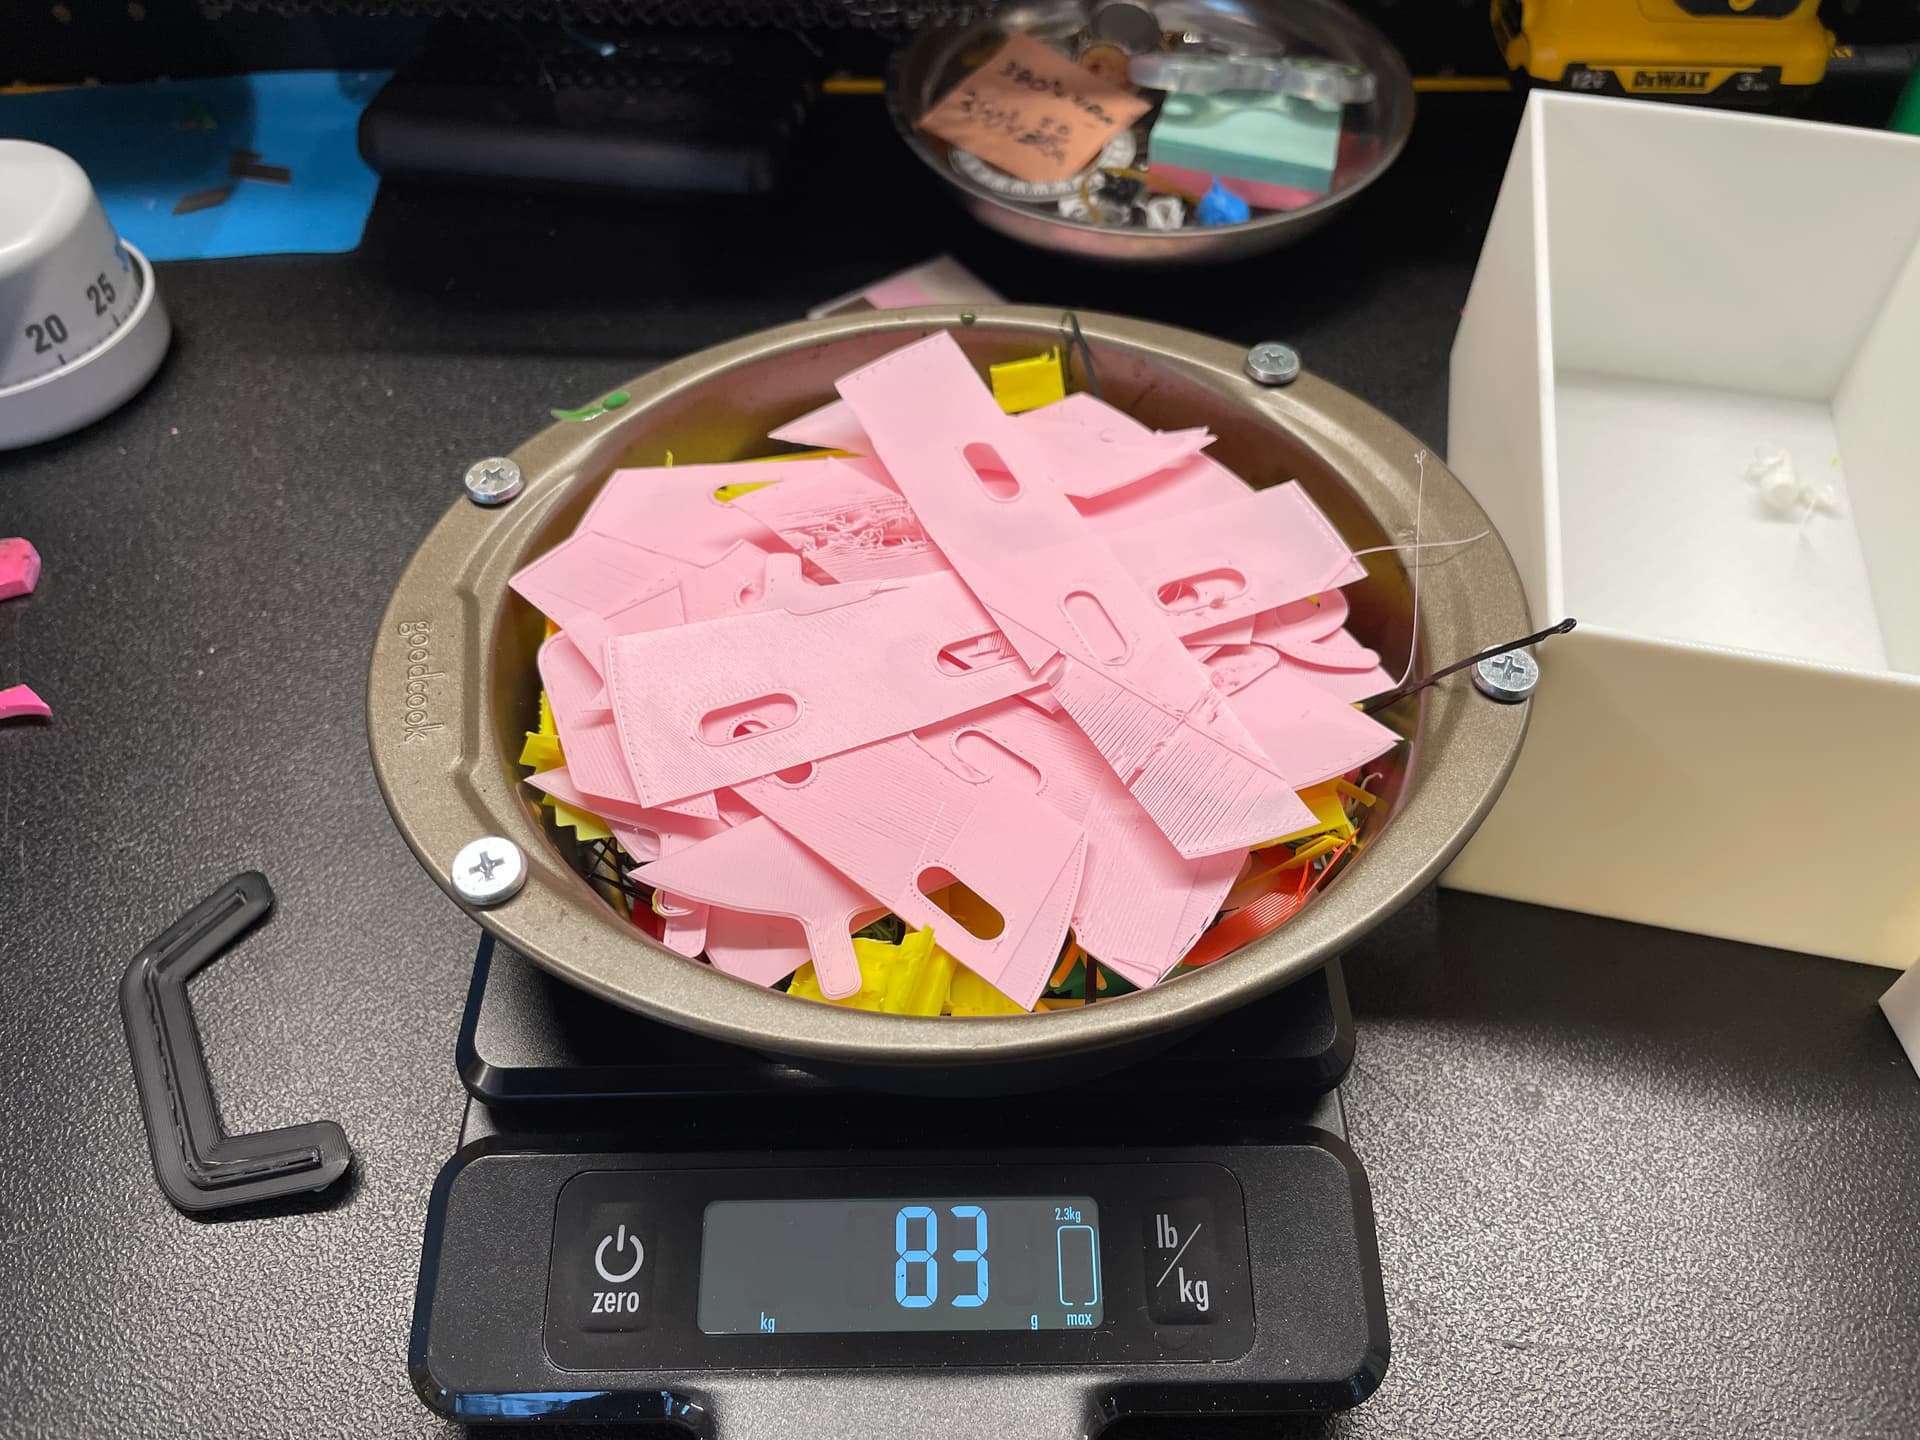
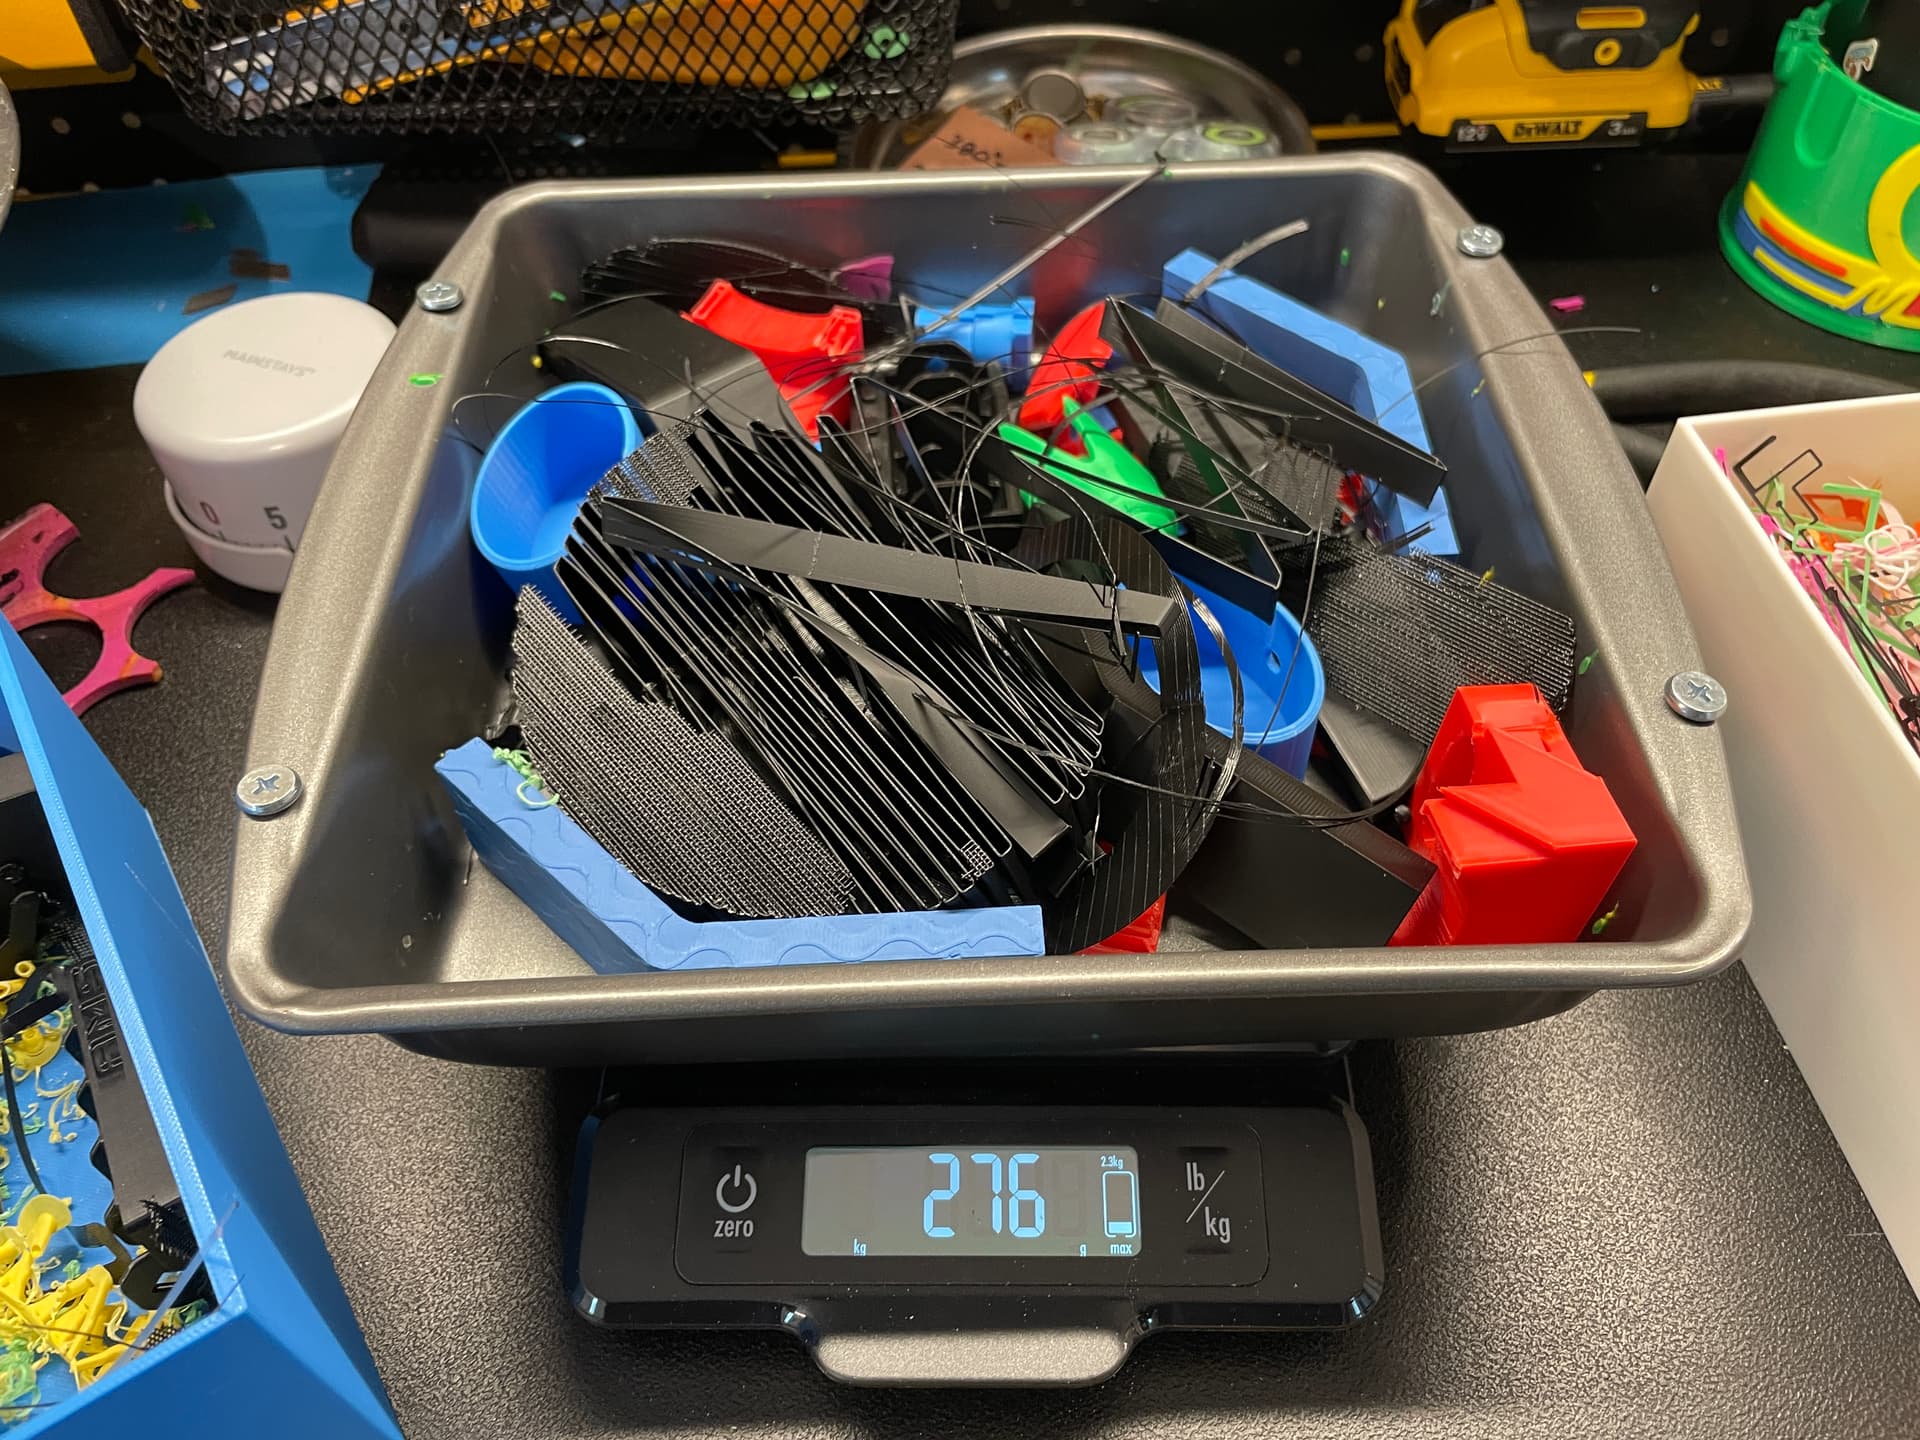
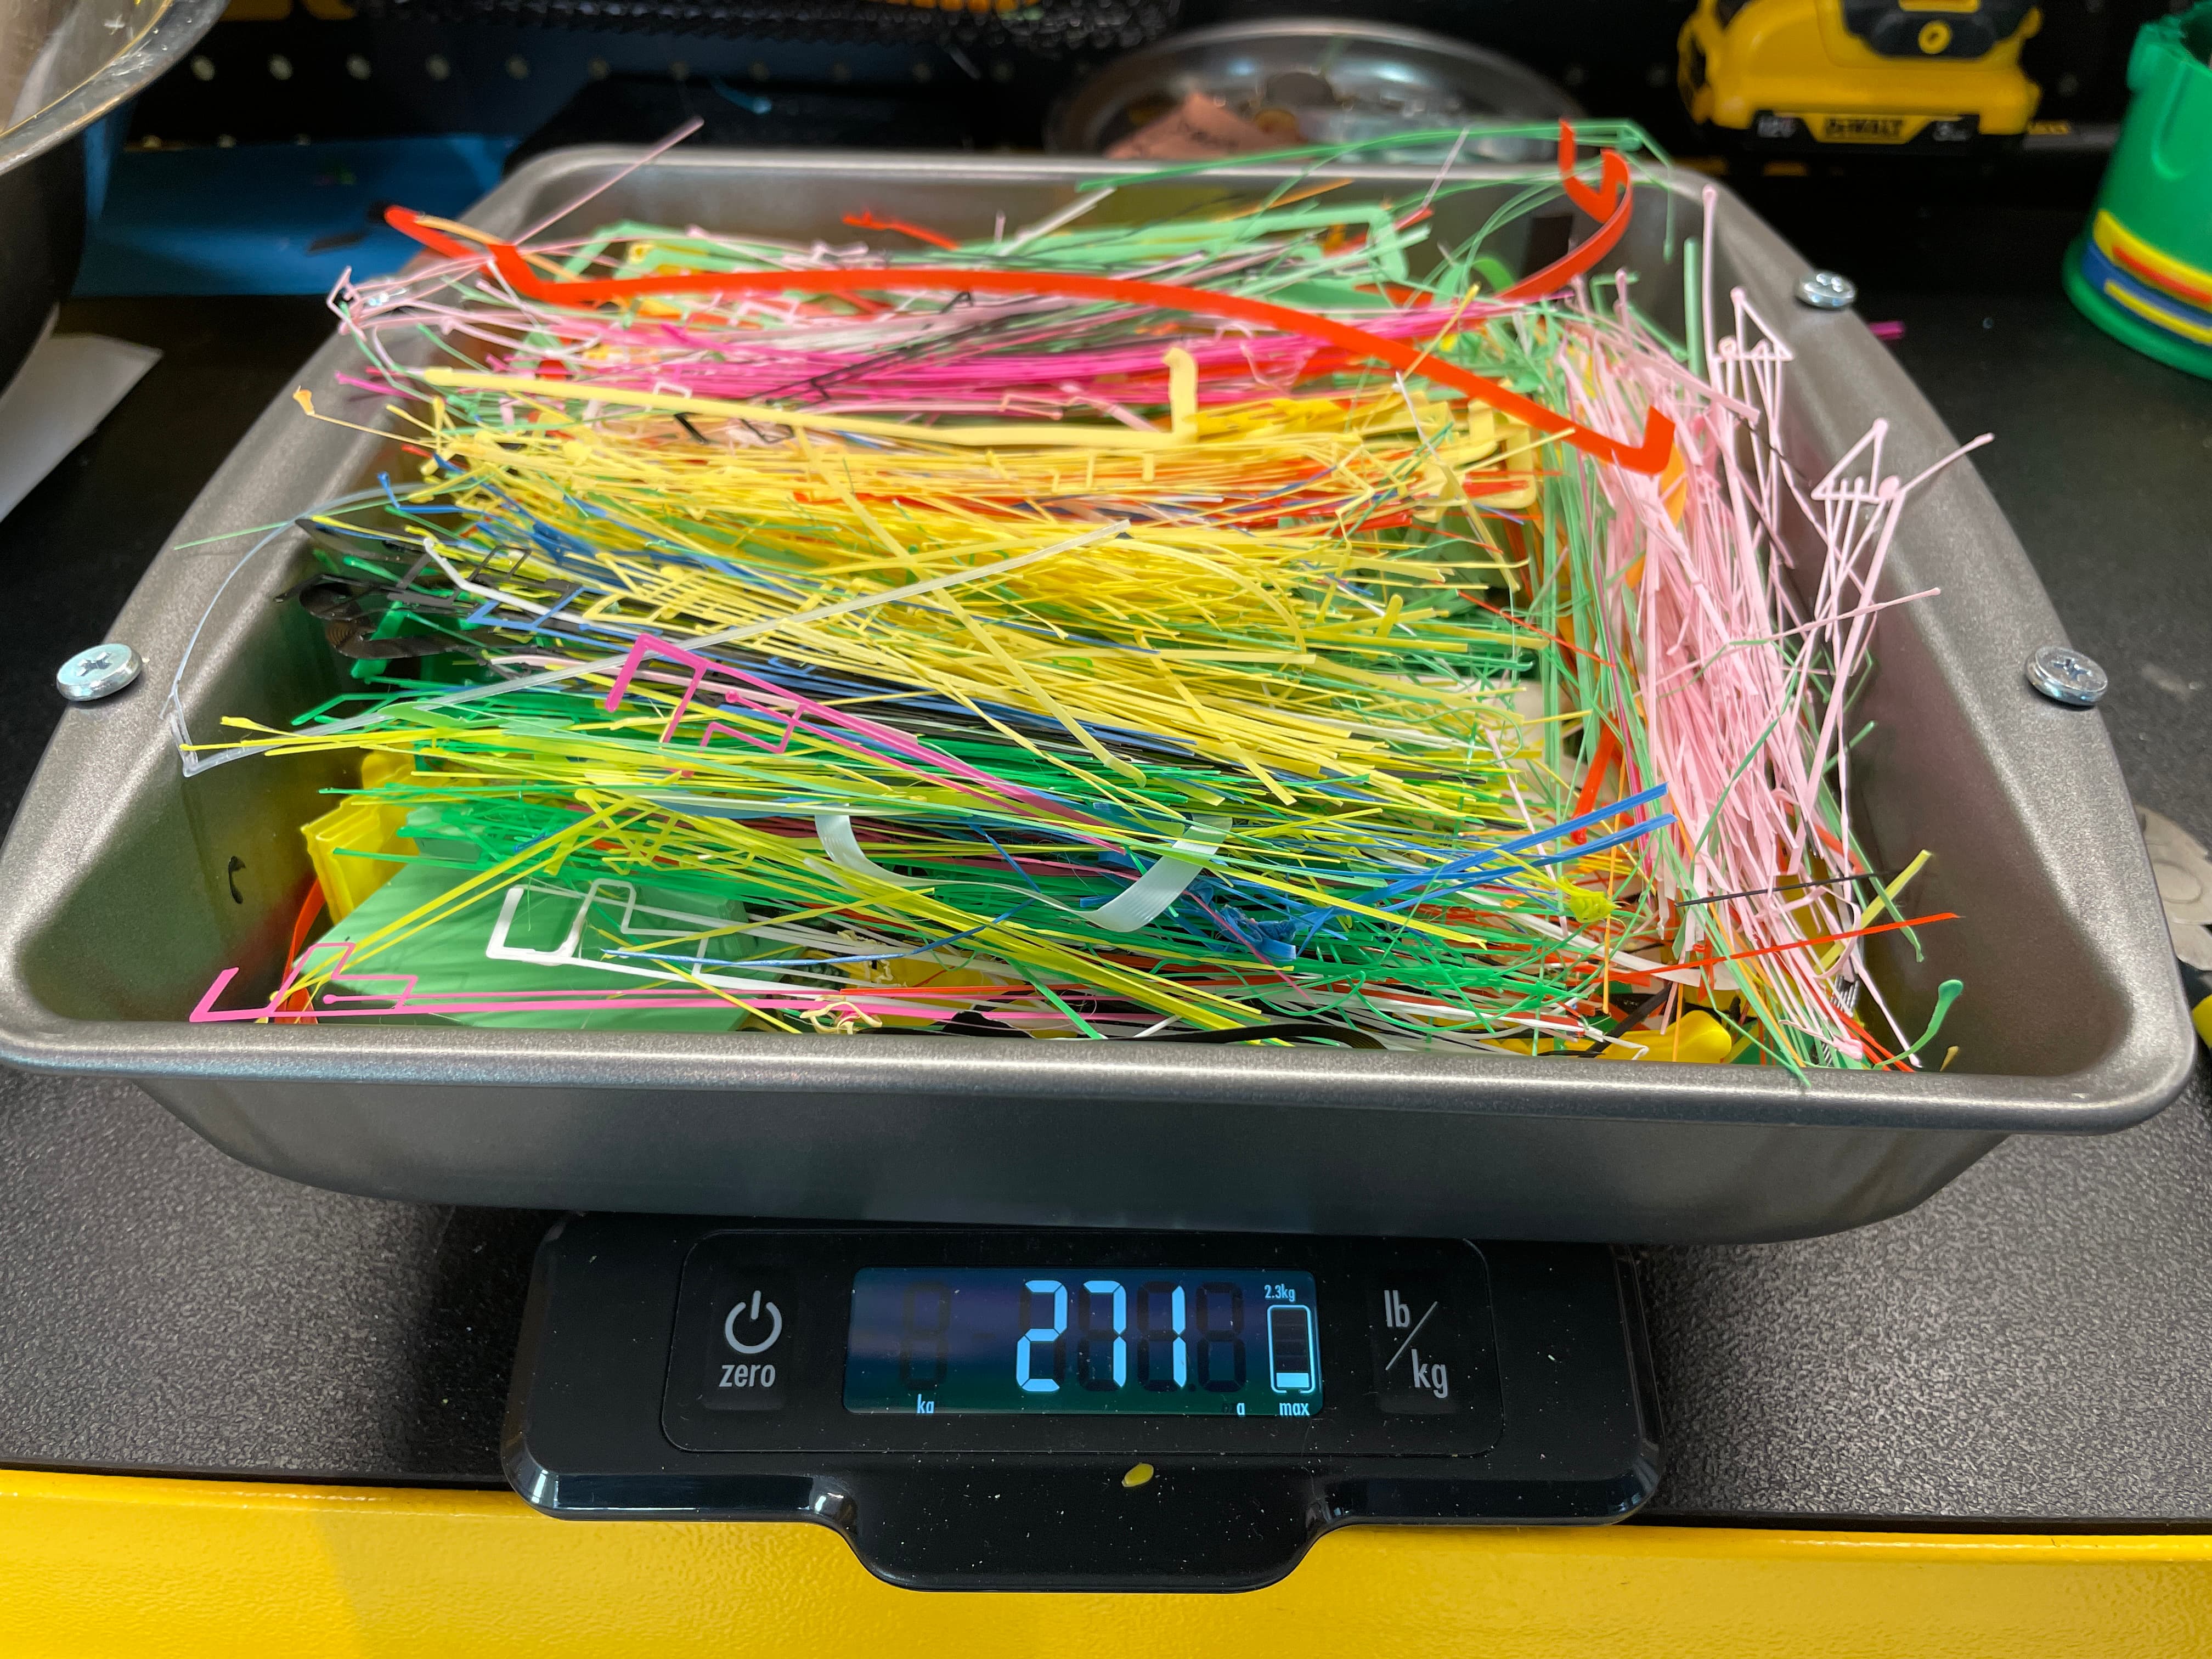
It had a large number of filament changes between white, green and black. So the poop begins…

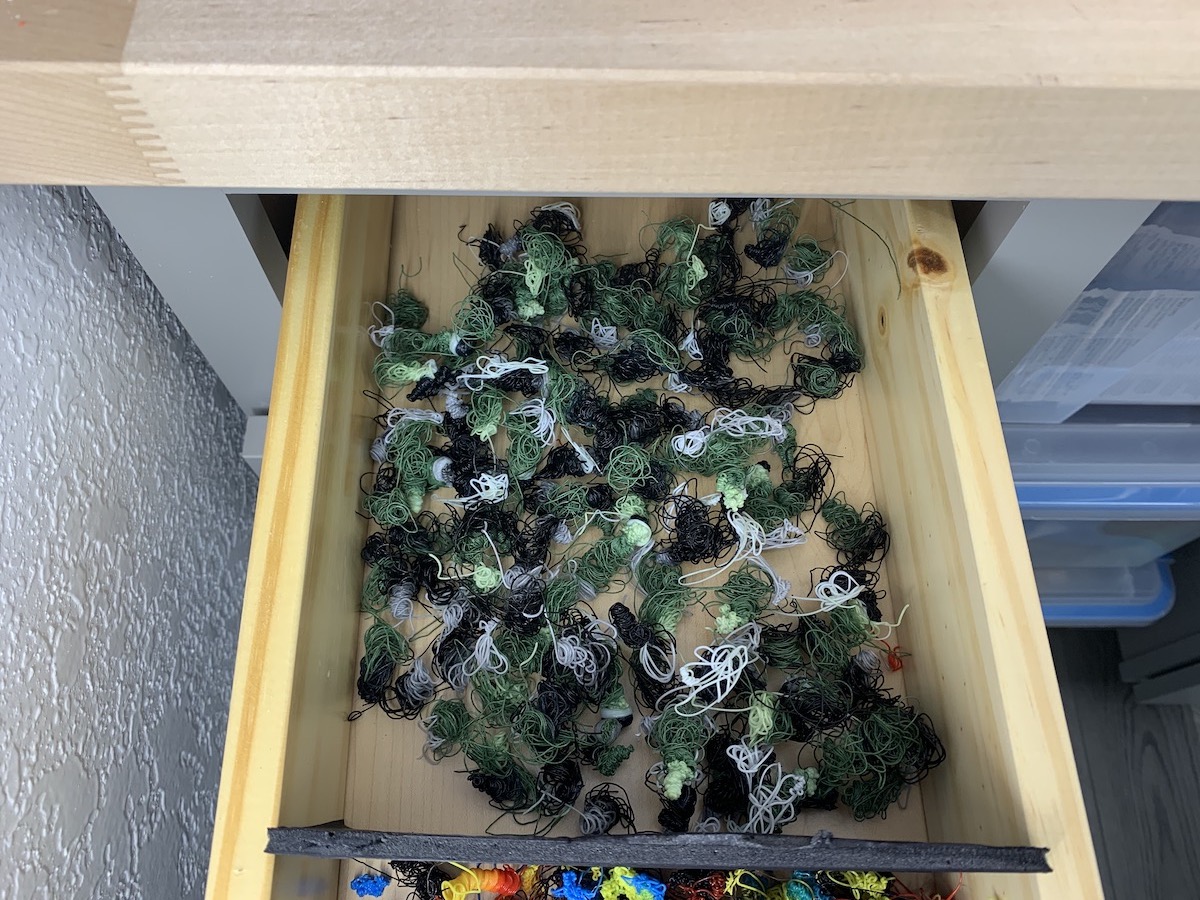
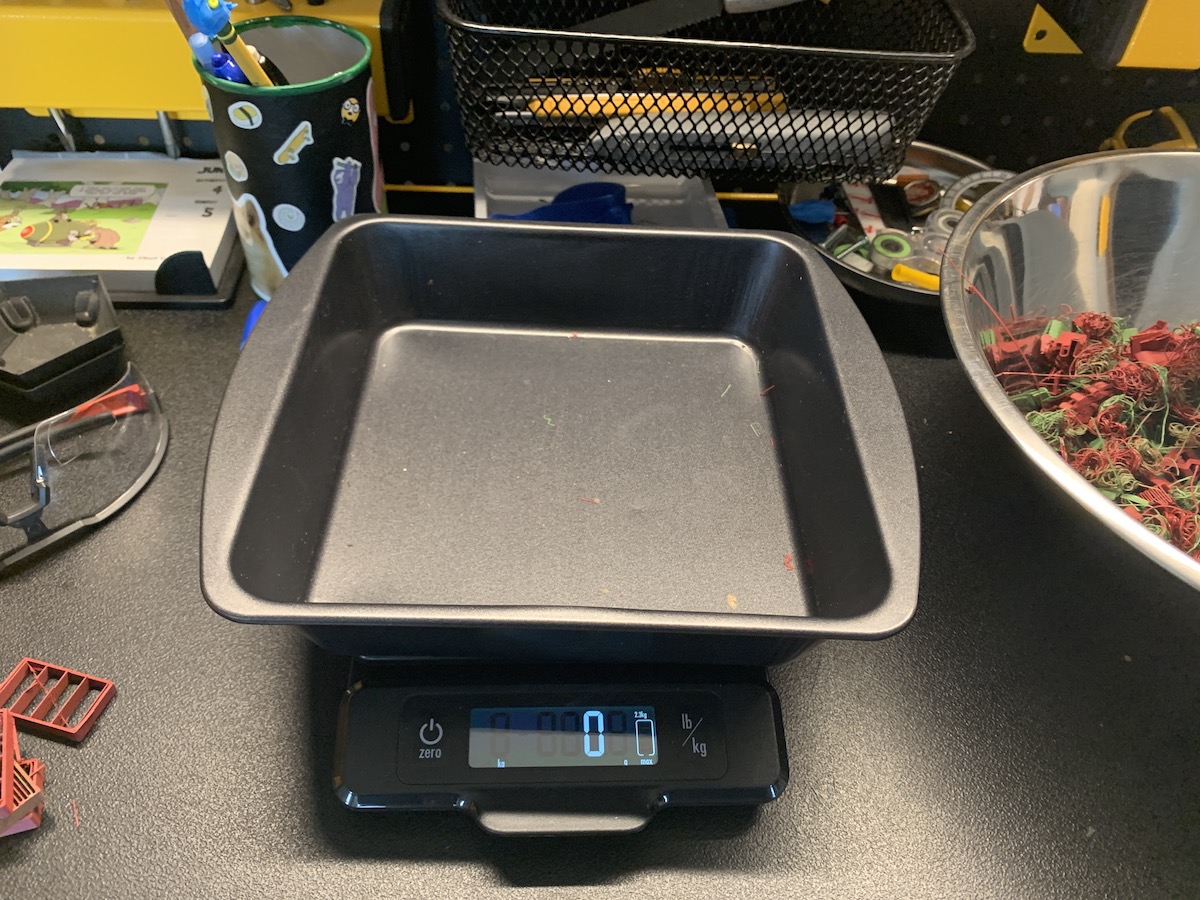
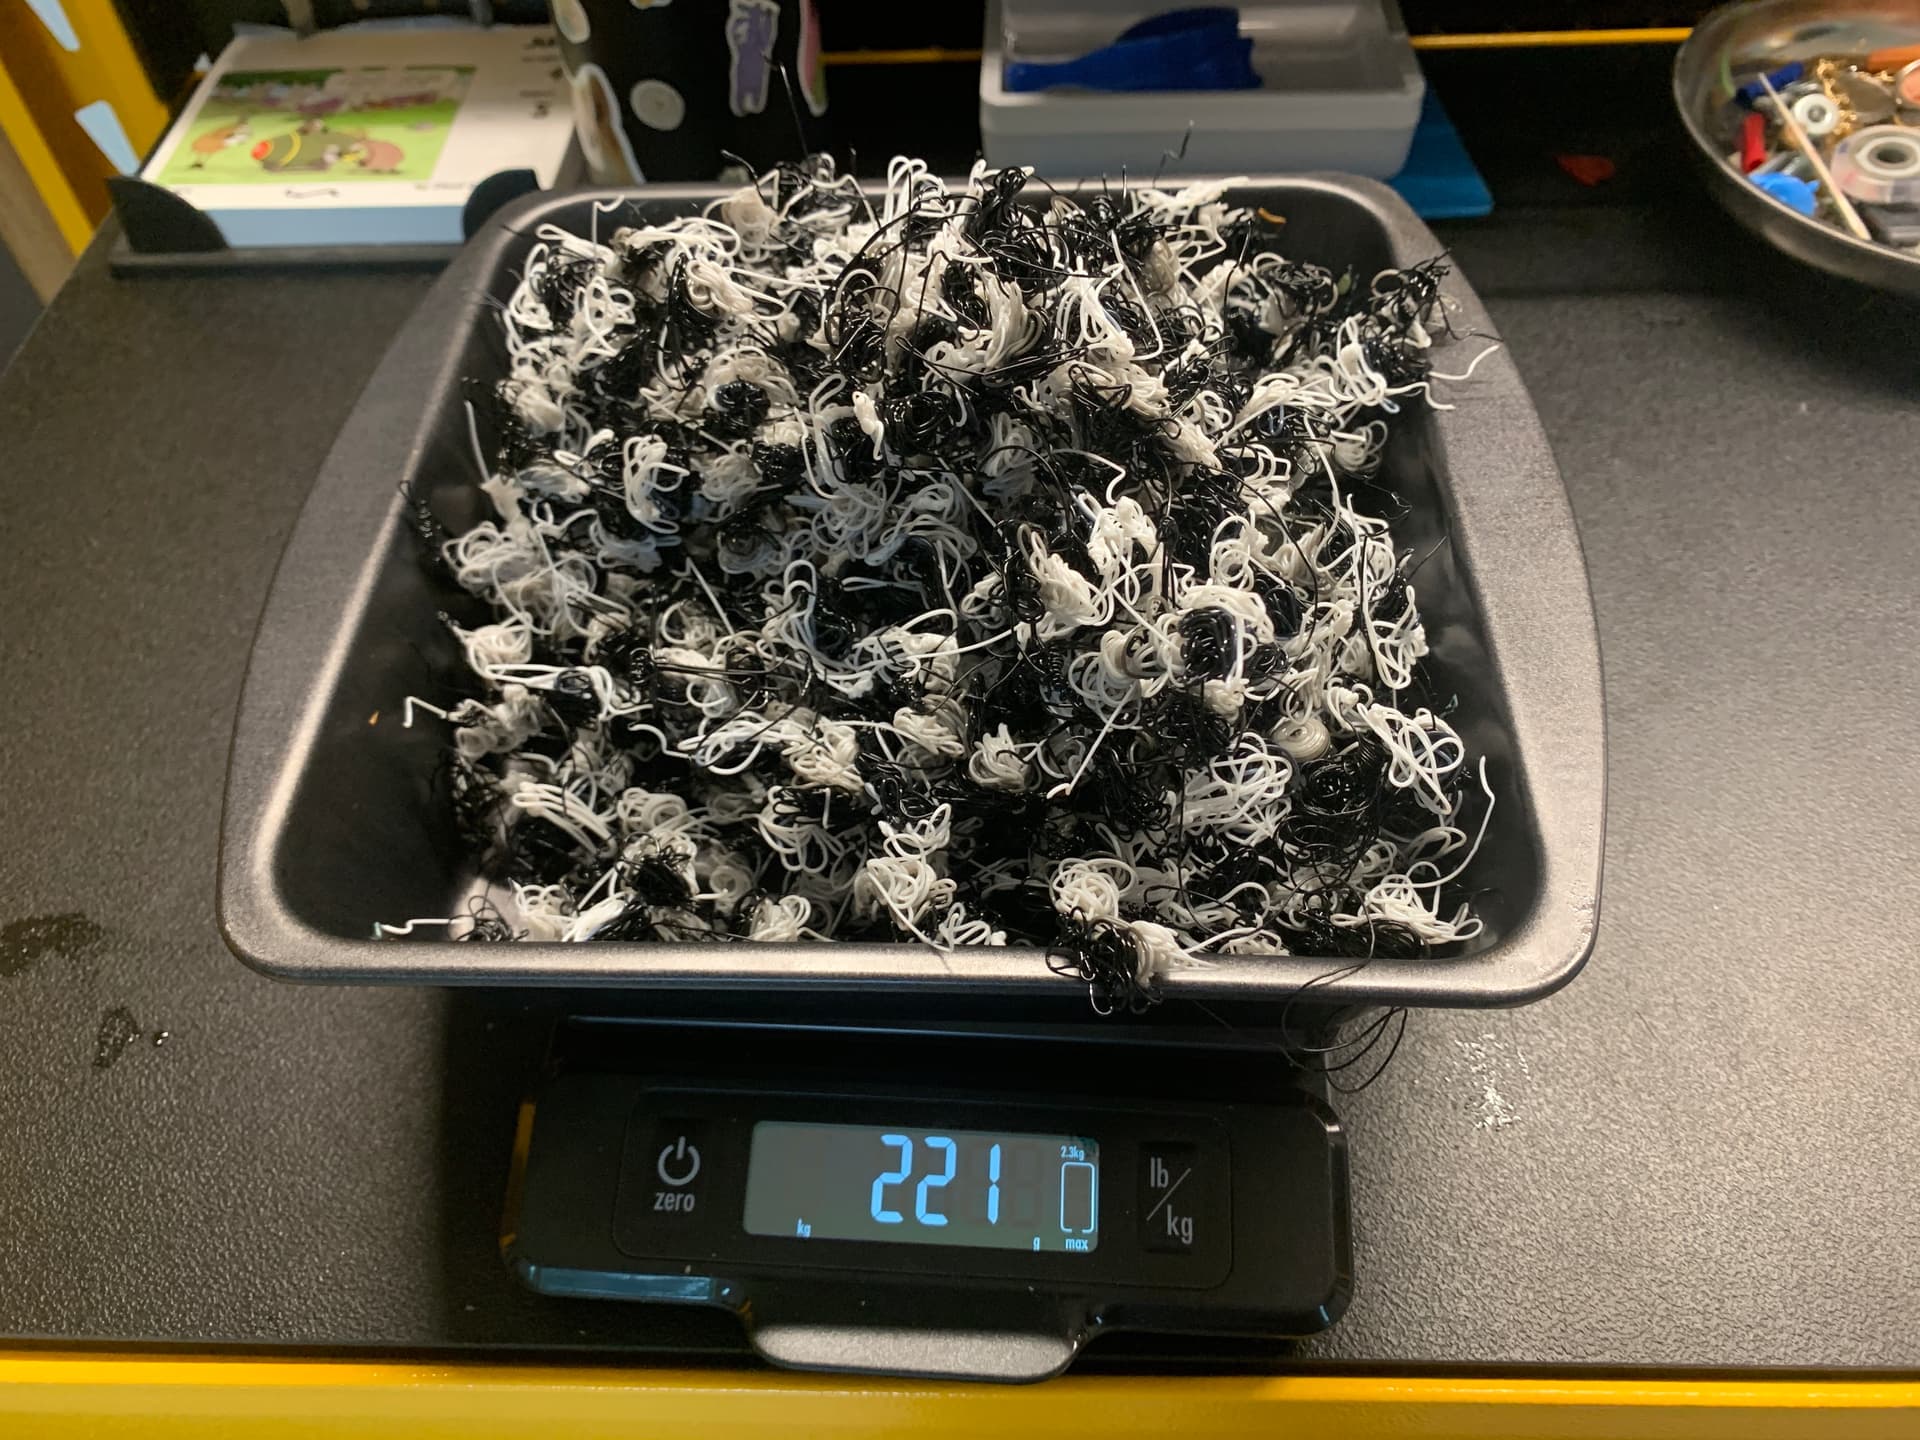
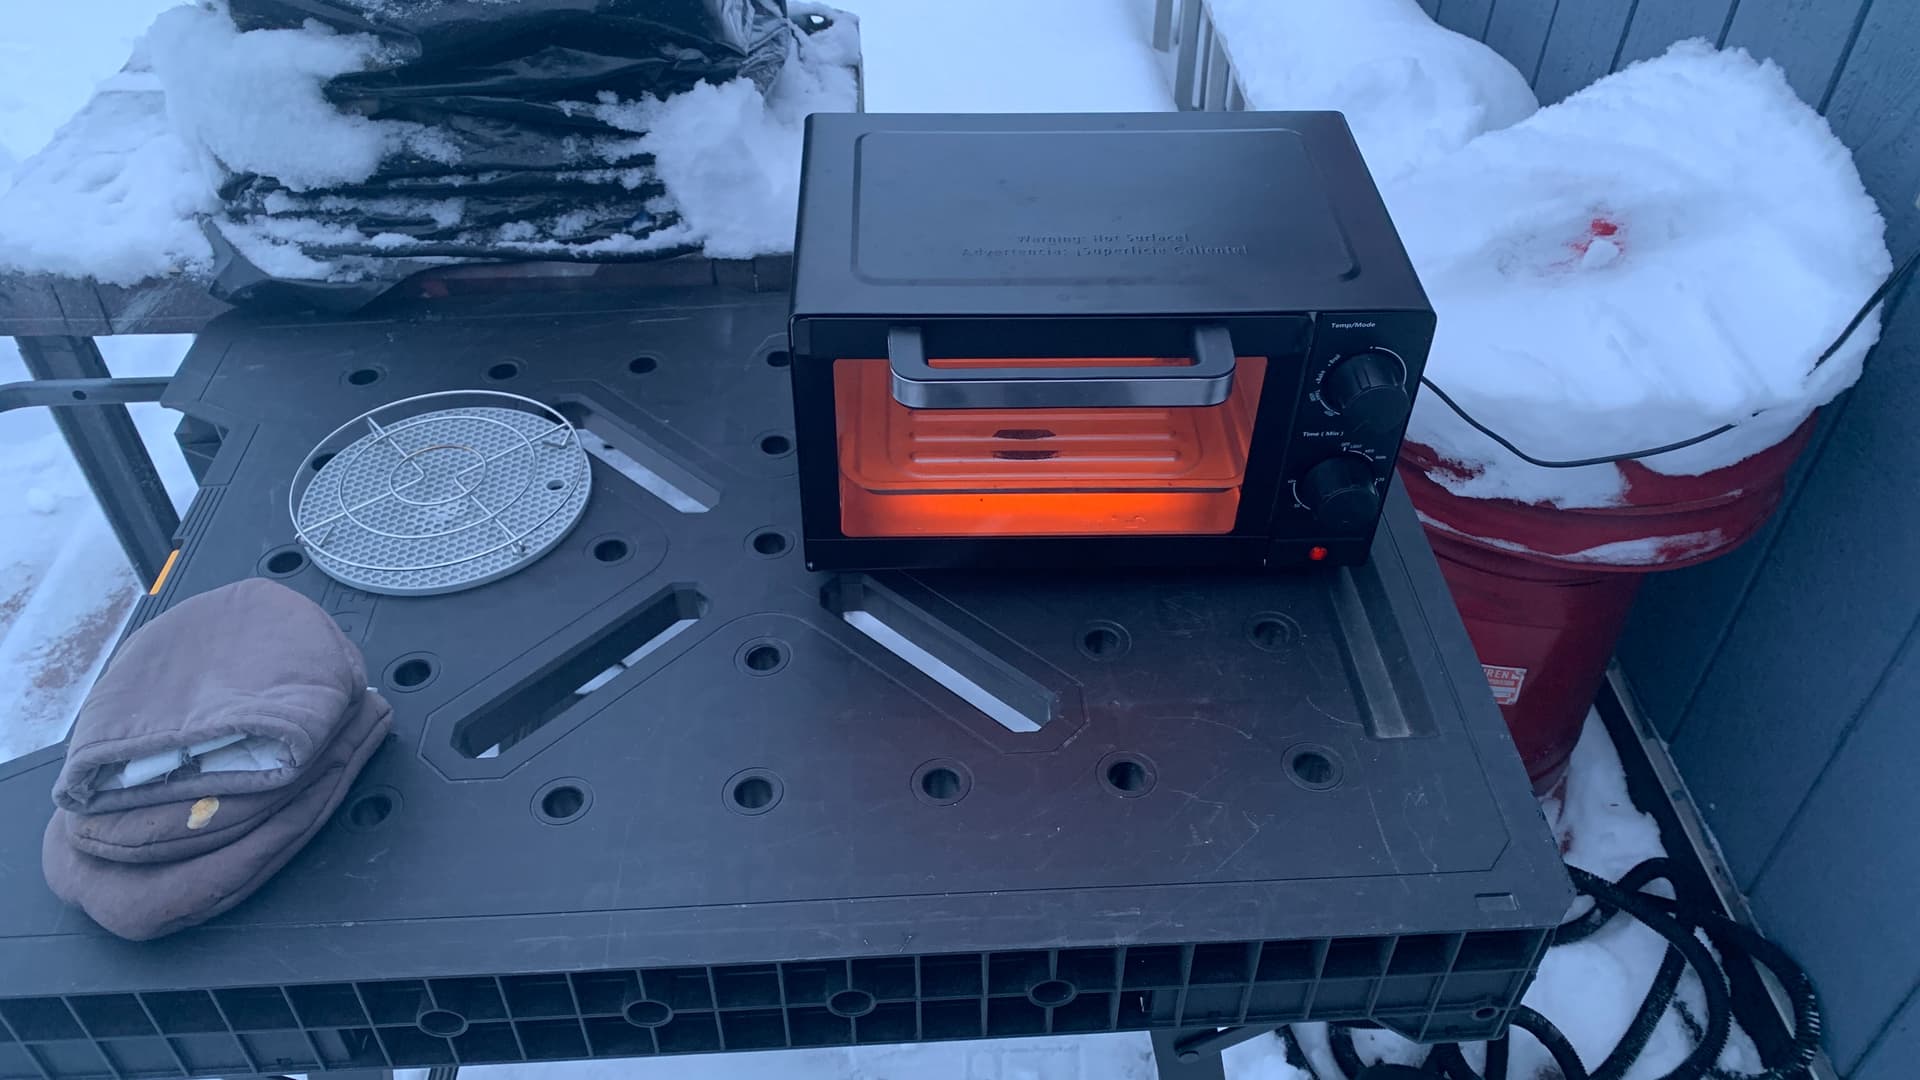
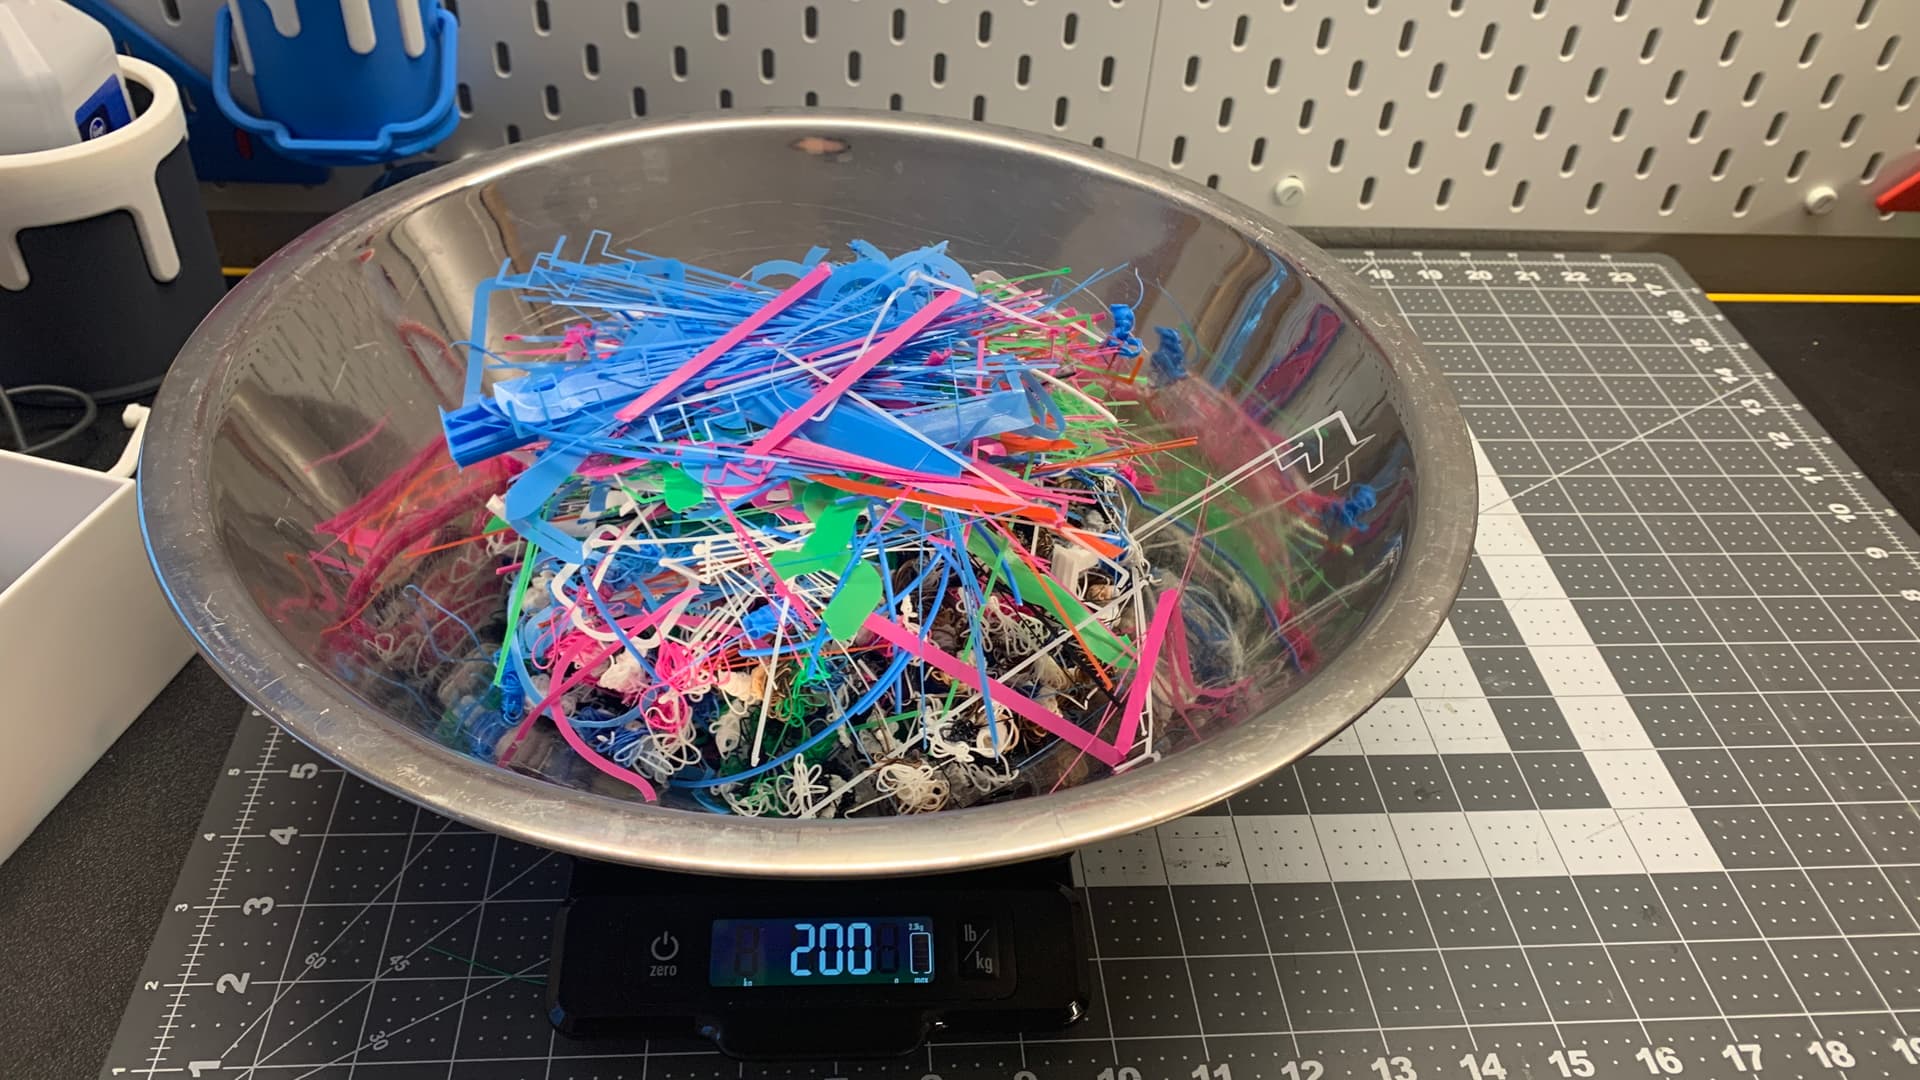
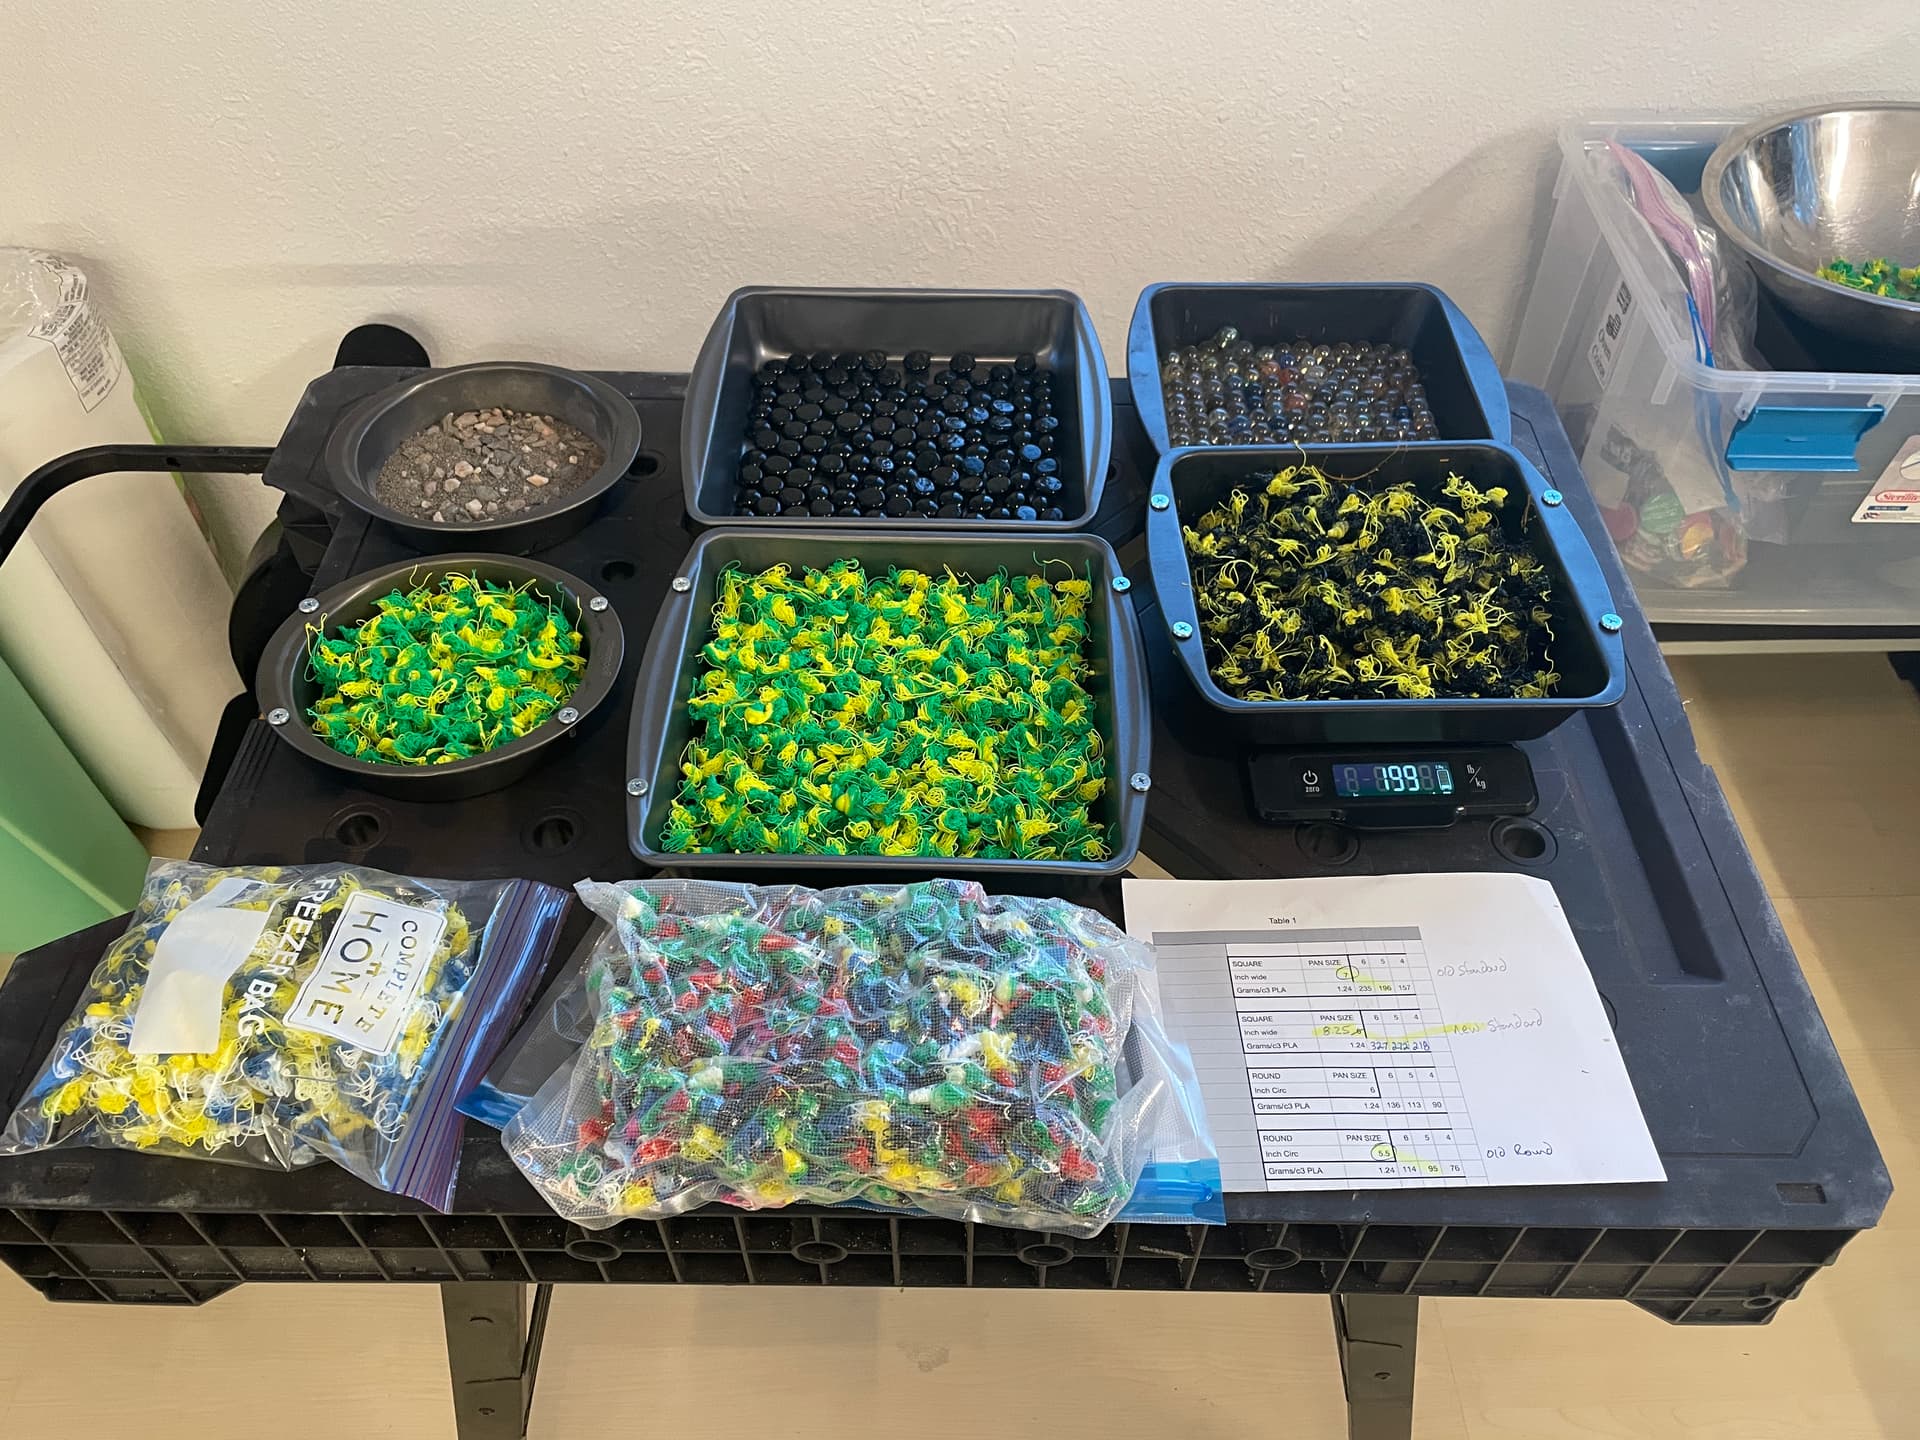
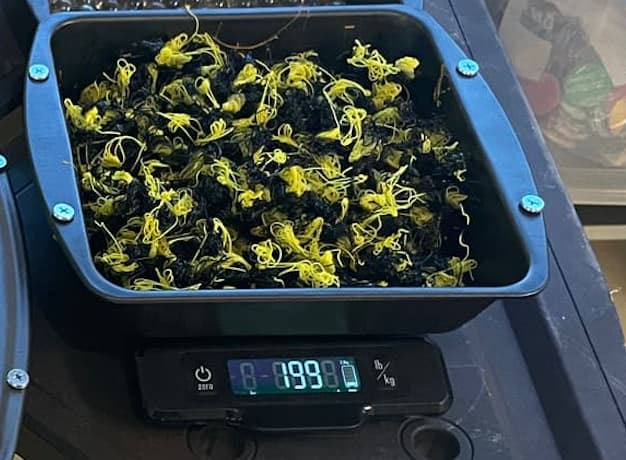
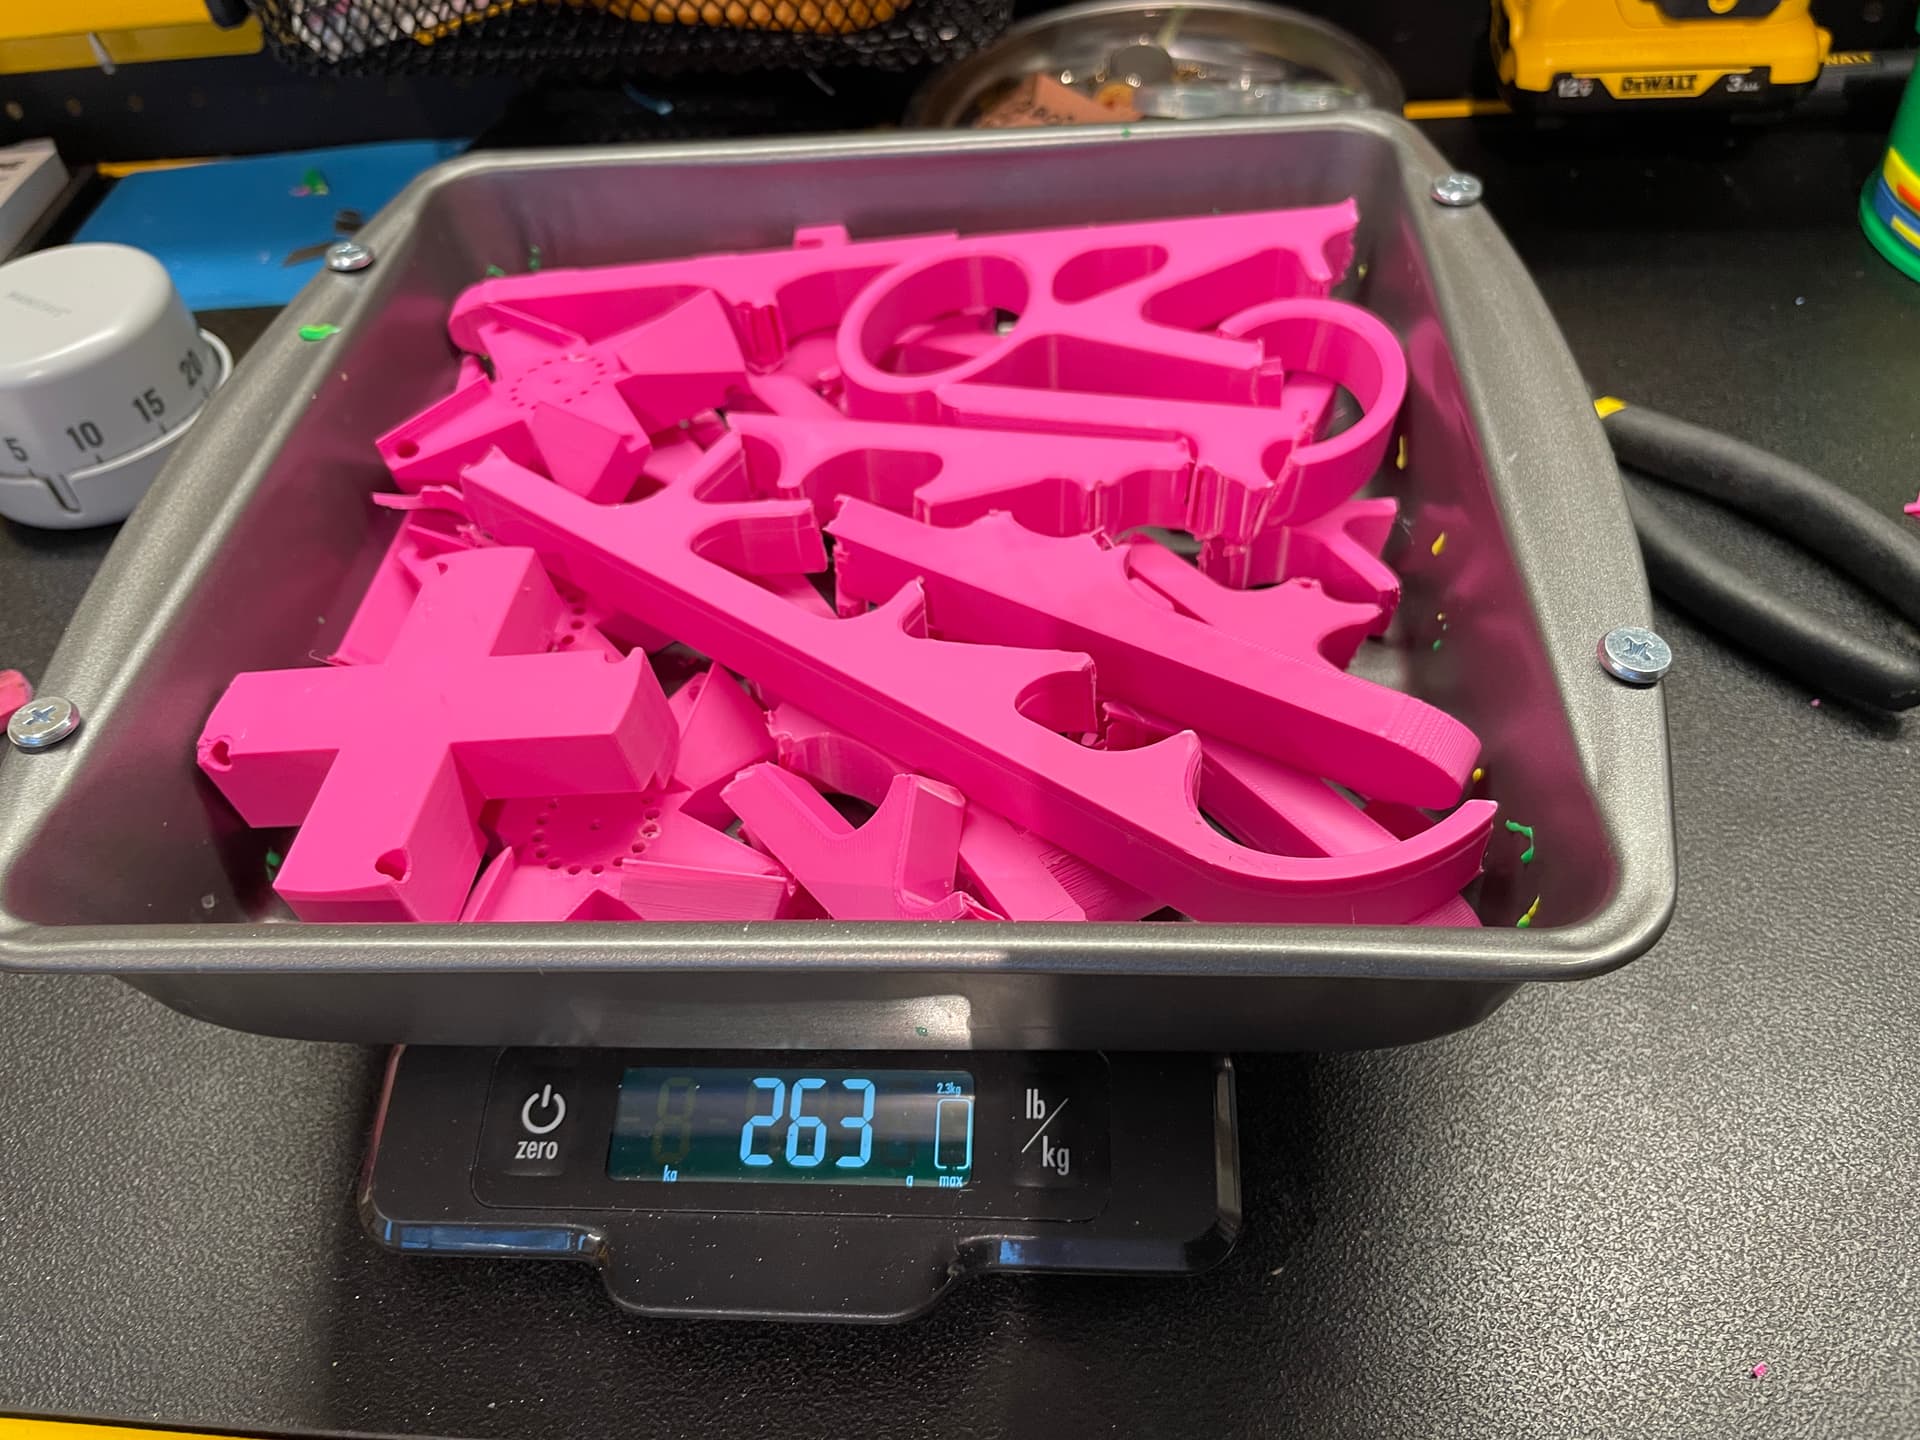
‘First’ melt at 176 grams 400f for 15 minutes.

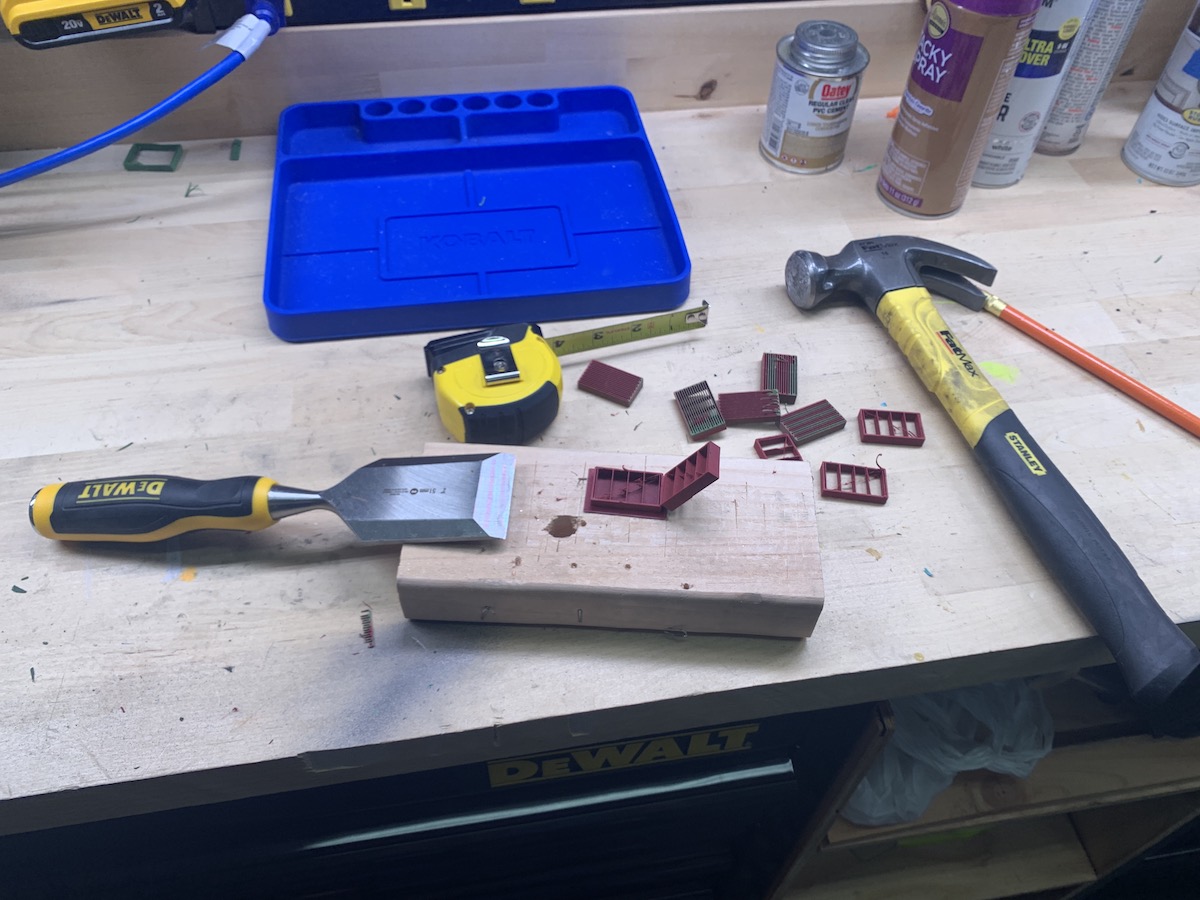
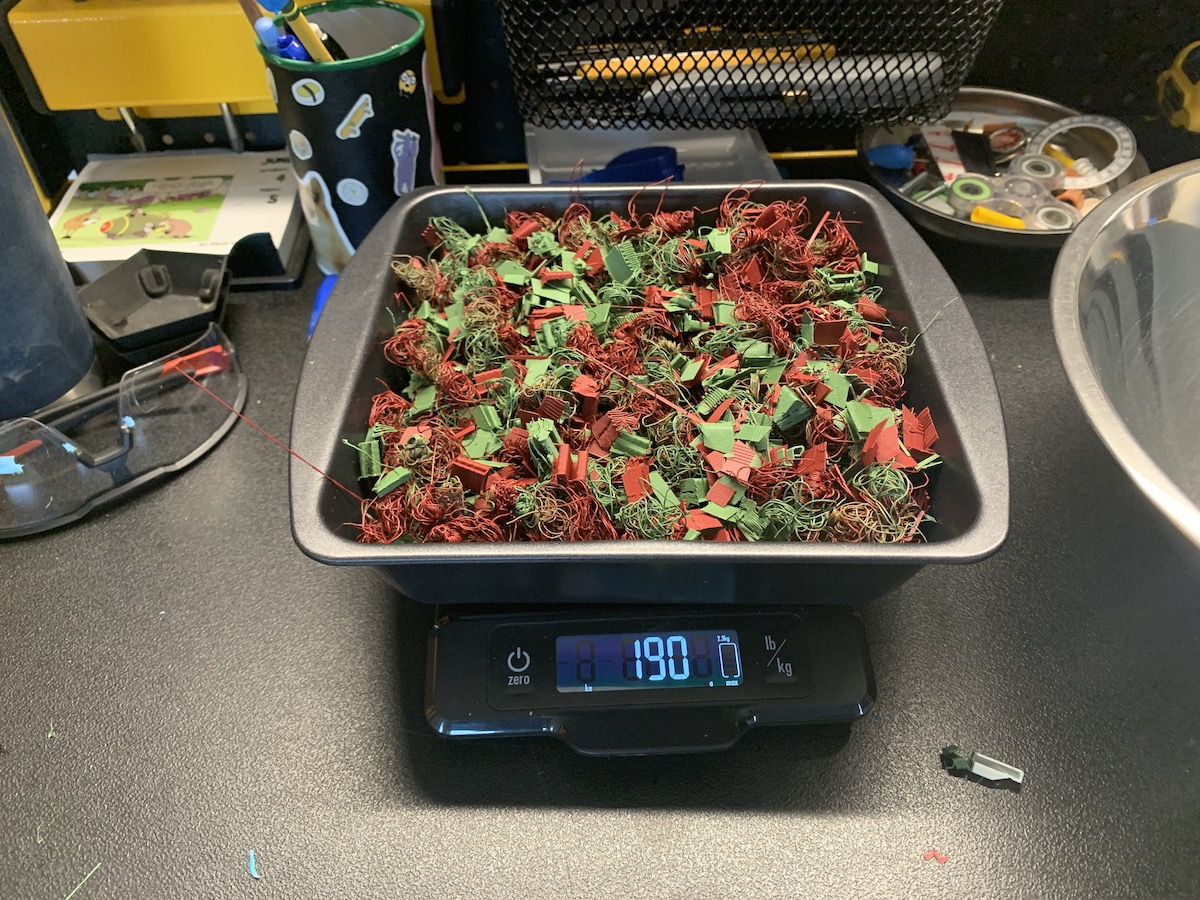
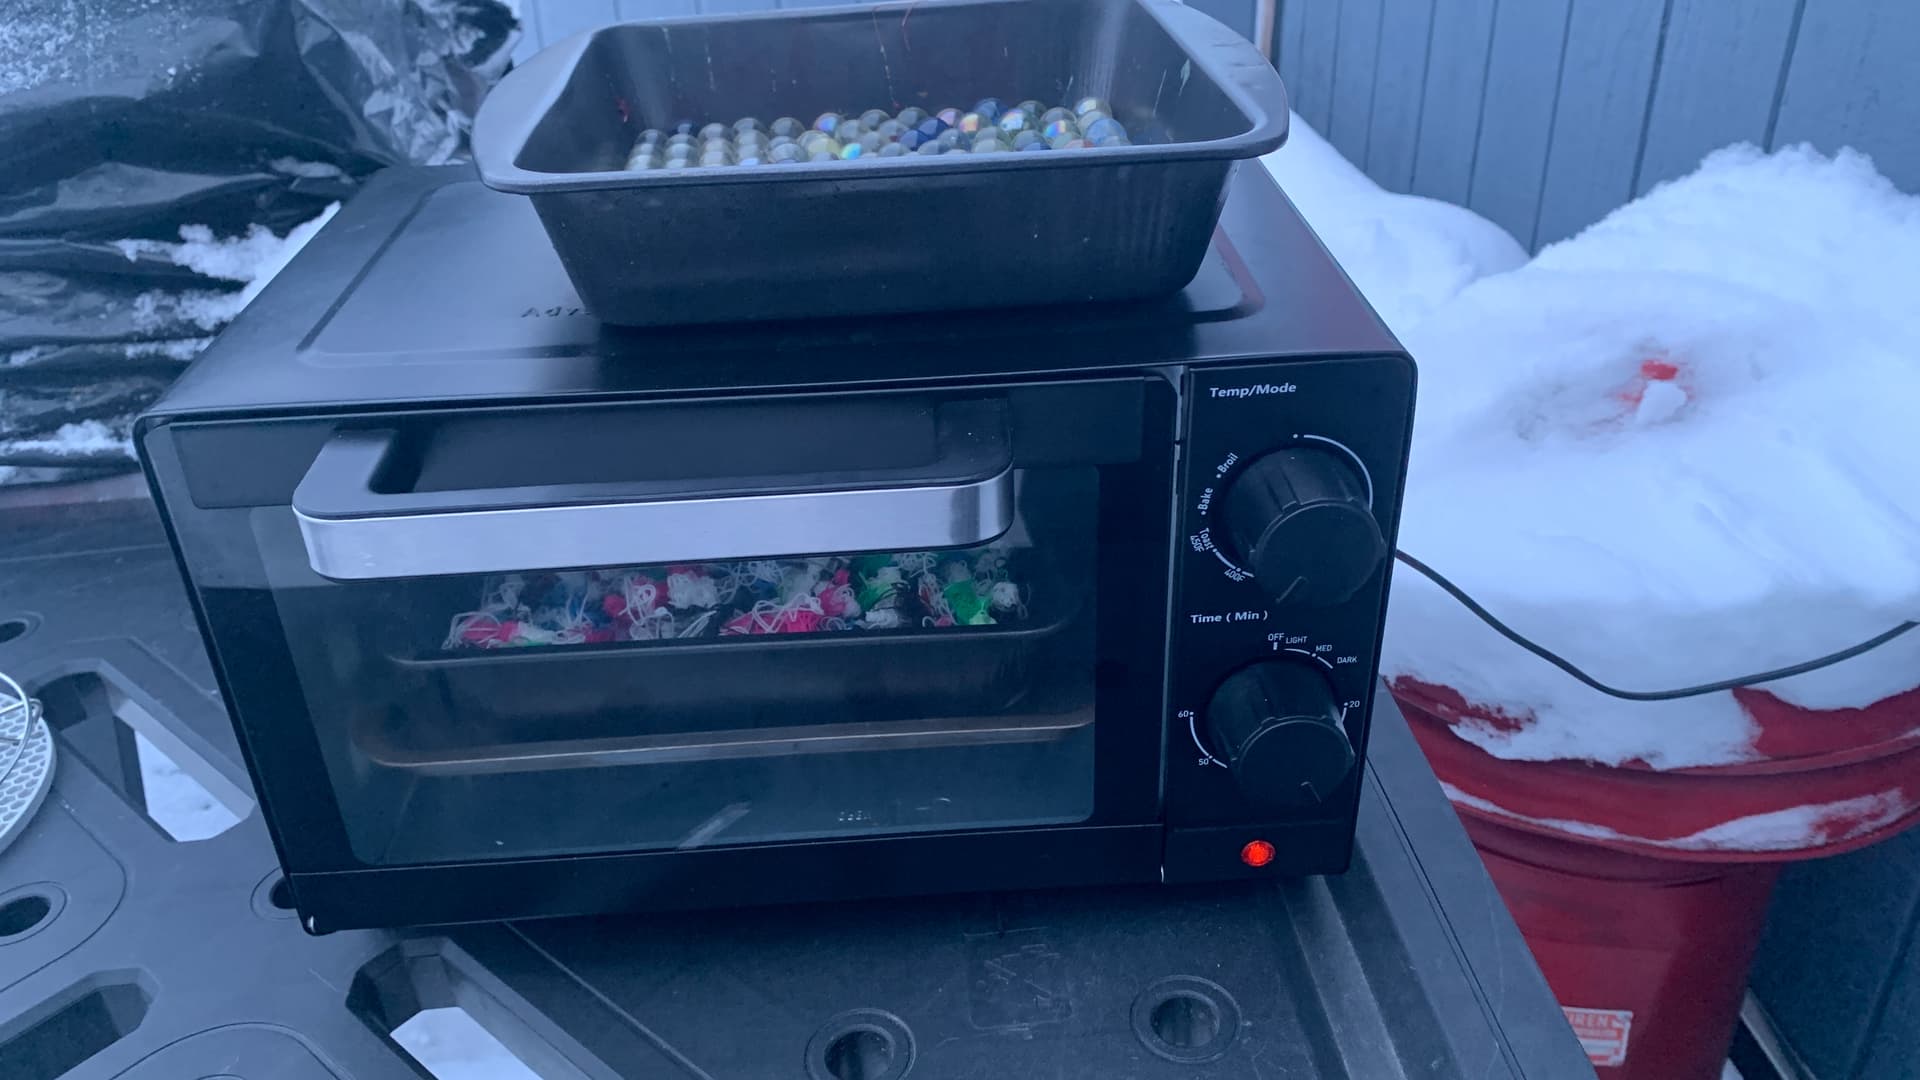
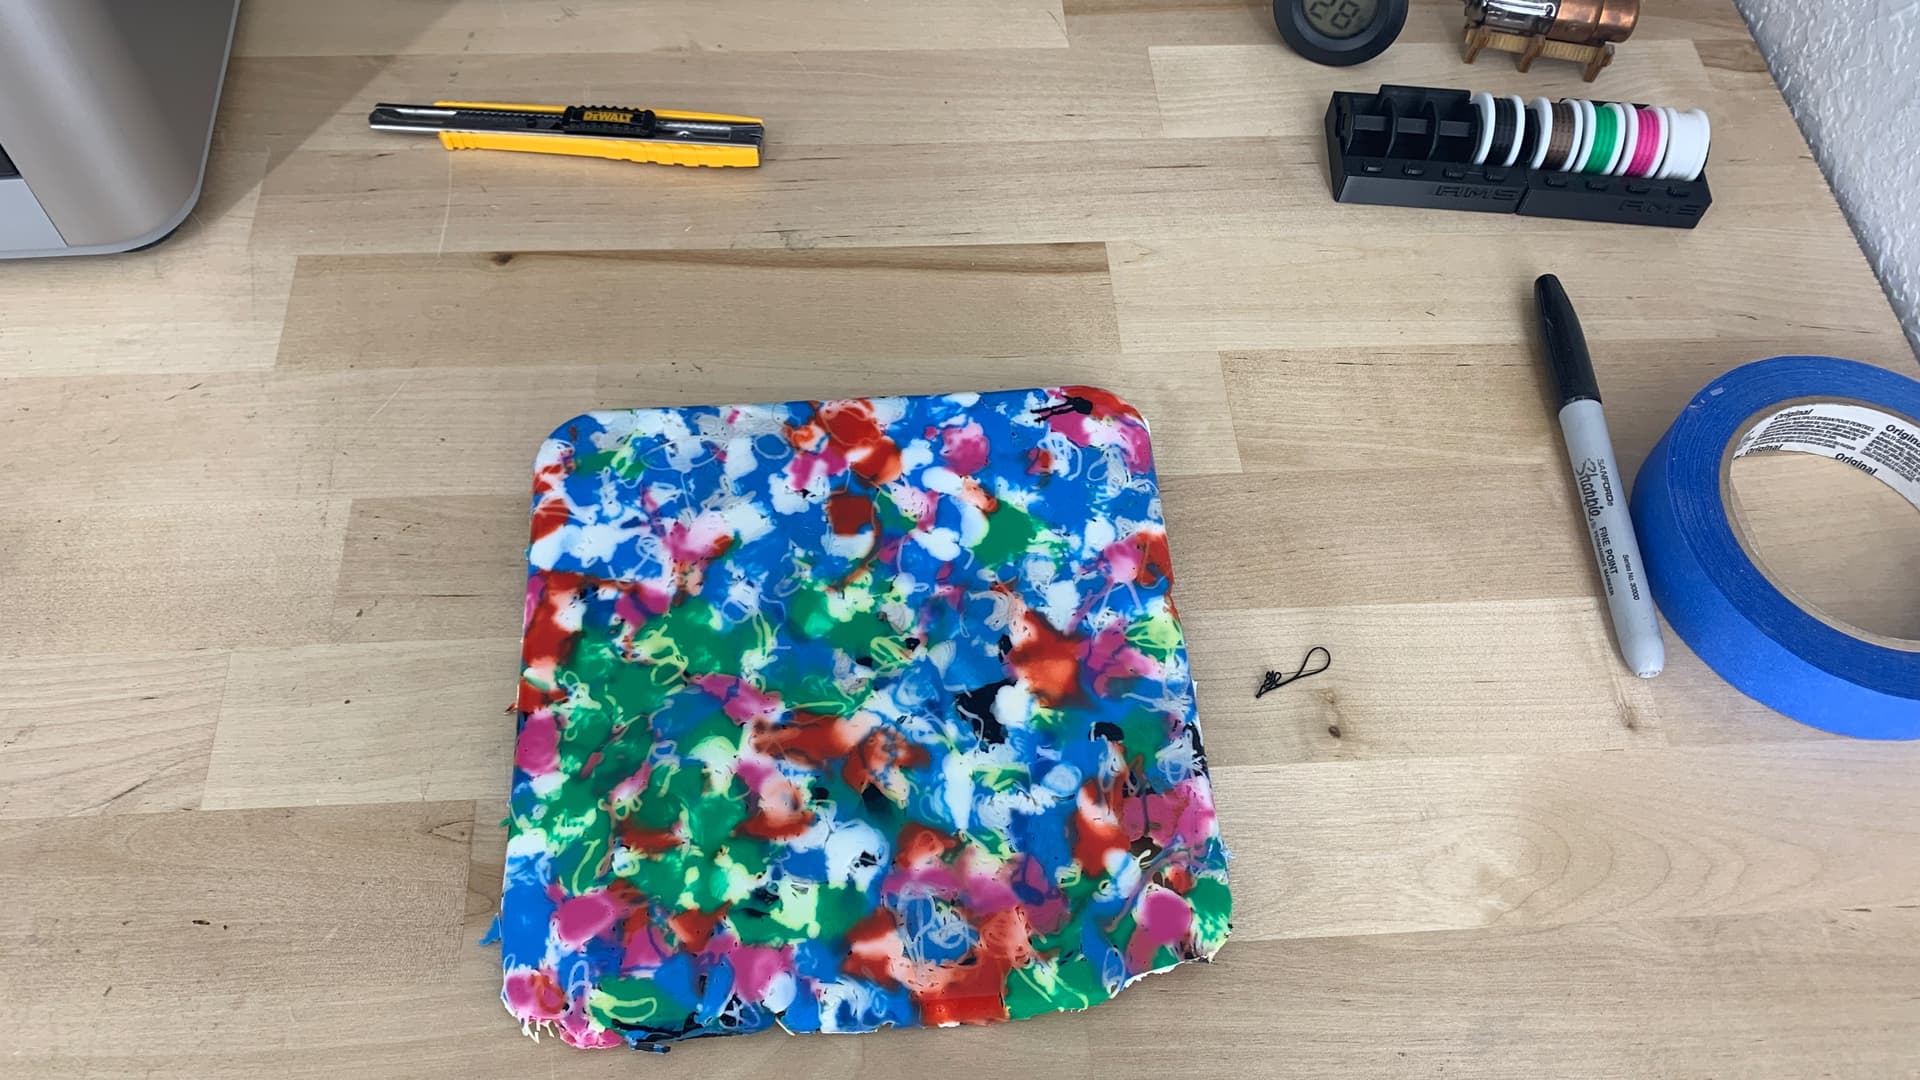
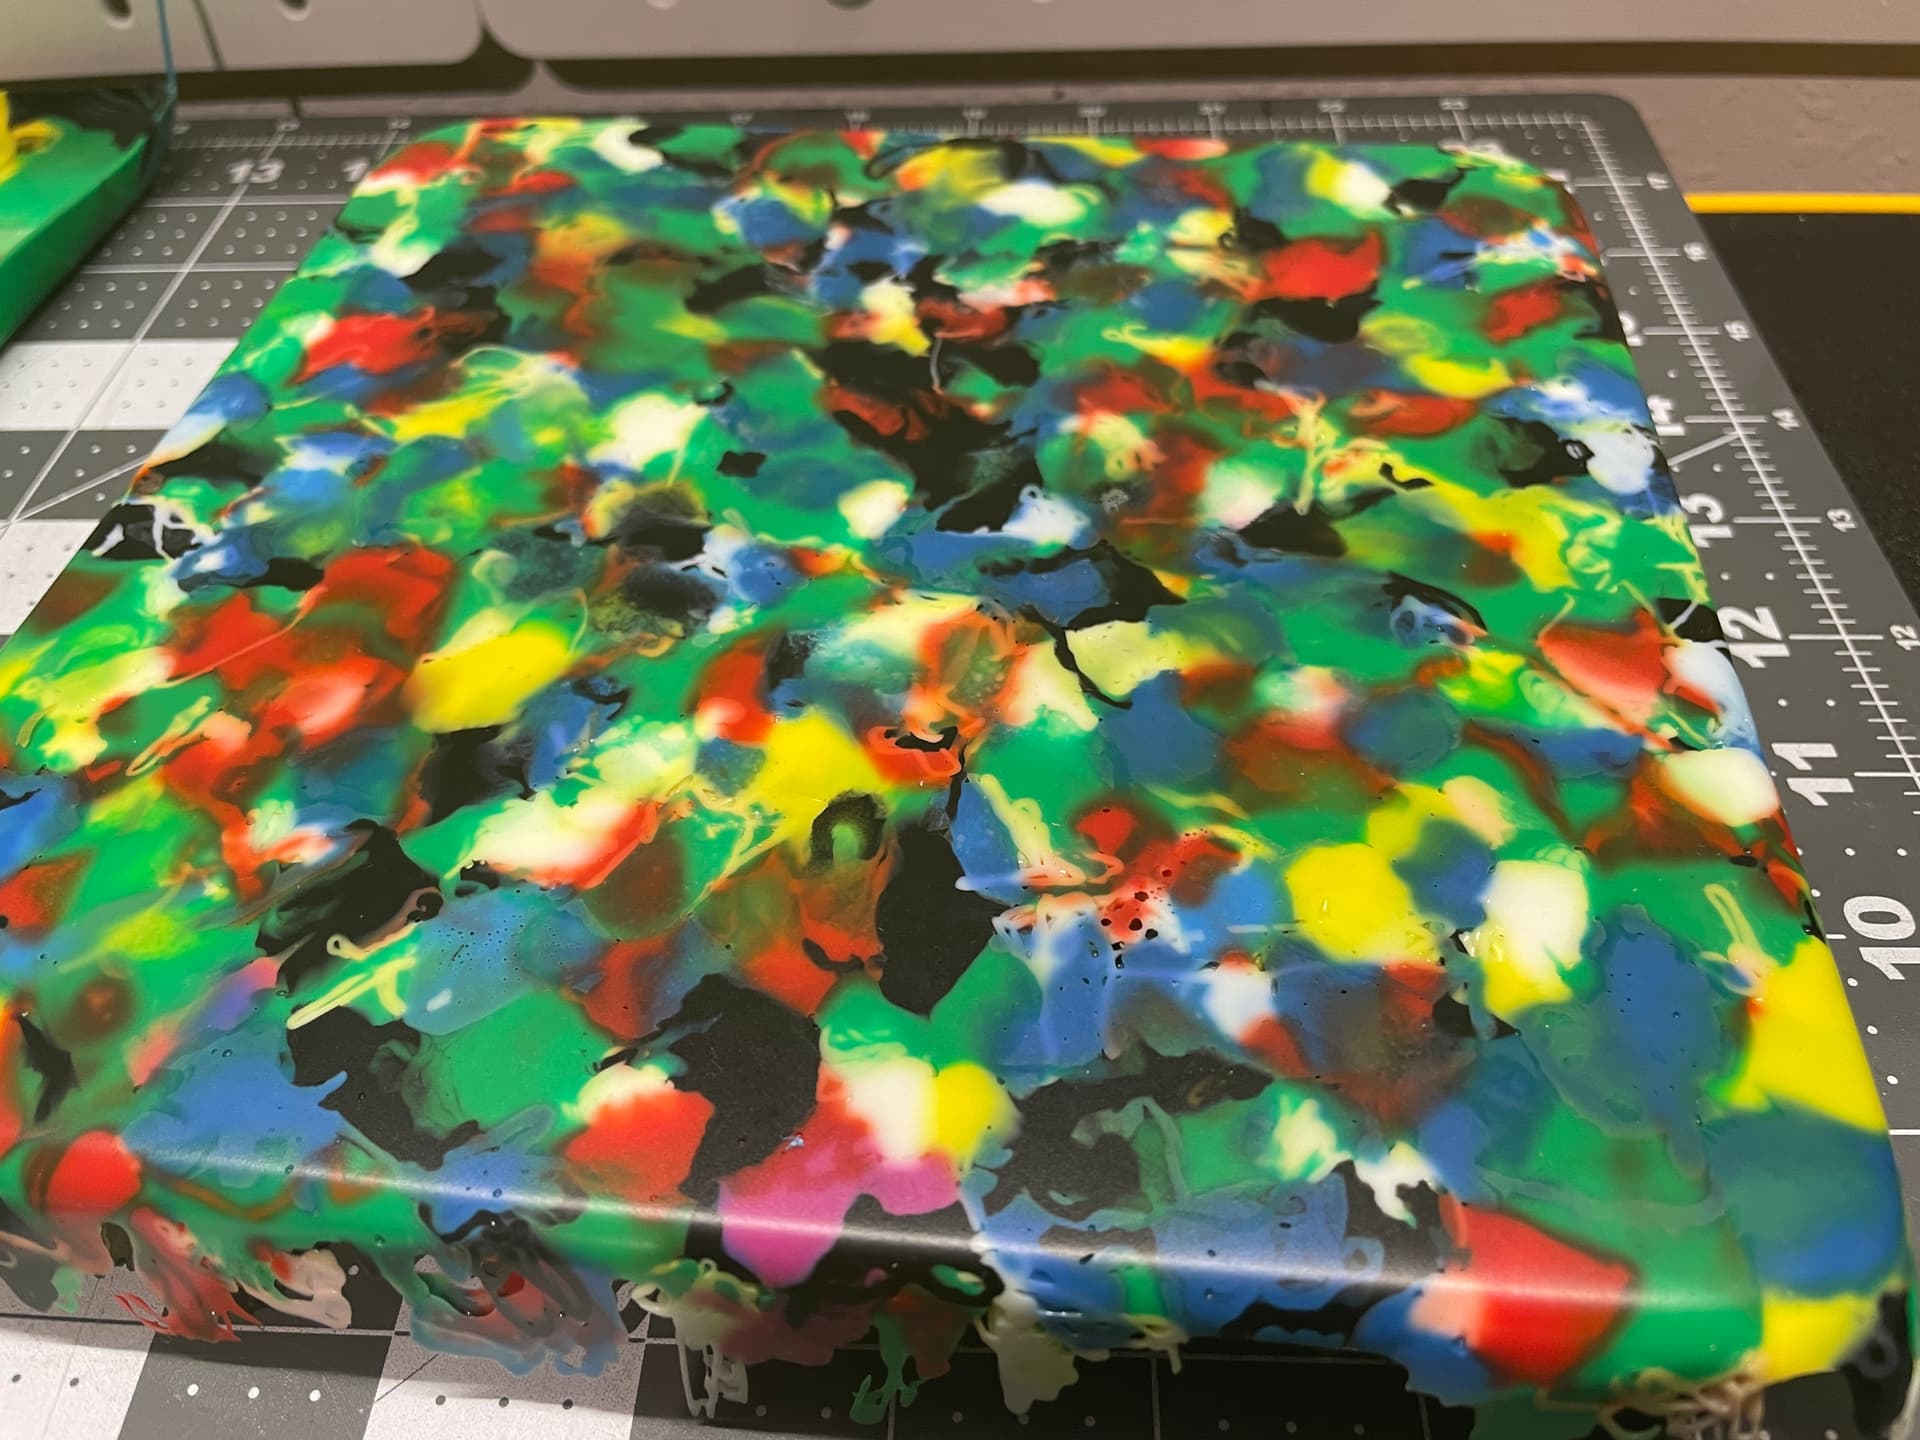
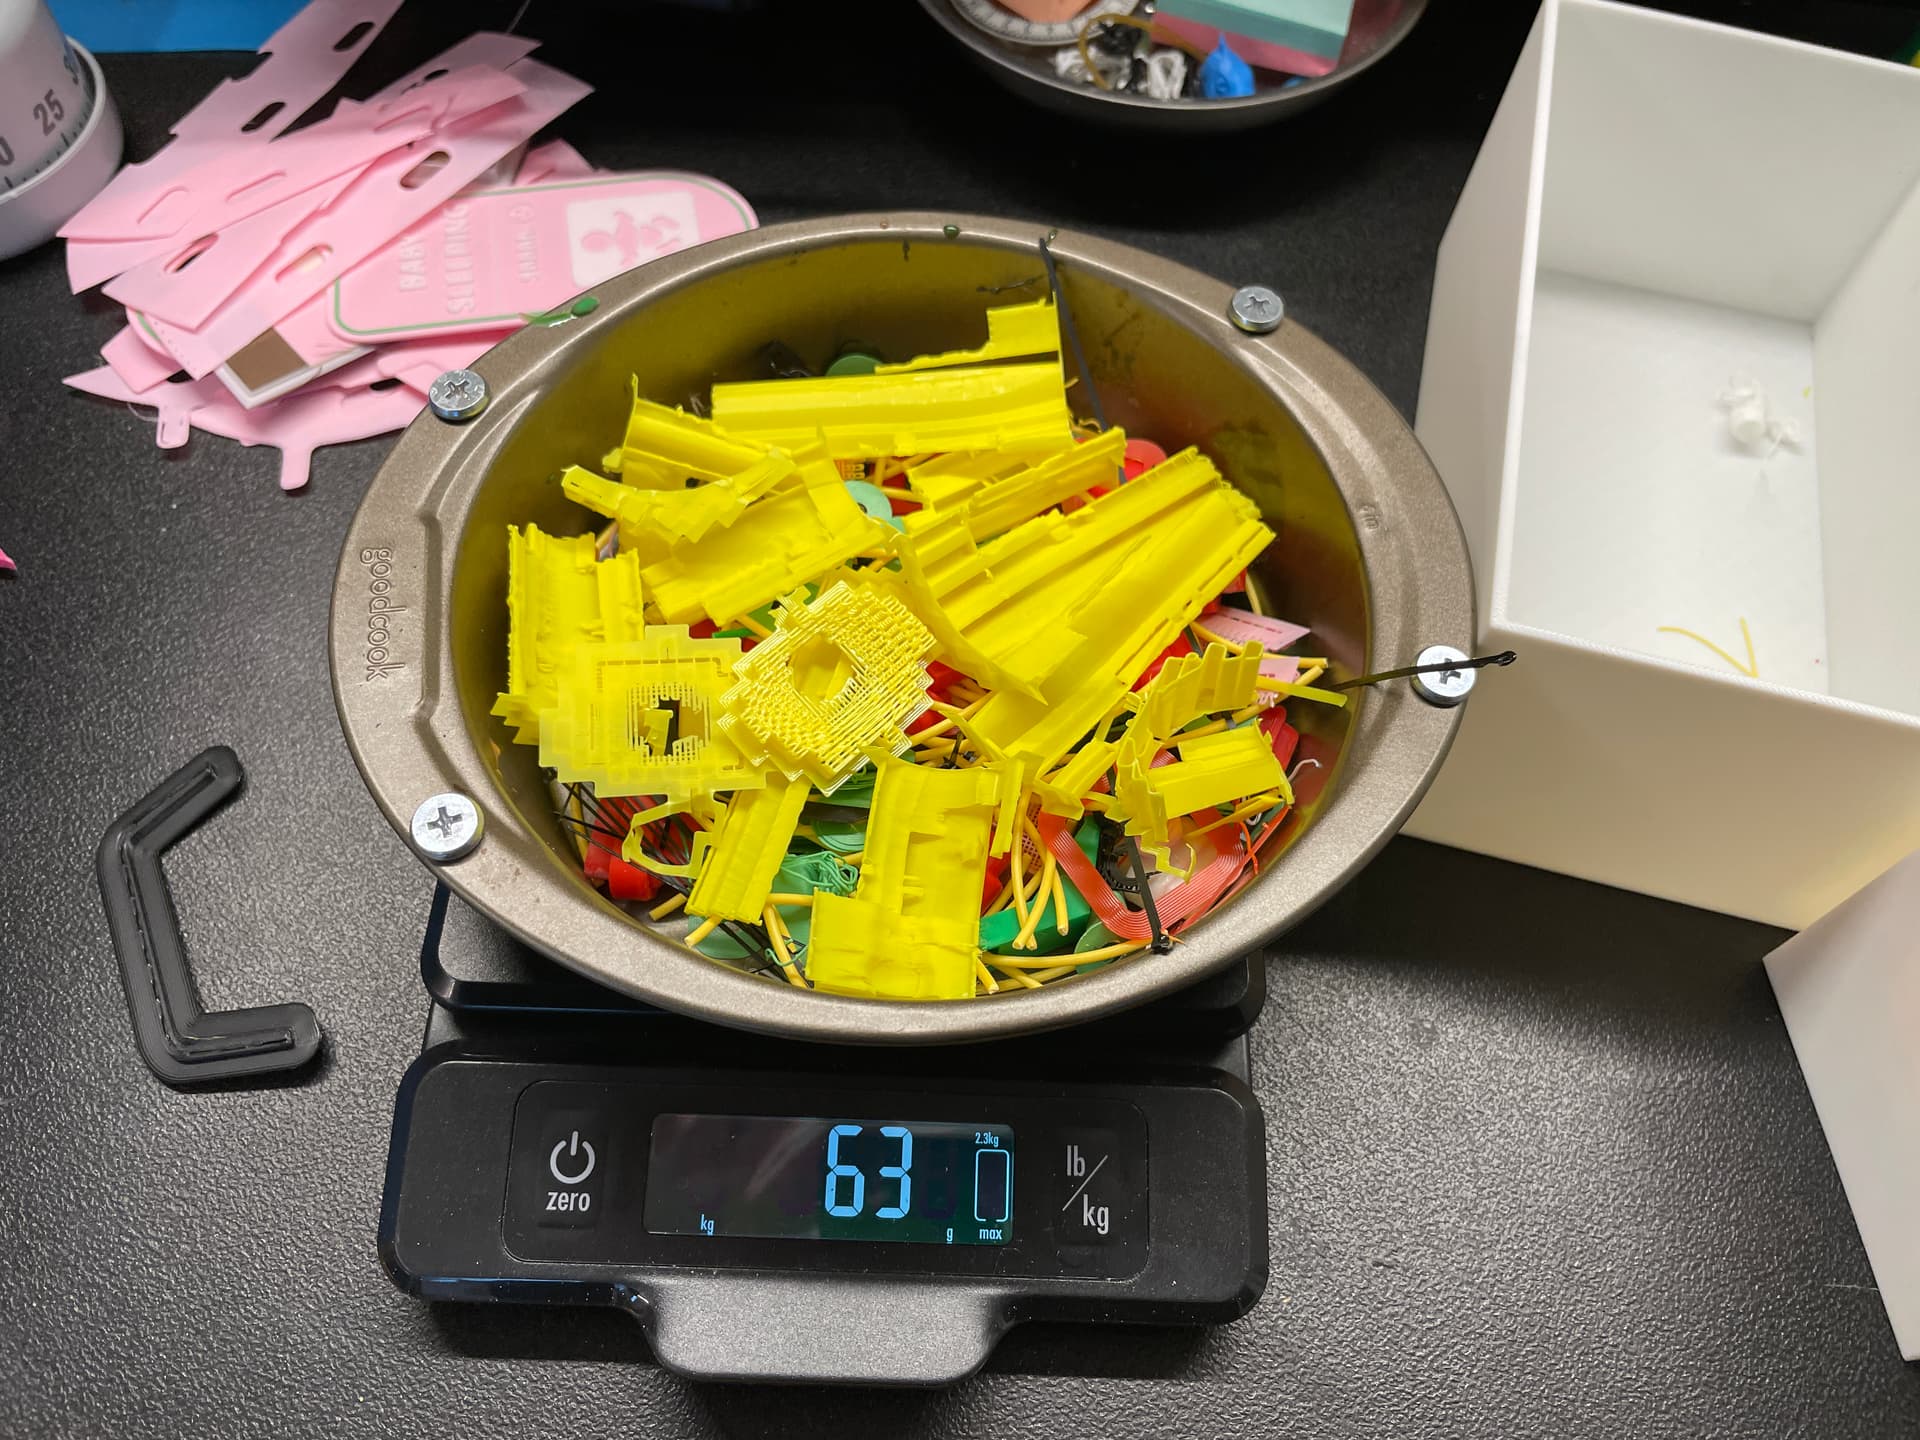
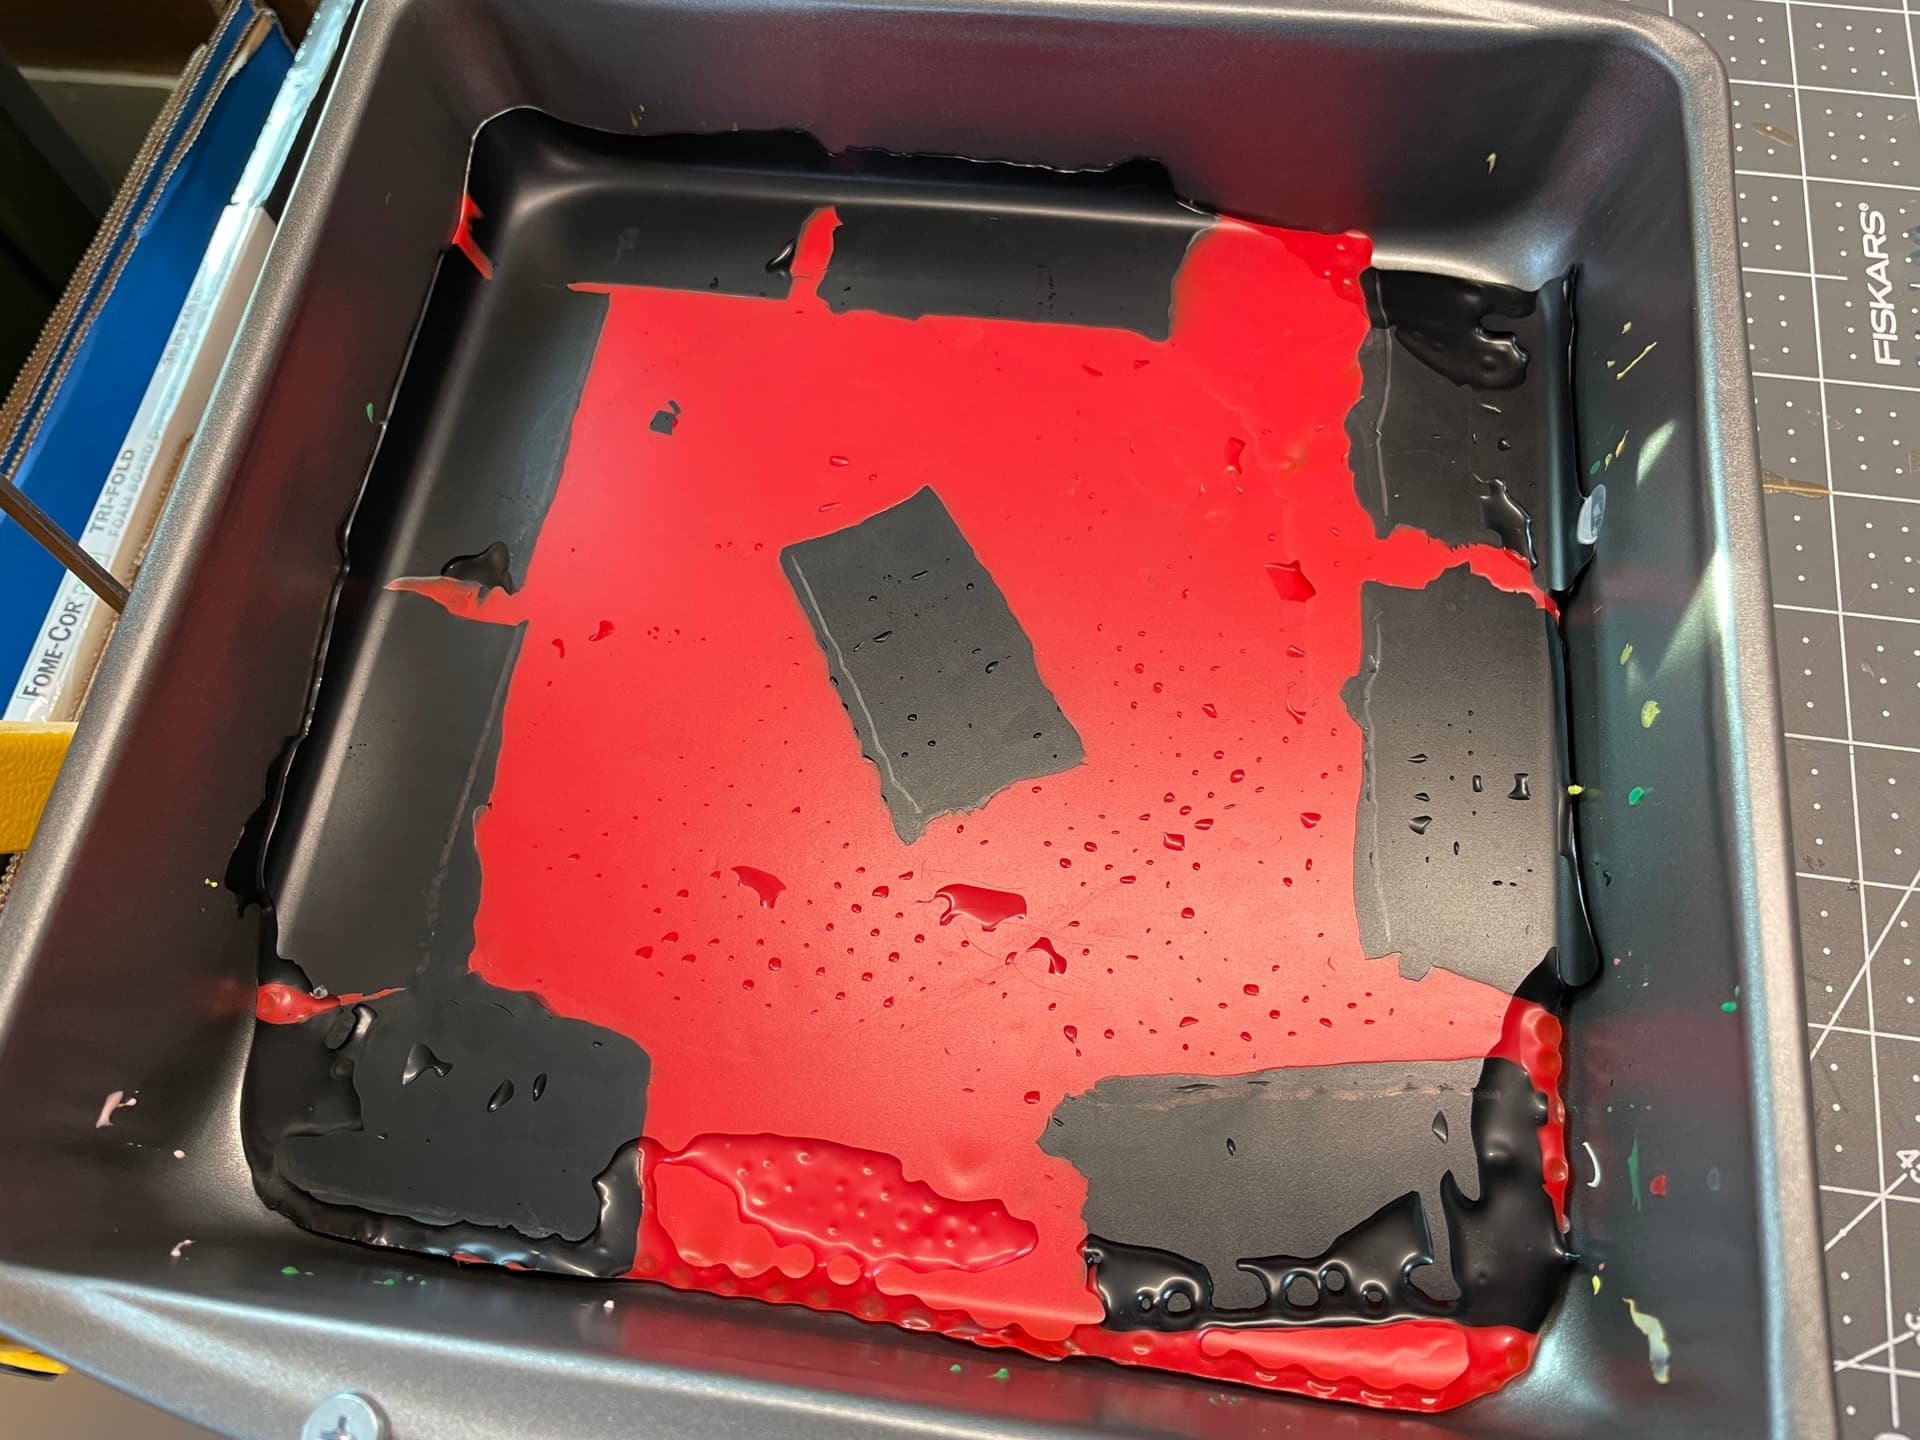
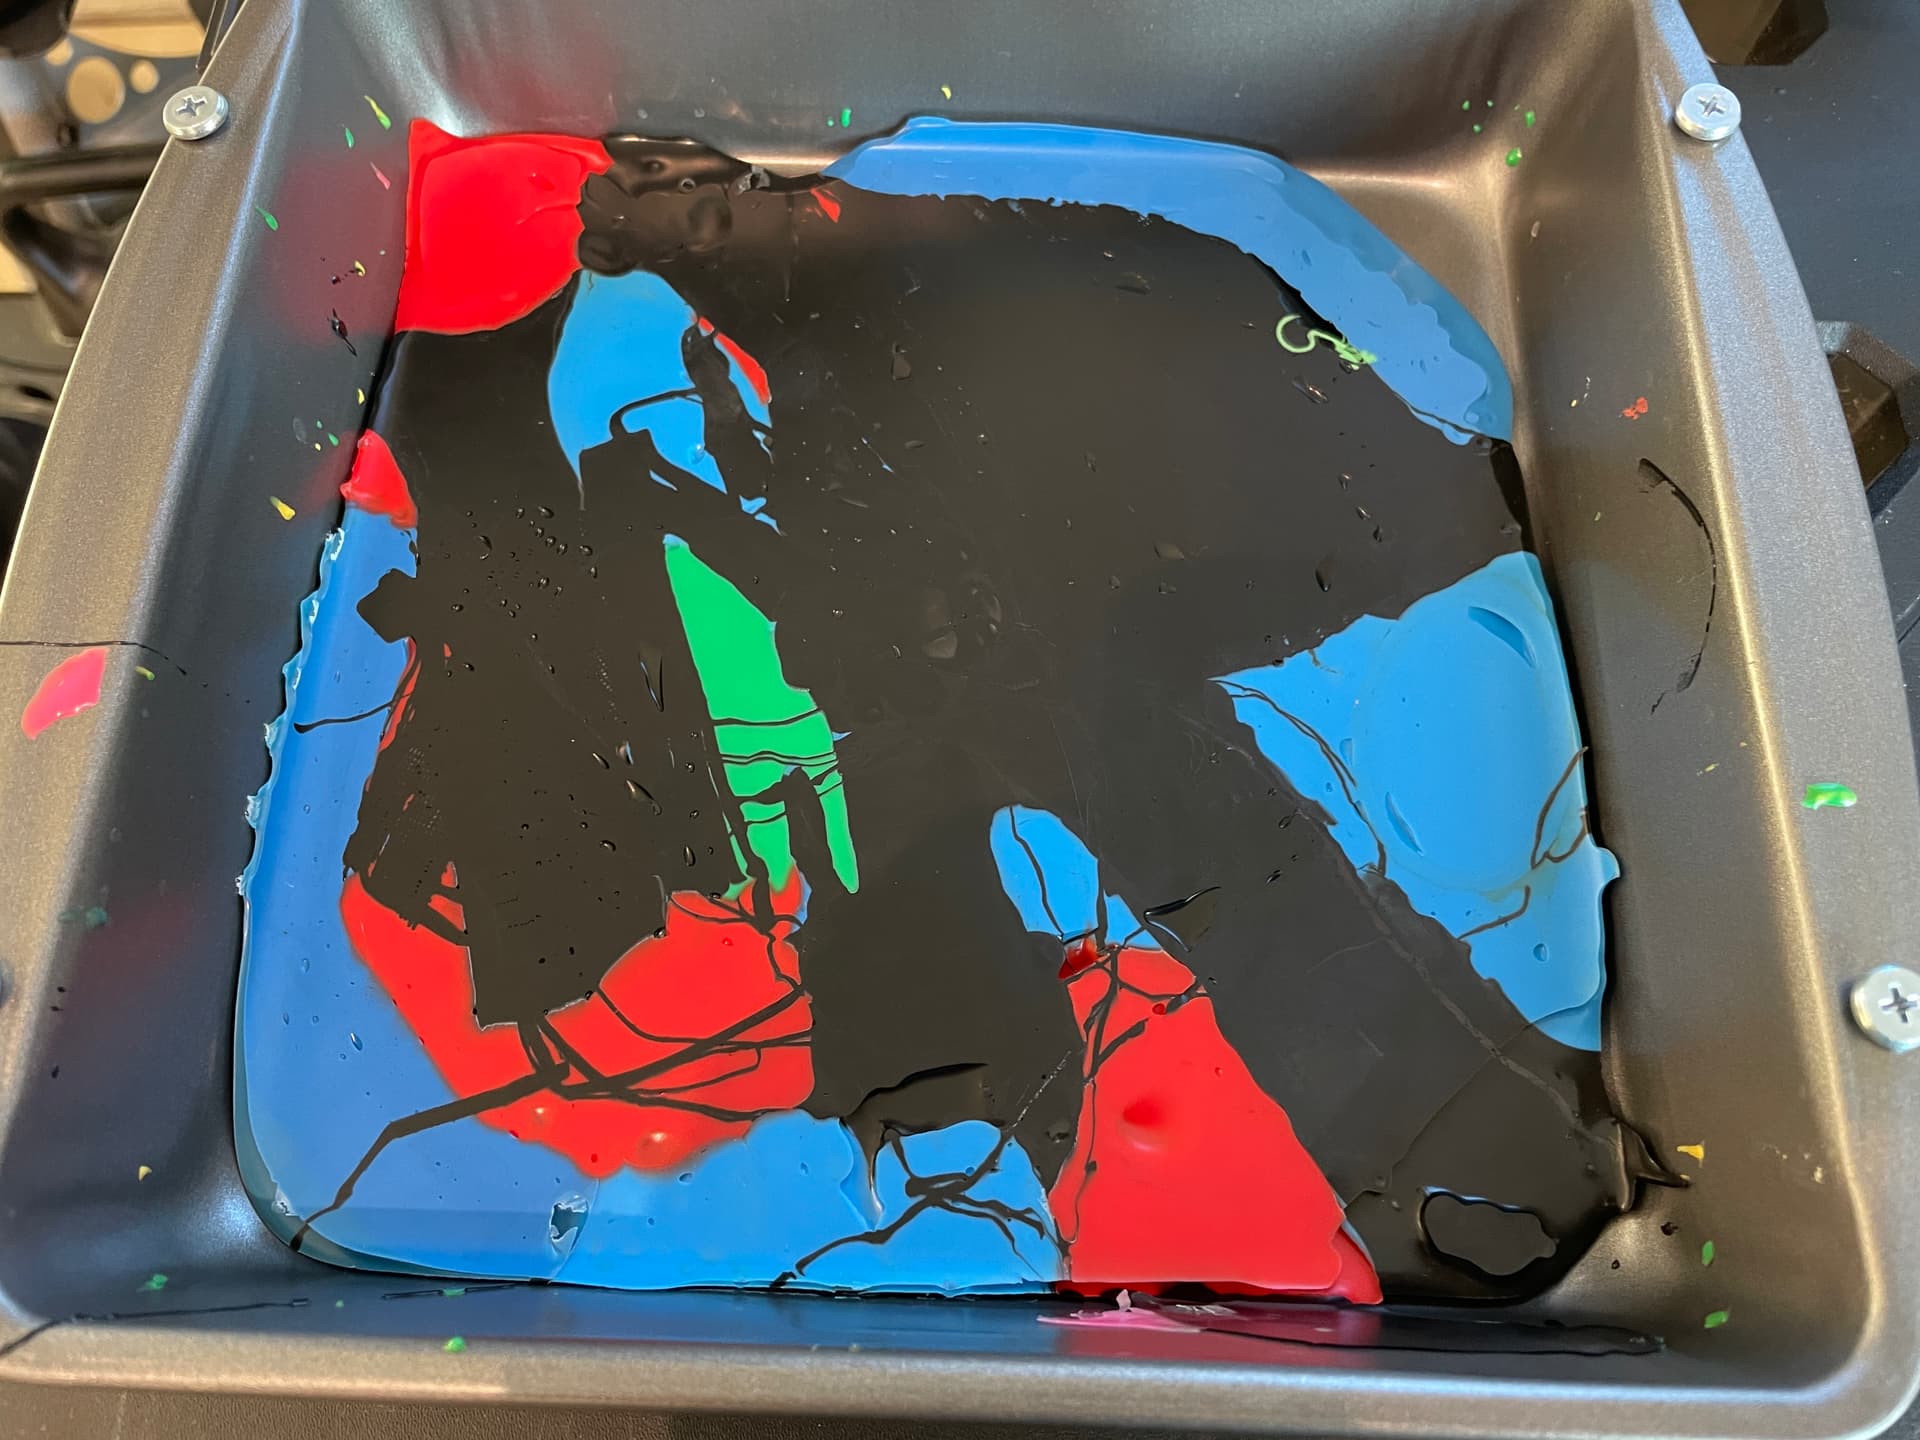
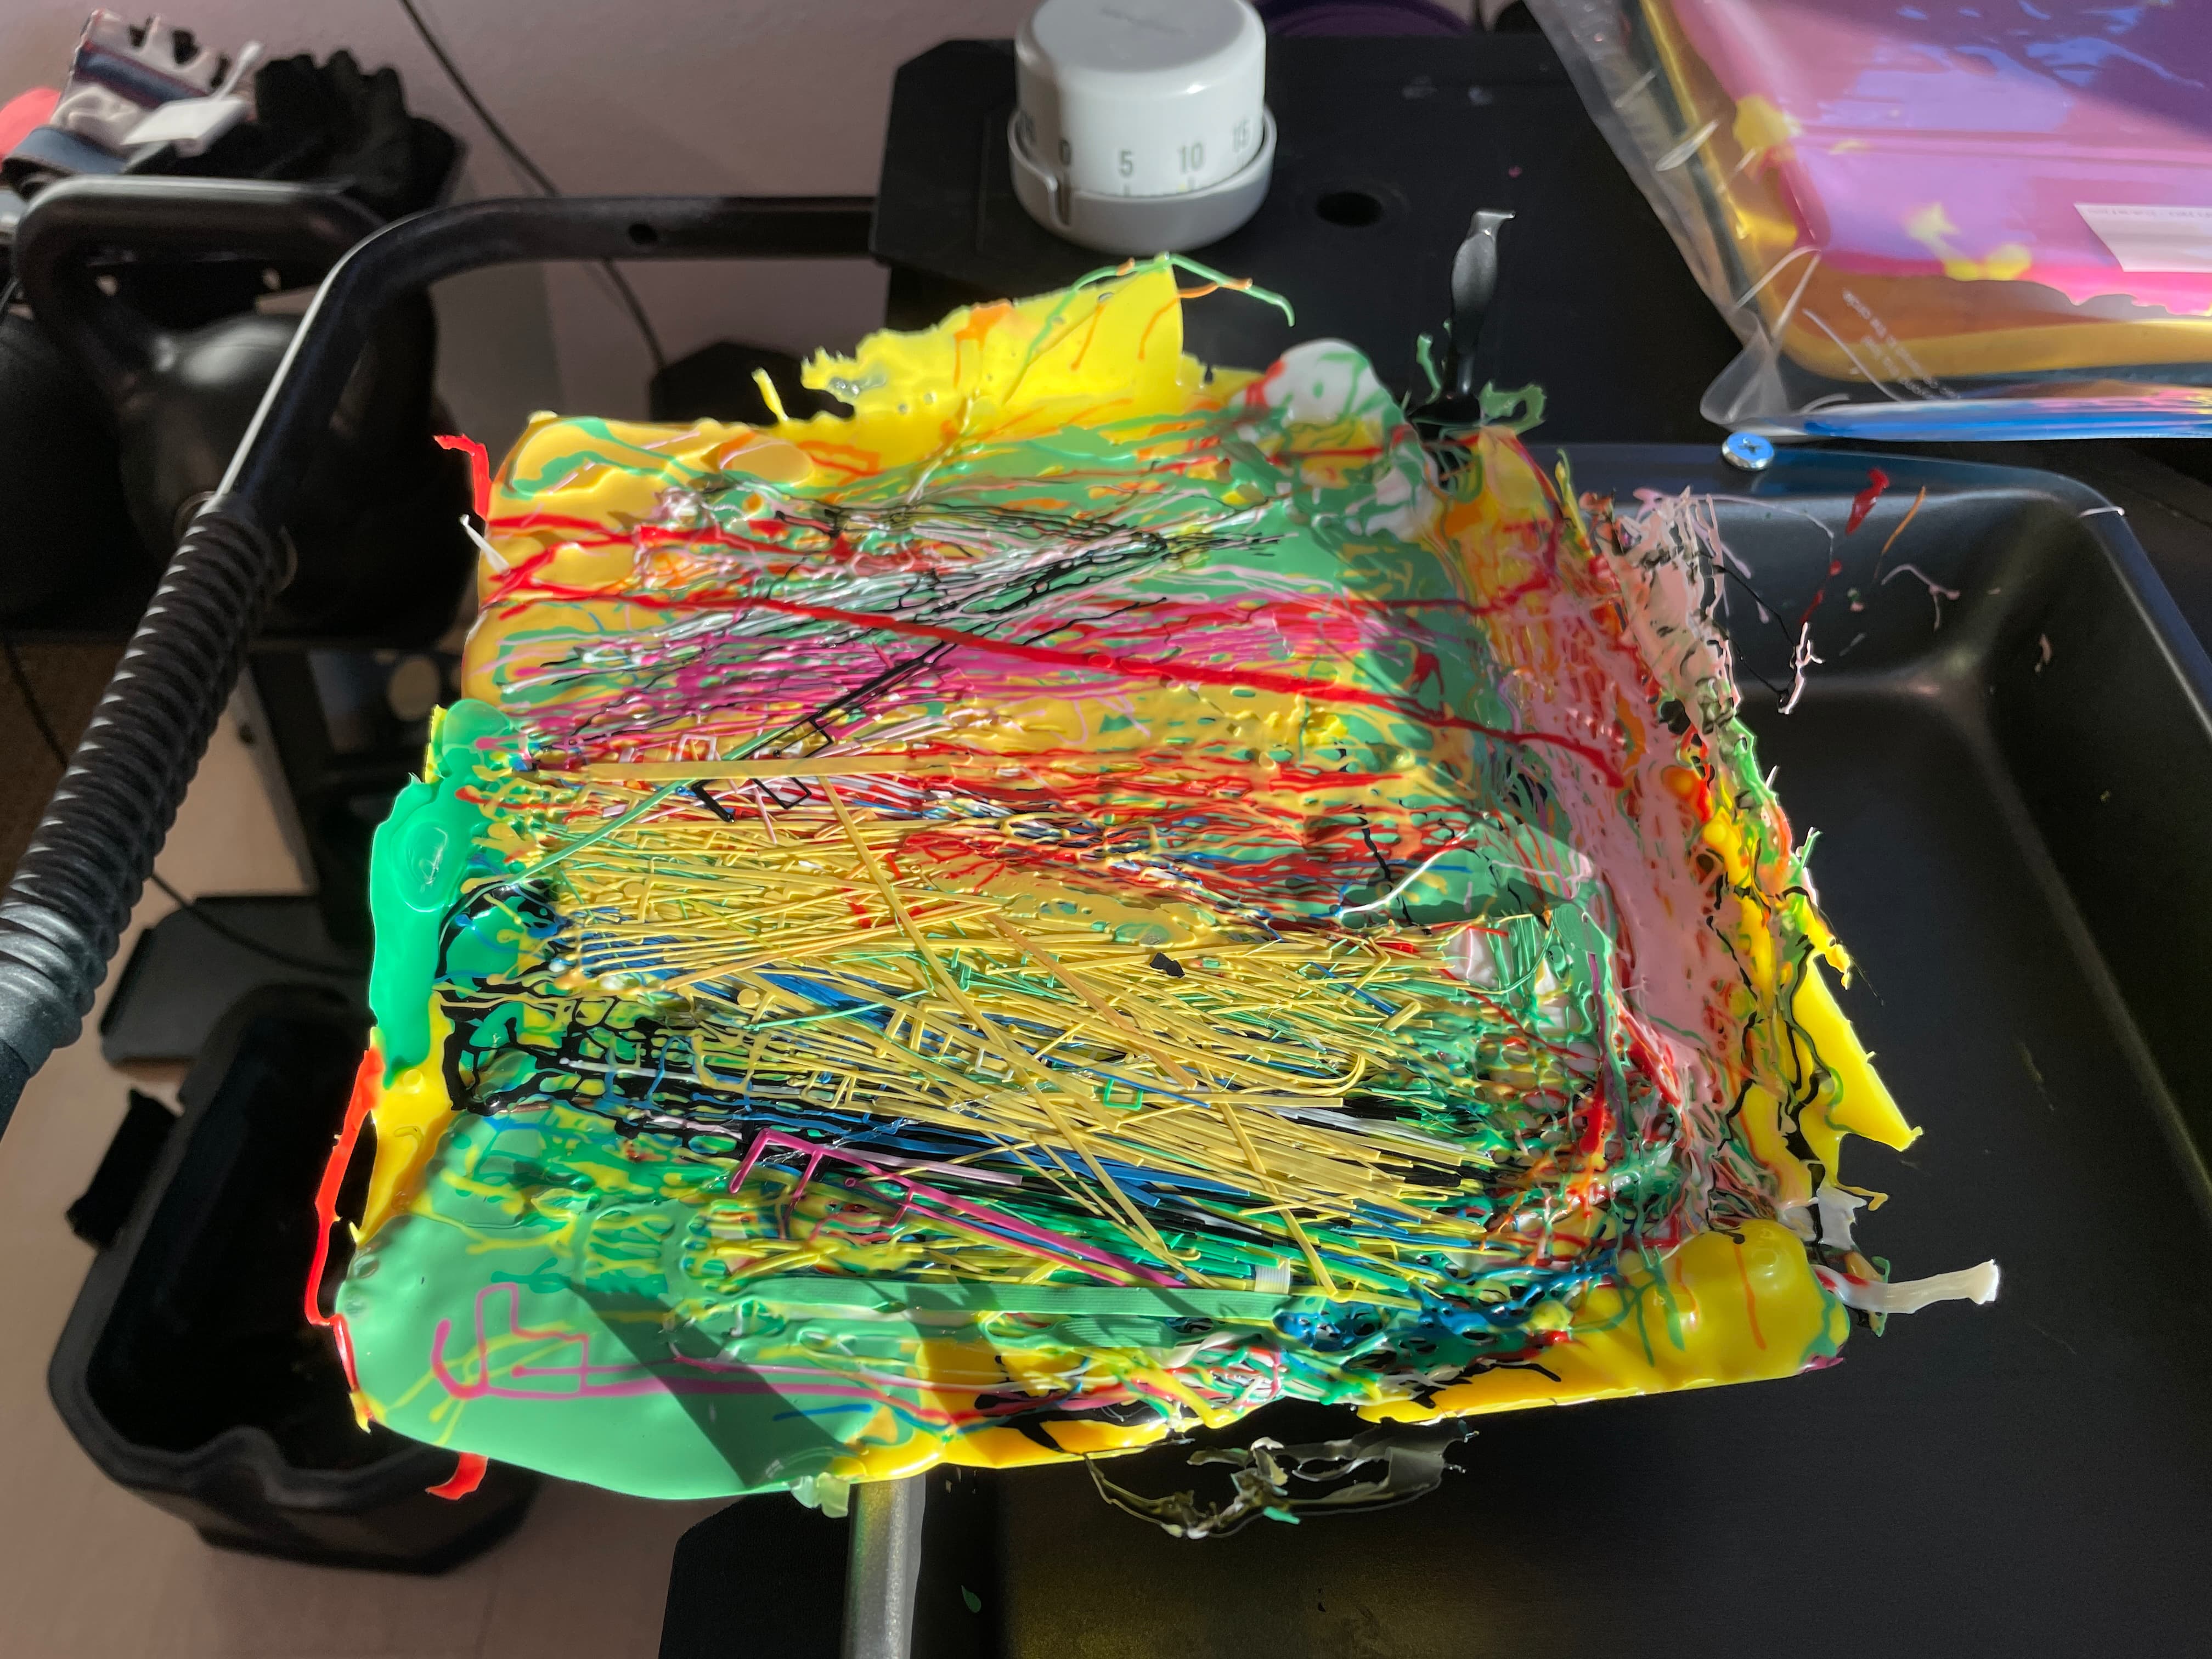
Since it took 30 hours to print, ya, it had a lot of poop. ‘Second’ melt - Add in the rest

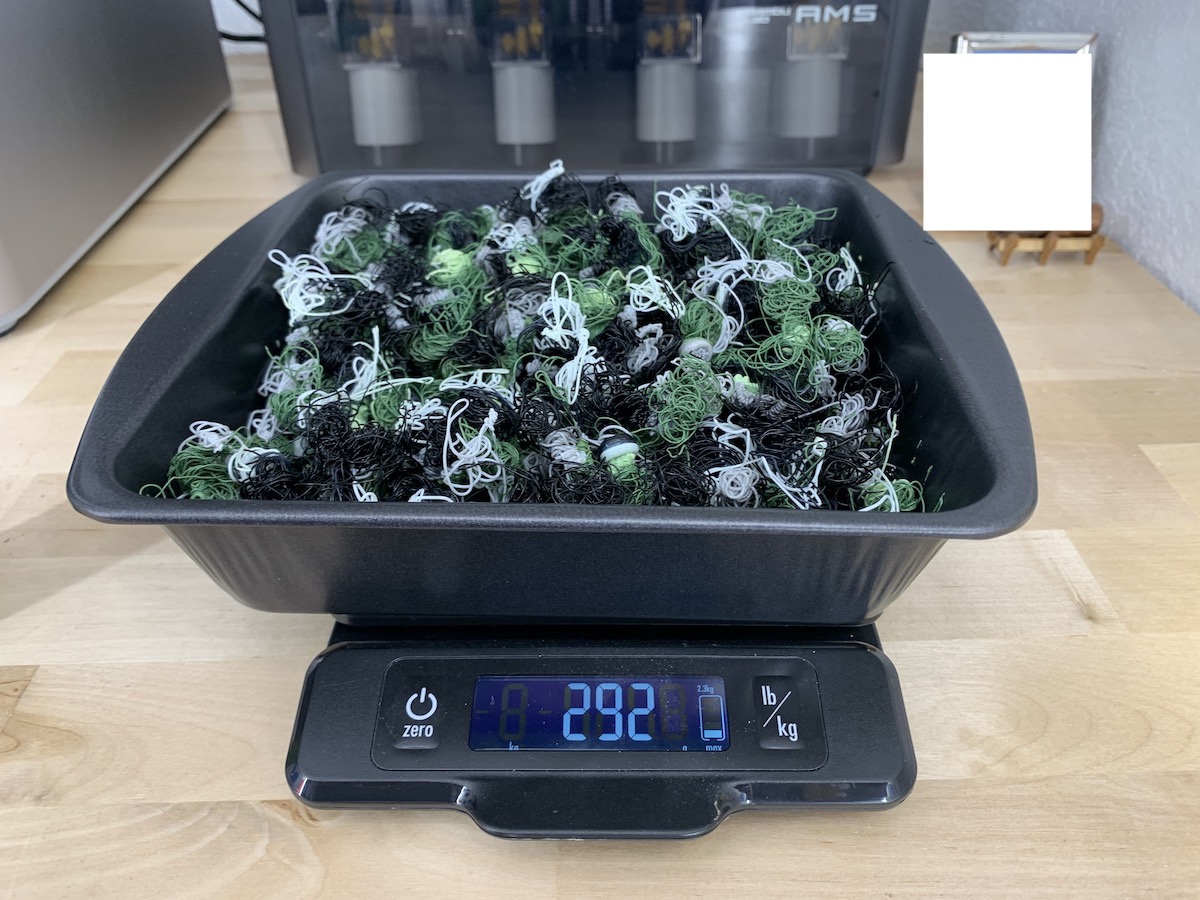
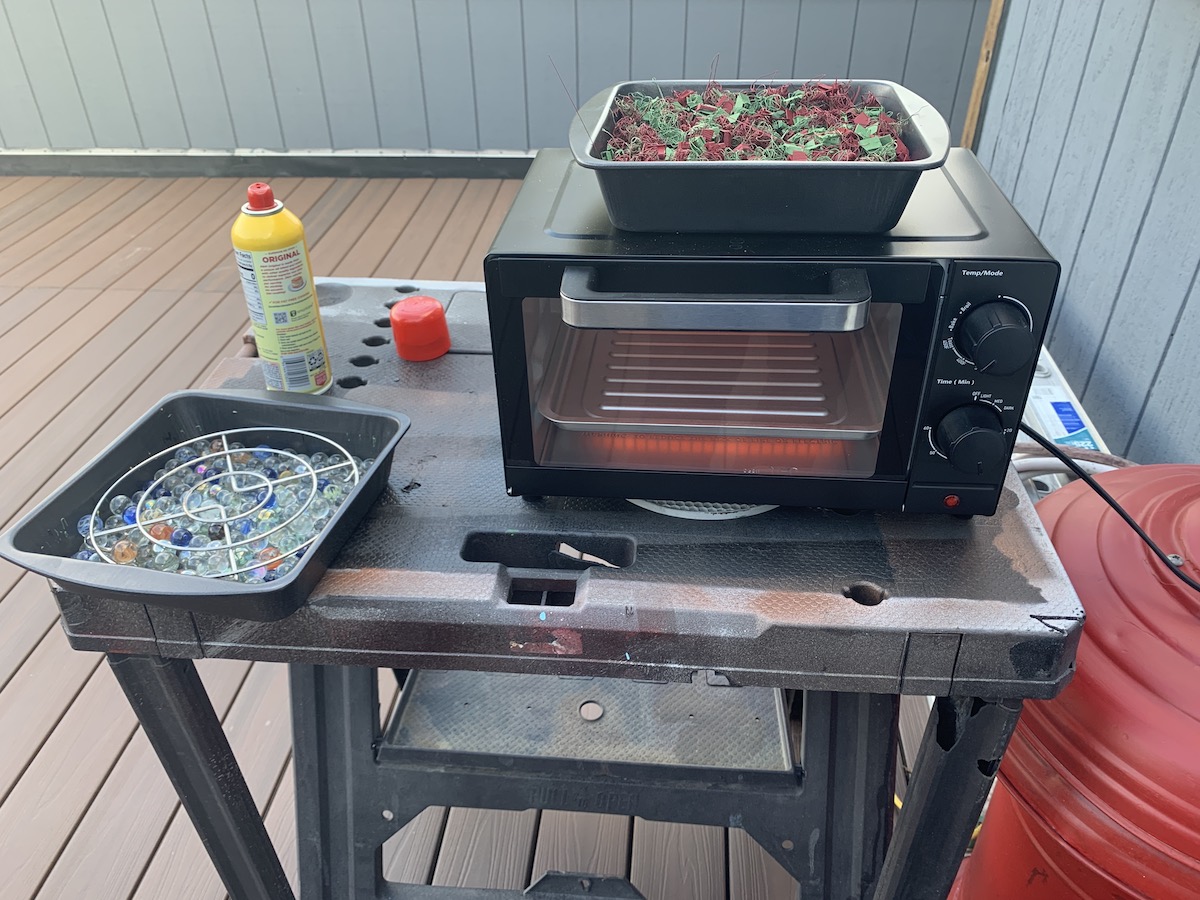
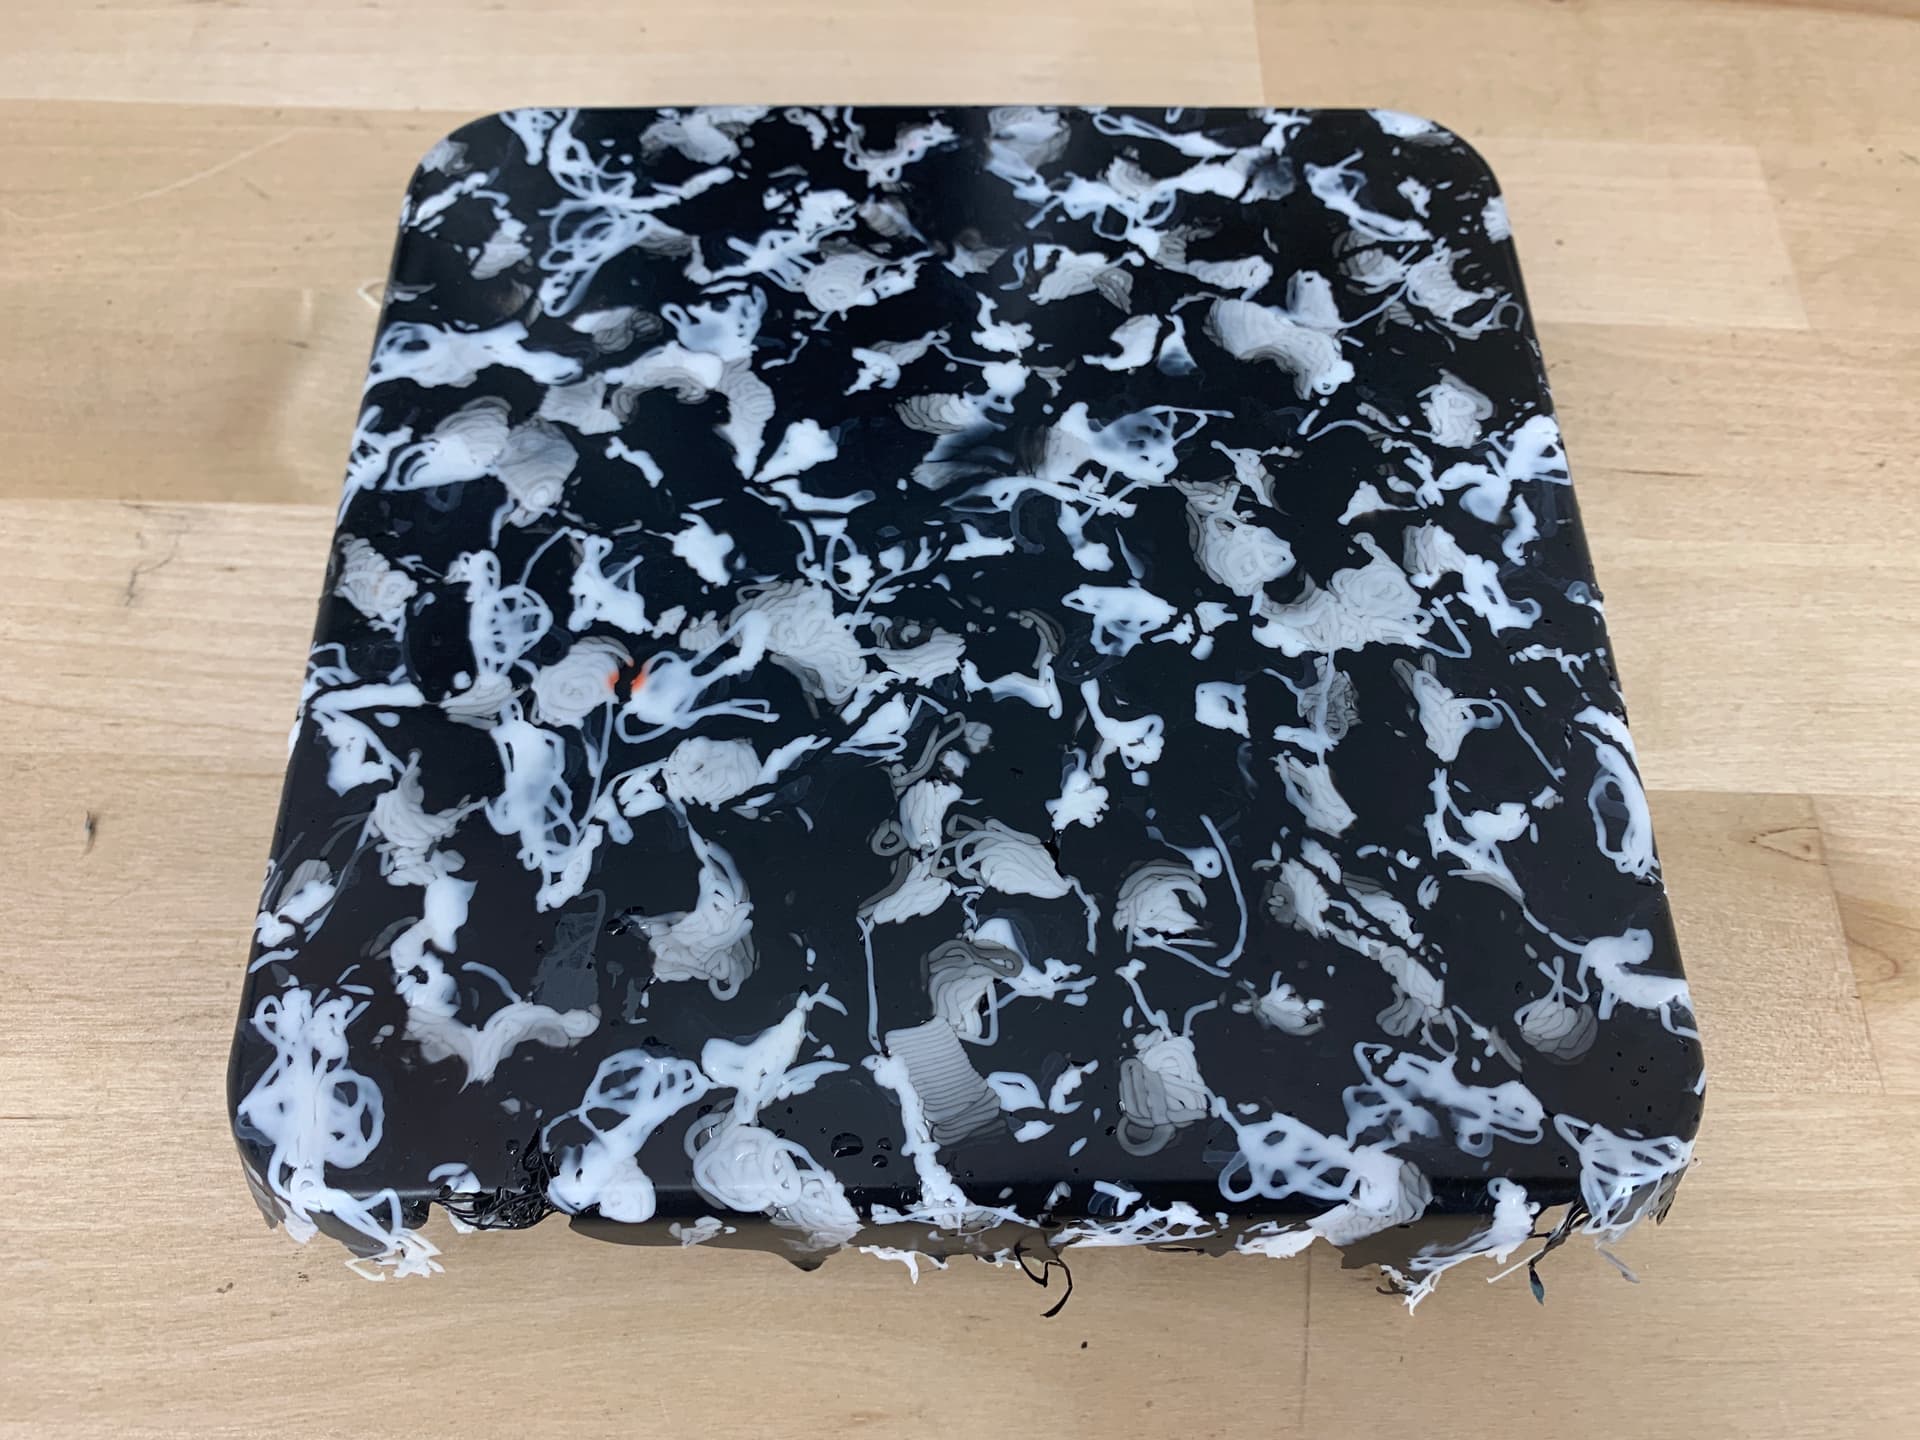
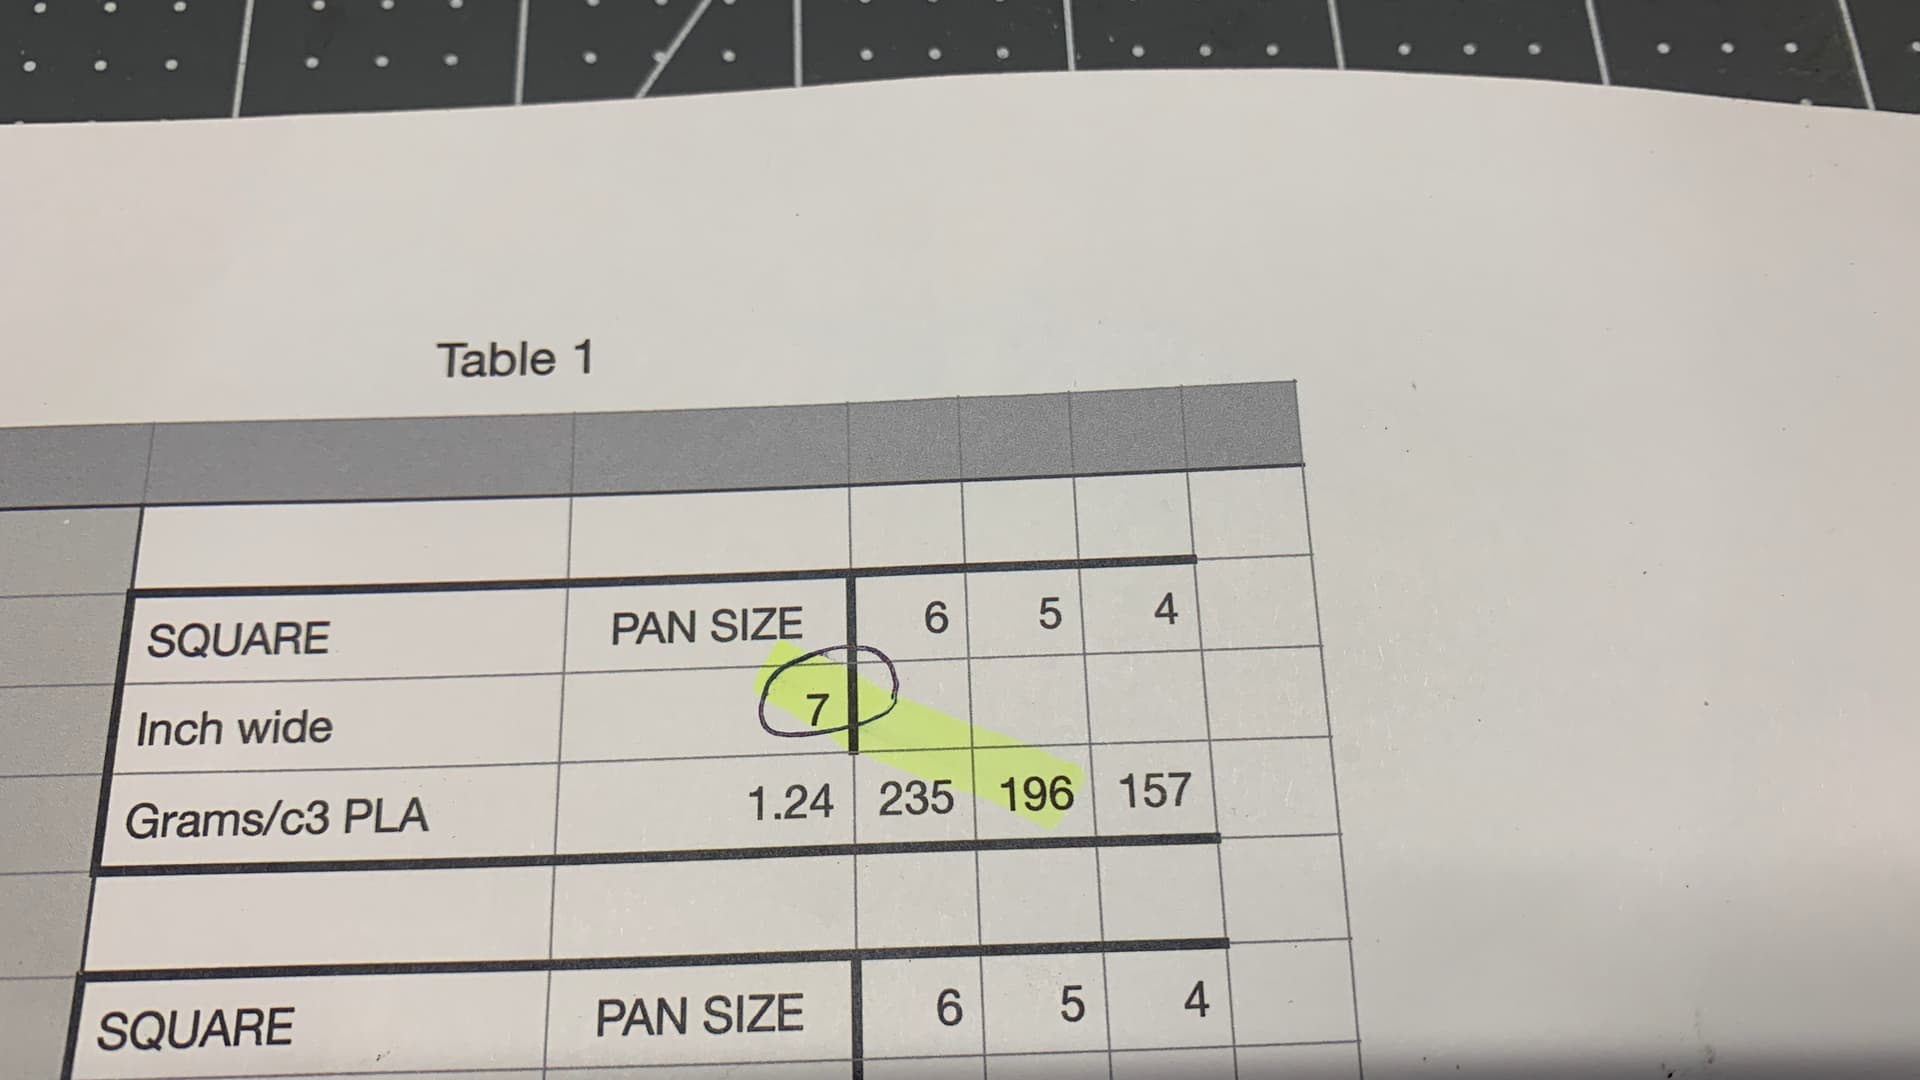
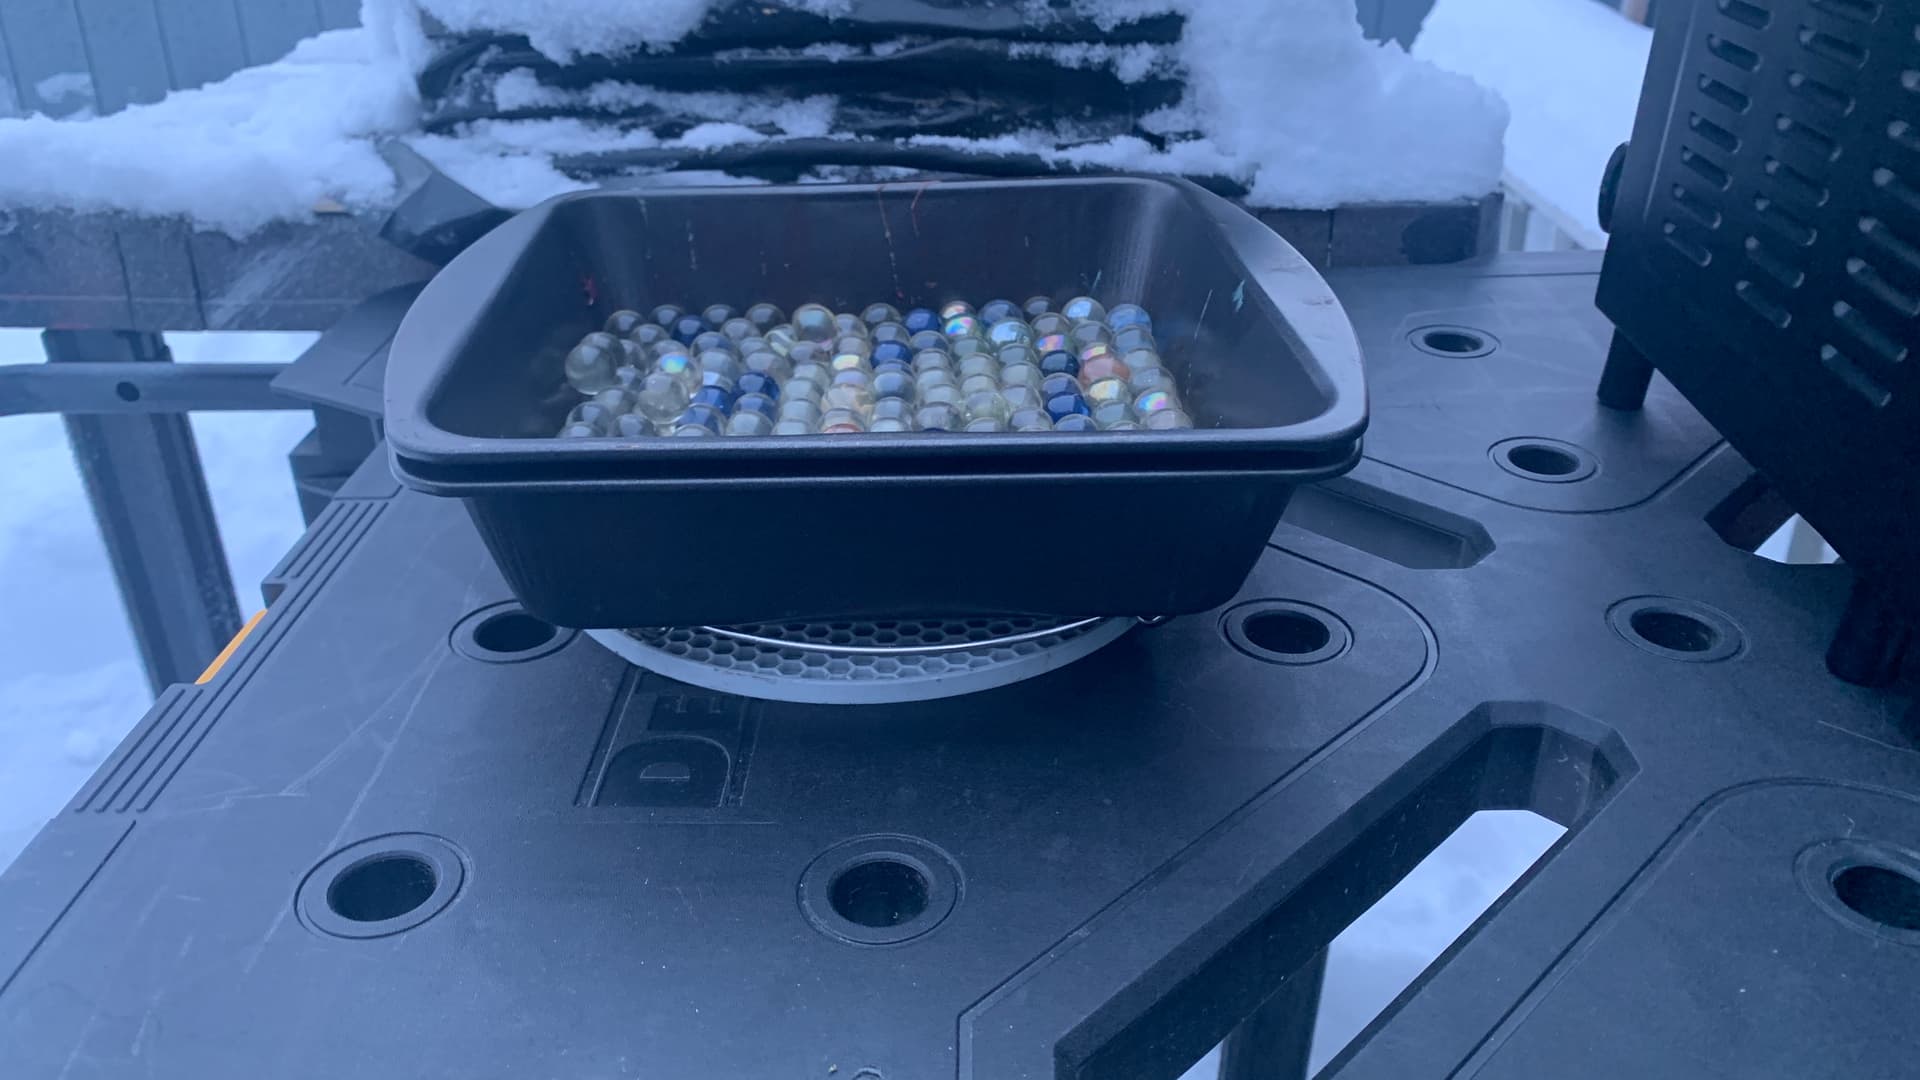
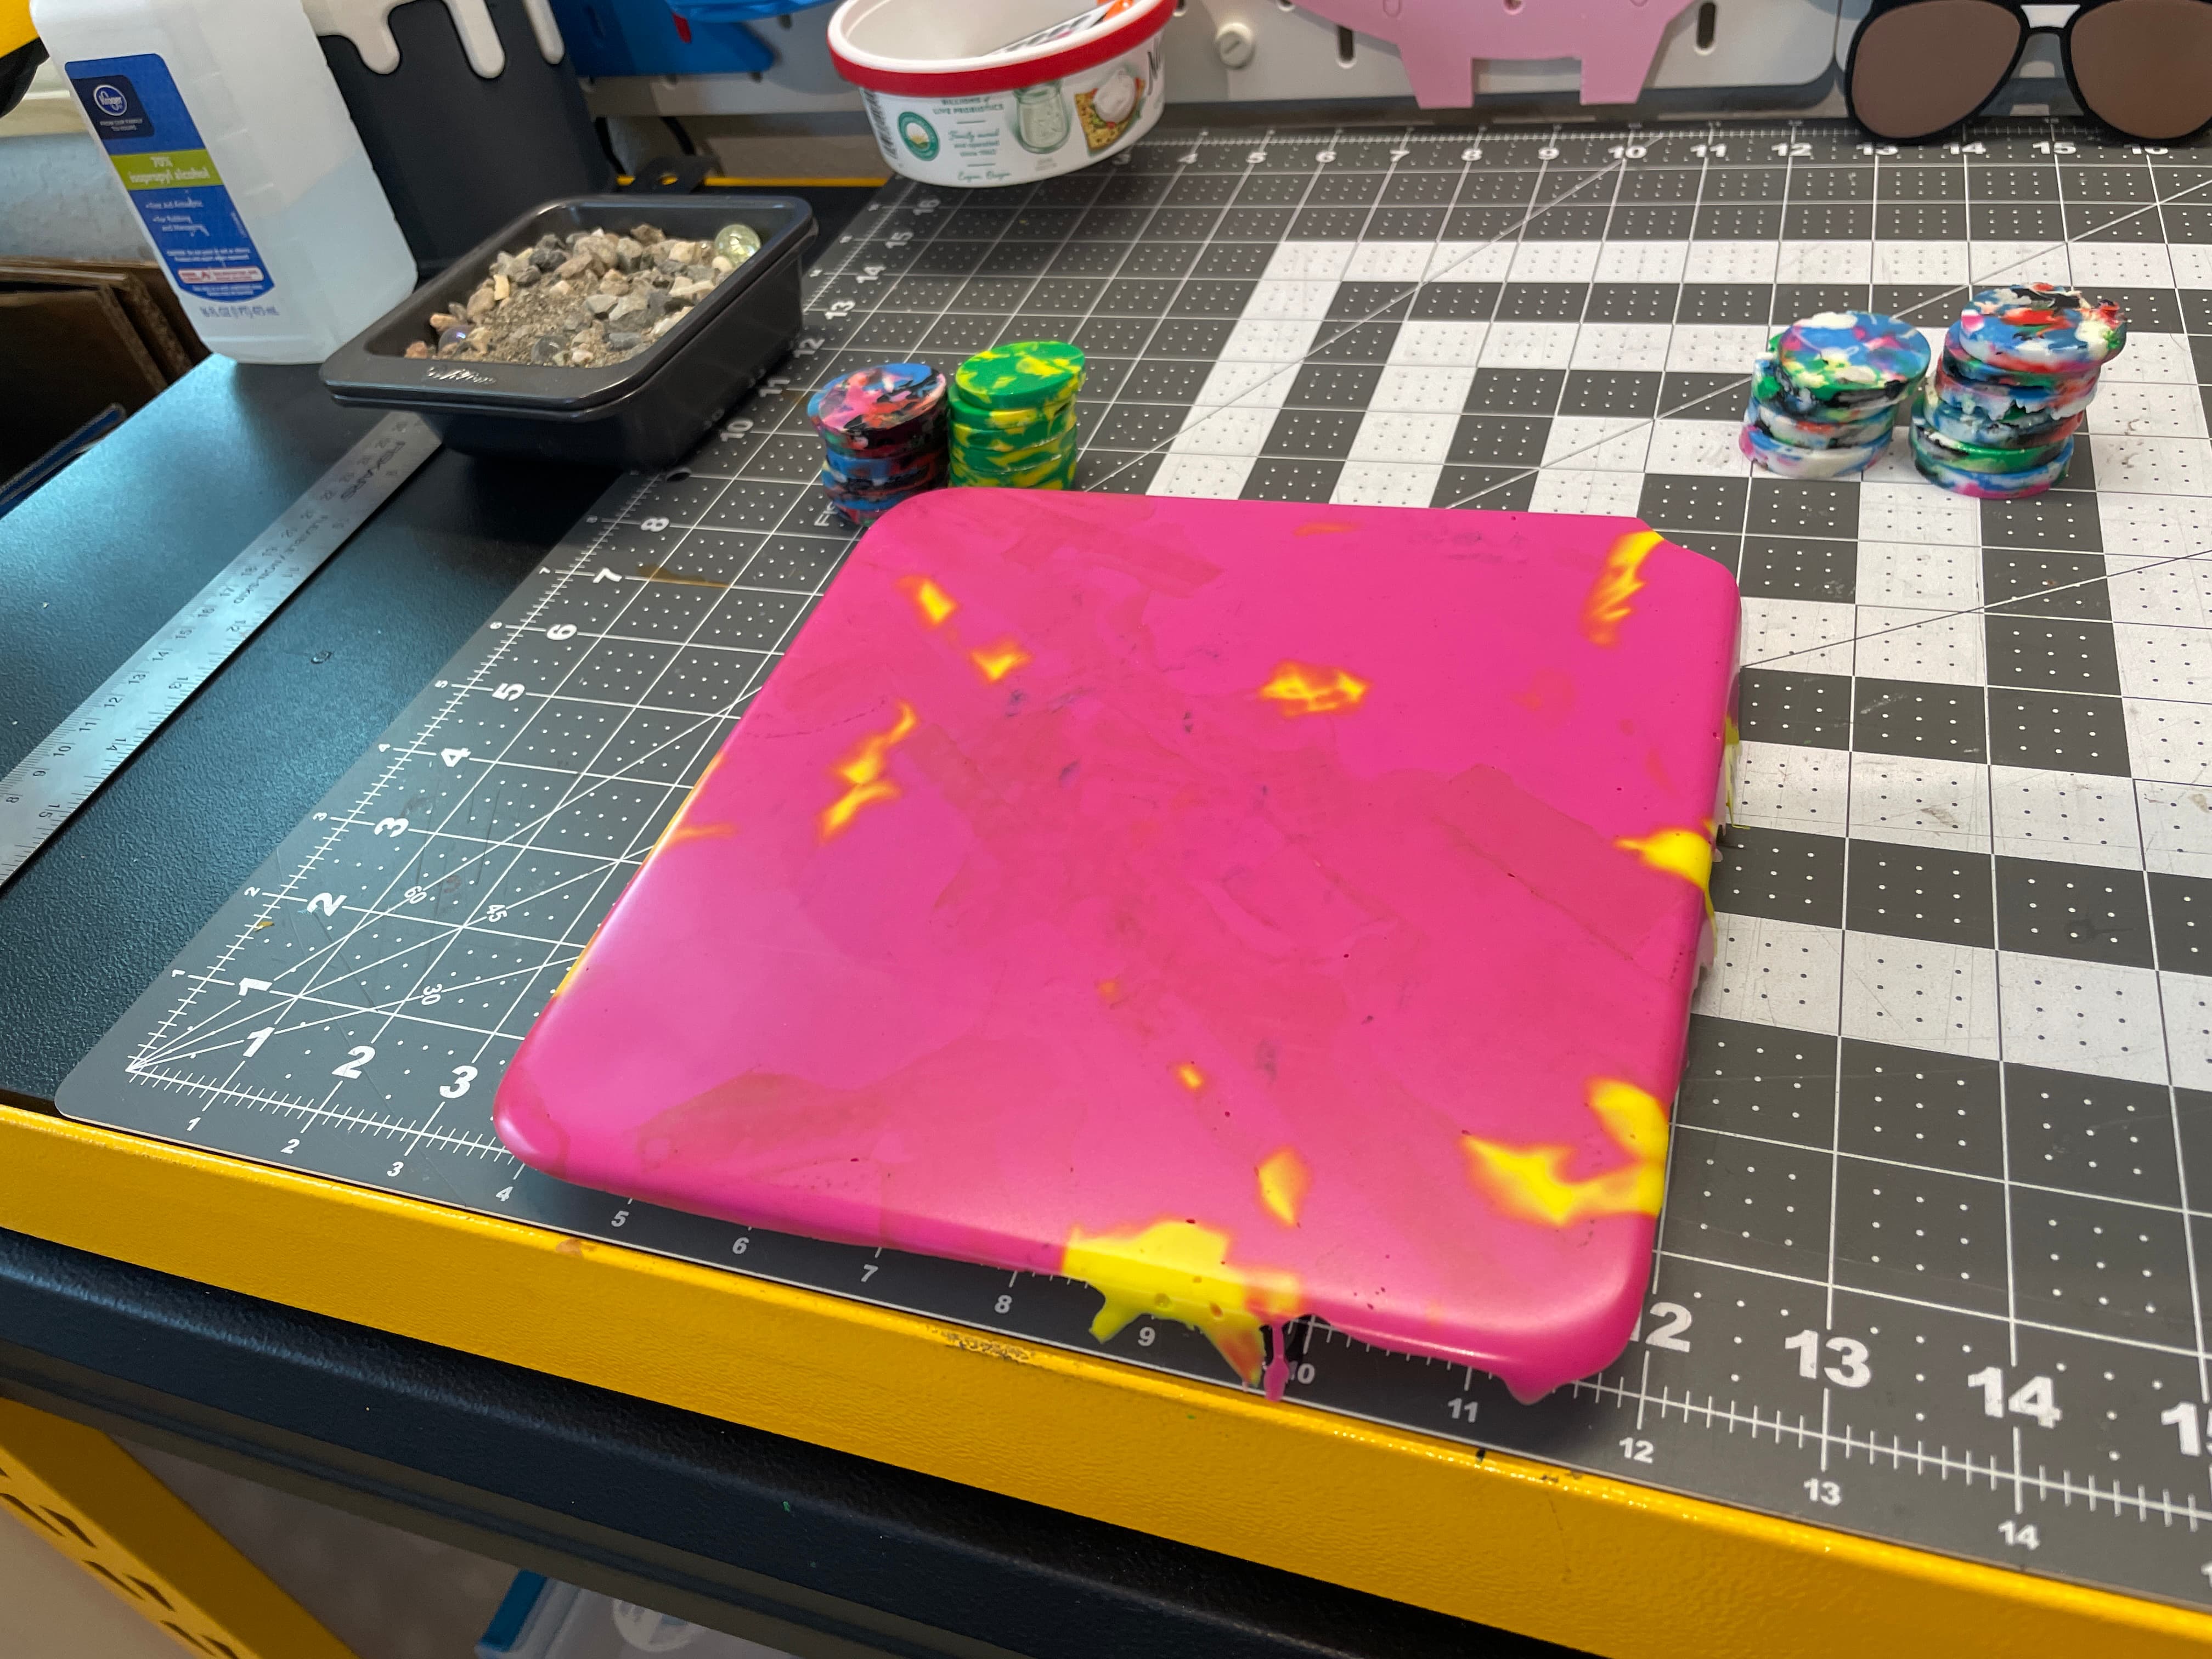
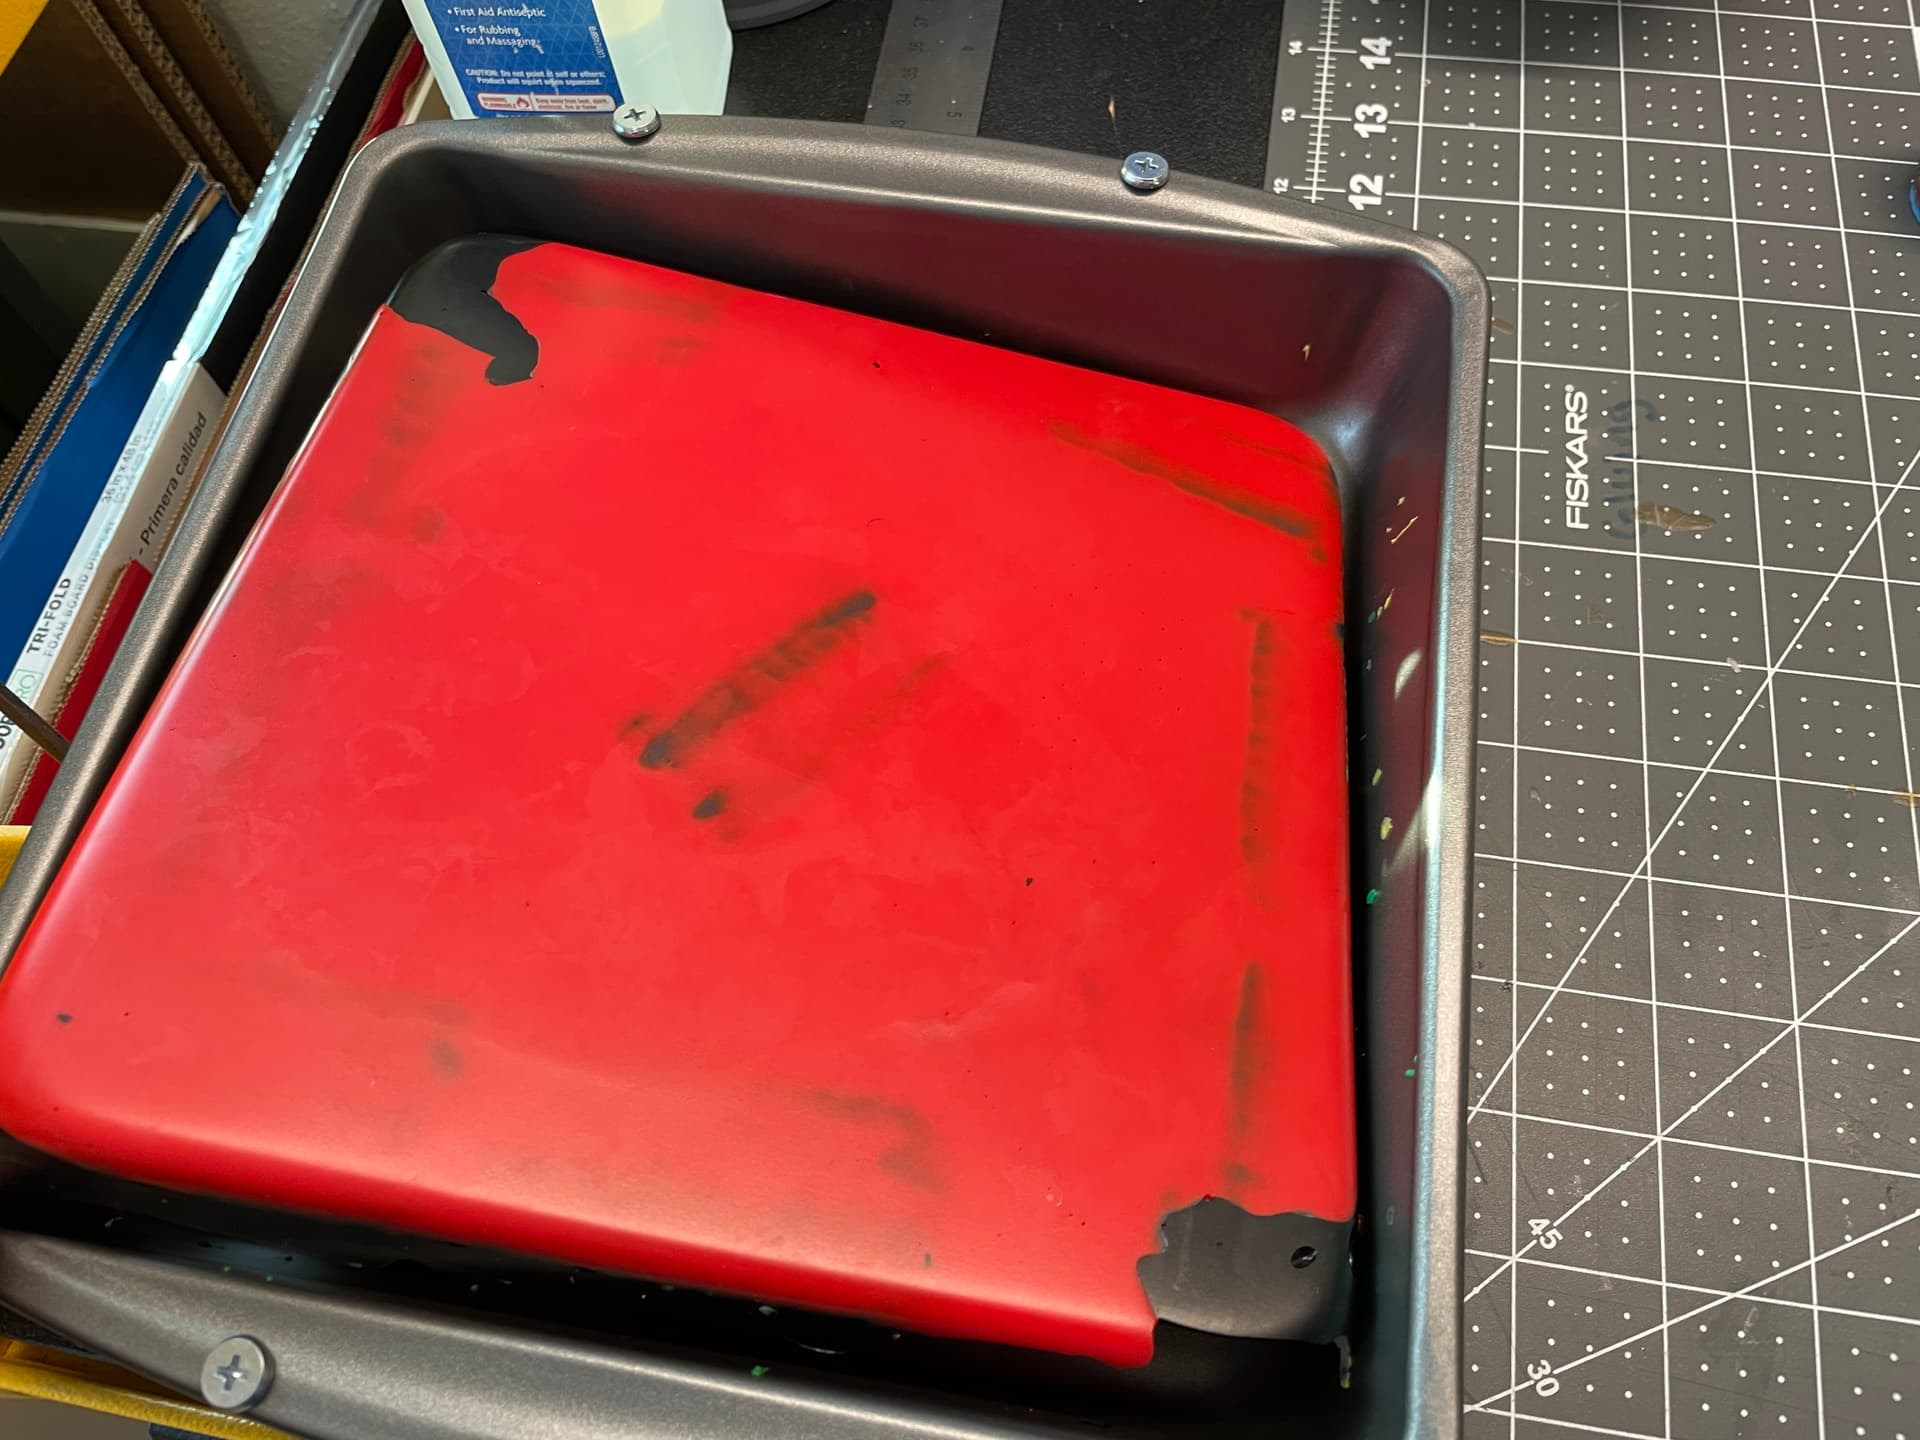
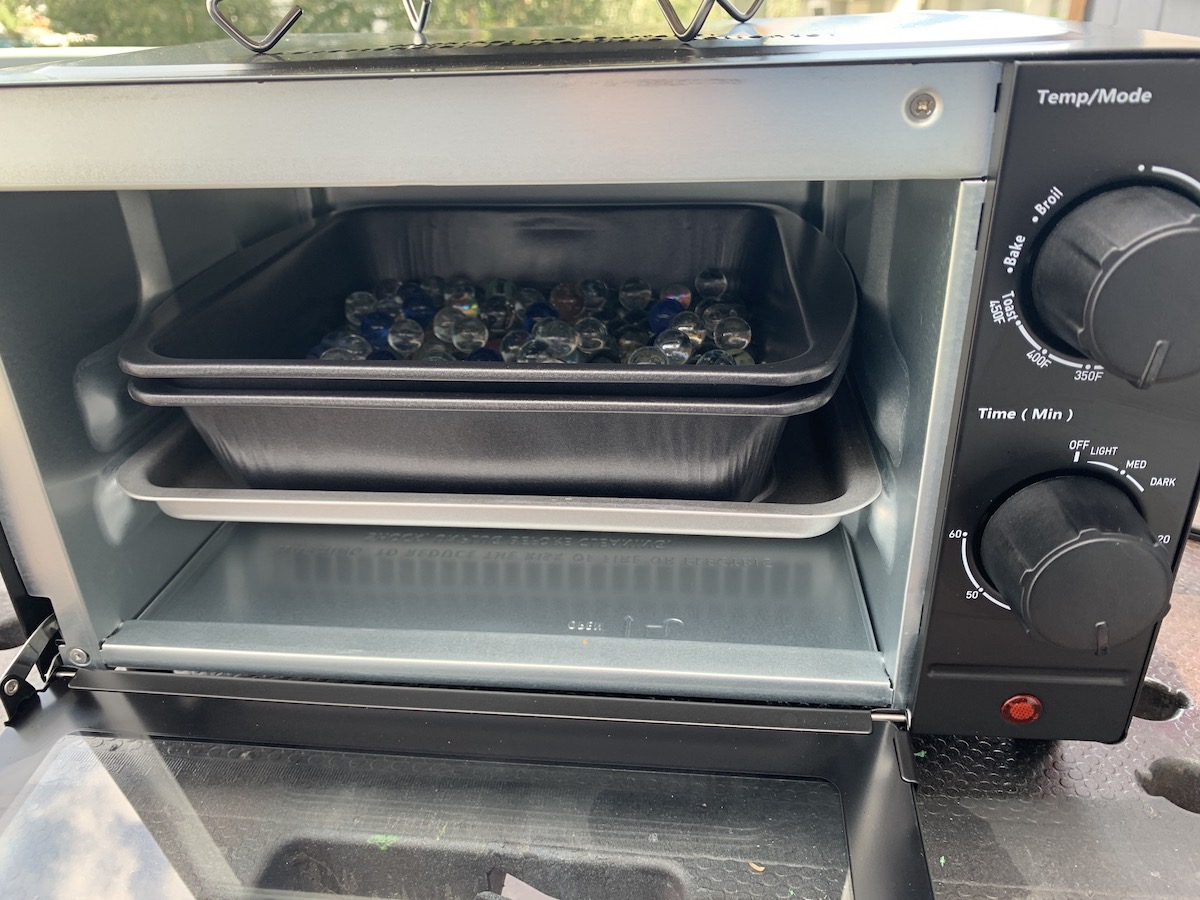
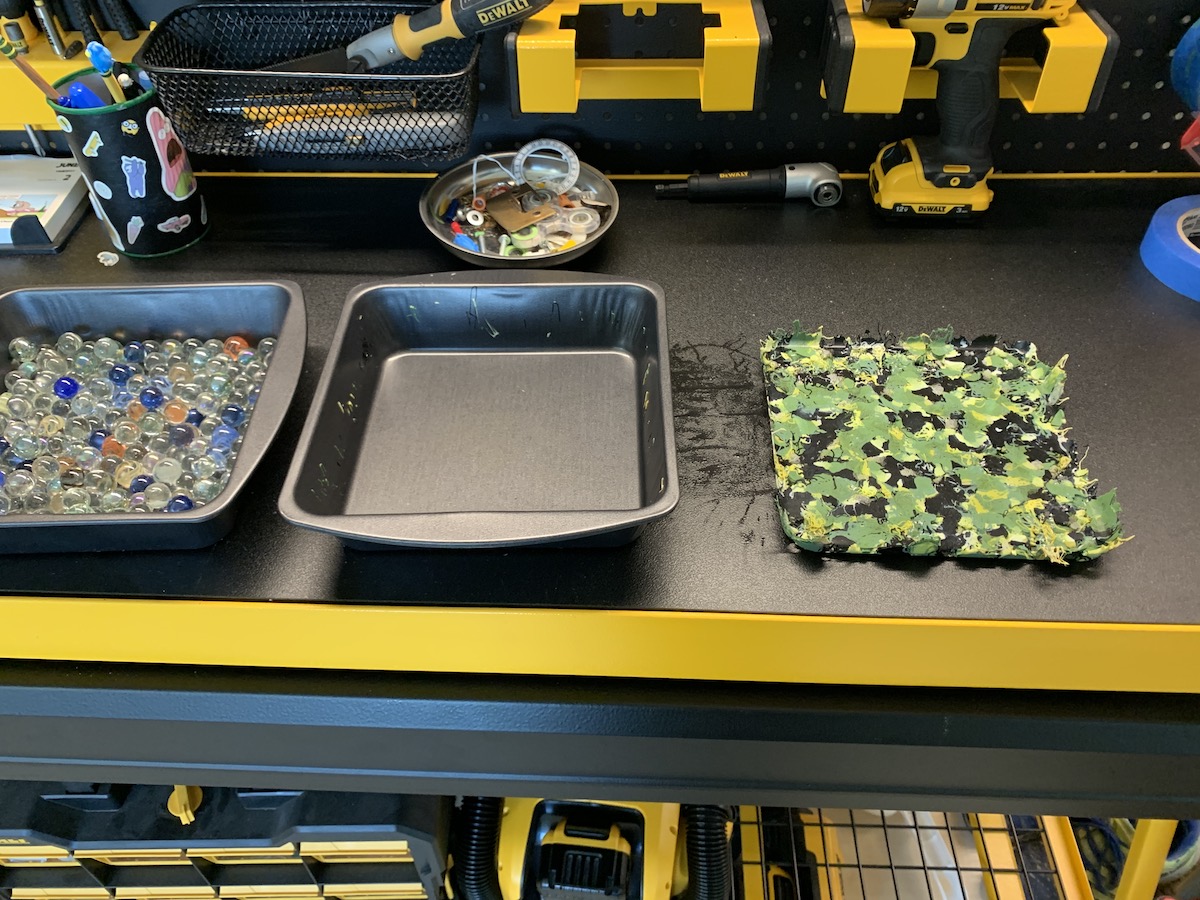
At this weight, and 7" x 7", that’s about 9+mil thick. So it might be too much, but I’ll figure that out later. Put back into oven at 400f for 15min. Remove and nest marble filled pan on top. Put back in oven for 45 minutes.

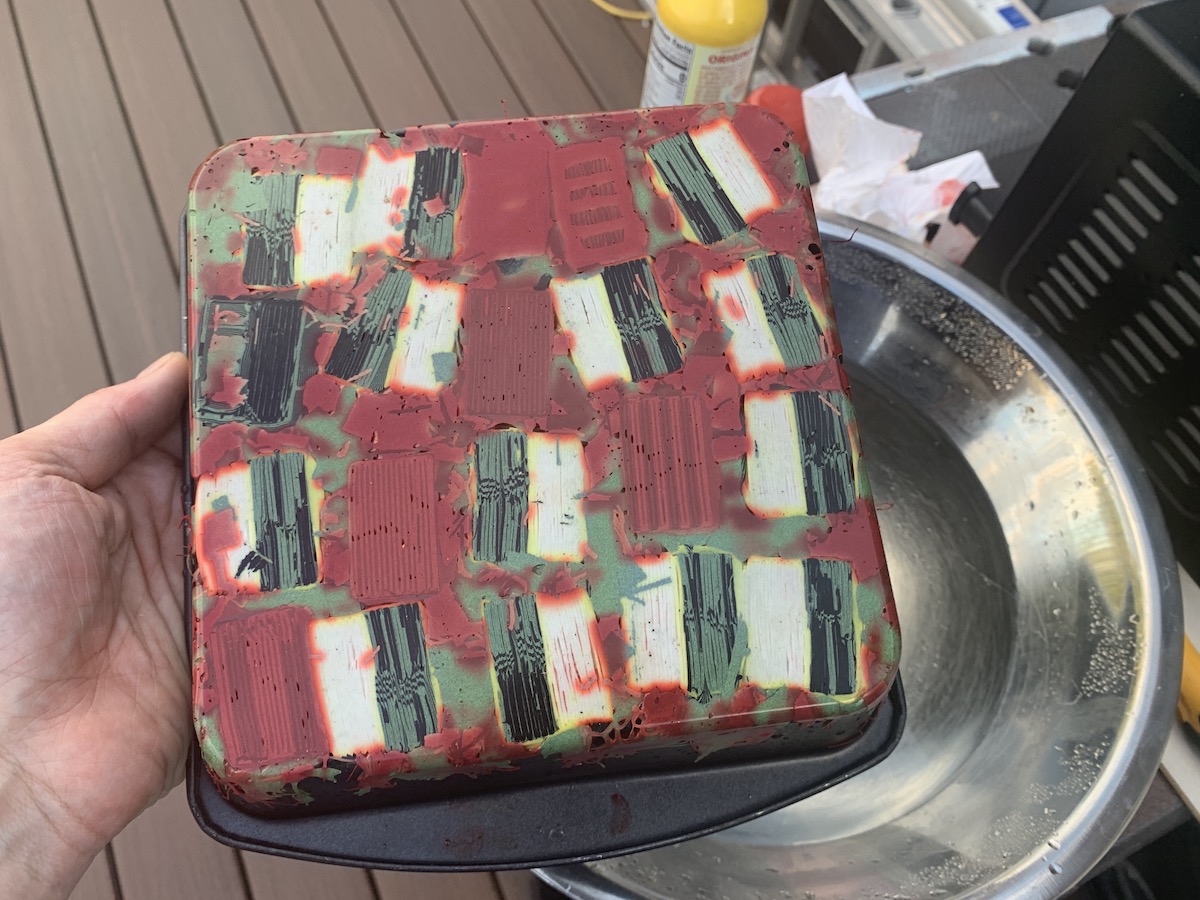
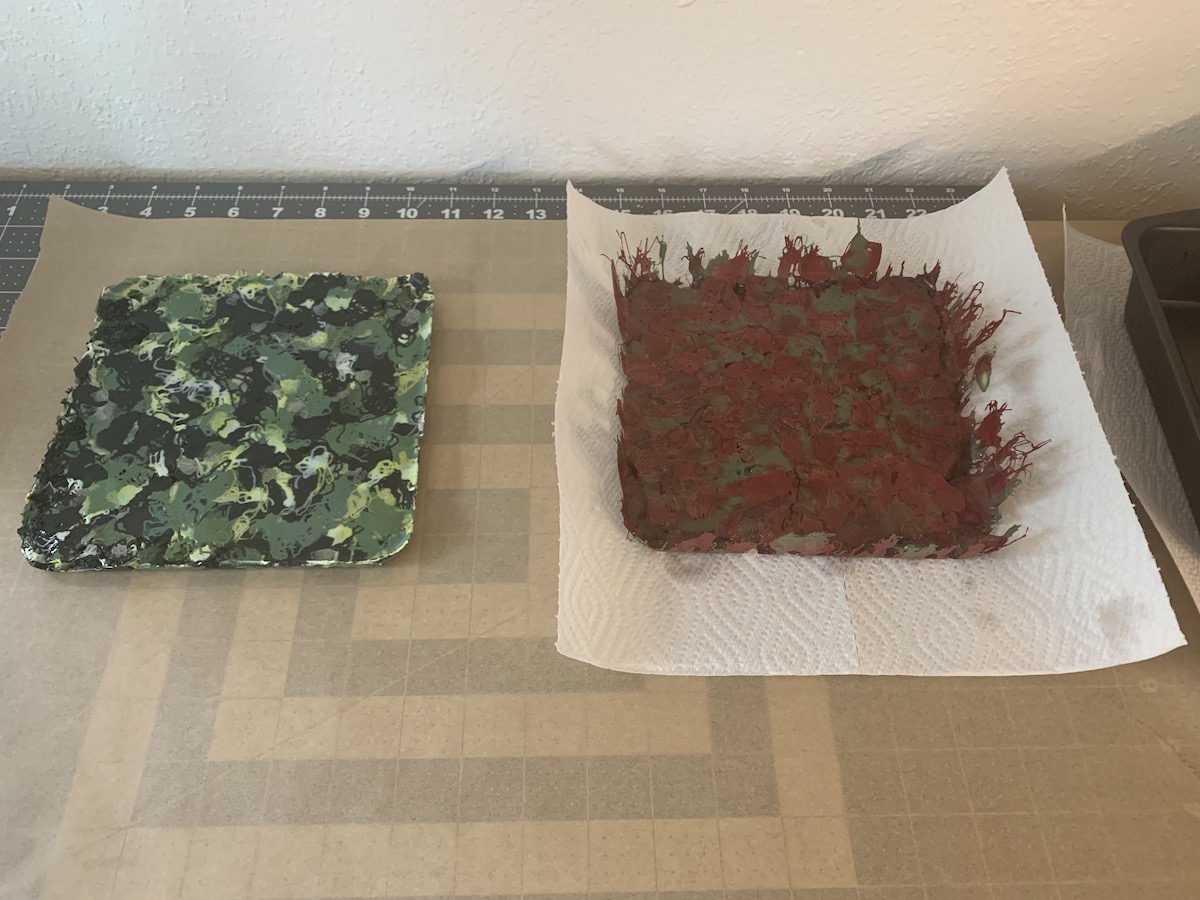
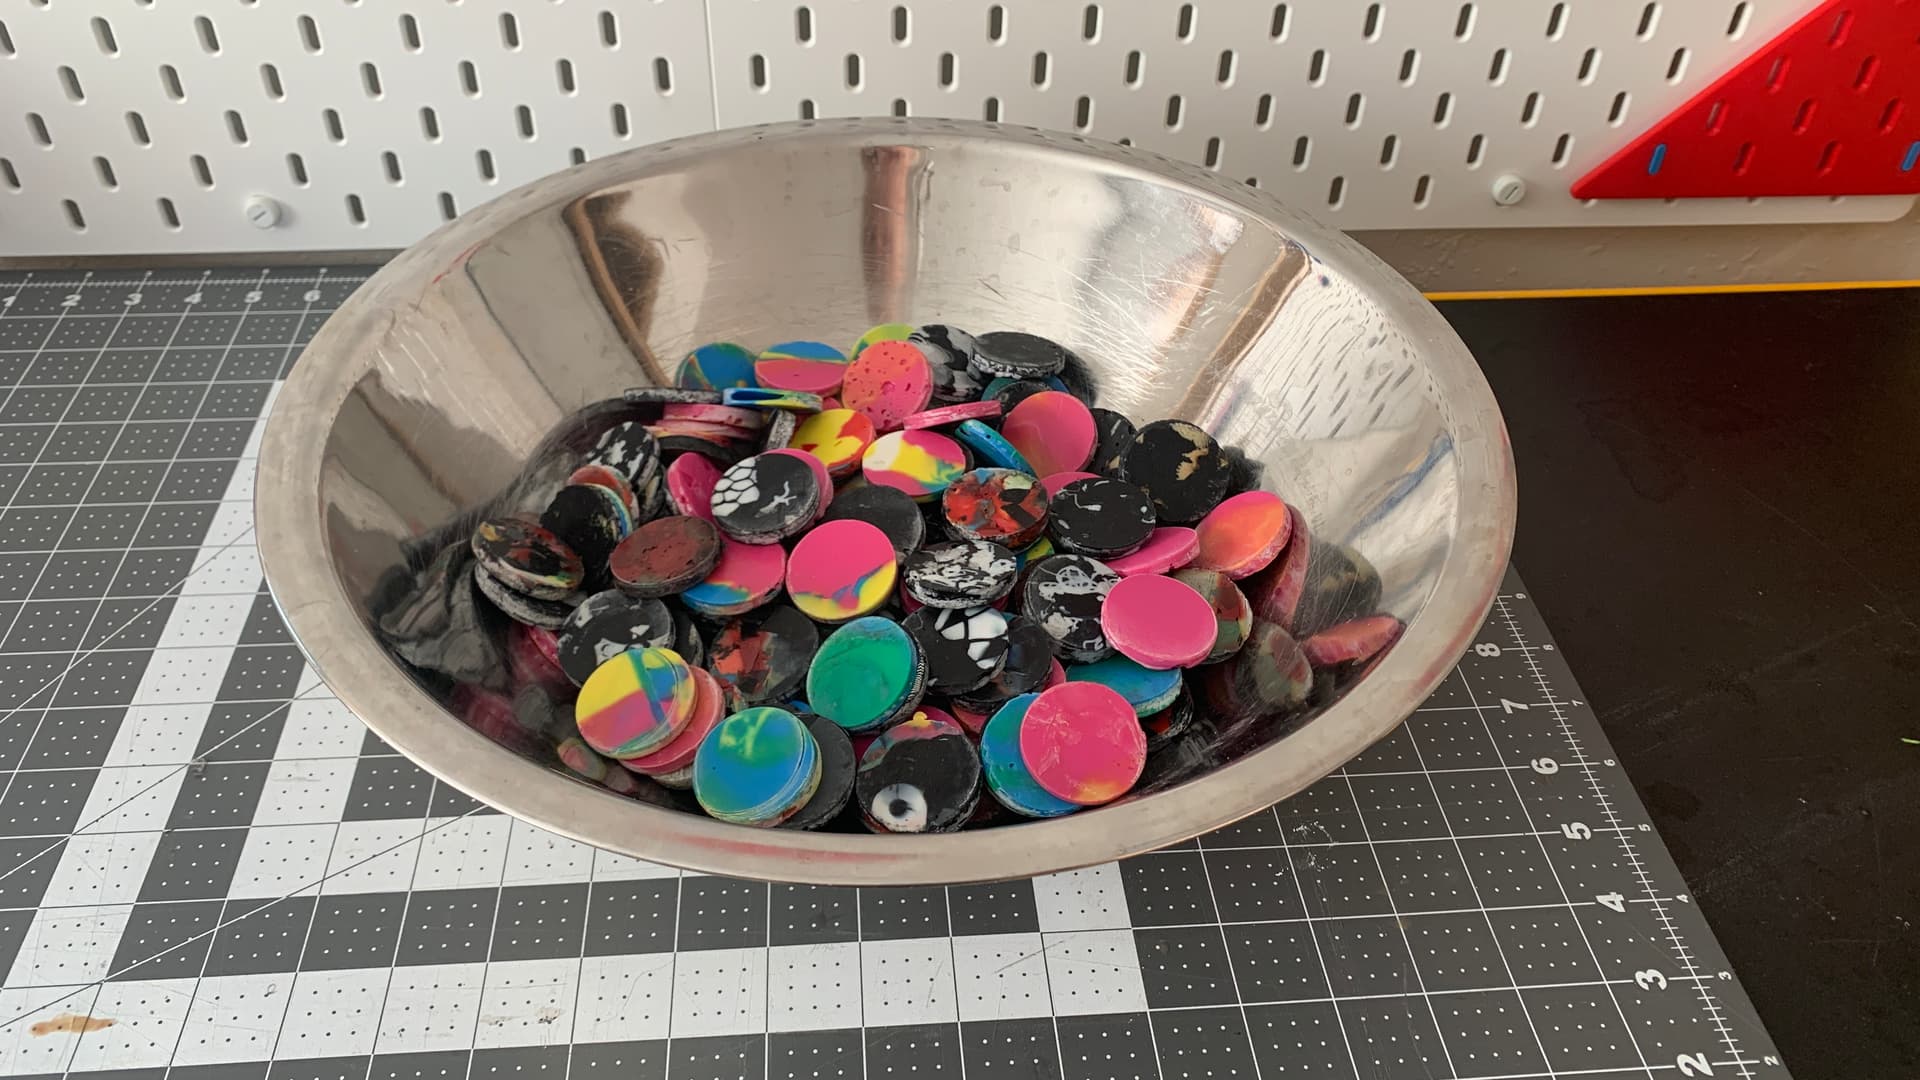
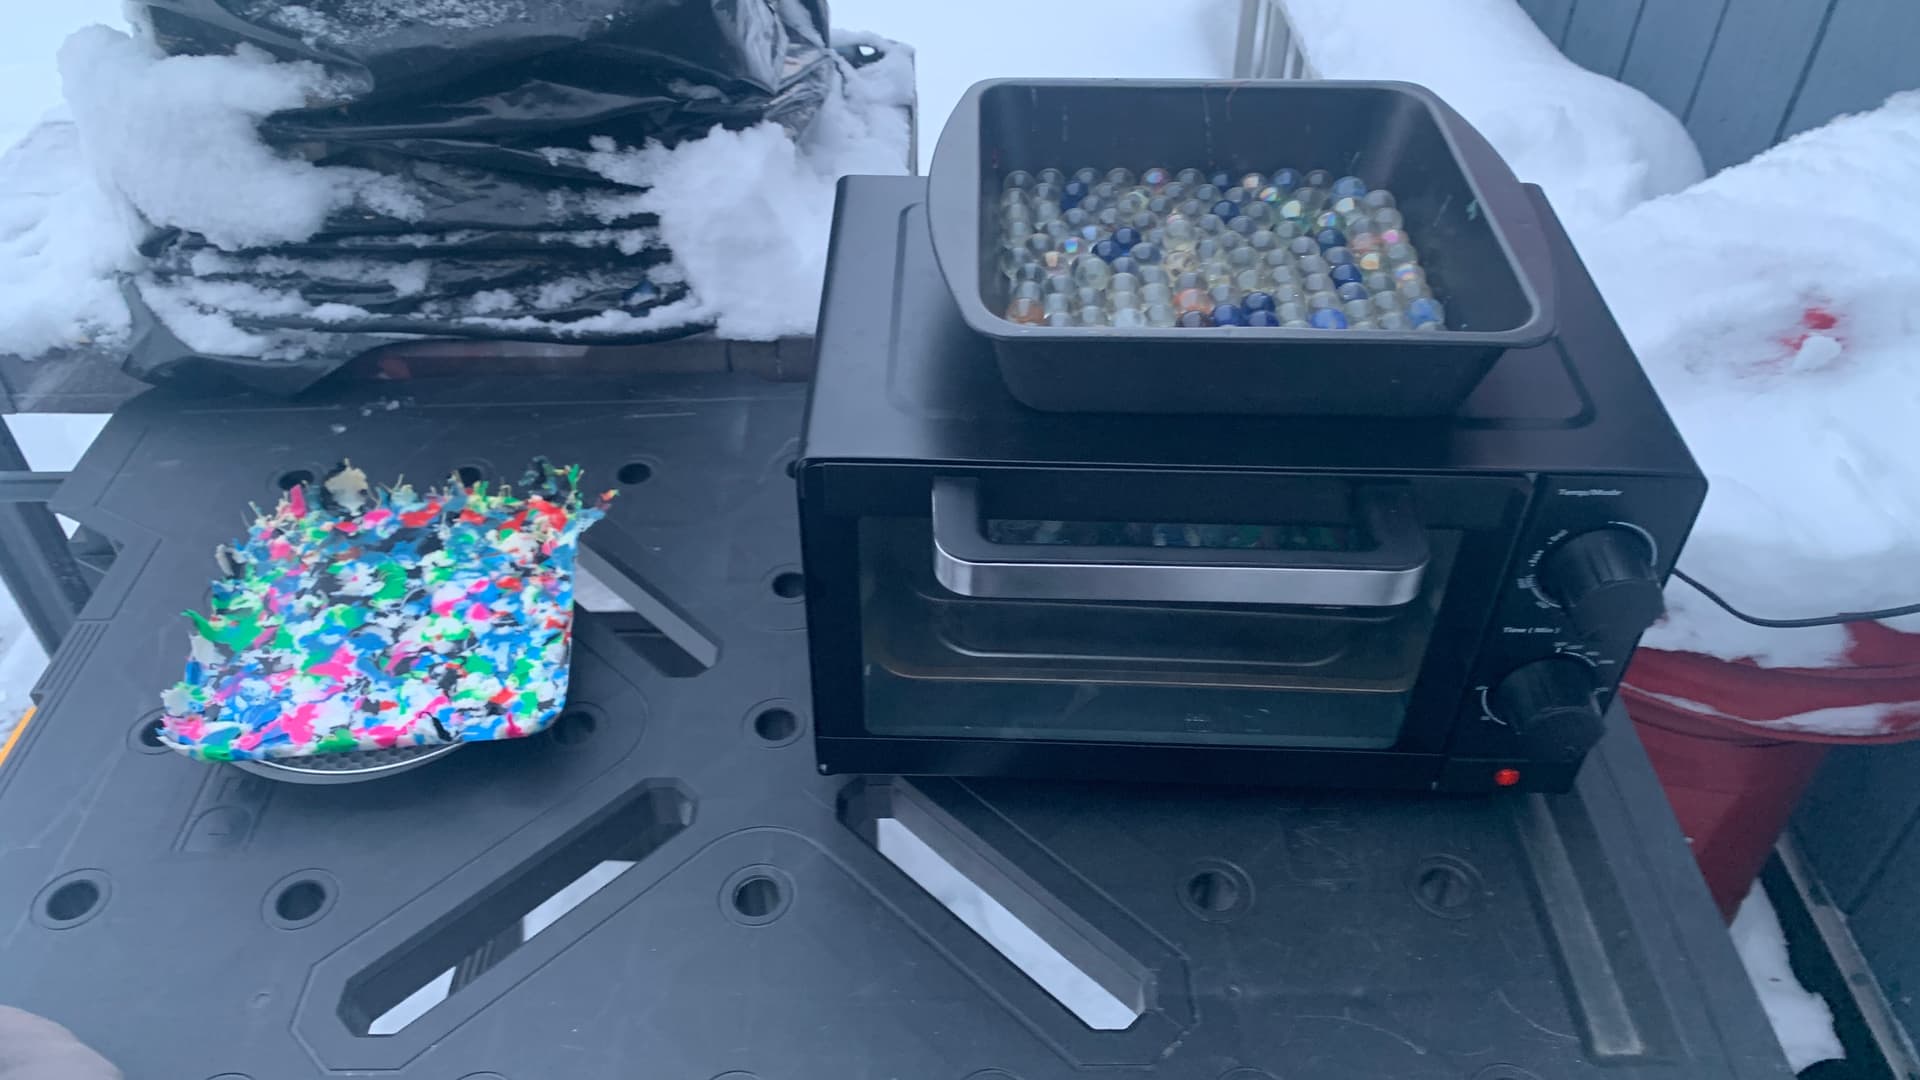
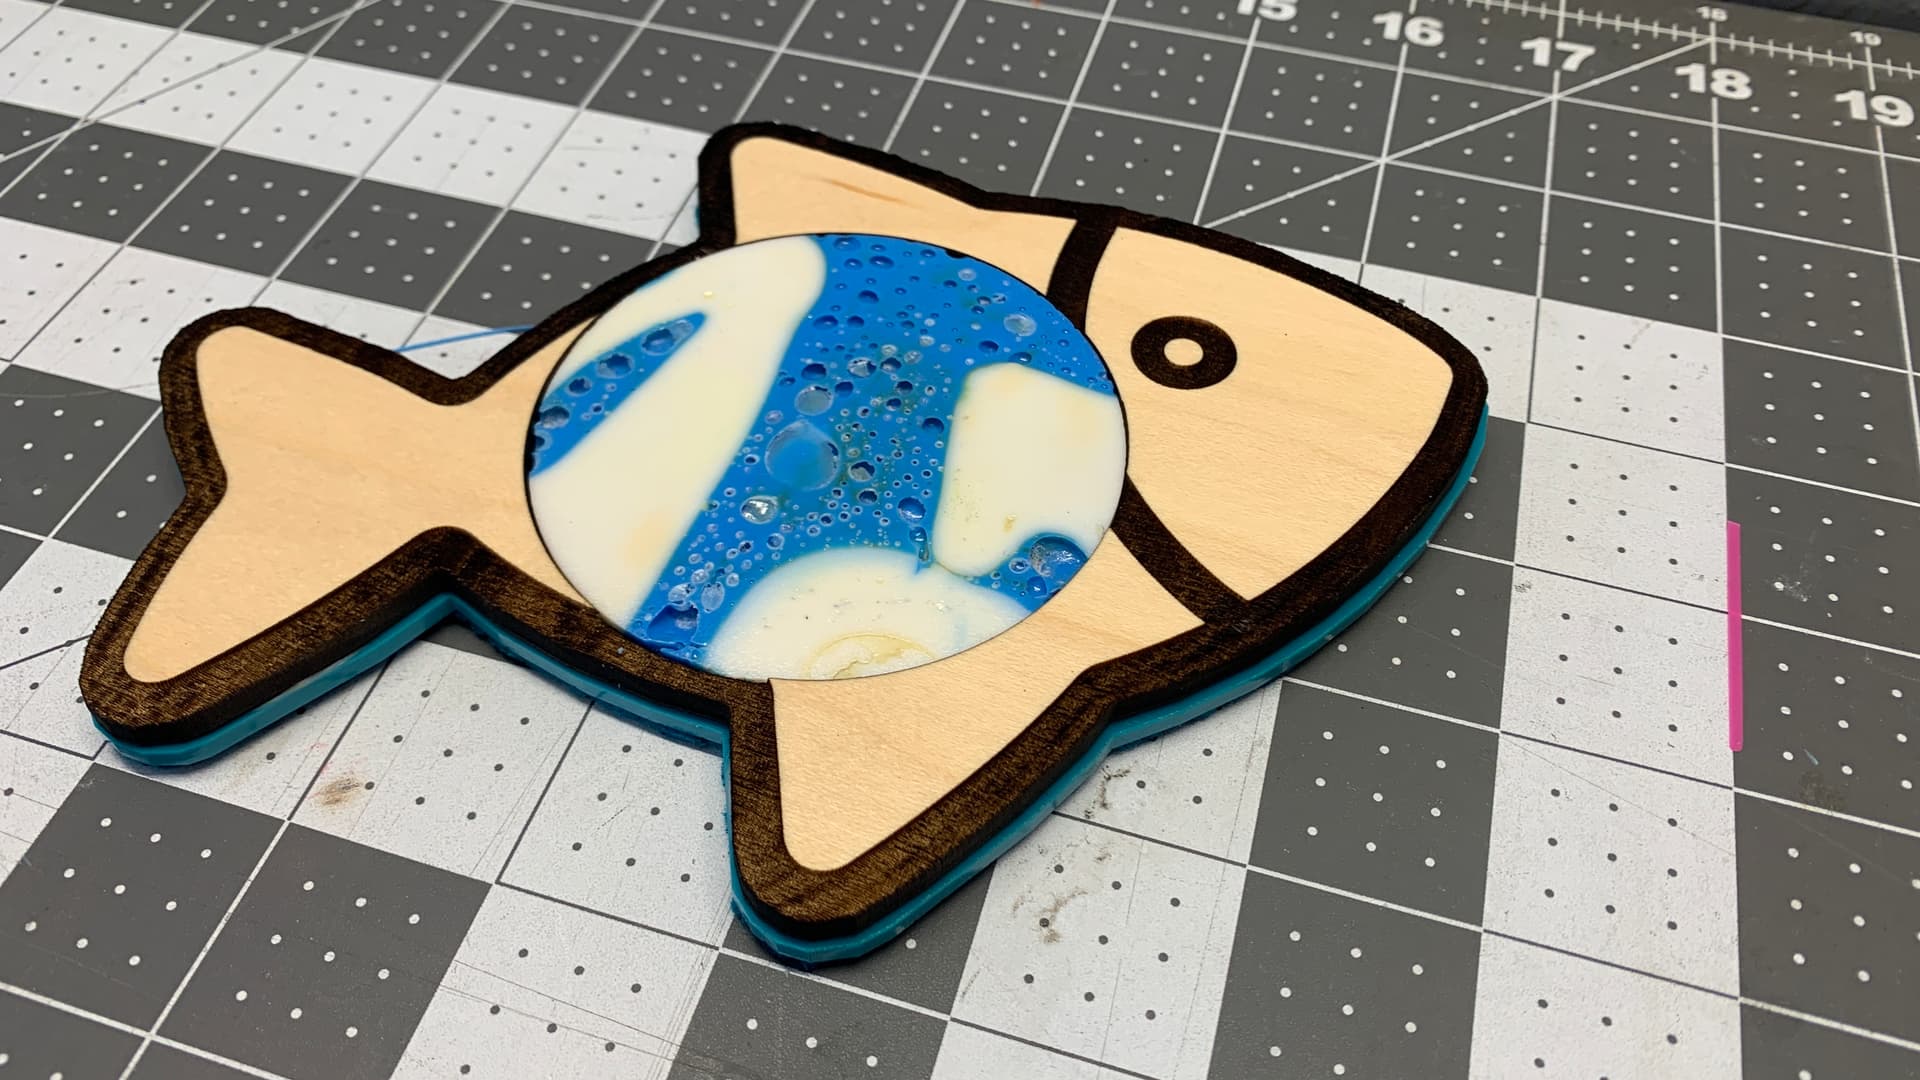
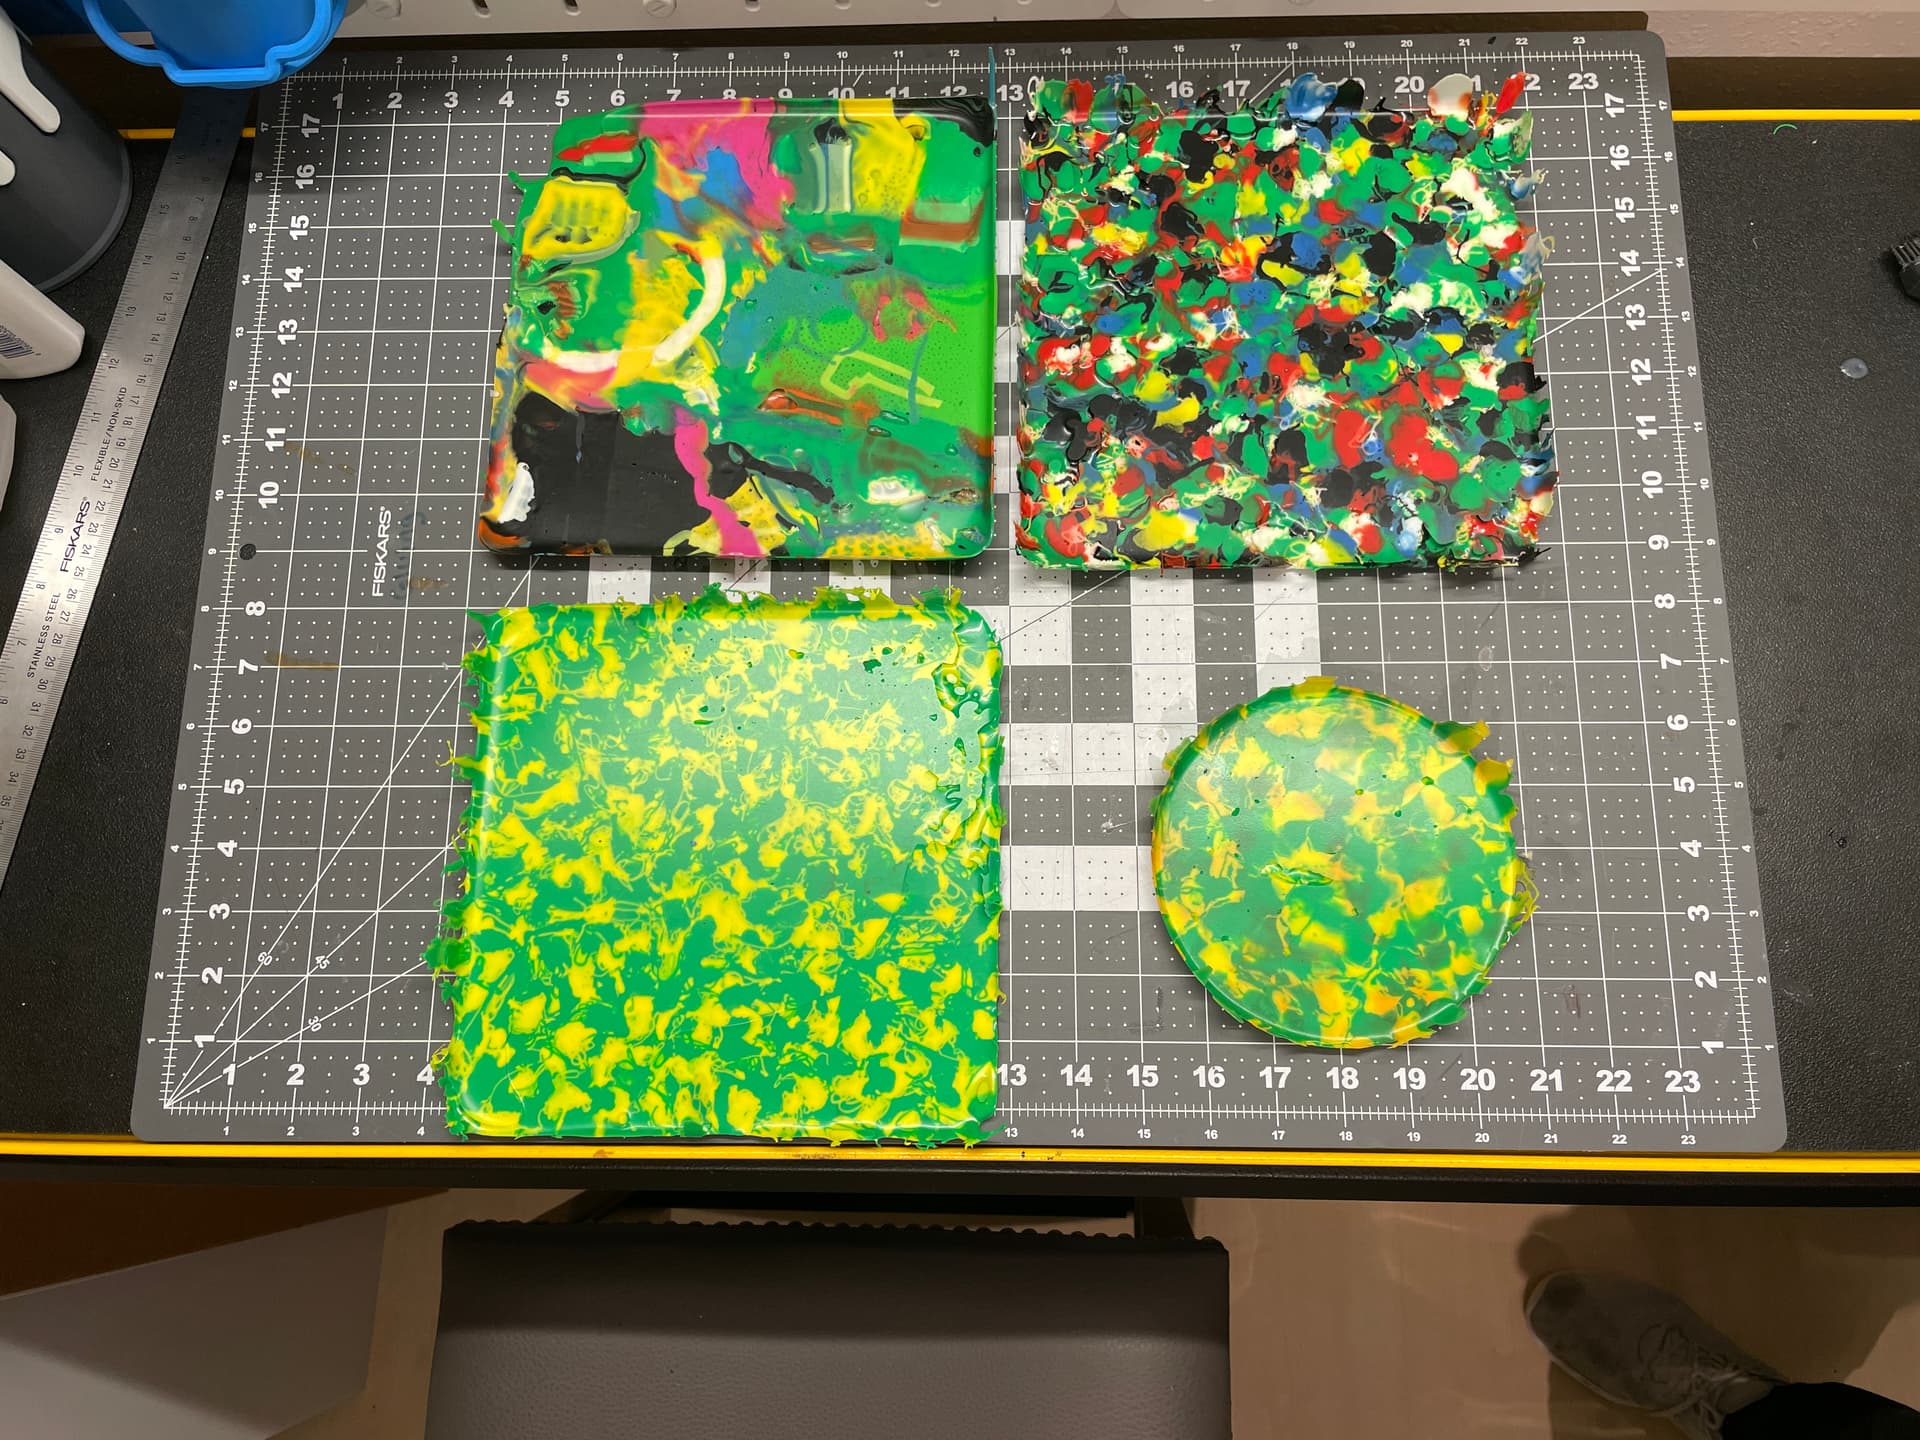
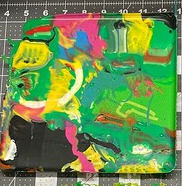
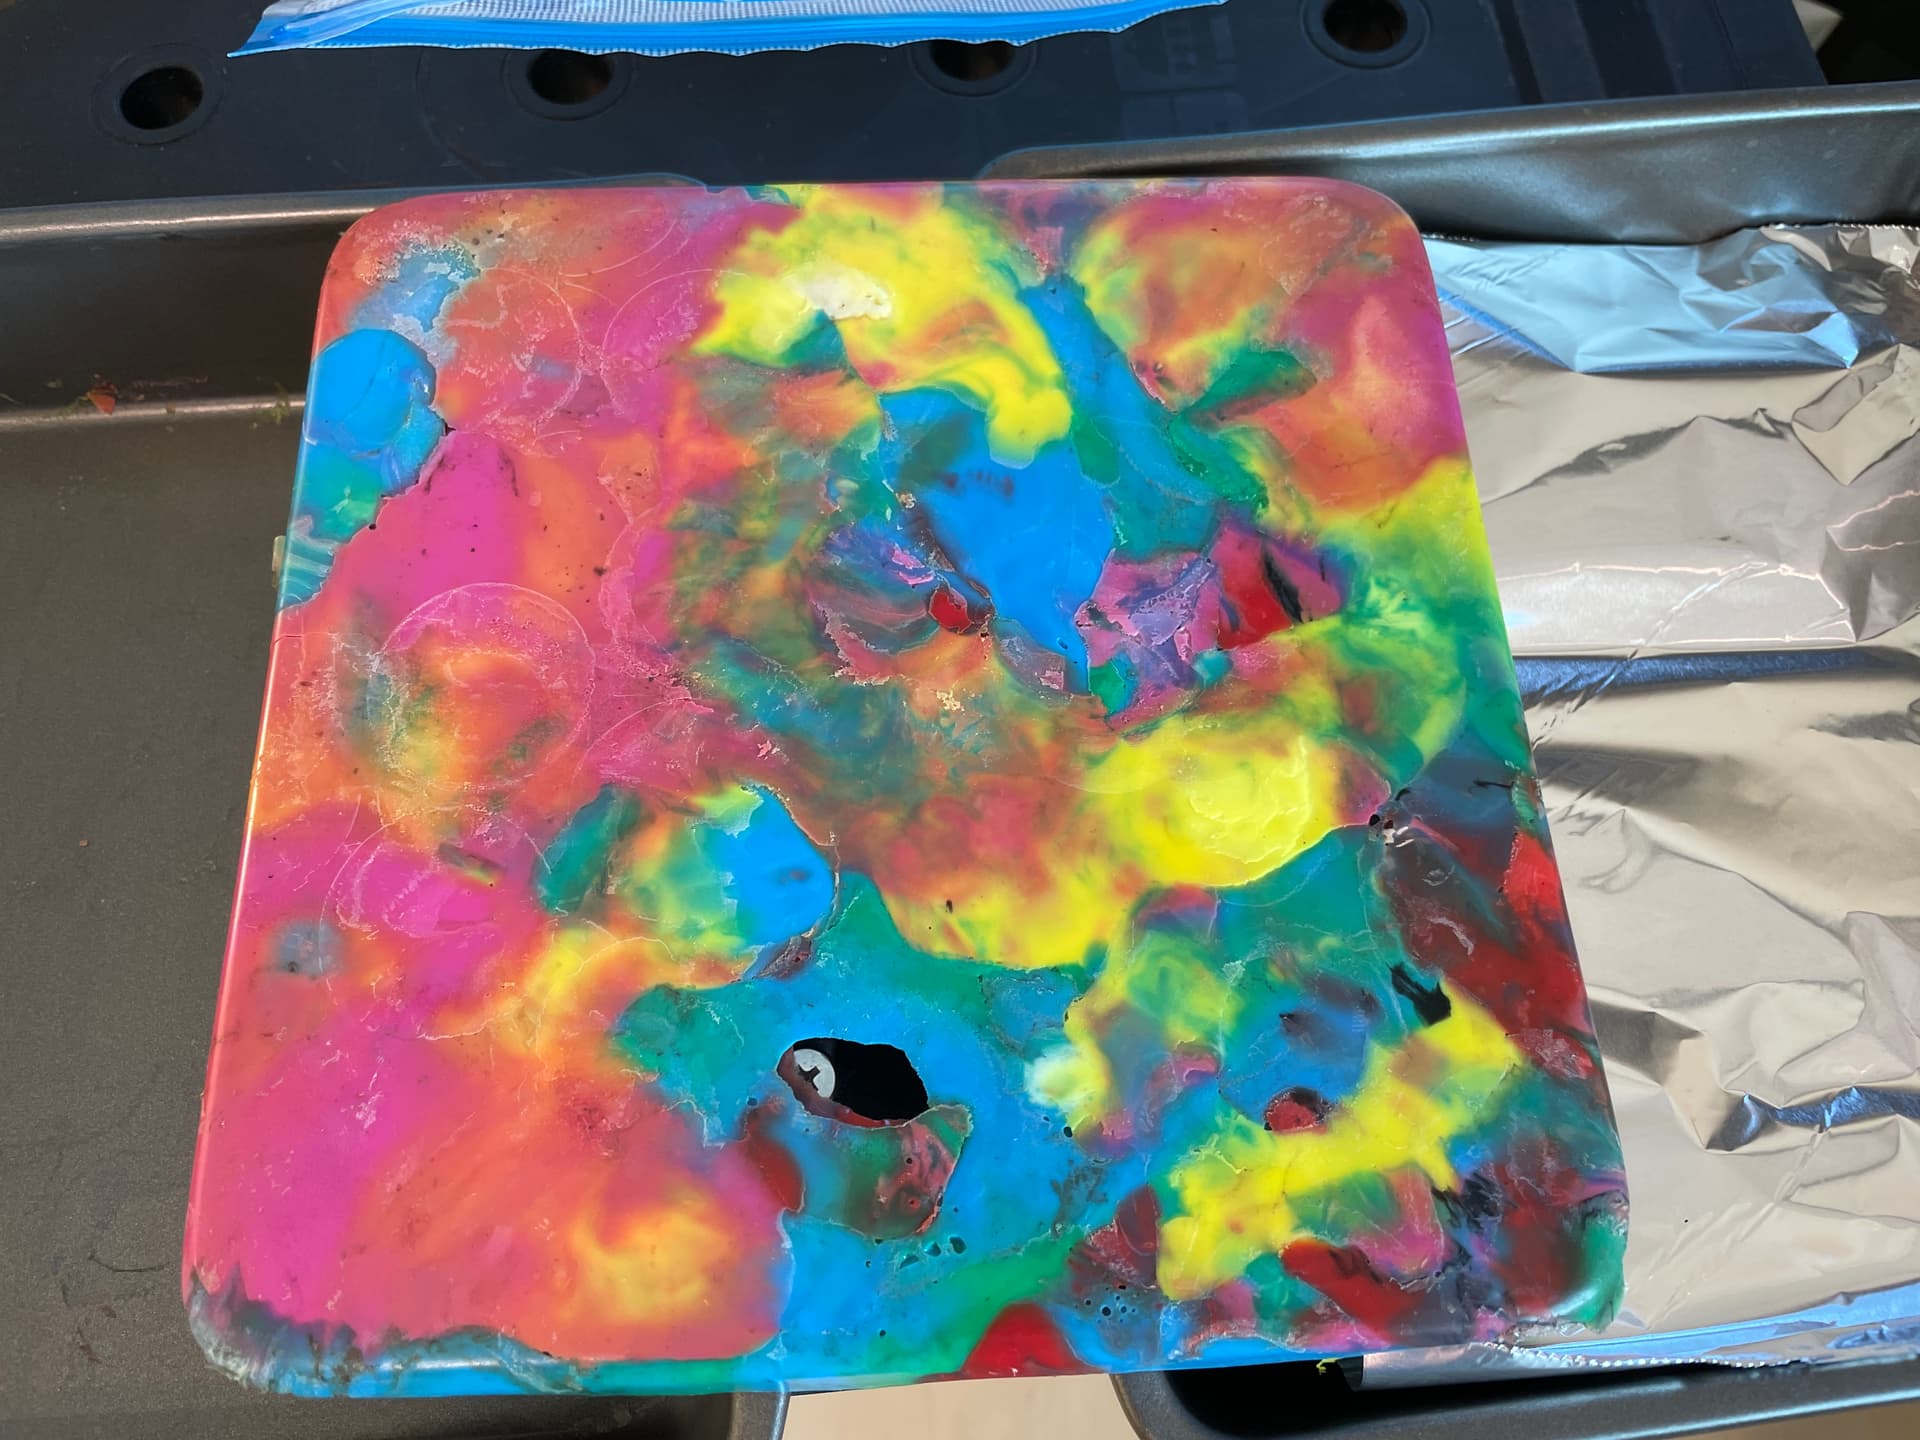
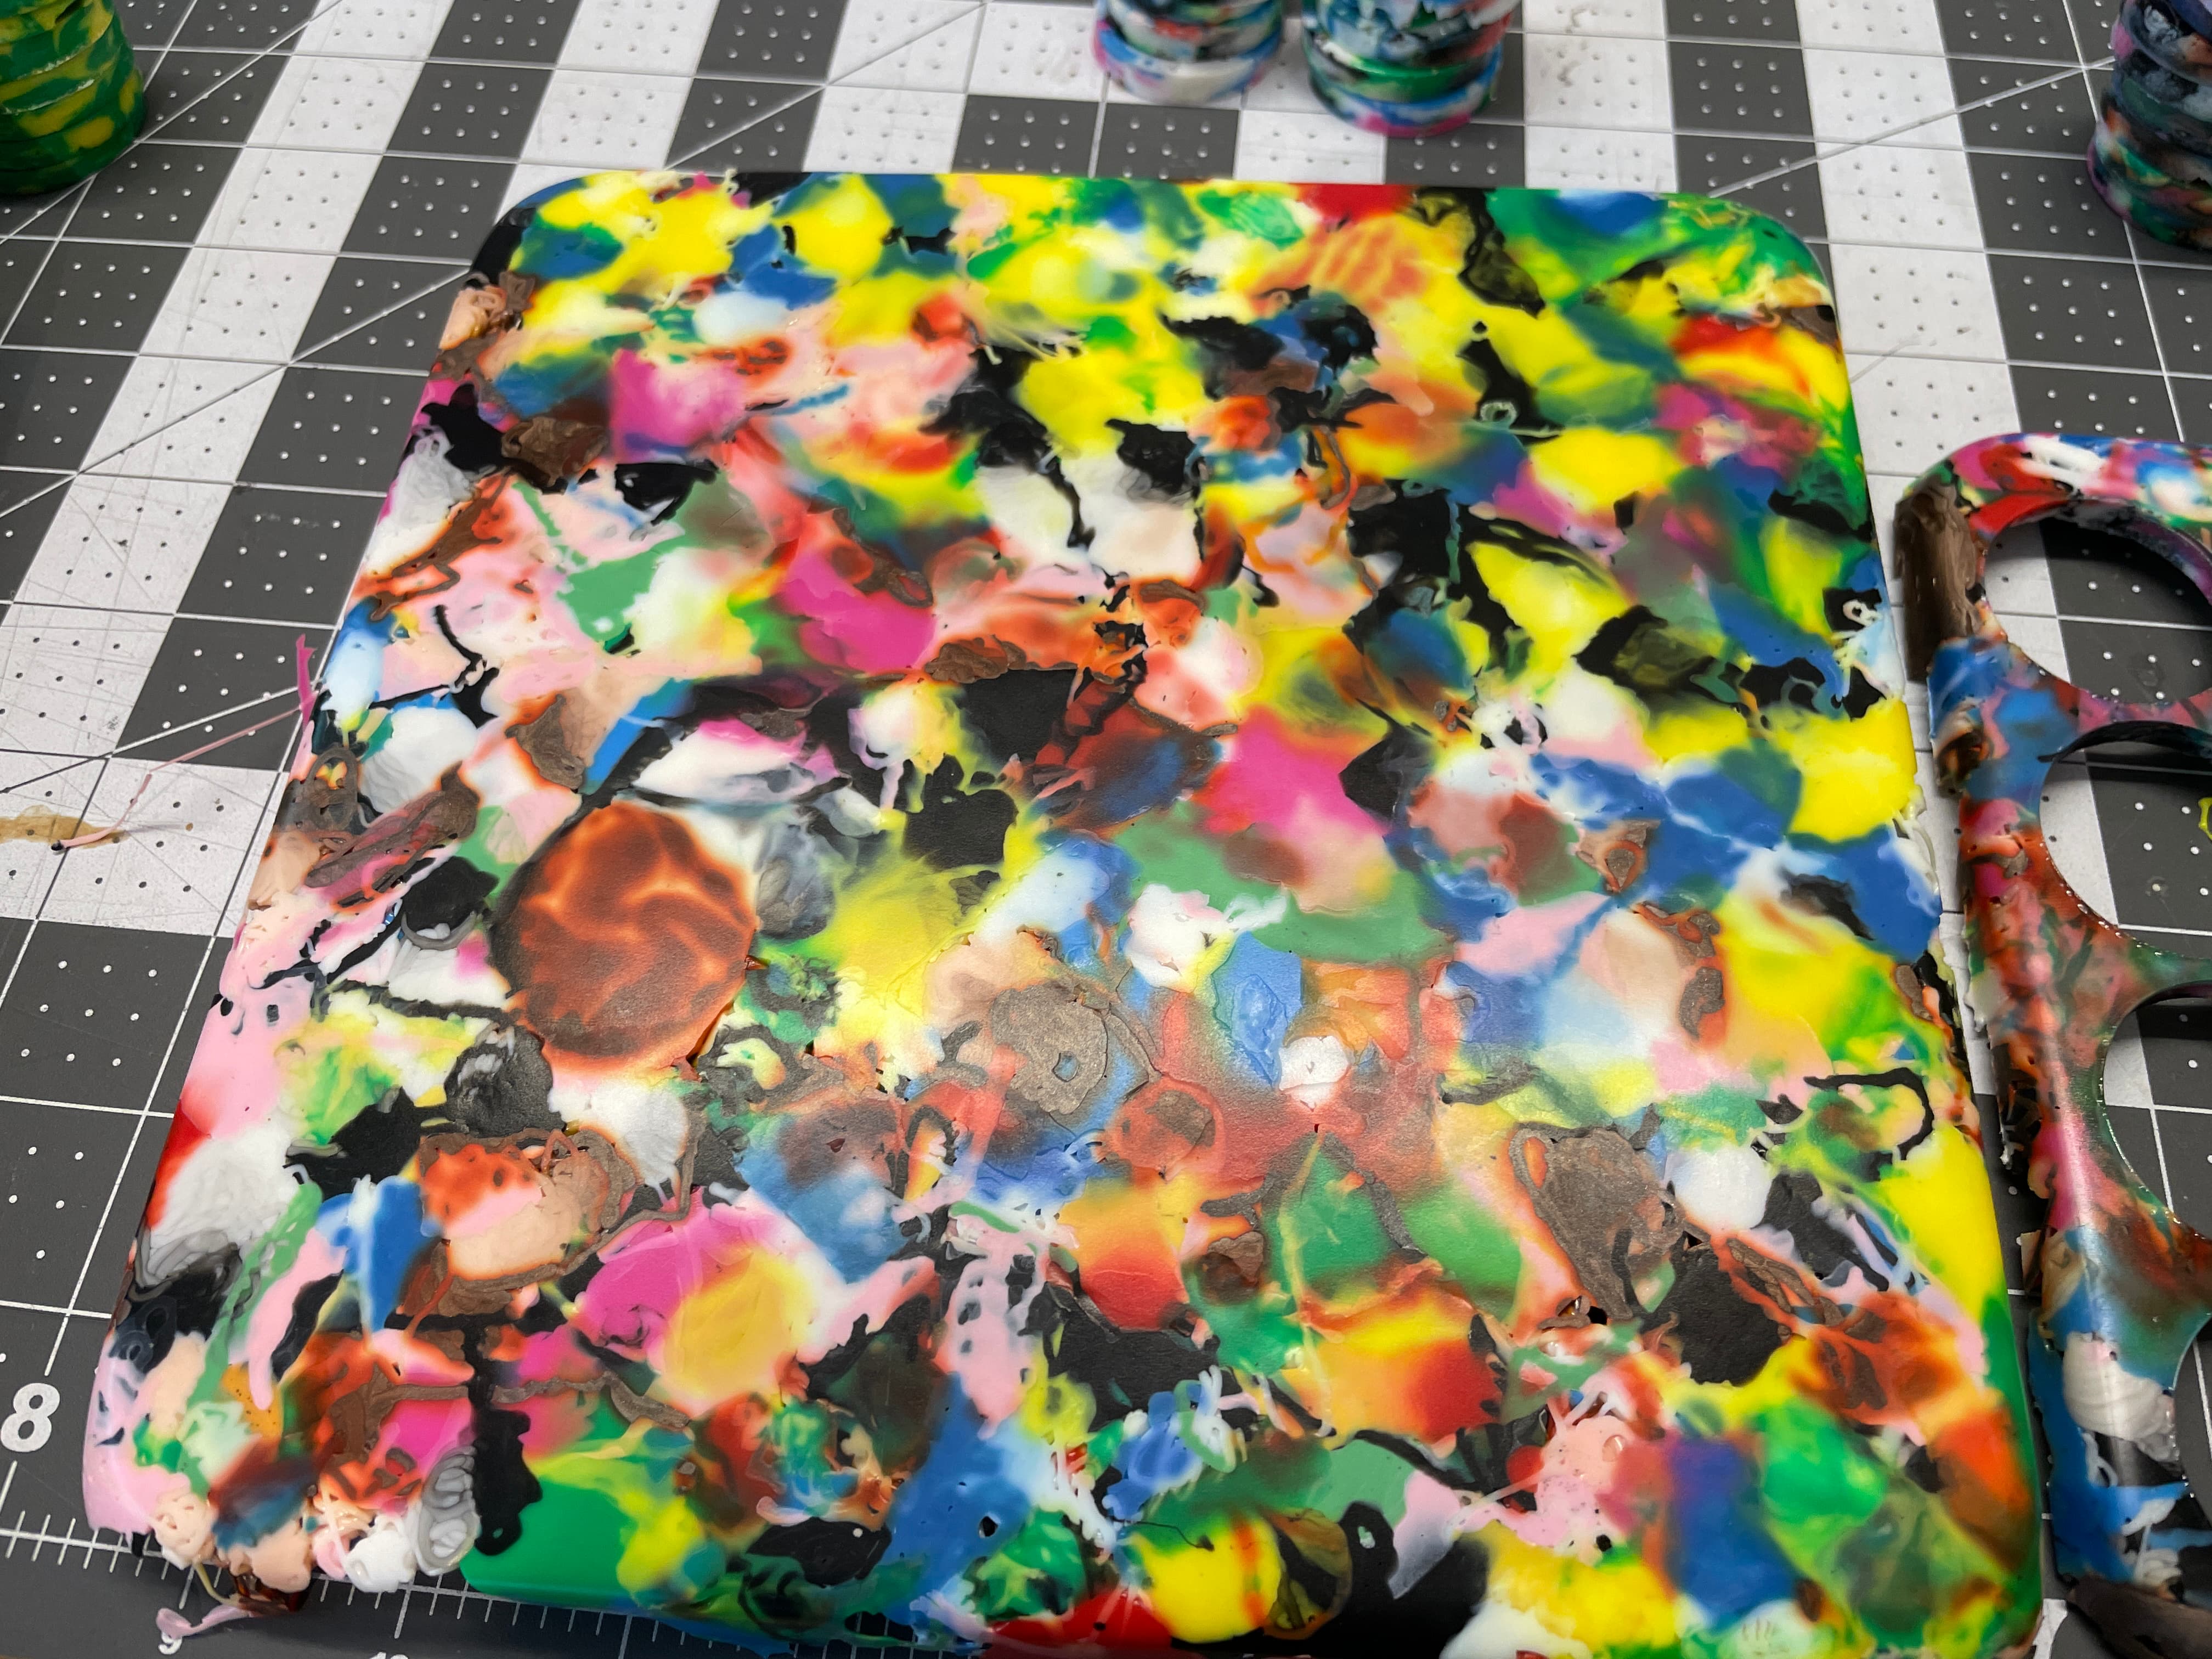
Let cool. Wow, this thing is definately hefty -

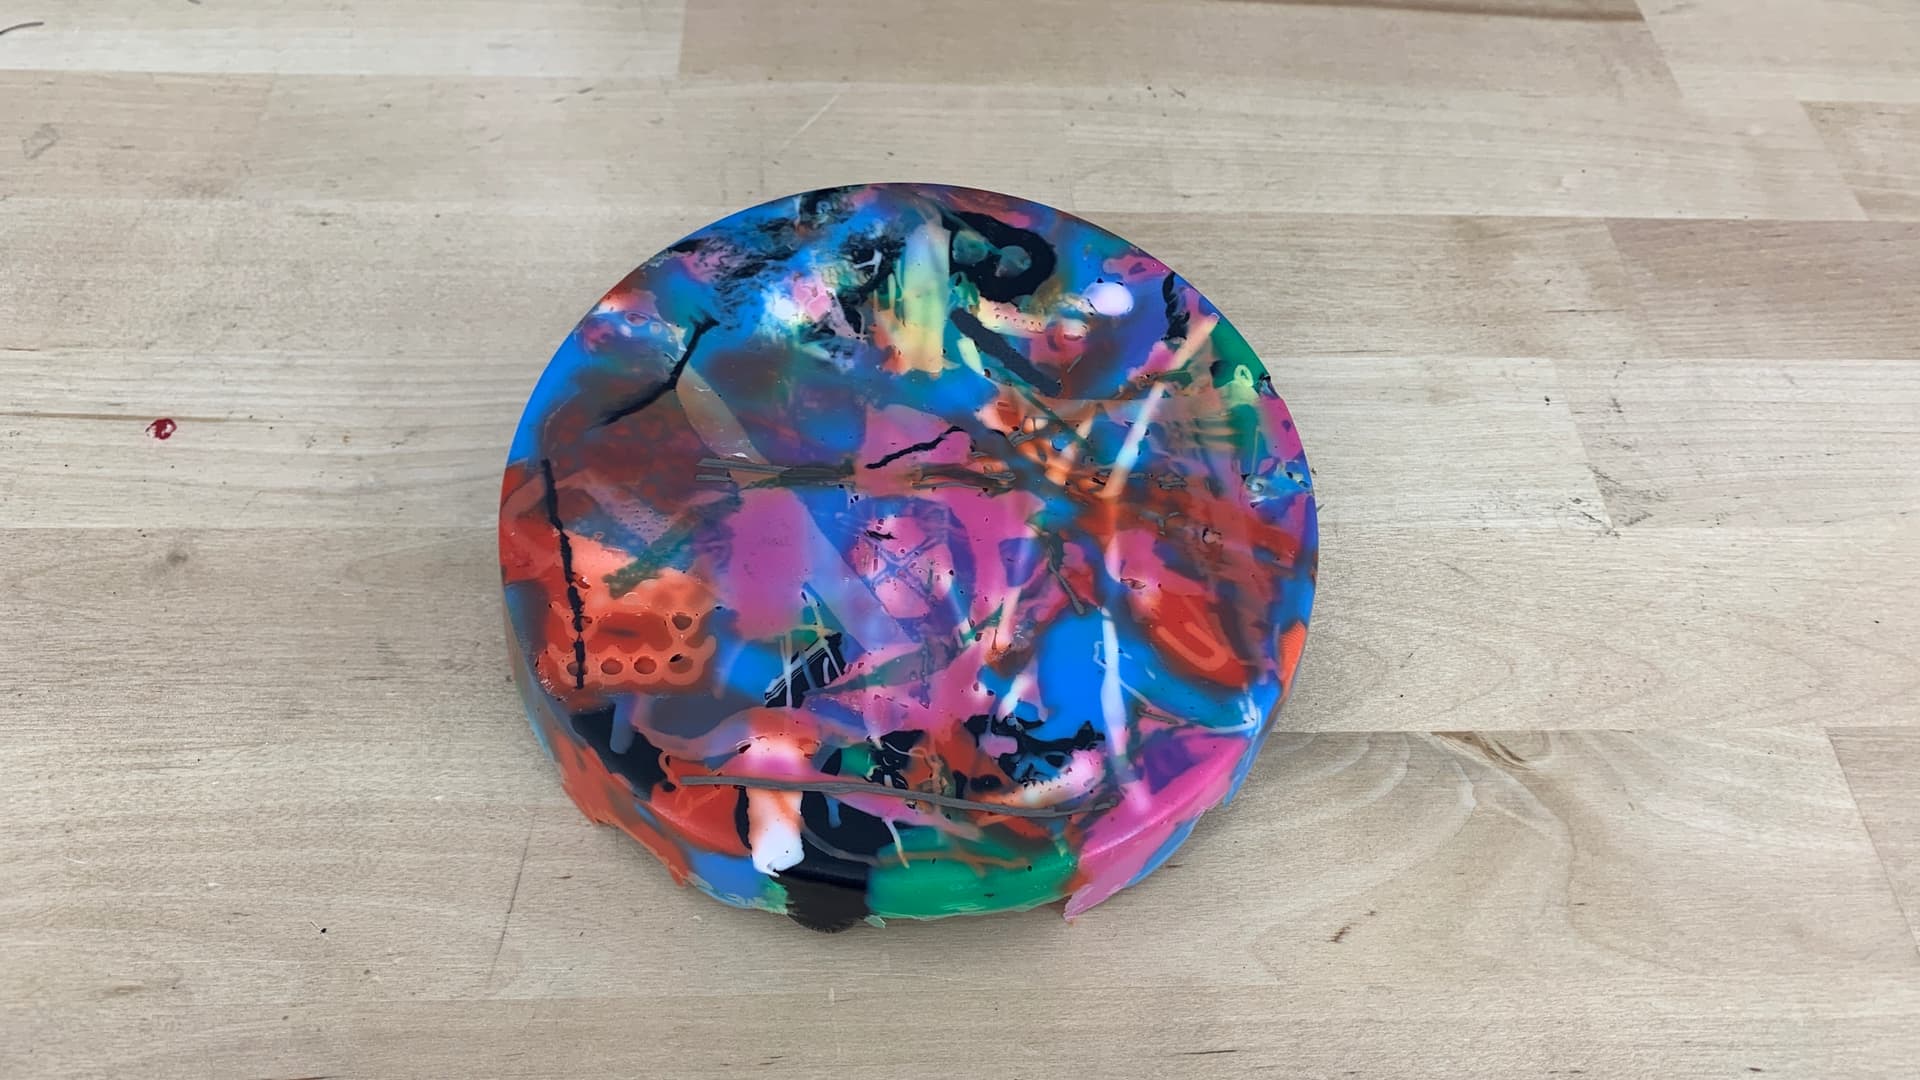
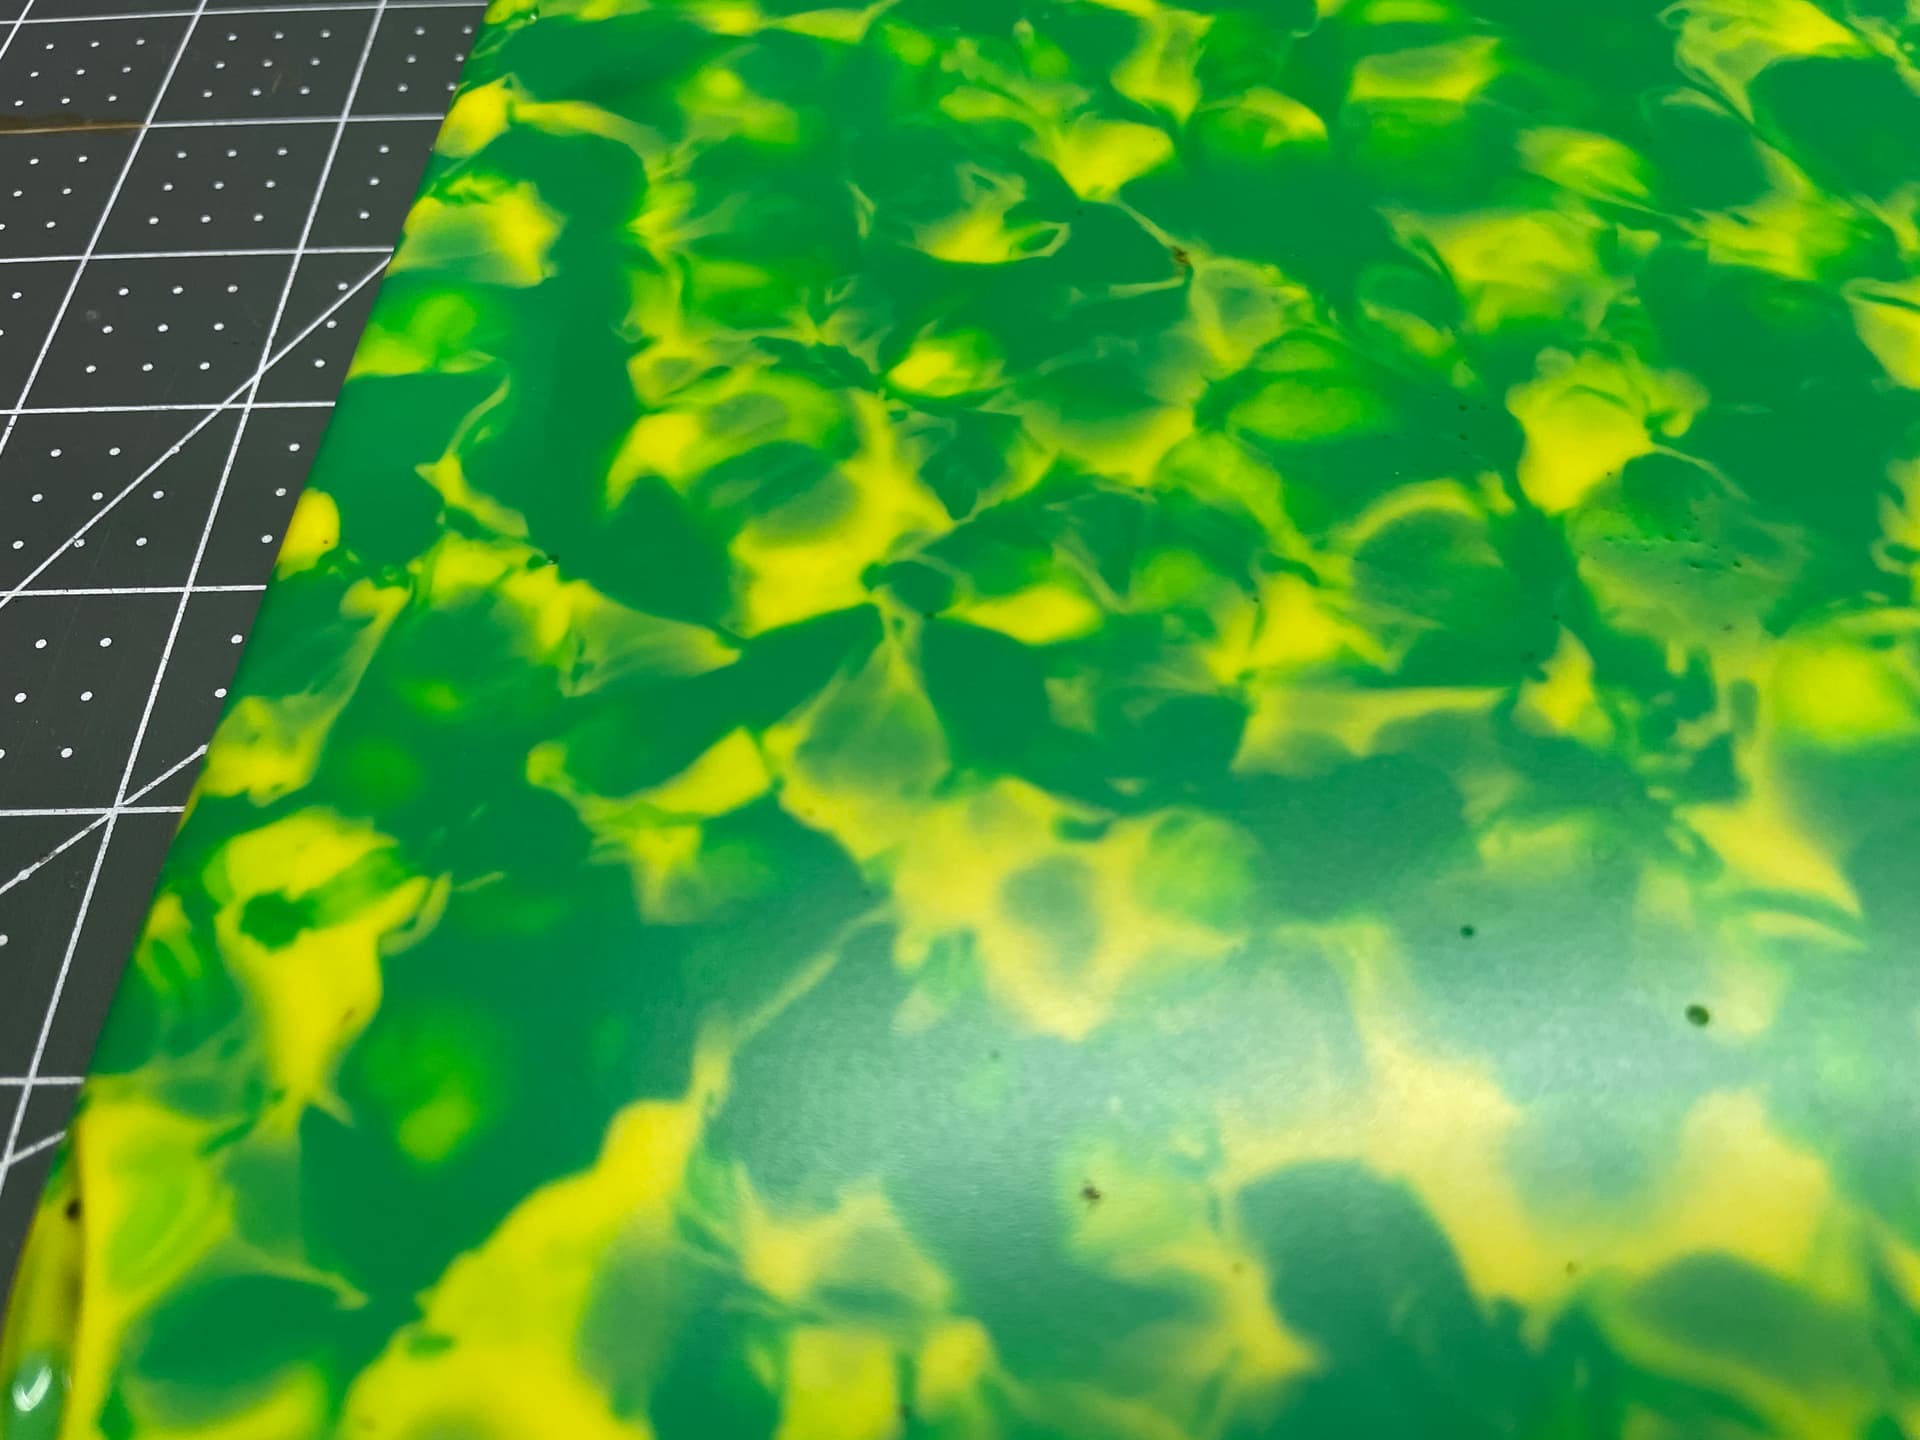
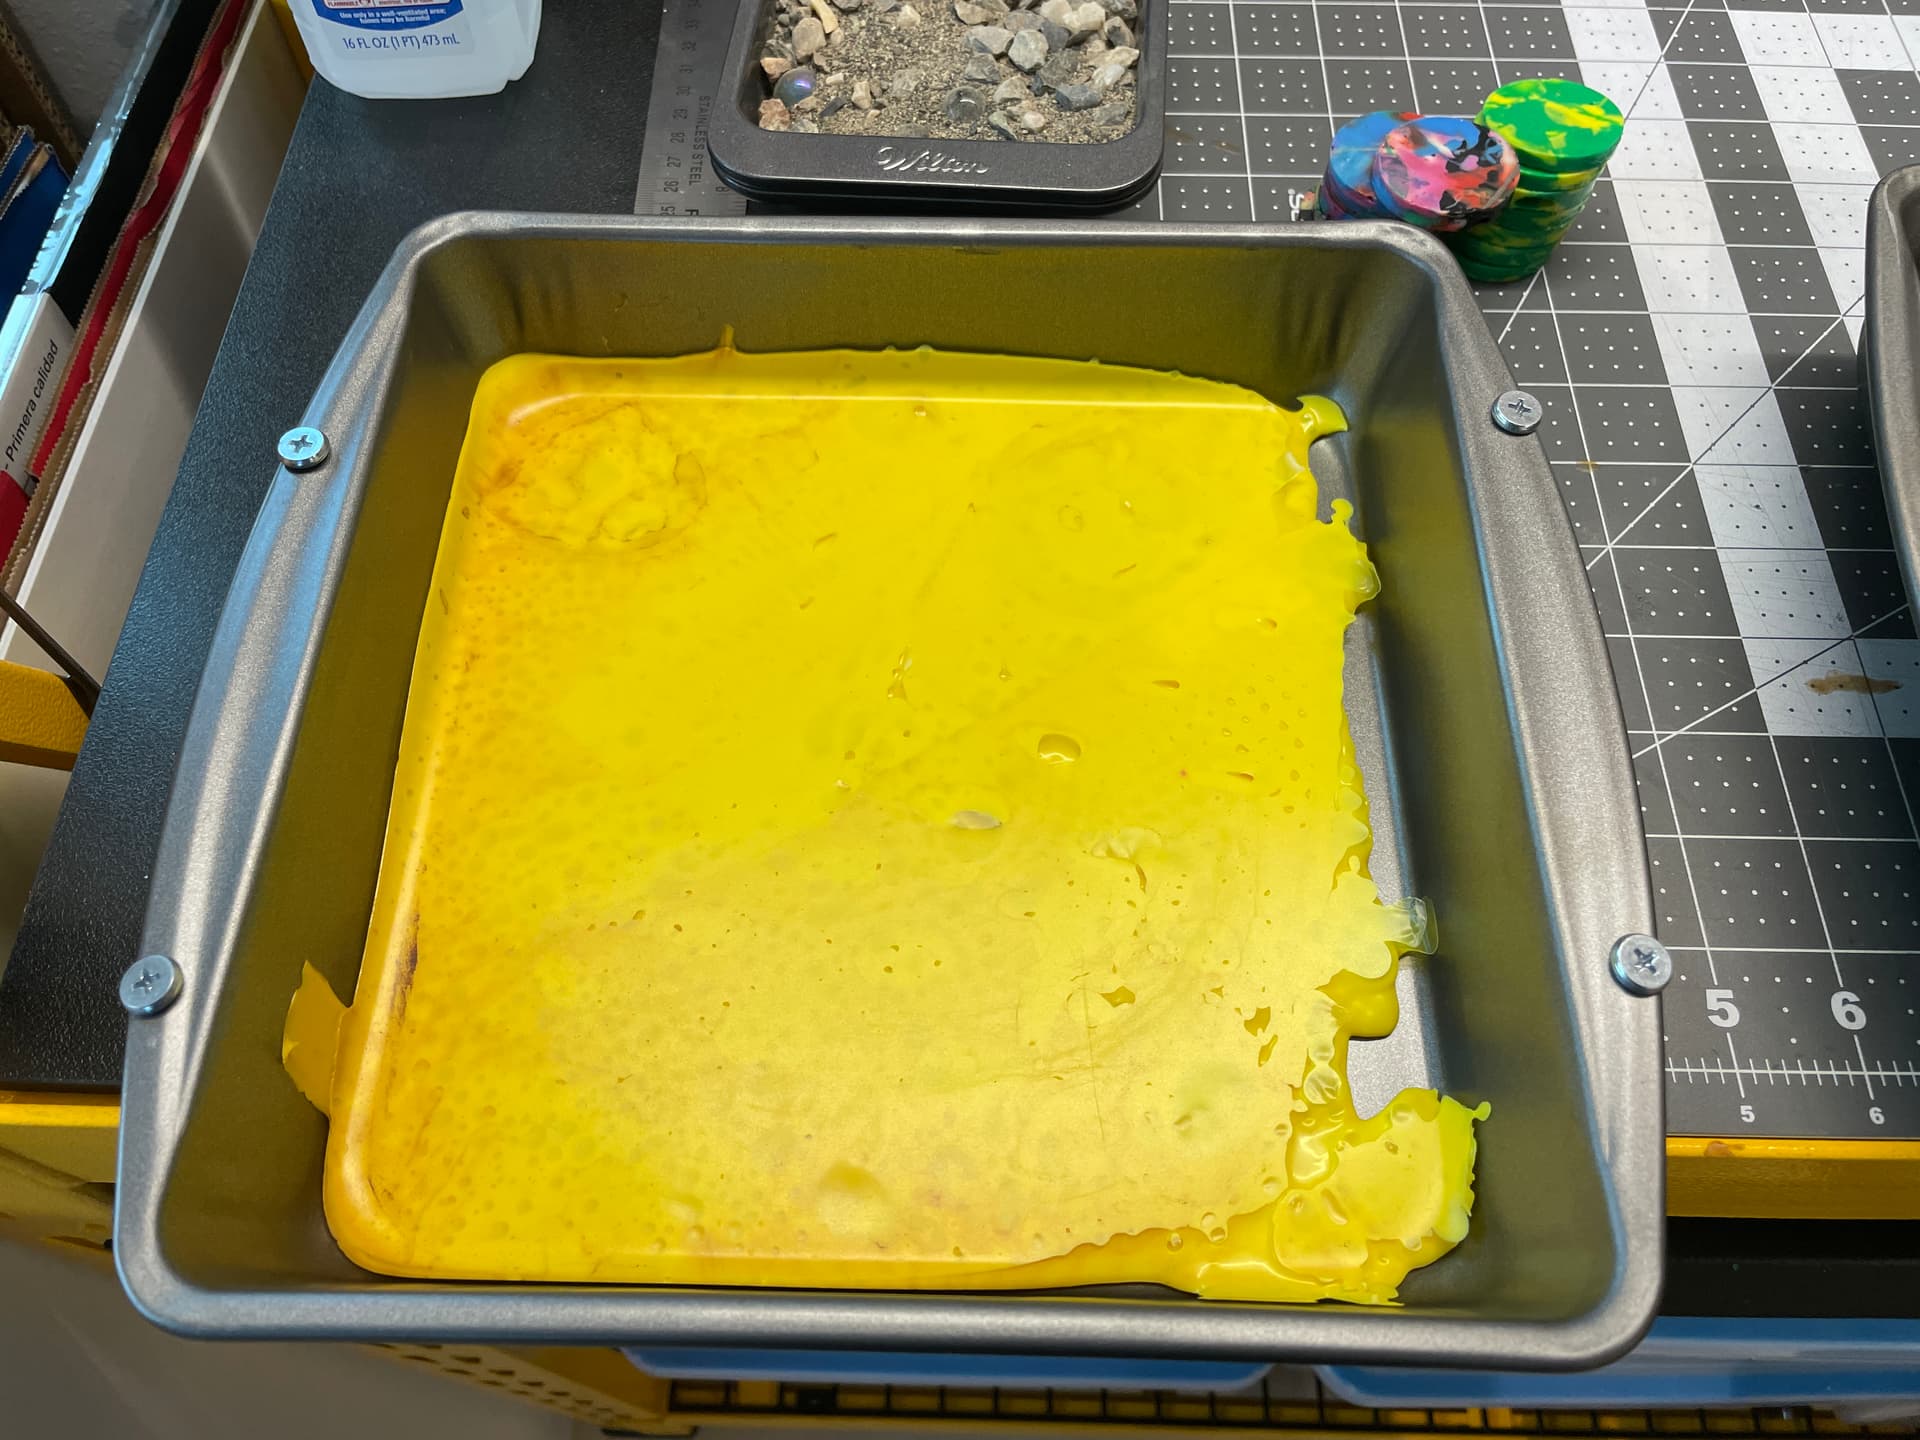
This is way nicer than I expected -
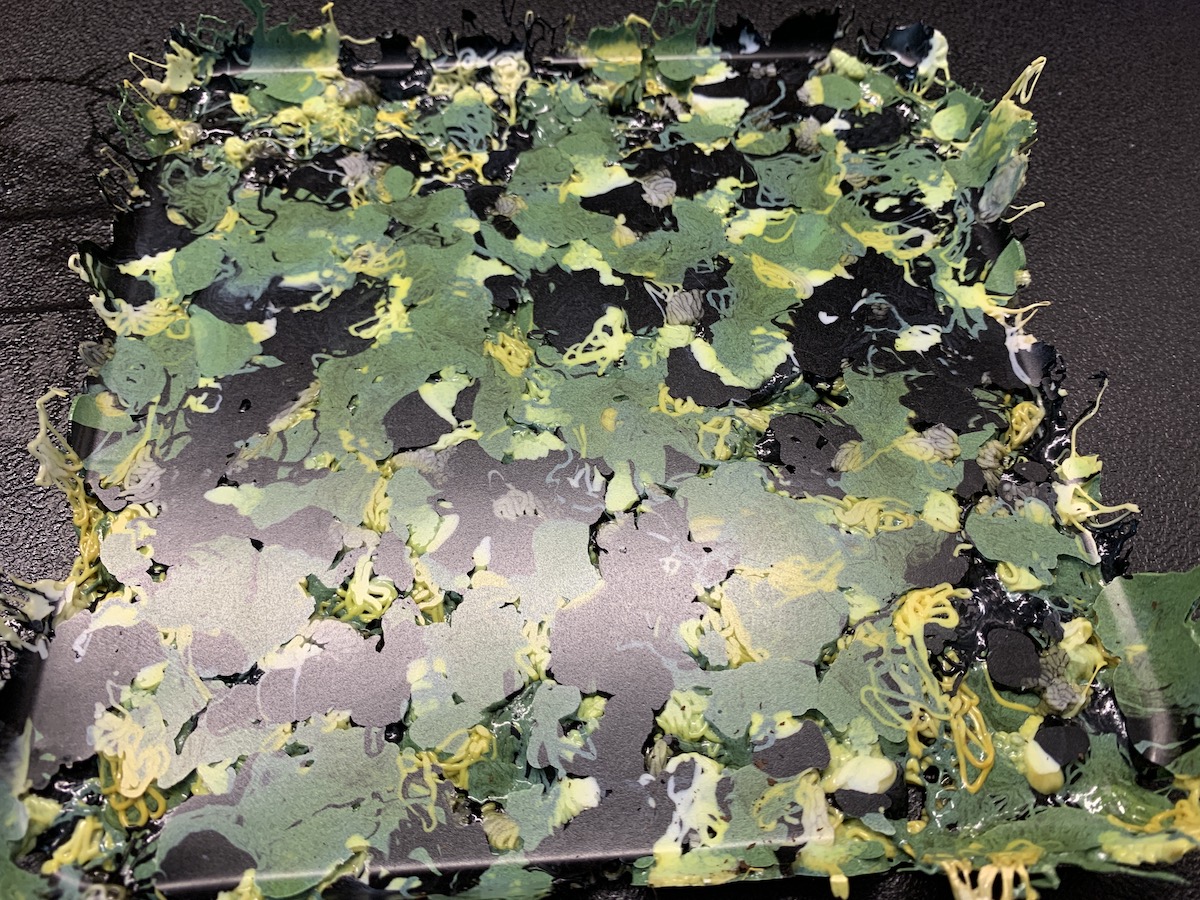
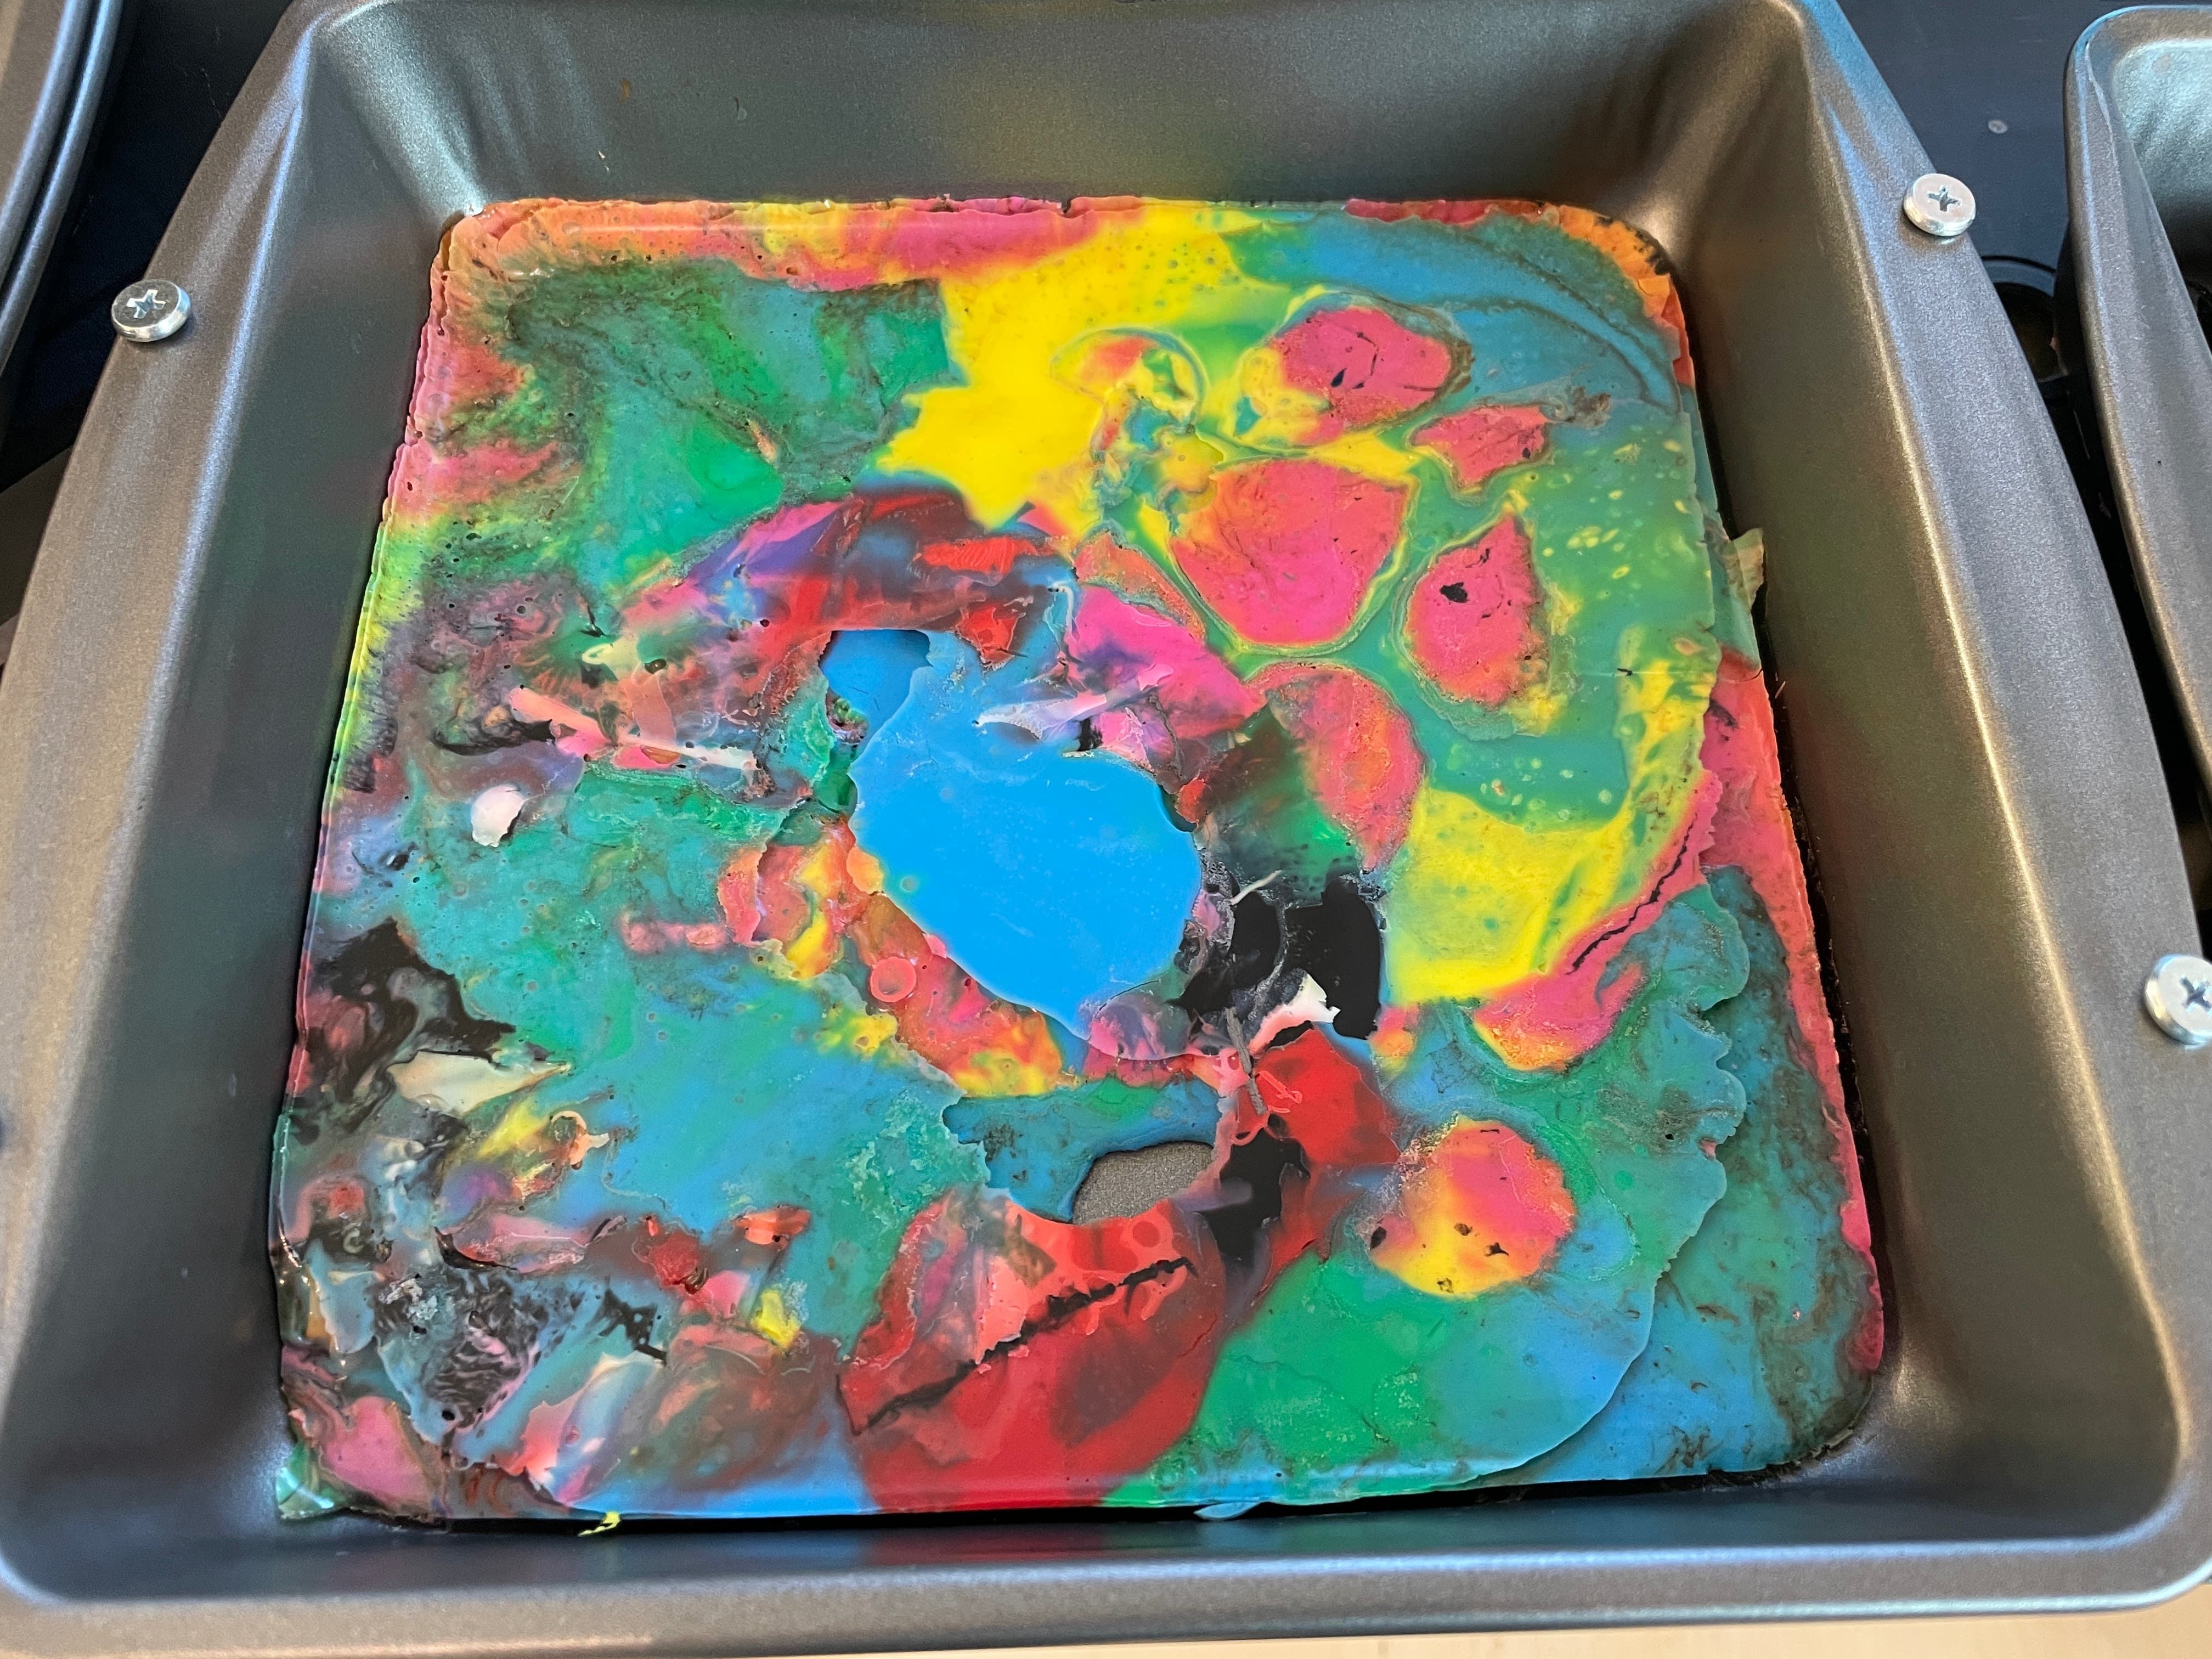
Reminds me of a Creeper. :slight_smile:

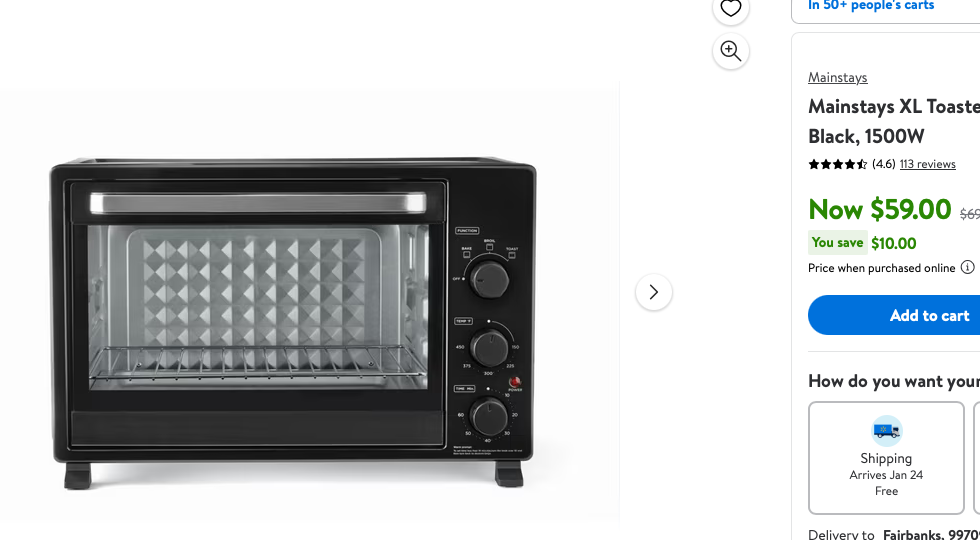
I’m not sure what I’m doing with this yet, as it’s too thick to deal with for coins. I have an idea, though it requires me to go shopping. Until next time, unless it fails… :sunglasses:

HL

10 Likes

Which makes it a success regardless of the outcome :grin:

5 Likes

Greetings -

Here comes another - The Cactus Pot project just ended.

So I’ve got some delicious looking ‘stuff’ to melt down. This should be interesting…

Let’s chop it up.

That’ll do.

Oh, found this one too. Nice…

Divide more or less evenly.

Choose your pan by weight, I ended up with 190gm, so 7" x 7" at 1.24gm per c3, equals roughly 6mm. Perfect.

And prepare your dish. It’s like plastic Lasagna.

Sprinkle with more southwest colored goodness.

And fill with, well you know, poop.

Here we go.

400f for 15 minutes, uncovered. To let it melt down in height.

Remove, Spray bottom of marble tray with pam and nest on top, and reinsert.

bake at 400f for add’l 45min. Although 30 is probably plenty. Open door and let cool down to ‘not molten anymore’. Or atleast 15 minutes.

Depending on how much cooled, the bottom pan may pop off when twisting both pans a little.

If still quite hot, because you’re impatient like me, the lasagne will still be stuck to the bottom of the marble tray, set the marble tray, with the Lasagna still attached to the bottom, in a cool water bath.

When cool, I transfer the Mables into the ‘other pan’, and flip over to get a look at one side of the piece. Yup, Cactus Lasagna.

Man this thing is awesome. It should just pop off the pan when flexing at this point. Are you kidding me…

I mean, it totally looks like Cactus Salsa, or, an alien brain exploded. Not sure which. But I dig it.

Trim and clean it up. Oh man. Not sure if I’ll make ‘coins’ out of it. I’m open to ideas…

HL

12 Likes

I like this one the best. The colors are great together. The base is perfect with the red ring & walnut woodgrain.

2 Likes

Greetings -

In case anyone is still interested in where this ended up, so far, here’s an update. I wanted to get all the old PLA melted into plates, and then cut into medallions, for future use. I’m also slowly working on a plan for a heated stamping mill of sorts. Anyway, here we go -

Melting station set up - with hose just in case. :wink:

You know the process from earlier in the thread, rinse and repeat - Ghost poop from The Cactus Pot project up first -

Bling - That’s pretty freaky…

Here’s some Ikea Skadis Fun pieces of scrap -

Ya, operator error on the first couple cuts, and had to move the piece to get through. Oh well, I could have just remelted the square, but the final coin stamps will remelt the surface anyway. they are colorful.

I also cut the Cactus Salsa noted above. As that material was PLA-CF (Carbon Fibre), I think the fibre inside absorbs the laser not allowing it to cut through nearly as fast. It took a lot of passes to get through, and scorched the edges. I probably won’t remelt / save that poop in the future.

Anyway, what did I end up with - the number of coins per project, first melt. 163 total

I didn’t cut the ghost pot material as it was 9mm thick, and CF. I’m thinking I’ll cut it into smaller pieces and remelt super thin. IDK yet, so set that aside.

I then figured out, the left over ‘Square’ can be broken into pieces and remelted into the small circle mold, to yield 7 more 5-6mm (thick) coins. So (re)melt - Round two - cutting the square remnants into smaller circles.

After the PLA has melted twice, it’s starting to get brittle and the white in the ghost poop is getting brunt a little. So that going to be it for remelting. Final Total - 196 Coins.

Cool. Some were sticky and had PLA residue and such. So I washed them really well in soapy water and set out in the sun to dry. And here we are -

Some fun and usable base for another project, and another day.

HL

11 Likes

Love how the colors turned out!

Love the medallions. I have some serious shop organization envy - especially the tapes.

2 Likes

The ghost poop is especially striking, I think, because you can still see the spirals in the final melt. The others become much more smooth. Not sure if that’s a function of the material or the time spent melting.

So many coins!

2 Likes

Greetings -

Cleaning out the 3d waste drawer and poop bin for the new year.

Measure guide

First up

Heat Up

Pretty warm -

First in -

Second batch -

First batch done -

Second batch in -

First one will make pretty coin blanks -

Second one as well -

Chunky waste 3d batch - too lazy to chop

Bling -


Last one -

And Done -

I’ll laser cut them into coin blanks later.

A lovely Christmas eve afternoon.

HL

9 Likes

Looks like they would make nice coasters/trivets as is! I hope you didn’t have to stand outside the whole time! Brr!!!

4 Likes

This is something I’ve found recently with my new adventures in 3D printing, there needs to be an easier and more affordable way to recycle the failed prints

5 Likes

Agreed. I’ll be working on a heated press to speed up making the coins from blanks. With such a (relatively) low melting point it shouldn’t be too hard, or dangerous. :slight_smile:

After a week in Vegas, I’m working on a project for my kid that will have a bunch of yellow and black poop. Looks like Bumblebee coins on the horizon…

6 Likes

Don’t know if you do any kind of pen making or turning but you could also make pen blanks with that

2 Likes

Grabbed a fish from the Premium add Artwork, add one small felt, a little Teal Acrylic, and a thick plywood -

I didn’t like the Walnut so changed to thick Maple & cut the outline 1mm less than the teal.

There’s the back -

Satisfying Coaster -

11 Likes

Love it!

3 Likes

Greetings -

Thought I’d do a quick update to this thread since this last weekend I ‘splurged’ on a new oven and pans to speed up PLA recycling. I had been using the old $20 standby oven, and it did great for small, one at a time, batches.

But I’ve been 3d printing more and got some waste to melt down, so time to upgrade. Now we’re talking.

The old oven held one pan at a time, of either 5.5" round, or 7" square, for 100 grams or 200 grams respectively. Then new oven will do two 8.25" pans at a time, each holding 270 grams. So let’s see what we’ve got to start with.

Ok, normal stuff. And I’ve got a couple bags of ‘poop’. So let’s lay out the first few batches -

To quickly recap, the melted ‘slabs’ need to be apx 5mm thick, as that is easy to laser cut into round coin blanks. So I did the math based on density of PLA and a given pan size, and this is a pretty good guideline -

Weather check - Not bad. Suppose to get cold in a couple days, so better do this now. -10f is a decent temp for still working outside with just a pull over, and no gloves, for short periods while tending the oven.

Preheat - And new cooling rack on top. Pretty fancy! :slight_smile:

Let’s do this - Bam, two at a time! And, I can just load the melting pan with the weighted pan at the same time. So no need to open the oven door half way through.

First few batches I’d call a success!

The green and yellow, Corn Poop, definitely came out fantastic. Front side -

Back Side - This will make beautiful coins -

Even the ‘Confetti Poop’ full mix of colors came out great -

Alas, I had trouble dialing in the heat with the smaller, old square pan, and burned that batch. So disappointing, that was going to be my bumblebee coins. Alas, was not to be.

Screenshot 2024-01-22 at 7.45.45 AM

But overall the new oven is a winner! This morning we’re back to normal temps, so guess I’ll do inside work, laser cutting the coin blanks mabey.

The good news is, it’ll warm up a little when the sun comes up later. Bad news, the wind will negate that. Doesn’t matter really, after about -30f it’s all the same ‘cold’, you just freeze your bits faster, the colder it gets.

But you know what Uncle Willy says - If it gets cold out, don’t leave it out! :wink:

HL

10 Likes

Stay warm. Congrats on the new oven - looks like it will be a nice addition.

3 Likes

Nice! I feel like this one:
image
is so dramatic at the full scale. I wonder if there’s anything larger you can come up with to use it for and preserve the abstract/impressionist look of it!

I too got a new toaster - after suffering along with whatever I had for so many years. I had no idea how much of a difference it makes! Better insulation, better temperature regulation, bigger on the inside, and on sale I think it was $40. My only regret is not coming to that realization way earlier!

3 Likes

Your organization skills of even your waste leave me feeling a little sheepish. lol

7 Likes

Sweater weather, :wink: and glorious sunshine.

How did this happen again…

Solution, let’s melt some more $hit.

Got my new ‘double’ oven set up.

You know the process - Grab a piece

Break it down a little, grab some more Magenta and load a pan to 272 grams

A little short, so sprinkle in some yellow love -

That’ll do -

Into the oven, and when done - Meh

I’ve got more interesting things - Like a 100 gram small mixed batch -

Add a yellow layer -

Some pink -

And a little warning signage -

Creepy Bling -

The back is real nice like…

I call this one, Black Heart -

Could have been worse…

Mostly yellow batch - We’ll call it, Mellow Yellow -

Log Jam -

Better than I expected -

Second Run remelt -

Not bad -

Kind like melted galaxy

And who doesn’t like a party -

Whoa. This could have melted a touch more, but it’s my favorite of the day.

I’ll call it - SpongeBob roadkill. :slight_smile:

Cut another 120 +/- coin blanks.

Don’t have it in me to cut all this today. But have some nice stock panels for future coins or ideas.

Until next time -

HL

6 Likes