LOL. We actually had more than a few issues with the 3D printer we were trying to use to demonstrate making a prosthetic.
1 Like
Interesting. I find (although I almost exclusively print in high temperature plastics like nylon and PETG) that my rig runs better in a hot enclosure.
We were doing PLA. A lot of people use it instead of higher temp plastics due to worries about the toxicity of those (unnecessary in my estimation as that’s almost exclusively a heated vapor issue and PLA doesn’t have the long term durability of the other options - I prefer nylon or ABS).
The printer was a loaner and wasn’t dialed in.
I dunno about the torn ACLUs, their fundraising has been going gangbusters recently.
3 Likes
haha
I haven’t read all the previous messages, but I’ve experienced the GF refusing to cut because of temp. I set my AC to about 80 starting around midnight and that’s when I my do my best cutting  I get the message even if the machine has been idle for a little while so it seems to be an ambient temp thing. I found that if I drop the AC a few degrees and put a fan on the GF I’m able to be cutting in about 20ish minutes.
1 Like
My tiko works pretty well. After I fixed it at least. I just need to get Cura working so I can get away from the crap onboard software.
1 Like
After a little while the coolant is going to be ambient temp. To find out, we need to know the coolant is either cool or hot. Then switch quickly to an environment that’s opposite.
Mine won’t work over 78F. Cutting a chiller tray next ![]()
2 Likes
My Glowforge room runs about 77-78 F. I ran a long print the other day - about an hour. The GUI said it was cooling for about two hours afterward. I got tired of waiting, so I turned off the Gowforge and turned it back on. I got a calibration error, so I waited 5 minutes, turned it off again, waited 30 seconds, and turned it back on and all was fine. I am wondering if the GUI just got stuck.
1 Like
Some test prints on the Prusa with a 0.15 mm nozzle. The model is a tube with walls 0.56 mm thick. I printed it in Taulman T-Glase at 100 micron layers.
4 Likes
I generally turn it off now after getting the Alert. Most of the time it’s alerting me after it runs the calibration on startup or after I run a cooling test and a print (if the cooling test was successful).
Since my ambient has been 80F + - a degree or so leaving it circulating the coolant isn’t going to make it any lower and it seems not to like anything over 78F. So I turn it off. I have wondered if it would be better to let it continue to circulate the coolant through the heat exchanger, but if it’s “too hot” after sitting unused (and unpowered) all day and it alerts on startup then I figure it’s really not going to get better unless I cool it or the air. Working on that ![]() Just trying not to buy a $500 a/c unit for a month’s usage and figure if I can solve the problem without going that route then I’ve got a solution for travel. That and I’ve got a Pro unit on order so am hoping the 78F limit rises a bit to something in the low 80s with the active cooling in that machine. Otherwise I’ll have to go the a/c route and make any travel plans (Makerfaires, shows, etc) contingent on the weather or inside a/c booth access.
Just trying not to buy a $500 a/c unit for a month’s usage and figure if I can solve the problem without going that route then I’ve got a solution for travel. That and I’ve got a Pro unit on order so am hoping the 78F limit rises a bit to something in the low 80s with the active cooling in that machine. Otherwise I’ll have to go the a/c route and make any travel plans (Makerfaires, shows, etc) contingent on the weather or inside a/c booth access.
2 Likes
So I guess that now I have the printer going well, it’s time to start checking out all the other materials in addition to PLA. Haven’t loaded ABS yet, so I guess I’ll start there. Then you get other nozzles. And then the multimaterial upgrade. And then a second printer to cut wait times. Then a bigger printer for volume. Then an SLA printer. Is that how this is going to turn out?
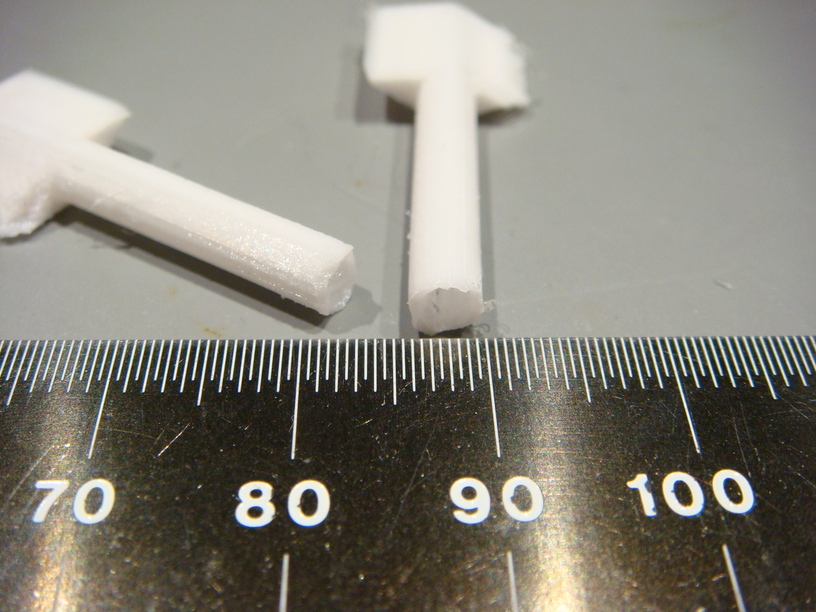
Those look like knobs for a stringed instrument string tuner. Very precise.
4 Likes
I think Dan said in another thread that the GUI doesn’t automatically update once you get the temperature warning – you have to turn the ![]() off first. I’ll see if I can find that quote.
off first. I’ll see if I can find that quote.
Here it is:
1 Like
Good point. Missed that (or it didn’t register because it wasn’t relevant to me at the time).
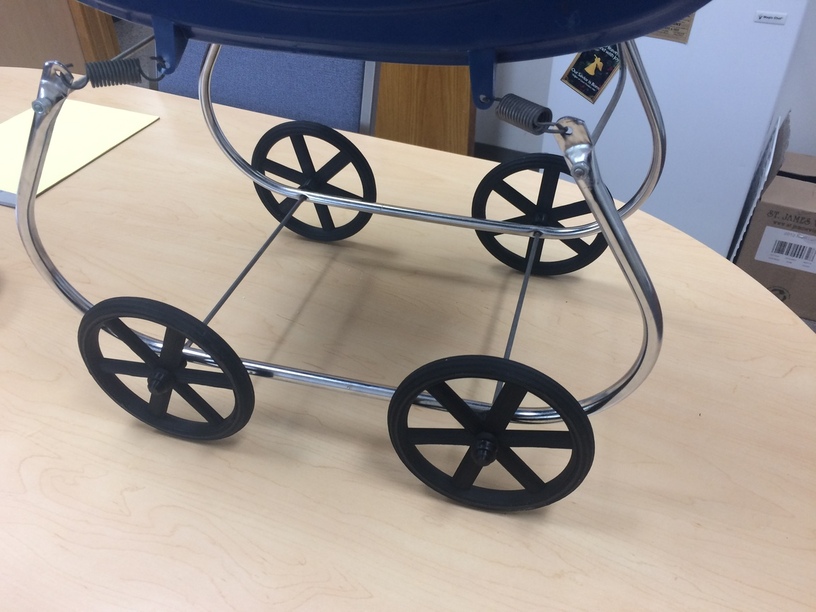
Finished the wheels overnight. It’s pretty cool to do something like this. Grandma is ecstatic.
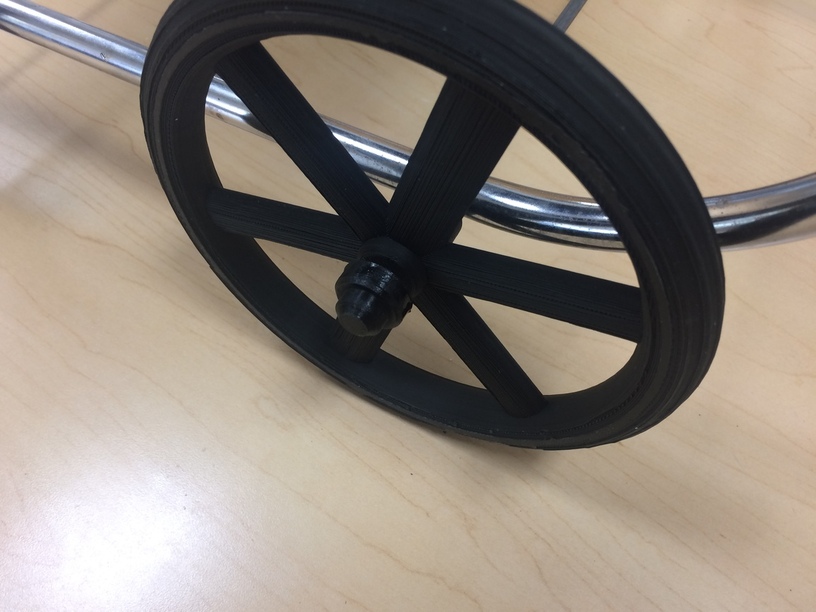
Printed a hubcap to keep the wheels on and cover the axel point.
19 Likes
that’s awesome!
4 Likes
Wow! That’s fabulous
3 Likes
for all you 3D printers out there check this one out.
VelocityPainting

it includes a link to download the UI so you can do this yourself. But here is the link just to save you some time.
http://www.velocitypainting.xyz/gui/download.html
Cannot wait for my printer to get here and after a few prints try this out for myself.
8 Likes
Wow. This is so cool. I hadn’t seen this yet.
So it achieves this by speeding up and making a thinner filament? Like when bridging across a gap? This looks cool!!
1 Like