Does anybody know if Painter’s Touch by Rustoleum is laser safe? Has anybody used it with success? Thanks!
What does the label say? Most paints are ok, just let it dry first.
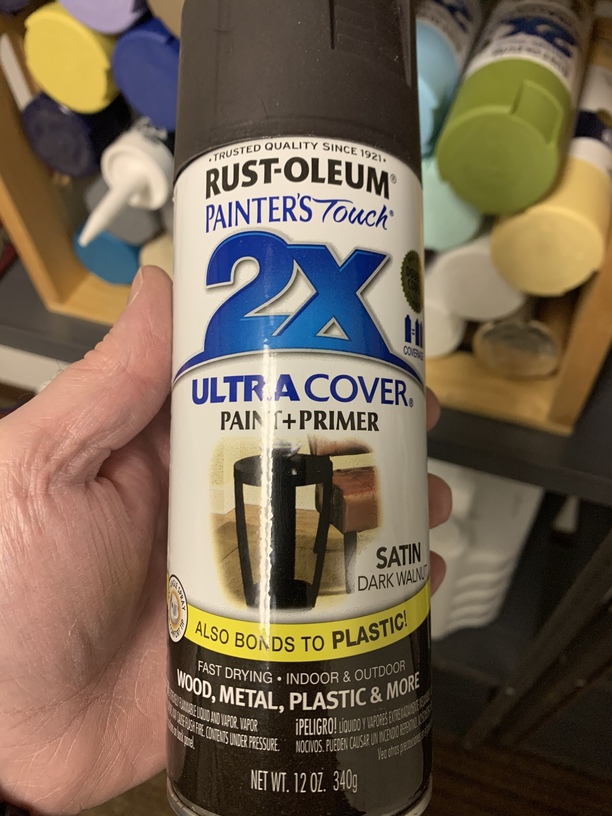
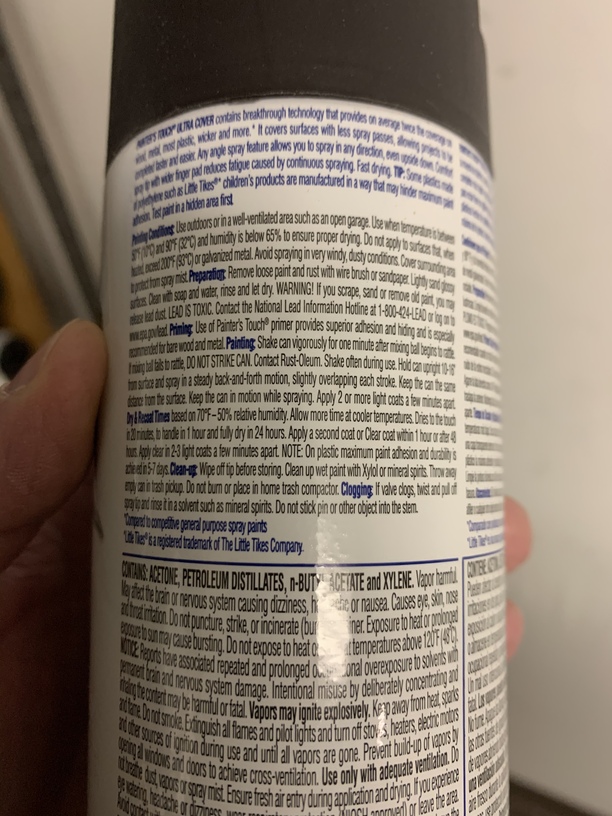
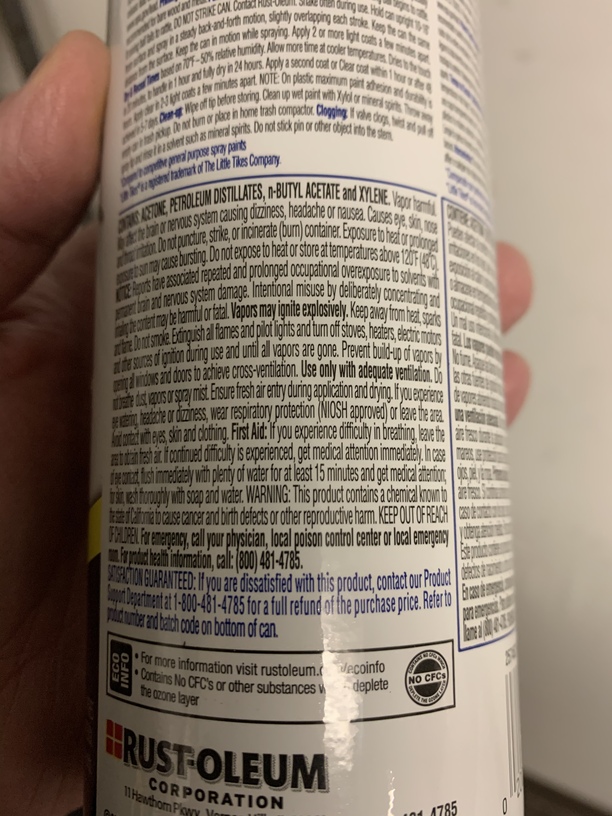
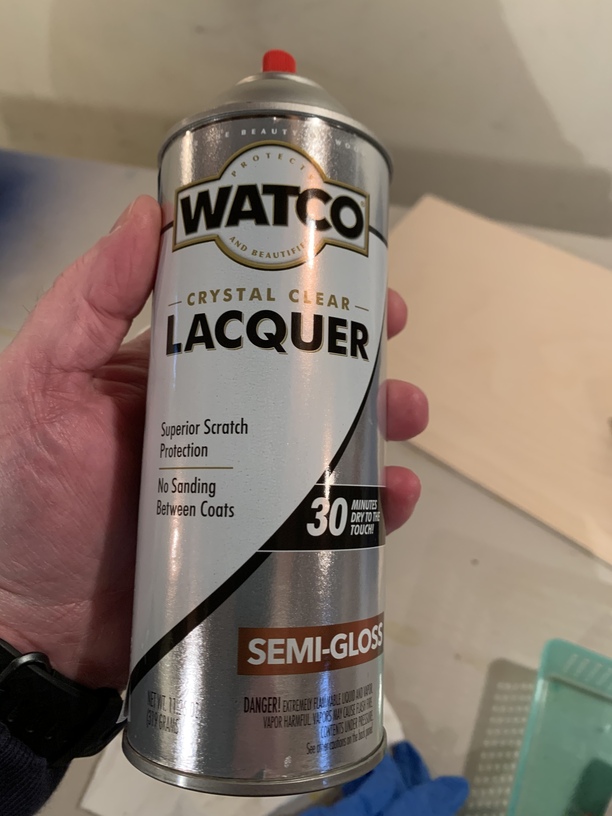
Here you go.
It’s just acrylic paint. The nasty stuff is in the solvents and propellants. Wear a mask, spray outside, let it dry.
7 Likes
This paint can in fact be used in conjunction with the laser.
Example 1
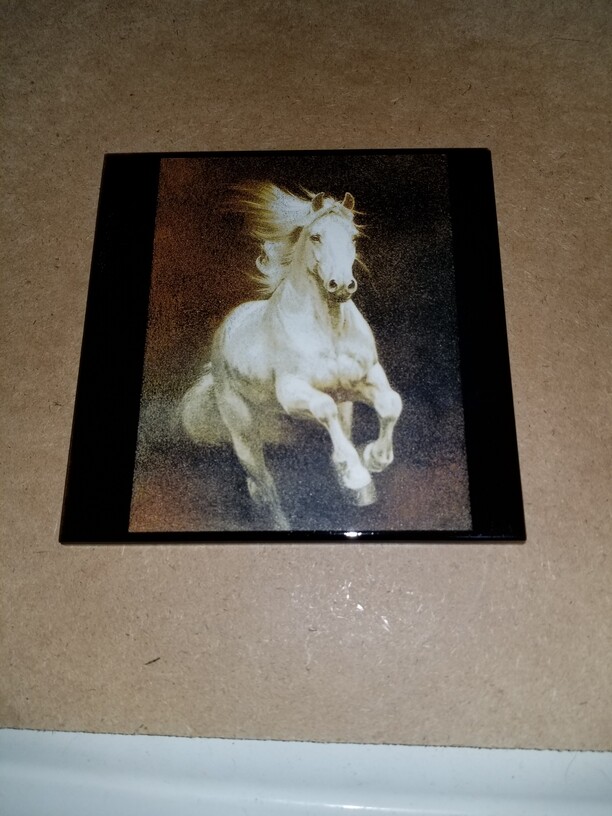
BTW this is how it looked fresh from the laser
Example 2
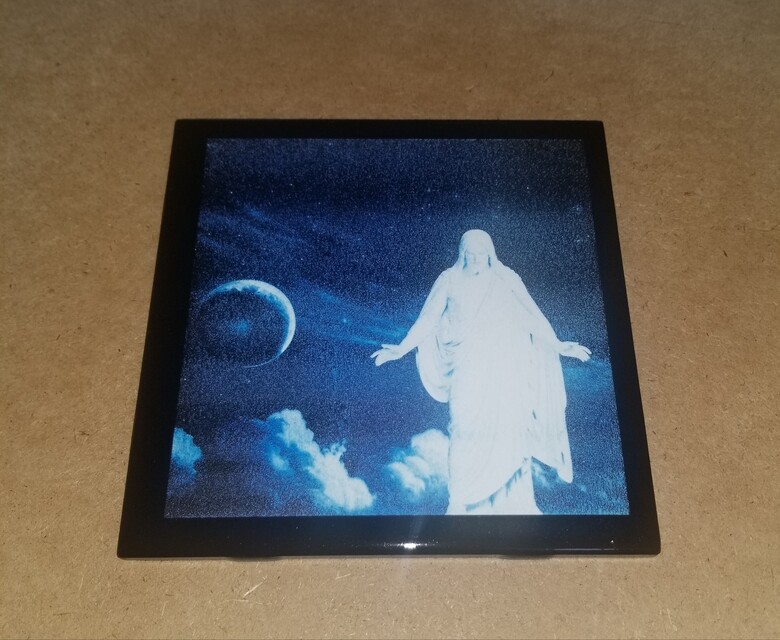
Also fresh out of the laser.
10 Likes
Hi I just saw this post . My question is can material be painted first before you cut or engrave it …
what I wanted to do is paint on birch wood first , mask it then engrave and cut …
If yes ! What paint can I use ?
Thanks  any help would be great
Thank you
Donna
1 Like
There was a run of projects for a bit and a search for CANVAS should pop them out. @shogun had some really amazing results and his post got me looking at pre-painting resources.
I started on some canvas I had laying about but soon just moved to draftboard (because I have a metric ton of it - shrug).
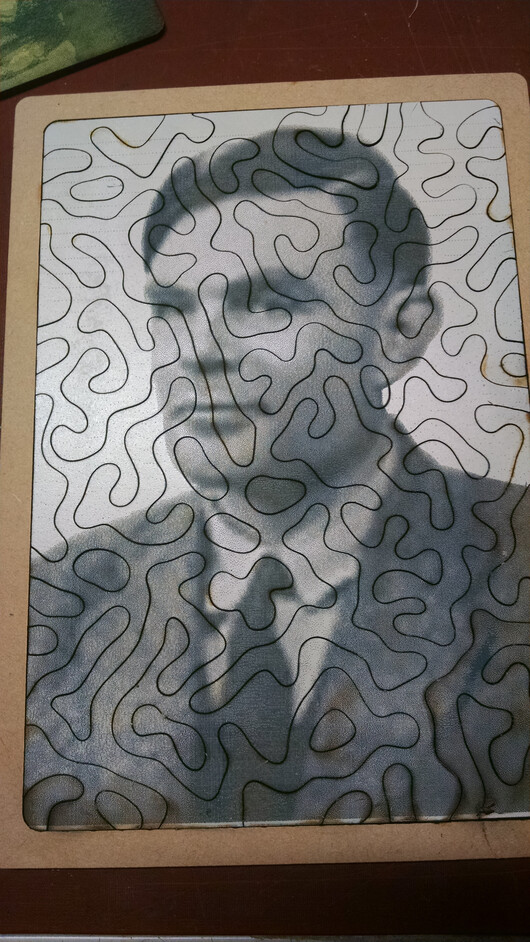
Here is a Turing puzzle I made on MDF, using blue paint covered with a tan color paint. Those colors seem to pop with flesh tone pictures.
5 Likes
I pre-paint my wood with craft acrylic paint from Walmart or Hobby Lobby. Then I finish with 2 coats of Minwax
SUPPLIES:
Acrylic paint, Minwax water-based polycrylic gloss
2 inch wide sponge brushes, medium tack transfer tape, Shop Vac and hairdryer, 200 grit sandpaper and sanding block or an electric sander. Dance music with volume turned all the way up!
INSTRUCTIONS:
Turn On Music. The music keeps you from being bored.
- Sand wood on both sides , use shop Vac to vacuum sanding dust
- Paint 1st coat both sides. Dry paint with hairdryer.
- Repeat Step 2, now LIGHTLY sand wood , Shop Vac
- Paint last coat, hairdryer, LIGHTLY sand, vacuum. After vacuum run your palms across the wood. You want the wood to be smooth and glass.
- 1st coat Minwax both sides, hairdryer
- Repeat all of step 4 but continuing with Minwax,
- Transfer tape.
- Glowforge Time
TIP:
Paint 3 pieces of wood at one time

4 Likes
Thank you everybody!
Wait. What? The horse is straight out of the laser??? Mayhaps an explanation of the process?
Guessing it’s a layered paint job and the laser is used to ablate back down to the black using dots? Maybe vari.
1 Like
“Can” and “should”…pvc can…but it never should. But that’s crazy nice looking.
On the horse tile, start off with a simple white 4"x4" ceramic tile. take in this case orange rust-oleum paint. let dry about an hour or so, then right over the orange paint, black paint, let dry an hour or so. Then into the pew-pew machine
1000 speed
100 power
340 LPI
85-90 dot density
convert to dots
an hour later or thereabouts out comes a wonderful “Color” picture.
I’ve done as many as 4 colors (including black) on a tile.
Edit: Black is always the last color
10 Likes
Ooooo. A new “toy”to play with!!!
Thanks!
1 Like

1 Like
I’d have it dry a day or so before lasering it.