Greetings and Salutations!
My Glowforge (I named her Darksaber) arrived this past week. She is a welcome addition to my Which-Craft Room and I am extremely excited to be joining the Glowforge community!
I have completed two projects so far—1) hand drawn original earrings and 2) the important dates hanging calendar.
My questions pertain to the calendar: (I will try to attach two pics to illustrate my two questions.)
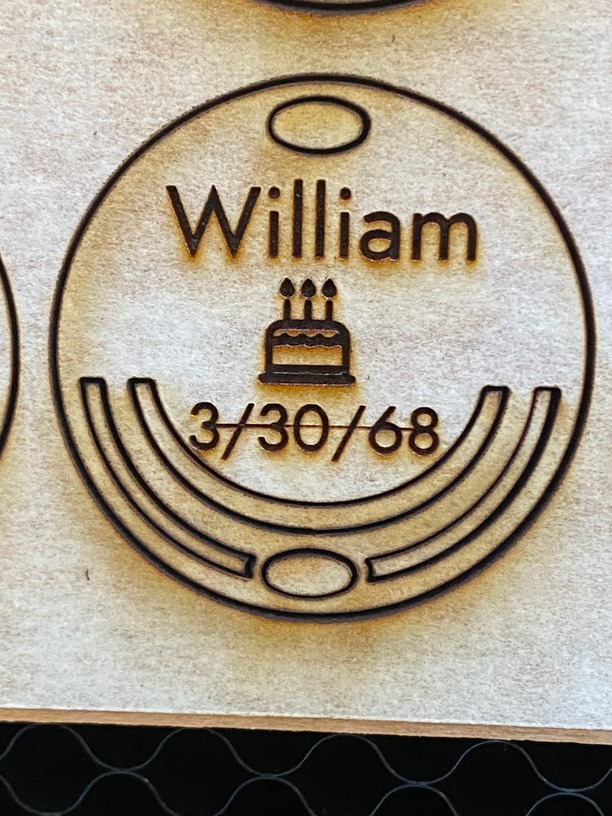
I don’t understand why some text has a line through it and other text doesn’t because there are no lines through any print on my dashboard design on my computer. And this is a pre-made design from GF website, not something I created.
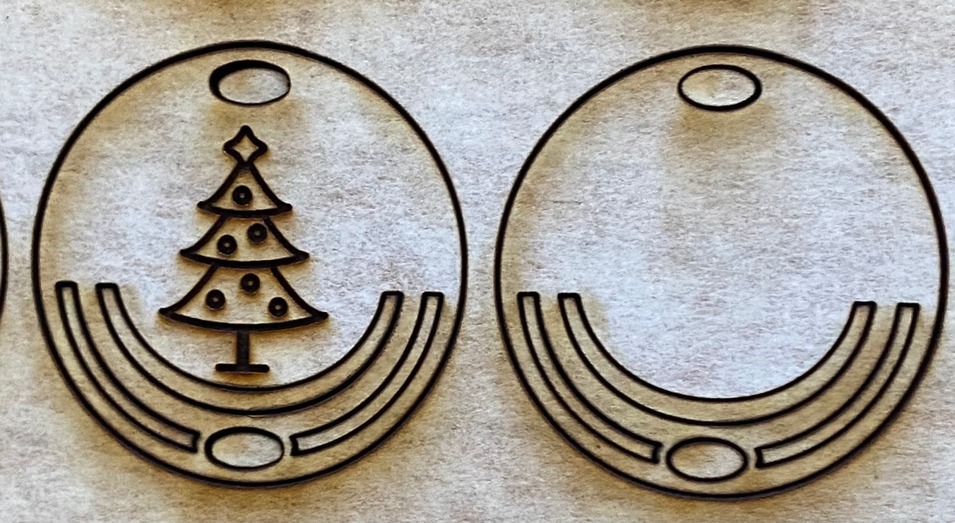
Is there a way to finish a production run, look at it in Darksaber without moving it and then modify the design in dashboard and print something more on already printed design in a blank spot within the completed design? For example, what if I wanted to reprint a Christmas tree on another blank medallion again to try for better result?
Is there a way to select a section/fraction of a pre-existing pattern to print? Or do you have to print whole project again?
There are several steps that folk might slide past that they need not to. first among those is Calibration. The camera is a “fisheye” and calibration does the math so it approaches actual x-y locations for your machine.
Set Focus will match that math to a specific location creating the math to match best there, and measure the height of the material at that point. then where you move the design image will match what you see on the crumb tray. With the image highlighted you will see a widget in the lower right that when you pick it shows the precise size and location of what you have highlighted. If you record that information, you can place anything at that location and it will cut there no matter what the design image is showing.
If you make some Bed Pins you can establish a precise location that you can place pieces repeatably at that precise location
The line is created by an open path (the line connects two nodes to close the path, and won’t be visible in the app as its addition is happening during the processing stage on a cloud server somewhere). If Glowforge’s app is generating text with open paths, that’s a bug in their software for rendering text. Hopefully this gets passed up to the right team that can investigate and maybe fix that for the future.
As long as you don’t move the design you already printed on your screen, you can set all the steps in it to “ignore” in the left hand side, but use that artwork as a guide for lining up anything you want to add to it. This will be more accurate as to where things will get engraved when you hit print than looking at the photo of your material.
You can turn on and off sections of the design that appear in the left-hand column of the Glowforge app to only re-print some of them. But if you want to re-print the bottom half of the tree for example, there’d be no way to accomplish that using the GF app, as it’s not a separate step and can’t be separately selected. How much of the design you can turn on/off or select to delete/move is going to be dependent on the design.
The easiest way to make sure you can do things separately is to design them in different colours. If one item is black 000000, and the next is black but 000001 - the will load them as separate steps. Most people run across this by accident, but it can definitely be used intentionally!
Hi @TsunamiRising - thanks for sharing the details and photos of the trouble you’re running into.
Some great tips from the community here on questions 2 and 3 already, so I wanted to touch base on the first item you brought up, that line through the middle of your text.
I’d like to dig into this a bit deeper since this was all prepared inside the Glowforge App. I ran a similar print on my end and didn’t have this line show up. Just to be thorough, is there any chance you remember what font style you used when putting this print together?
I’m sorry for my delayed response. I’ve been at work.
The font was: Jost. The strange thing is, there were only 3 of 14 tiles with words on them that had lines going through them like what I posted.
Interestingly, because I used proofgrade material, when I removed the masking layer from the wood, the black line was gone on the final product. There was a line in the wood but it is barely noticeable. Otherwise I would have had to sand the 3 tiles to get rid of the line?
However, the fact that a line was engraved at all is worth sorting out.
Hi @TsunamiRising - thanks so much for getting back to me, no worries about the delay, life happens!
Knowing the font at hand I was able to test this, and we’re seeing this issue as well with that font specifically. For now while we look into this further on our end I’d simply recommend using an alternative font. I tested with some other fonts just to be sure and didn’t see this issue with them.
Hi @TsunamiRising, thank you for notifying us of the trouble you’ve been experiencing.
Our team is continuing to investigate this issue further, I’m afraid I don’t have a specific timeline to resolution.
As Mike mentioned, I would recommend trying another font style to print your design.
In the meantime, we’re going to close this request. Should any additional questions or concerns arise, please start a new post, or email us at support@glowforge.com.