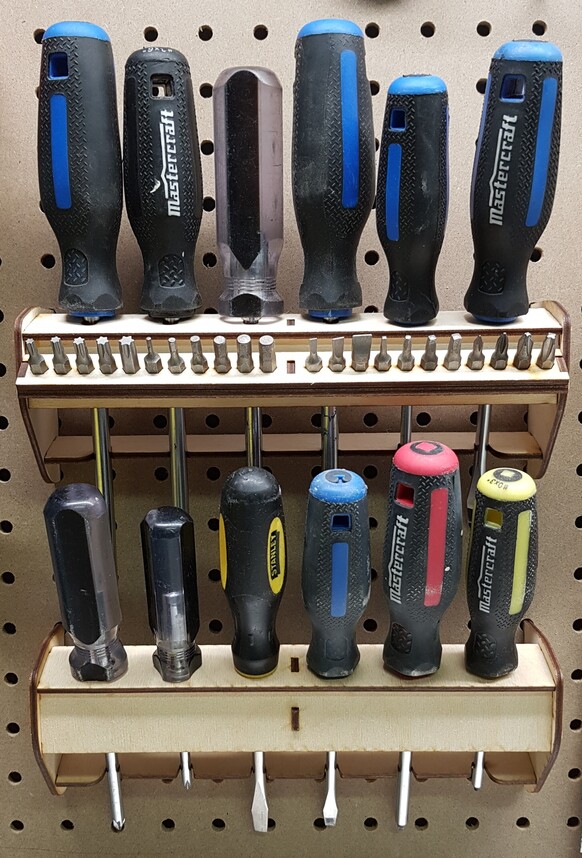
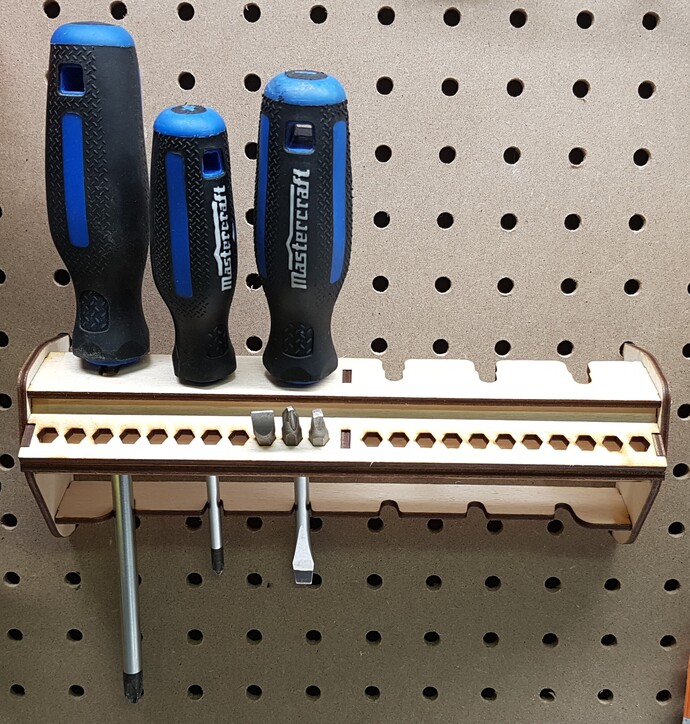
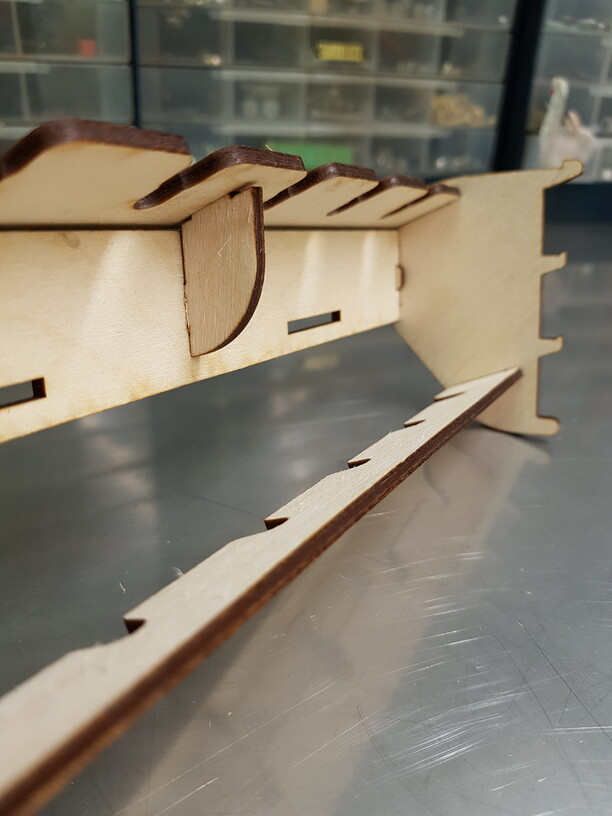
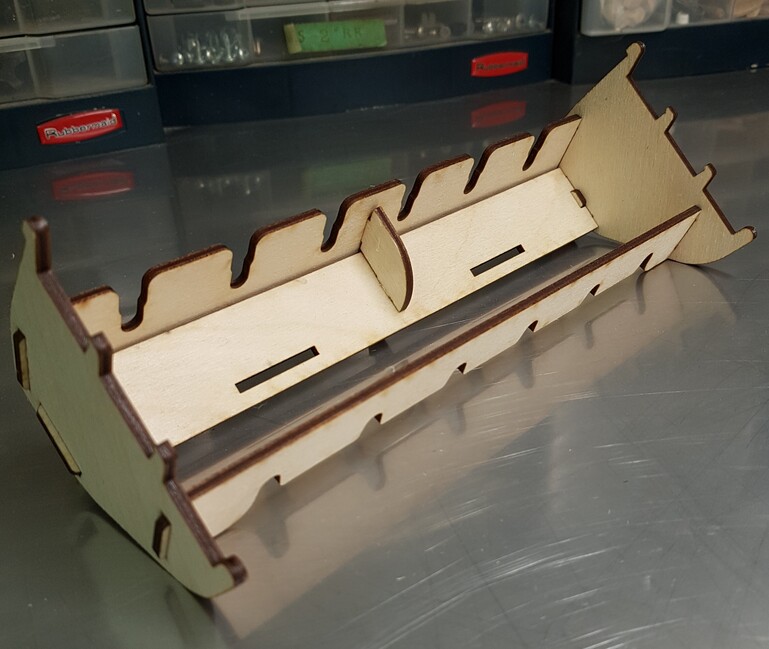
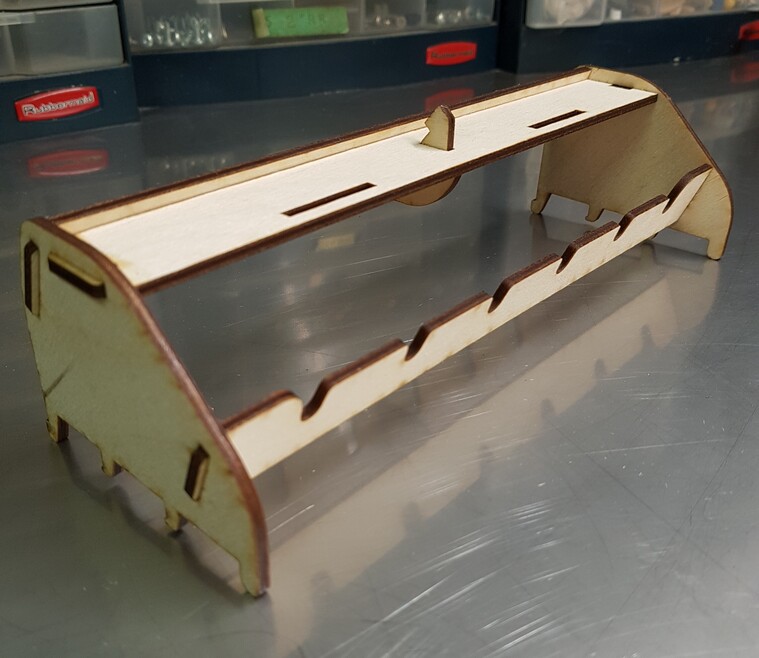
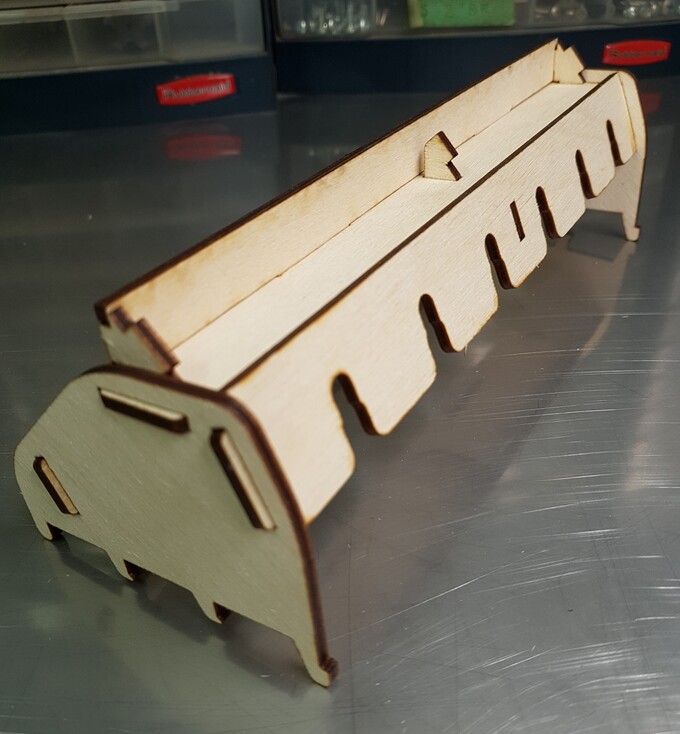
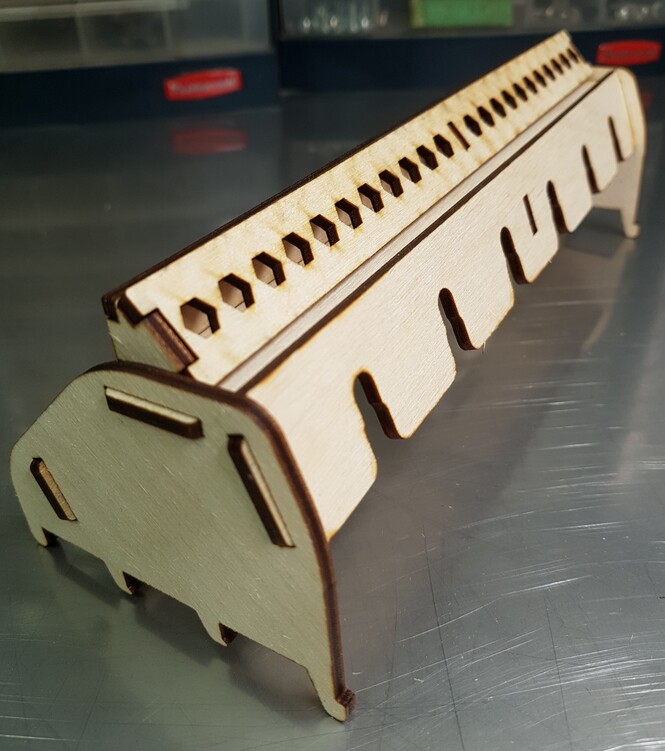
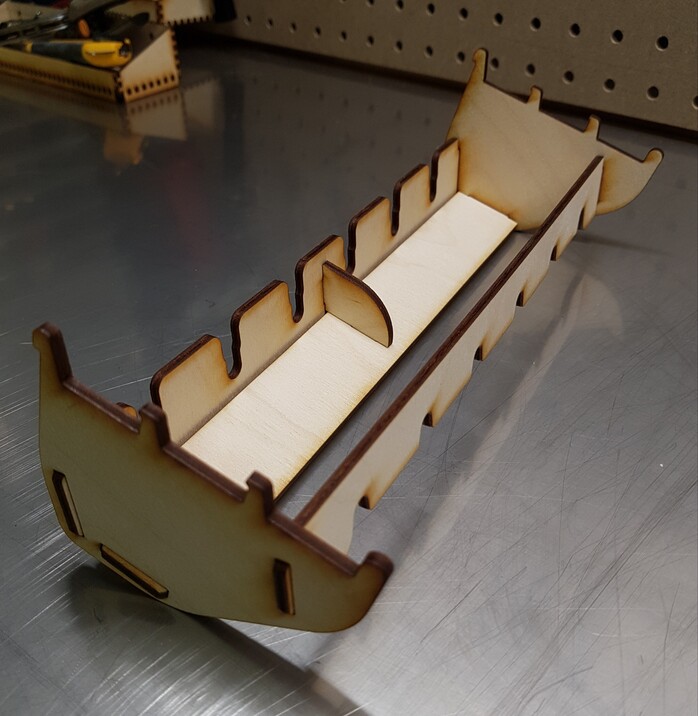
Here is my solution to hold medium and large screwdrivers neatly and (hopefully) without any issue. I hope they work for you just as well as they work for me!
Made for 3mm material.
Use wood glue where needed, especially for the bit holder.
EDIT: Highly recommend cutting the lengths along the woodgrain for rigidity.
Perfect! The bit holder is especially nice, since I have the screwdriver that has the magnetic tips. Thank you so, so much! Definitely making this today! But I’m not seeing the SVG? Just the note that it’s there.
Well, it saved it into my file, but when I try to open it in GF, it’ll show the pieces on the left, but not on the board. It also tells me I have “no artwork,” maybe because I have to rearrange the pieces to fit? Which I cannot do, because I can’t see them. Help please!
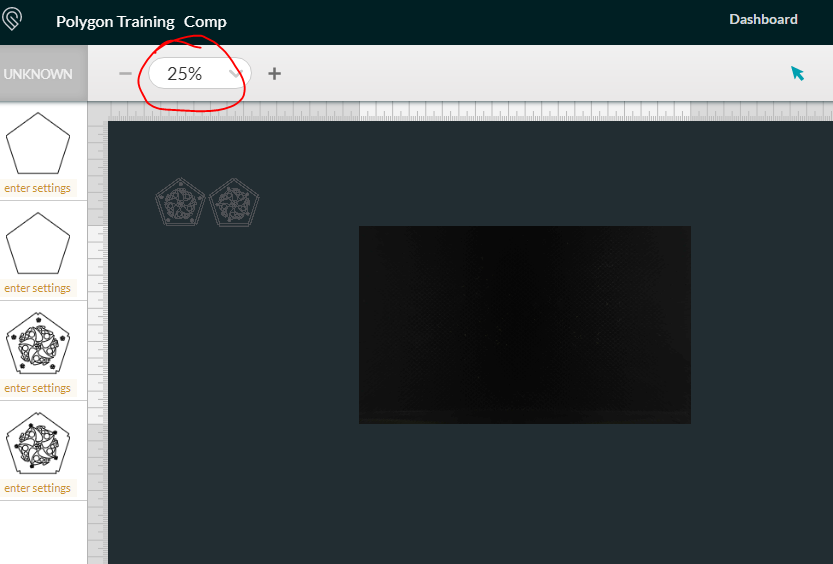
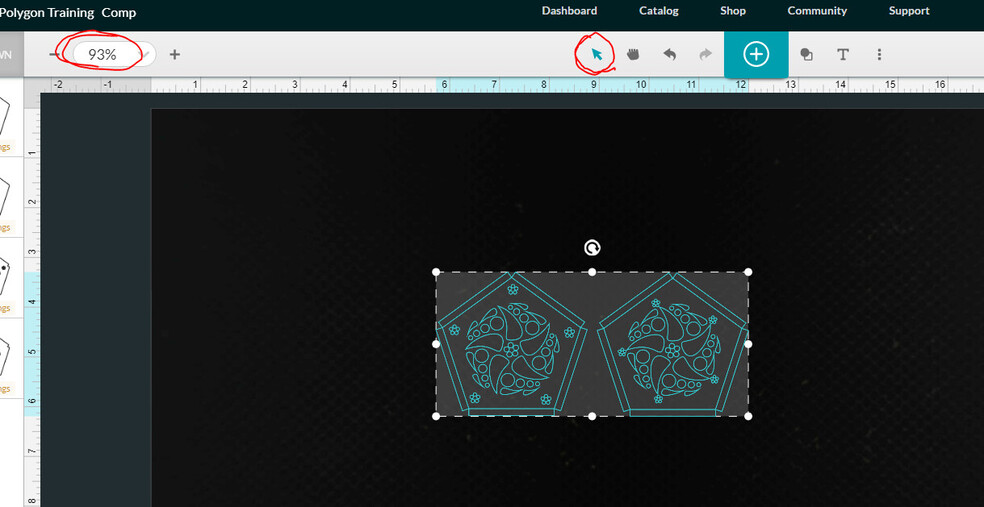
You can zoom out by using the CTRL key on the keyboard and your scroll wheel on the mouse, or by using the Zoom box at the upper left of the workspace.
The items aren’t showing in your .svg because they’re off your art board. If you make your art board (in your design program) 12"x20" and place your art on there, then when you upload it to the they’ll be exactly where you placed them in the GFUI as well.
@ellencadwell you can also hit Ctl-a (select all) and you’ll see a box you can then drag around to bring the pieces into view.
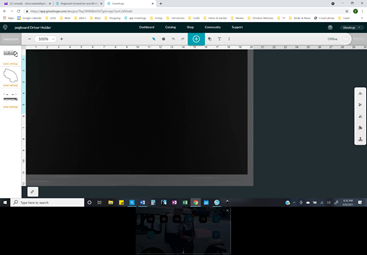
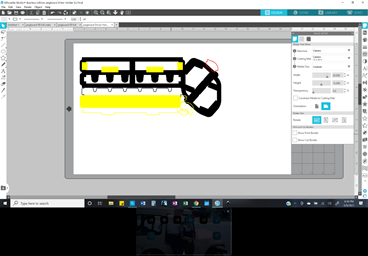
This is what I get both in Glowforge (the first pic) and Silhouette (second pic). In GF I tried the Ctrl-A and I can still see nothing to click on to drag it. In Silhouette, it totally distorts everything.
What am I doing wrong? Ugh!
Do you see in your upper left hand corner where it says 100% - that’s where it’s filling your screen with the work area. Your objects are there somewhere, but they’re off the work area. So you can either hold down Ctl and scroll down on your mouse wheel - or click in that box and make it 25%.
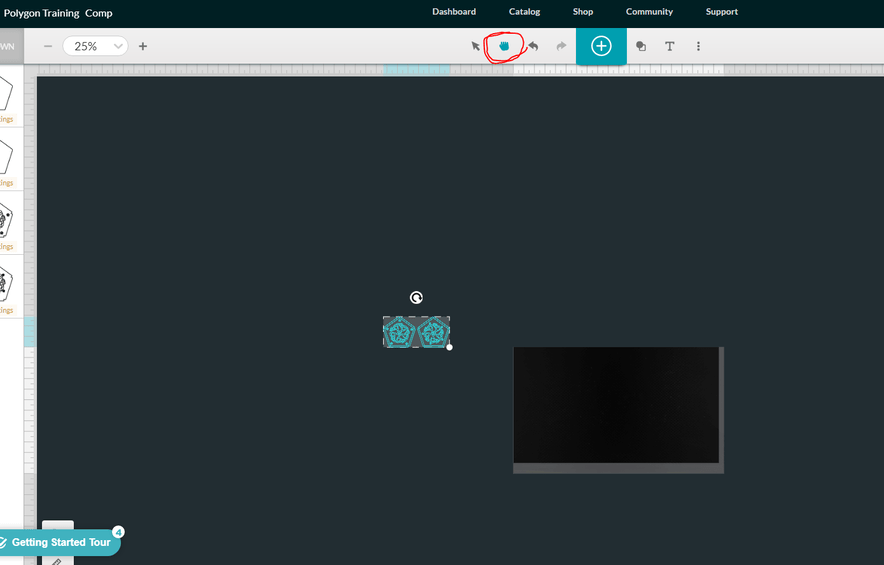
Then, click on the Hand icon and move it around until you’re off the side of your work area, then click Ctl-A - which will highlight any art. If you don’t see it, drag it around to the other side - or the top, or the bottom
Then, once you’ve found it, click back to the Arrow symbol, drag the art back into the black area - and re-zoom in so you can see your work area filling the screen.
BTW, dragging things off your work area allows them not to be printed even if you have settings entered for them - so it’s a great area to use when you’ve got a bunch of stuff in a file but only want to print one thing. Becoming comfortable with the zoom and pan features will help you in the long run!
That worked, thanks Deirdrebeth! I never payed attention to that spot before - now I know! I also didn’t know you could drag stuff off the area screen and not have it print. I’ve just deleted parts I didn’t want to print (though not changing the actual file) if I had to use, say, another board or forgot to print two sides of a pegboard hanger.
I appreciate you!
“Have to” is a stretch, but definitely helpful. Also if you set your art board to 12" x 20" it will always scale correctly even if your program changes scales on you
Can I ask a stupid I mean stupid question? How can I design the type of let’s say box I want to make so it all aligns correctly and then I won’t just have all these ideas in my head? I love to make things I just never had opportunity to design with anything that connects together. If you can guide me or perhaps send me to a link or something that will show me how to. This way I can share all these amazing designs I have stored in my brain. Lol I hope you all understand what I mean. Thanks in advance and no hard feelings if you can’t help me.

 they’ll be exactly where you placed them in the GFUI as well.