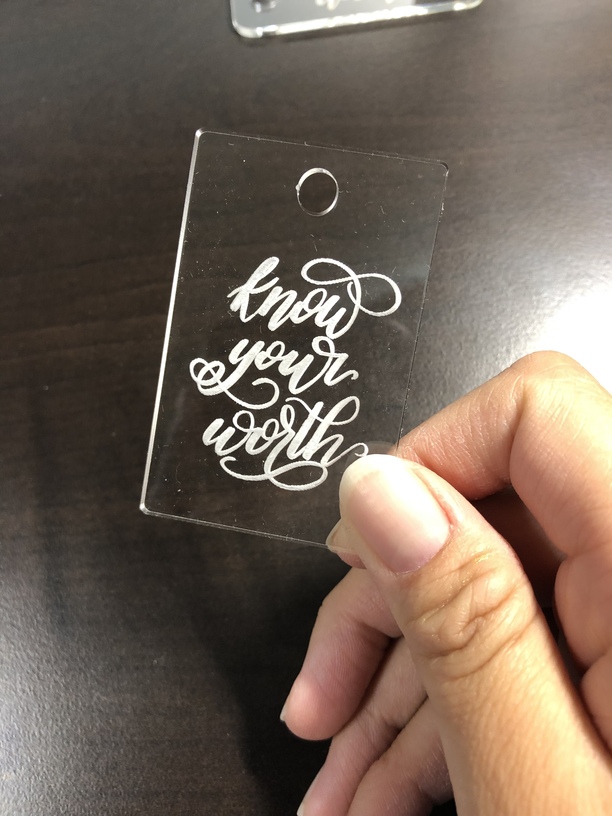
I was playing with defocus a little to see if I could get the engrave to be a bit cleaner. I realize now that I have to not get super flourish-y (is that even a word???) with smaller engraved like this because I don’t think they translate well.
One thing that can also help is slowing down the head speed.
I would think that the defocusing would be a little cleaner than that though. What method did you use? To defocus, you’ll need to set the actual material height (or select the Proofgrade material) and then change the focal height in the operation on the left bar. The material height has to be a different height than the job focal height, or else it will use autofocus.
Is that what you did? If so, how much did you defocus by?
3 Likes
This is PG medium acrylic. Haha I guess I didn’t actually defocus then? I thought I had to change just the focal height, and honestly I didn’t change it much. I went from .125 to .135, because when I tried going any more the gf didn’t even engrave the surface of the acrylic!
I don’t do it a whole lot - but on PG you should be able to just change the focal height field for the operation. You should be able to defocus quite a bit more than that. Going from .125 to .135 isn’t changing a whole lot. I would probably look at around .225.
As far as not marking when defocused, it oughta! But, if you’re working with a low power setting (like the HD engrave), you’ll have to up the power manually.
3 Likes
Oh that’s what I probably did wrong!! Haha I upped to .2 and it just engraved the air. I was so confused, didn’t think about power. I’m going to try that tomorrow
1 Like
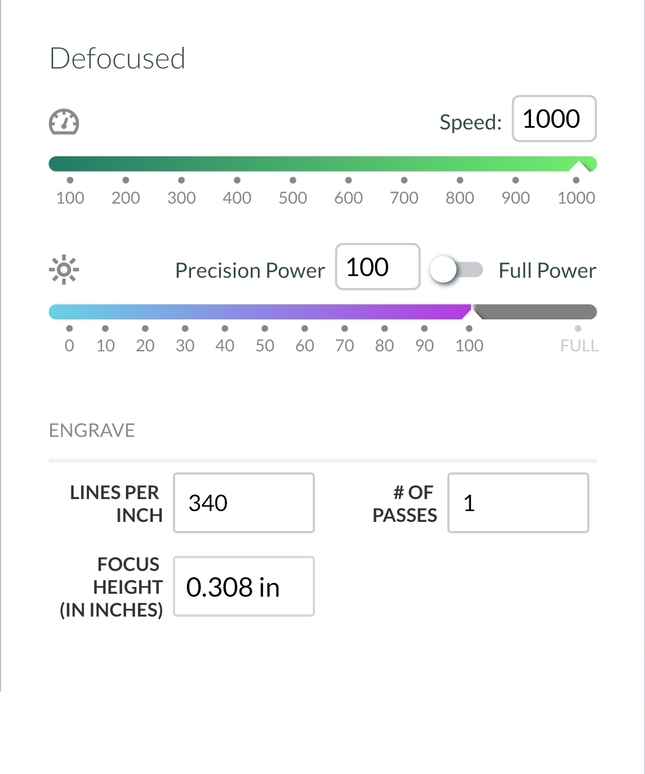
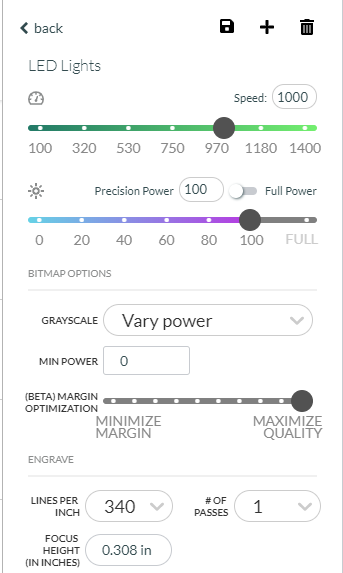
Here’s what I use when I defocus, and yeah, I use medium PG
Here’s a light I did, so you can see how smooth it comes out
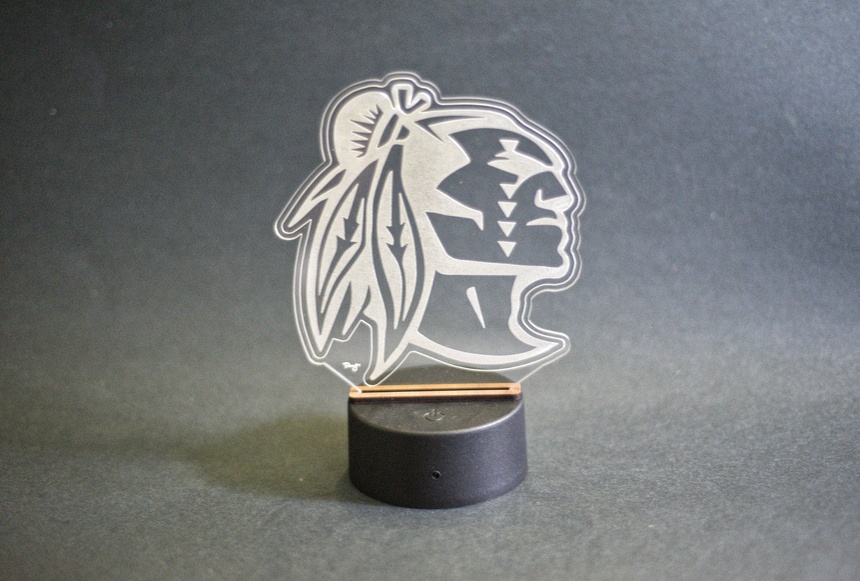
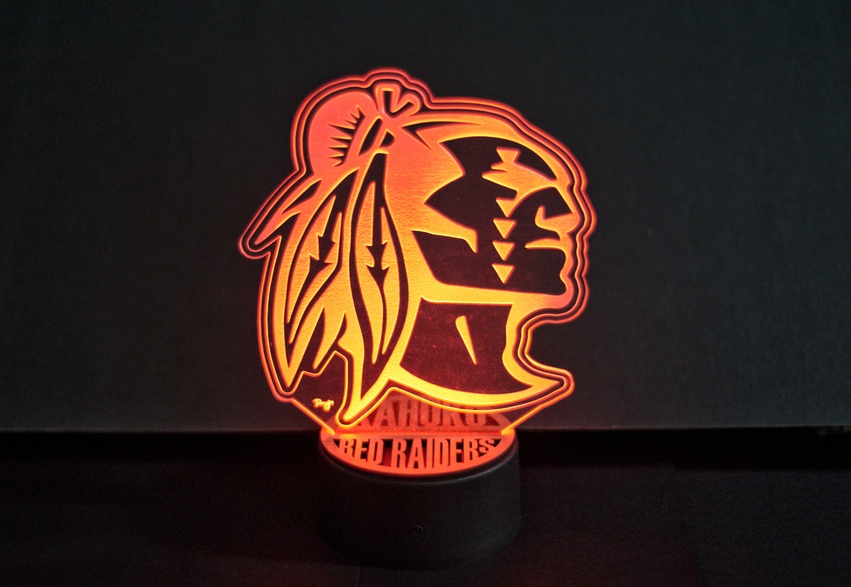
22 Likes
at 340 lines, do you see a significant difference with the defocus?
wow thank you! I’m going to try this tomorrow and see how it goes. I’m learning so much through this forum and posting my fails/mistakes, you all are amazing!!
2 Likes
The higher LPI the more overlap, depth, and detail is made, so I like having the 340. I don’t know that I’ve tried it at the default, so I can’t say if there’s a massive improvement. I do know that it adds a little bit to the overall engrave time, but it’s not so high that it’s unbearable.
@erika_g glad to be of service! I know how you feel - I was sort of out of my depth when I first started into all of this, but the forum has been a great resource since there are so many different people from all walks of life here. There are things I do now, regularly, that I don’t think I ever would have tried; defocusing being one of those things.
3 Likes
This whole thread is everything that’s good about this forum.
10 Likes
I experimented with defocus a bit, and did a thread with some results and values.
My goal was more looking at it as a design time saver, but defocus is defocus I suppose, and I got a bonus result when I marked the time to burn.
Big enough defocus and lines look like engraves, as shown here:
14 Likes
Thank you for bringing your old thread back to the surface. I just a made a project yesterday (thread coming soon) that this would save considerable time on possibly.
Glad I stopped by for the defocus tutorial!
2 Likes
Thanks for giving your settings and an example! I should have done this on a recent project and will definitely try it on the next nightlight.
1 Like
Can’t thank you enough for sharing! The light is just incredible. I am off to play with defocusing 
1 Like
Hi! I just got my GF and did my first acrylic engraving at the default settings and it left lines that I had to clean up.
Then I found this thread! Thank goodness!
My question is, when I attempt to use these settings, the app keeps changing them back to default. It doesn’t matter what engraving choice I select or if I try to create a custom setting.
How do I stop the app from defaulting to 450LPI in custom settings?
The easiest way around it is to enter the settings I’ve got here, then hit the “Save As”, which is the plus symbol at the top, option then name it.
If the file type is a raster image, as in a regular jpeg/png file, then it will have your saved option only when those files types are loaded, this is the case for vector files as well. So in this first pic here:
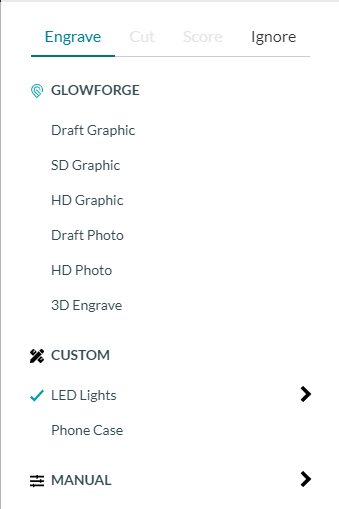
You can see that I only have a couple of options under my custom settings, but in this next one, I have many more:
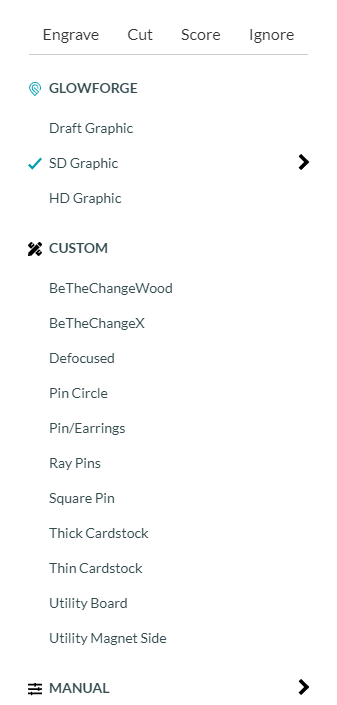
This is because I mostly work in vector file types, but with the LEDs I use PNGs that I’ve edited in Photoshop, so the settings are saved separately.
3 Likes
I see what you mean! I will try the save as option and see if it will stop defaulting on me. Thank you so much for the reply!
1 Like
I just tried it and it worked perfectly to Save it and WOW!!! What a difference!! Thank you!!!
1 Like
That’s great! Glad it worked out 
You are AWESOME!!! Thank you so so much😍
1 Like