So since having this unit all I get for support is an email that has realignment steps. I’ve realigned the machine to the point where I have no more medium draft board. I make leatherwares, wallets, bags, and holsters so material that gets destroyed or unusable is costing me a small fortune. I’m sure that I’m not the only one here, my last comment thread was deleted by an employee but my issues are not resolved at all. I need help
I bought the Pro so I was expecting 2 years of an actual warranty and customer service. Does this company fix their units? Look at how bad my machine is off in the pics below.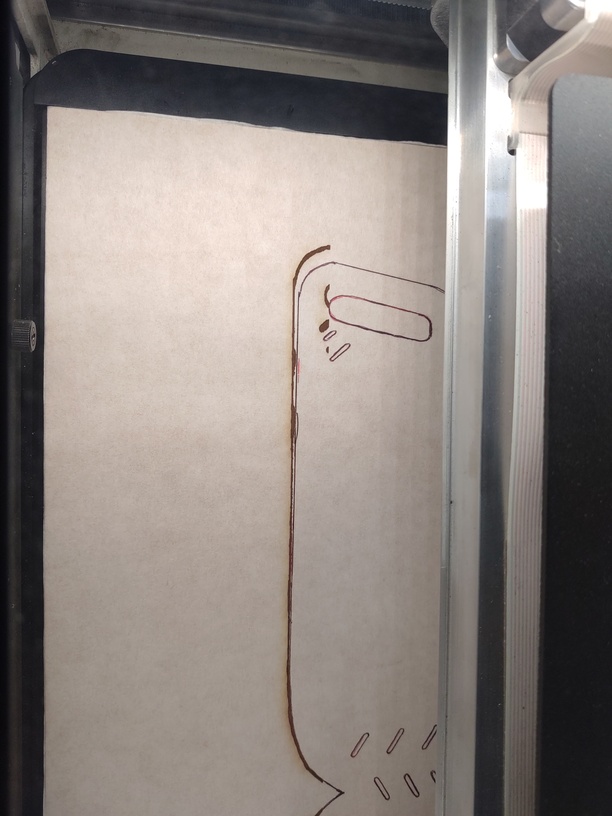
To be clear, does the cut part end up the correct size & shape?
Your post was not deleted, it was closed because you were already working with them by email. If you email and post here (both open support tickets), they will work with you via email.
1 Like
To be honest, it’s really hard to tell anything from your pictures and description. If there’s something wrong with your machine, only Glowforge support is going to be able to help, and it sounds like you’re already corresponding with them over e-mail. (Frustrating as it is)
But in case there’s some advice the community can offer here… can you clarify something: in your other post, you said “The new material would be entered in the same exact location as I set tape markers and it will get more off-center.” Are you saying that if you run a print, then put a new piece of material down in exactly the same place, and run another print without touching anything, it comes out different? If so, that would indicate some kind of mechanical issue and we set aside camera alignment (at least for now – but something looks off with your camera) and focus on that.
But I want to be really clear on that point: I’m not talking about putting a new piece down, then lining up the artwork on the screen again. That would cause it to move. But if you literally just hit Print again, the machine should always print in the exact same place regardless of what you see on the screen. If that’s not happening, or your prints are warped or stretched or distorted, see if there’s any kind of obstruction on the belt or rails, or if the belt is loose. And make absolutely sure you’re not bumping the print head when you move material in or out.
If, on the other hand, it always prints in the same place, but the problem is the inaccuracy/distortion you see on the screen, it’s another set of potential problems. The uneven lighting and half moon on the bottom of your picture make me wonder about two things. First, is your lid closing properly and consistently? Sometimes, especially if the machine is not on a perfectly flat surface, the lid can be out of whack. Because the camera is in the lid, and it’s an extreme wide-angle shot, the slightest variance in distance between the camera and your material can cause all sorts of alignment problems. So I’d check that first. Some of us have had to shim up a corner of the machine to get the lid to close consistently. And if that looks ok, is the camera itself firmly attached to the lid? Also, the camera focus is adjusted at the factory and glued in place. Some people have had issues where their camera focus comes loose. You should not be able to turn the little ring on the camera – don’t try very hard, you don’t want to knock it loose, but you can check and make sure it’s fixed in place.
That’s sort of where I’d start if it were my machine, anyway.
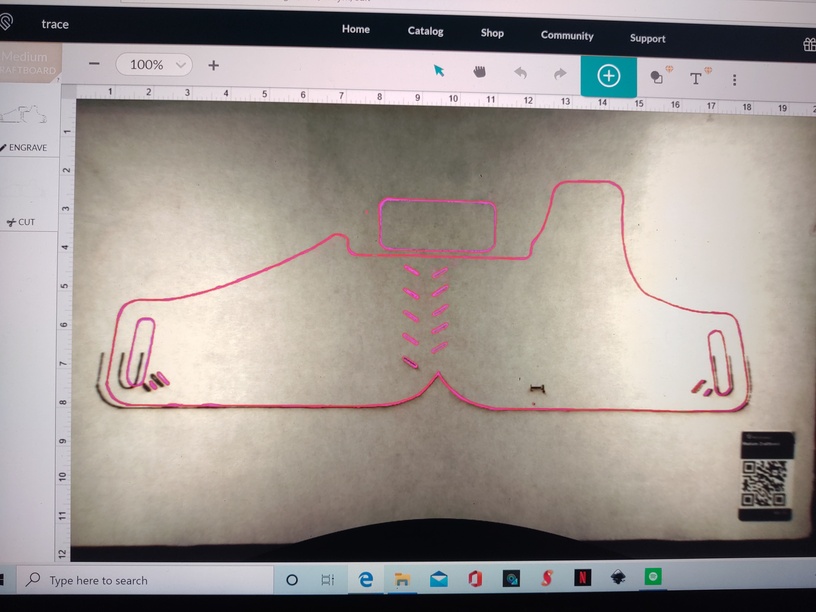
Same spot , new material, not moving the graphic.
Never mind, in case you saw that last post I deleted… that’s a trace result.
Not sure how to explain this…the view that you see on the screen is always going to appear to be a little bit stretched the farther that you get away from the center of the bed under the lid camera. If you are scanning something that spans the bed, then trying to land directly on those scan lines when you cut the material all the way from side to side, you’re going to have a very tough time. I’m not sure it’s possible to do it.
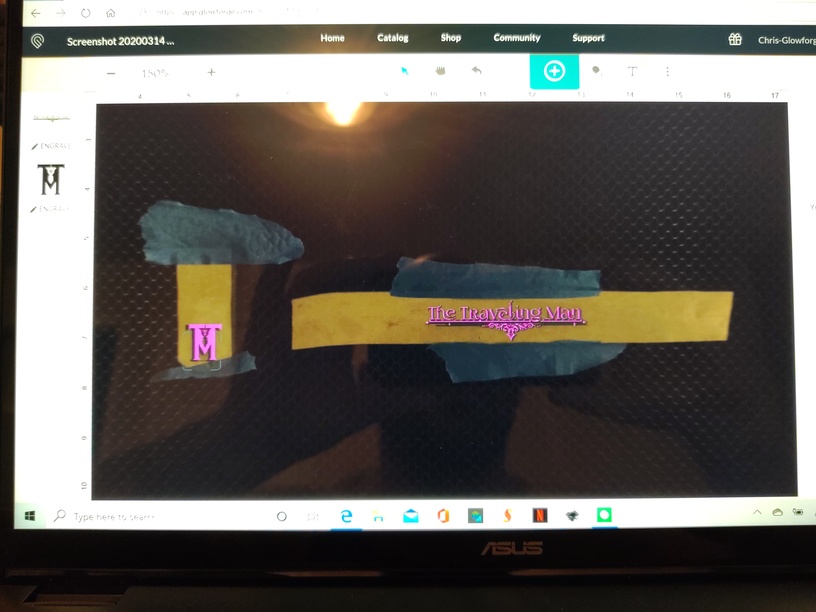
Here’s why…
This is what Glowforge sees when they take a shot to create your Trace:
Glowforge uses an algorithm that uses the thickness of the material to correct that view, and if the measurement on the thickness is incorrect, that algorithm is going to make the view look wrong or stretched.
What I would do to try to improve it, is the very first thing you do before trying to do the Trace is use the Set Focus tool on the center of the material, to load the thickness information. You can try rotating the design during the scanning process if it will fit vertically, and then turning the design once the cut lines are created. Or you can try stretching the design to fit using the new Precision Placement tools. (But I’ve never used them for that so i don’t know if they will work on a Trace result.)
Honestly though, you are going to have much more accurate results by creating the cuts for your design in one of the digital drawing programs and bringing that over into the software to cut. Inkscape is free. Illustrator costs a bunch but also works, or CorelDraw or Affinity Designer. They are fairly easy to learn for something like this. The Trace is really much more useful for adding Engraving to your designs, or hand drawings. It’s not very accurate for cutting large items because of that fisheye effect. You can use it for that, but you’re likely to see some distortion.
1 Like
That’s how my lighting has looked since opening the box, yes I make sure the lid is all the way closed. Thank you , this is all great info and confirms what I have believed since the beginning that this is a mechanical issue and not an alignment issue. How long do I have to play this game before I can get my unit fixed is what I’m wondering?
All of my prints seem to be a bit off, down and to the left or right. I never get an honest print if you look at the 2 pieces of Waterbuck I engraved with my Brand name and logo
No it’s always off lower to the right mostly
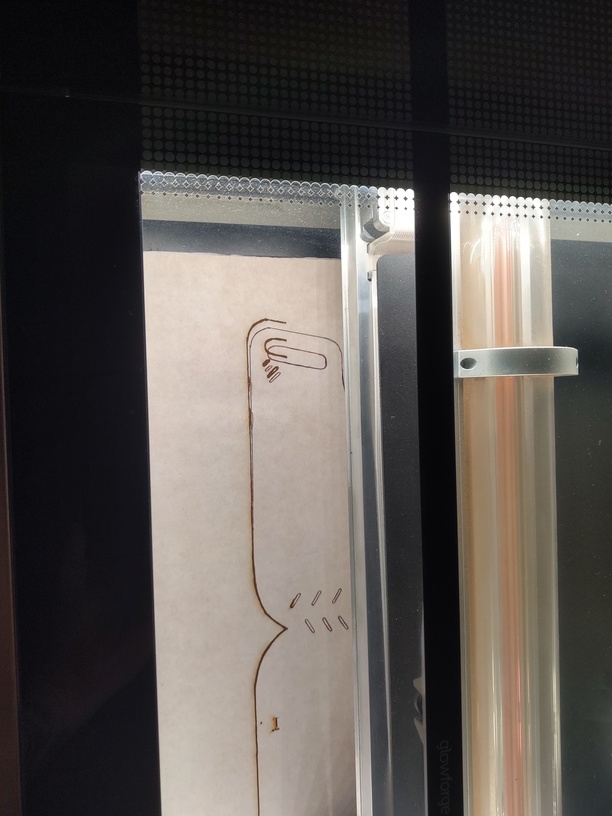
Just for S&G I bought their pattern for the clutch hoping it would cut on the lines and the print and cut was still off
Yeah, that’s because of the fisheye distortion. It will appear to be much closer right under the camera.
When you are placing something to be engraved, try to place the material where the engraving is going to go directly underneath the lid camera.
OR…use the Set Focus tool on the material where you are planning to place the engraving out at the edges of the bed, then wait for the view to change, then place that design. What the Set Focus tool does is temporarily correct the view at that spot so that it acts like the lid camera is directly overhead. If you run that print, it will land where it needs to on the material, which is what counts.
1 Like
I’ve also had issues where I will put in a proofgrade material and it will not recognize the item or print anything. It’s a constant game of powering the unit off and on to get poor results
So your part is incorrect as cut? Forget the camera image.
When I set focus it always seems to window box up and to the left , this my prints going down and to the right.
All you have to make sure of, if you are placing something on a small piece of leather, is that the blue Set Focus box lands ON the material, and not off to the side. It will still correct the view nearby. But if the box lands off of the material, it will measure wrong, and introduce much more distortion.
Just make sure the blue box lands on the material. If it doesn’t, use the Set Focus again, and click a little bit lower and to the right to set the point. (The blue box shows up slightly above and to the left because that is where the targeting laser is located in the head relative to where the beam is going to come out. They’re not right on top of each other…it’s a different laser than the one that cuts.)
1 Like
Yes the cut is incorrect
Great. Then the issue is that your part placement is not good, and if you are placing new cuts close to edges and holes your print is ruined. That is annoying for sure, but rules out (very nearly) mechanical issues other than say steppers skipping - but that would likely show up in your part not being cut correctly from time to time.
Edit: I’ll leave it to the camera help you are getting…
1 Like
No matter what the issue is, if you have heavy masking and using the set focus, run the cut as a light score, say 3 power at 500 speed it will mark the masking without going through. then you can use set focus again, look at the image and result and judge the distance and angle from the most extreme off place to the image then move the image to exactly double that distance and vector that you found, and run that score again and the score should be exactly where you had the image the first time. At that point, a bit stronger score should allow you to confirm the location and cut through the masking so you can remove the cut-out masking and do the job. I did this a long time ago when locating the cut exactly was much harder than now, but still use it to remove the masking when I want to engrave but the difference is now under a half-millimeter.
Sometimes I do not believe the results and use set focus several times till I quit getting different results. Regardless of the image If you do not move material or image, the cut will be in the same place.
If you look at the Waterbuck suede that image is right after a print. It’s off, …
Those are from vector files so it should be spot on