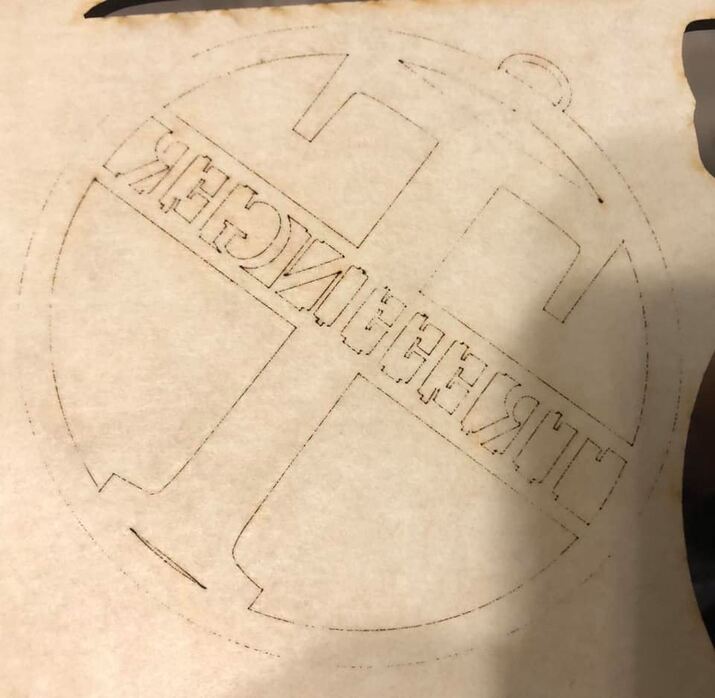
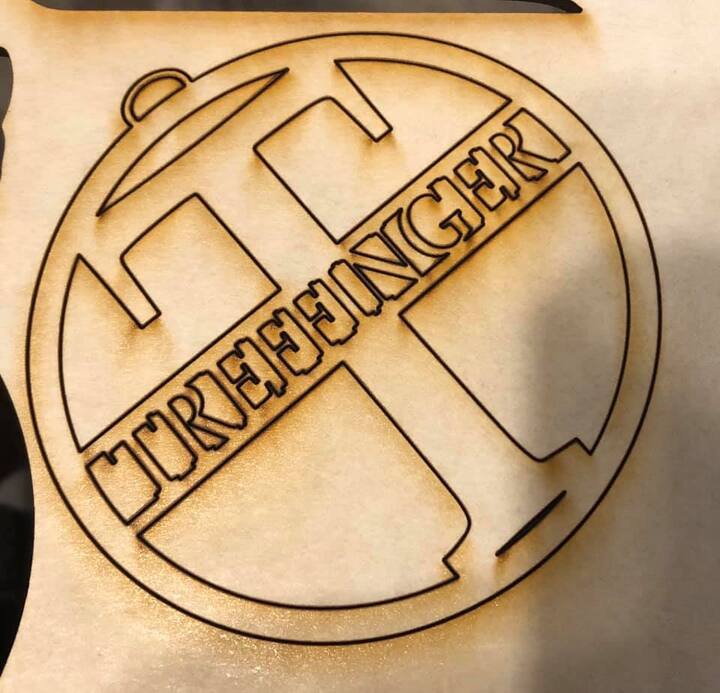
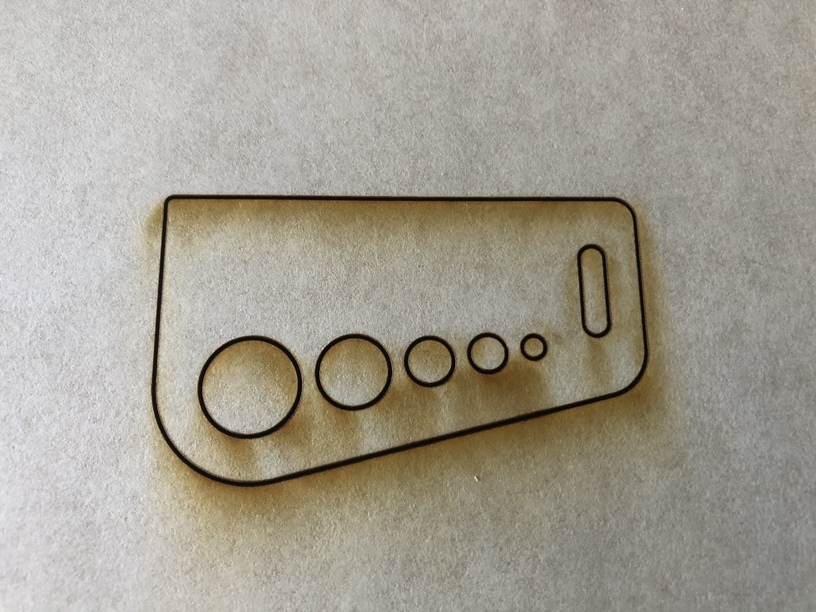
Noooo!! So I started printing a few things tonight and everything started off great! Unfortunately as things went on I started experiencing my first issue. What started off cutting through PG medium draft board with no problem has turned into my Plus now not cutting all the way through. Both of the projects below were done using the medium draft board PG settings. Can someone please help me figure out what changed? I thought maybe things were getting dirty so I followed the online instructions and cleaned the windows on the underside of the print head, the lens, the head window, and the laser window. Unfortunately it didn’t help and is still not cutting through all the way. I was able to “punch them out” and release the projects, but before they just fell out and were definitely cut deeper. Thanks in advance for any and all suggestions.
I’ve never once had a the standard settings work. My suggestion is to slow the cut speed down by 10-20 and save the setting. Keep it at full power! This will as a little to your time but the time is worth the surety that the cut will work. Don’t want to waste material!
I suppose you should also check if your boards are always flat, that your crumbtray is flat, that you have the right material selected. Etc. Good luck!
Could be that your material isn’t flat, even though it may appear to be. Using the honeycomb hold down pins available in the free file section would help with that. But, yeah, practically speaking, I agree with @crkjelstrom. Despite efforts to maintain consistency, changes in humidity, storage conditions, etc., impact the materials.
Agree with all noted by @ChristyM and @crkjelstrom – but draft board is super super messy, and quickly can cause your lenses to get dirty–doesn’t take much to reduce the effective cutting power.
Also check the exhaust fan & vents/filters. It should be direct vented, as it clogs up filters in nothing flat, and even GF does not recommend using draft board with the filter. And reduced exhaust & air intake will also reduce the effectiveness of the unit (may sure the right side of the machine doesn’t have anything up against it or a wayward piece of paper sucked up against the intake holes on the bottom–speaking from experience here!).
Sometimes when you cut out objects it releases stress in the wood and then lifts up the rest of the sheet of material. That can mess up with the default settings. It’s weird. I can cut a bunch of things and then not have something go through. How I deal with this is slow down the cut by five or at least double check that every object has cut through clearly before I move anything. That allows me to run the cuts again in cases like this.
It seems that Glowforge does a very good job of sourcing good Proofgrade material. It works most of the time, but then it doesn’t. Sorry you had this happen to you. I know it seems like it happens often, but with all the thousands of operations, it works most of the time.
I’d love to see percentages of failed prints versus good ones.
I think you should double check that you put the lens back in right side up when you cleaned everything. That can cause woes like this.
Good to know. Thank you for the tips/information. At least its good to know that I’m not the only one to have issues. Thanks again.
I will definitely check the fans. The inside (laser tube and under the glass lid) didn’t appear to be that dirty, but I will certainly check the condition of the fan. Thanks for the help.
Thanks for the help. It began cutting like this before I cleaned the lens. I thought that the lens was possibly dirty and was causing the problems. That is why I decided to pull it and clean it. Once I cleaned it and put it back in, it was doing the exact same thing. Thanks for the reply though. I appreciate your help.
Been there, done that one, too! 
Haha…I haven’t done it yet, but I’m sure I won’t be immune to doing it.
I had my first failed cuts yesterday. With the frequency of reported failed cuts I’m going to speculate there is a variable in the ![]() manufacturing that is going to necessitate a change in settings.
manufacturing that is going to necessitate a change in settings.
I just slow down the speed a bit - and test. Try to lift the cut with a piece of tape without moving the material.
I used the bed pins yesterday, with the crown of the board down - so I know the center of the sheet was in contact with the bed. When I cut them I was surprised to watch tokens in the middle drop 1/8" because the medium Basswood had bowed up. ![]()
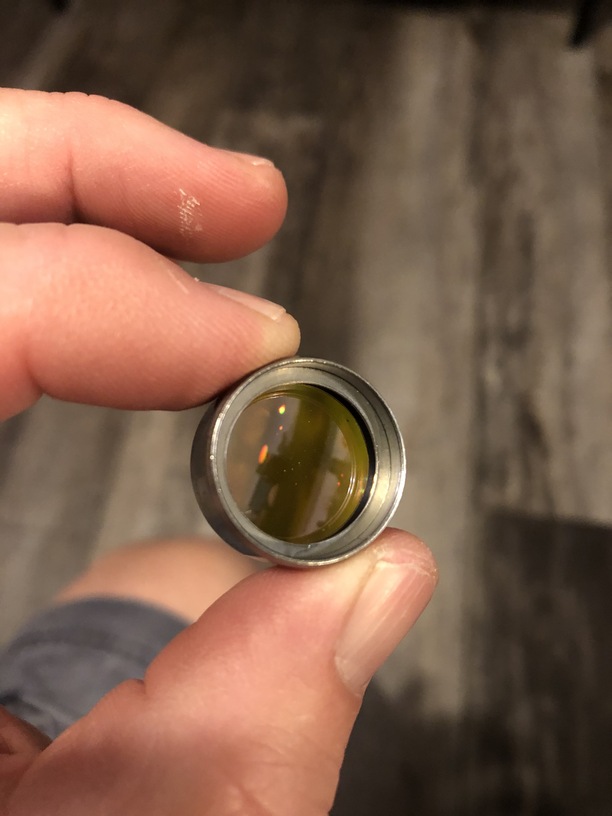
The thickness of those cut lines looks like an upside-down lens to me.
I’m so sorry to hear that you are running into trouble.
Could you please do the following?
- Turn off your Glowforge, then turn it back on
- We included an extra piece of Proofgrade Draftboard with your materials shipment for troubleshooting. Place Proofgrade Draftboard in the bed and load the Gift of Good Measure design.
- Set the score and engrave steps to ‘ignore.’ Print the Gift of Good measure using the default settings. Allow the print to finish.
- When the print finishes, leave the lid closed and wait until the fans stop and the picture of the bed updates.
- Check the completed print:
-
- If the Gift of Good Measure fails to cut, please let us know the date and time of the print
- If the Gift of Good Measure cuts successfully, please try another print of the design you saw the issue with, and let us know the results.
- If the issue still occurs, please let us know the date and time of the finished print.
Also, please follow the instructions in the Things that need wiping section of the cleaning instructions to double check that the lens was inserted correctly.
When you pull it out using the lens tool, the open side should be facing out so it looks like a bowl on top of the tool.
If the lens was inserted correctly, please let me know and I’ll provide instructions on how we can proceed.
Nope. Checked and double checked. The lens is definitely installed properly.
Hello Marc,
Thank you for the response and for the assistance. I have triple checked the lens following the directions and it is installed correctly. I have also wiped down the lens and the mirrors using the Zeiss wipes as directed. I will attempt to cut the Gift of Good Measure tomorrow morning and will update you with my progress. Thanks again for your assistance.
Ken
Hello Marc,
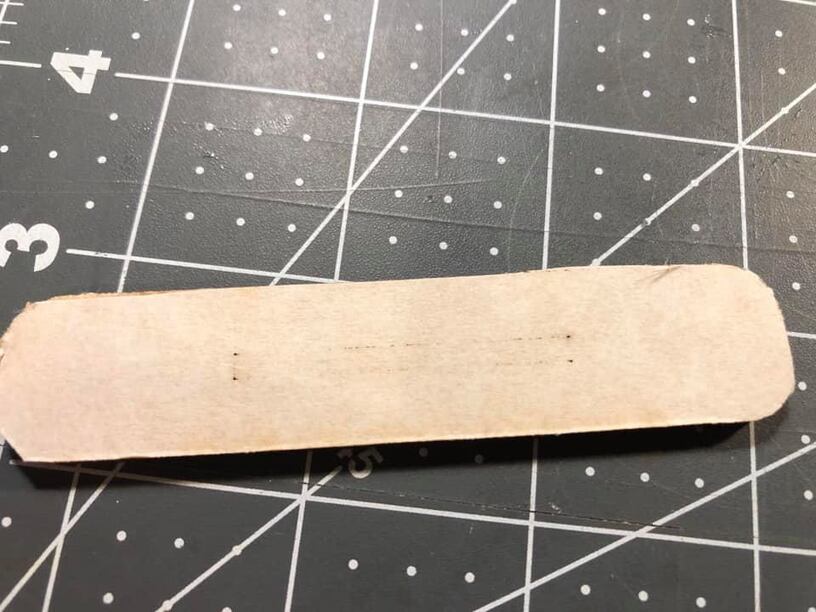
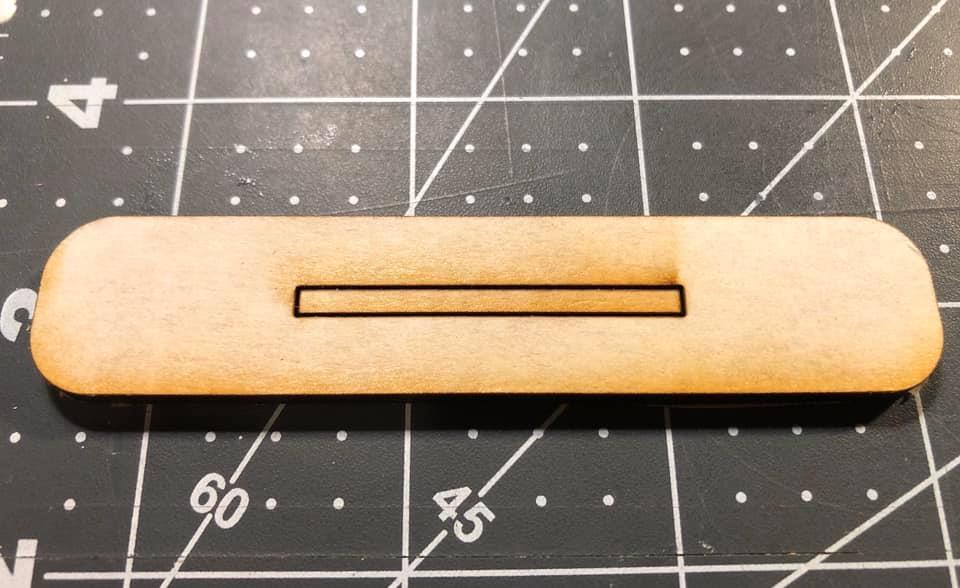
I have followed your steps outlined above and the Gift of Good Measure once again failed to print. The date and time of the print are November 12, 2019 at 9:31 AM EST.
I have attached the following pictures so you can see the results of the print.
Please let me know what the next step is.
Thank you.
Ken
Is your tray properly seated?
Thank you for sending over the images of the front and back of the print.
would like to check over just a few more things. Could you do the following for me?
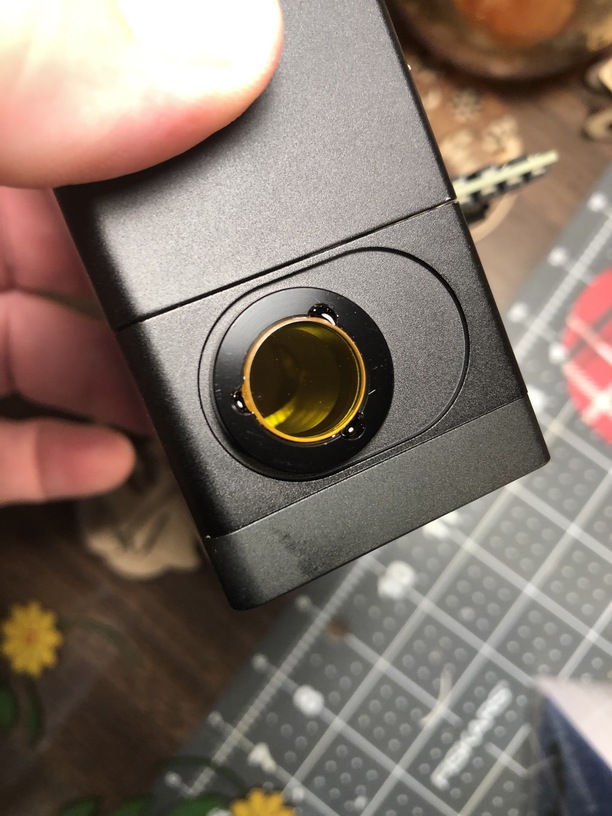
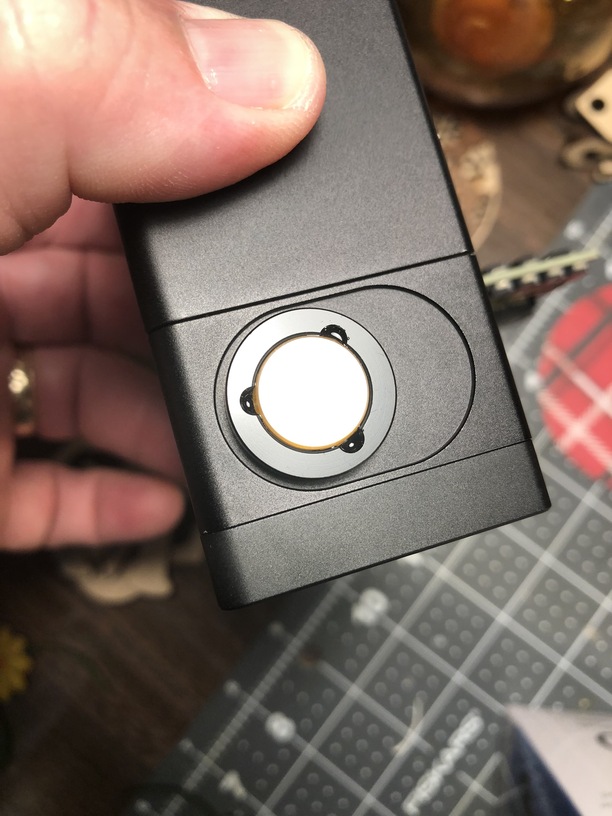
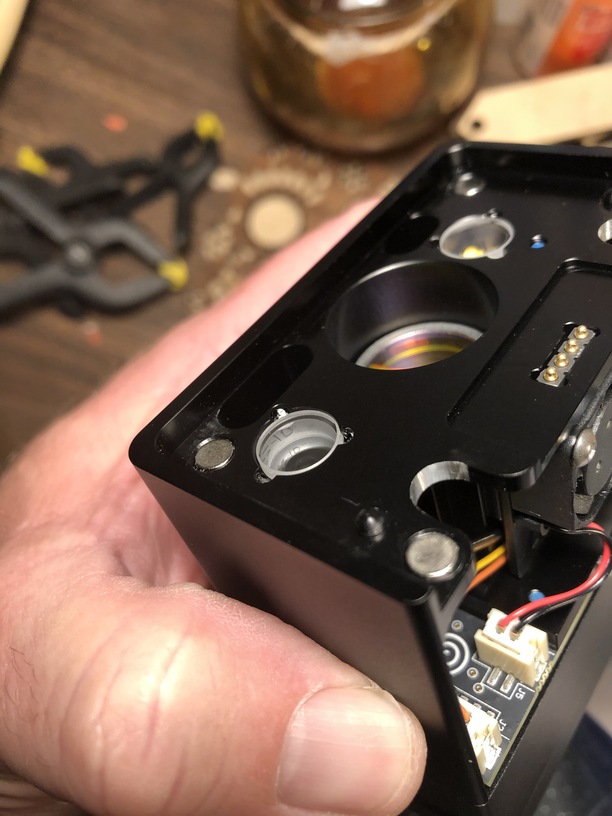
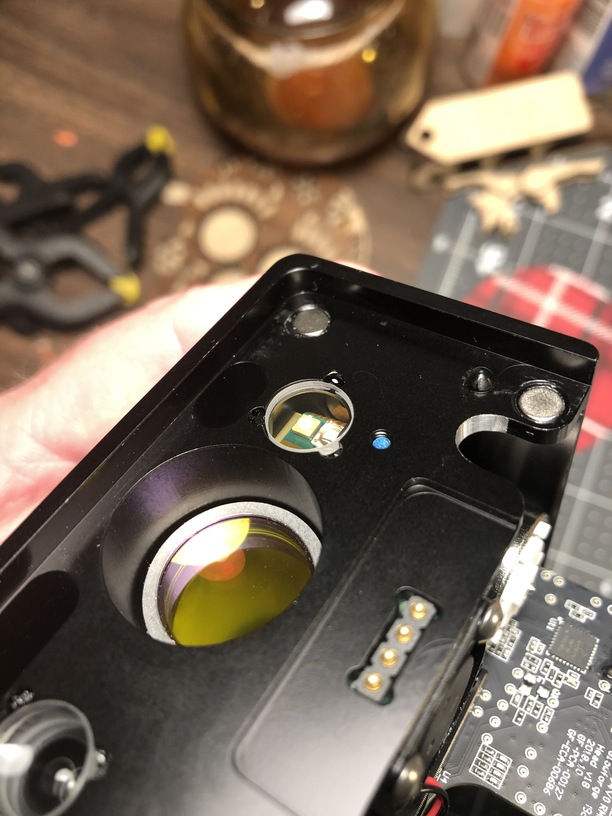
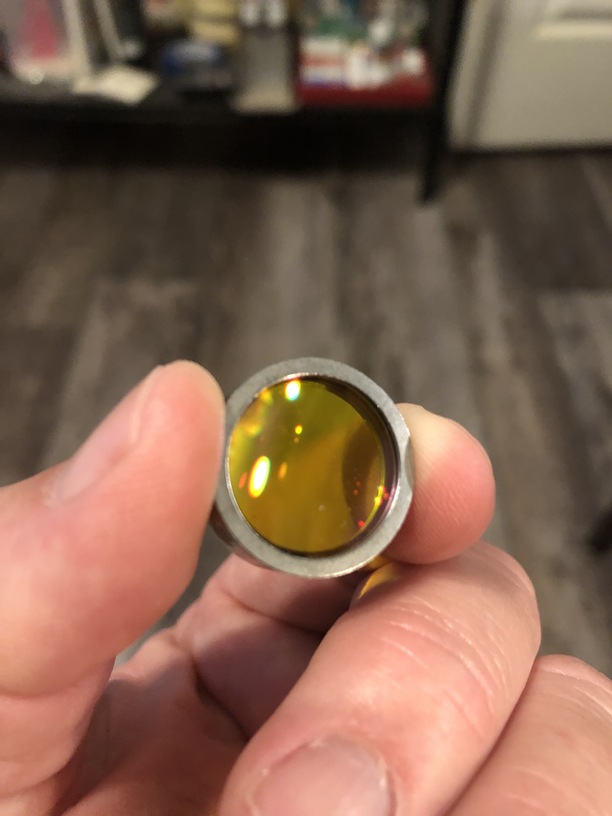
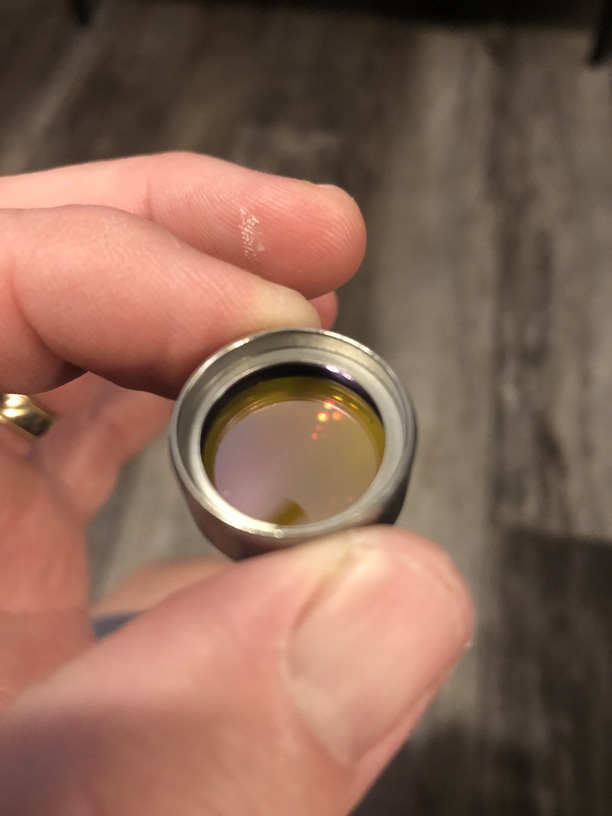
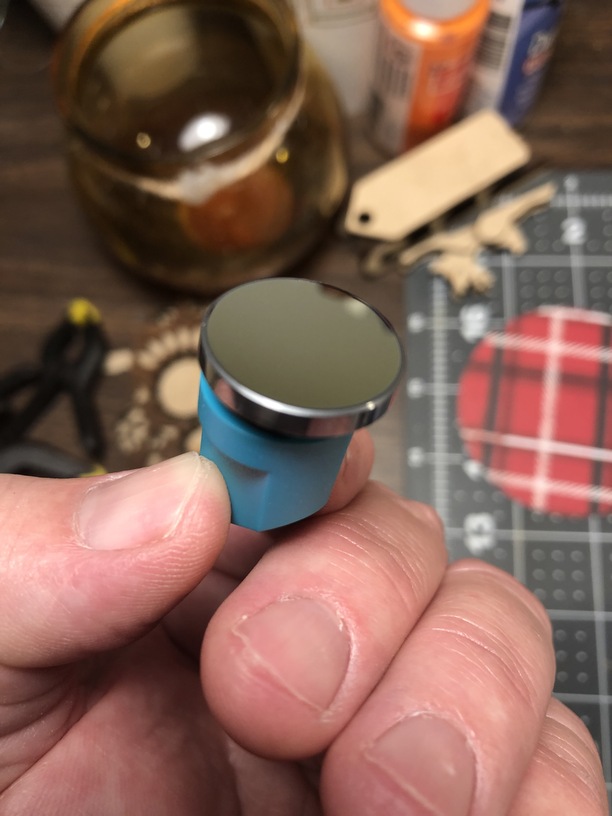
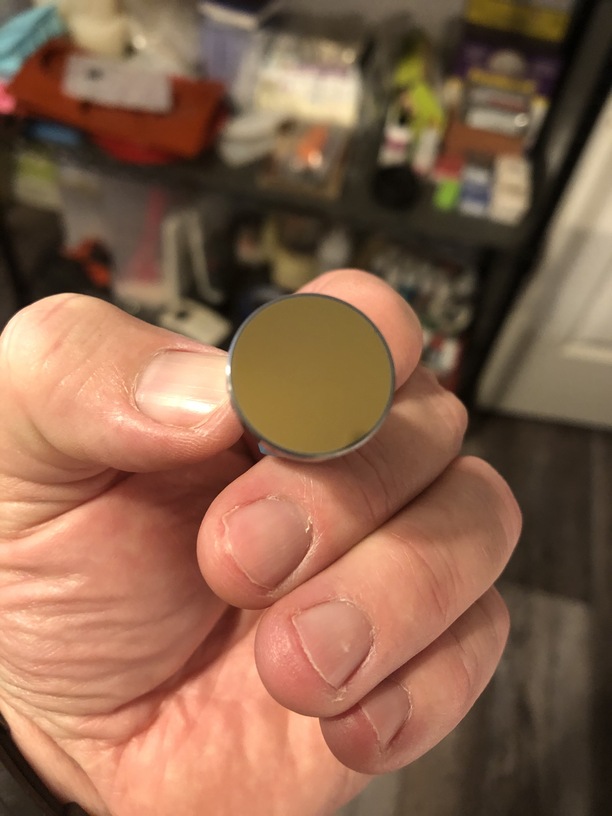
Please send photos of all your cleaned optical components, with special attention to any damage you might find:
- Both windows
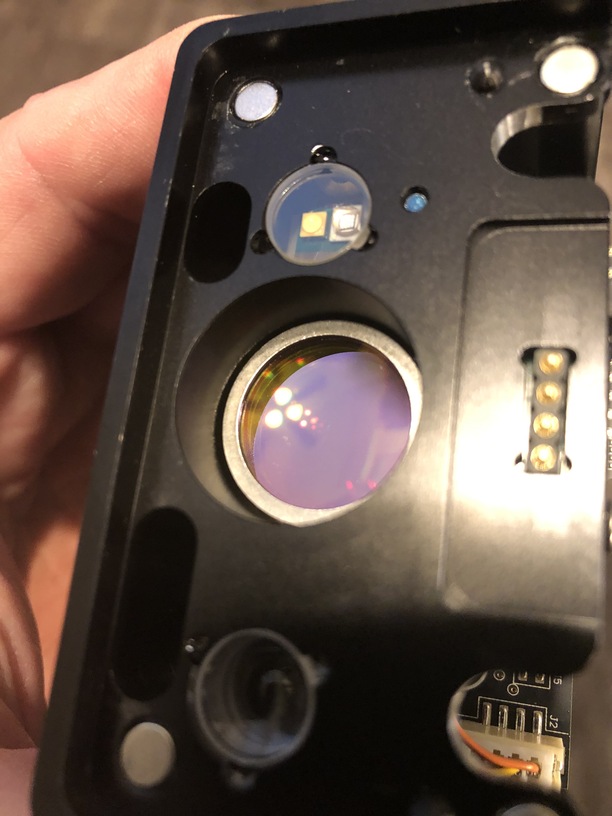
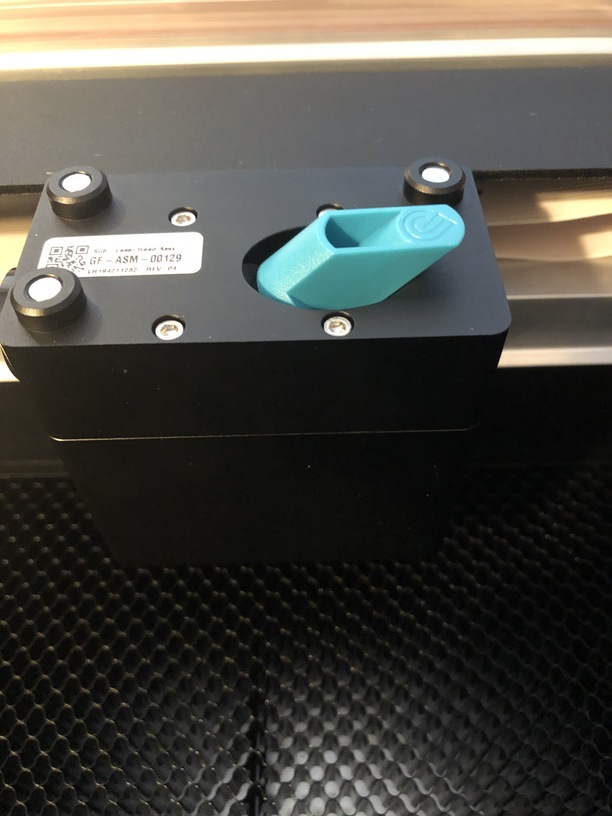
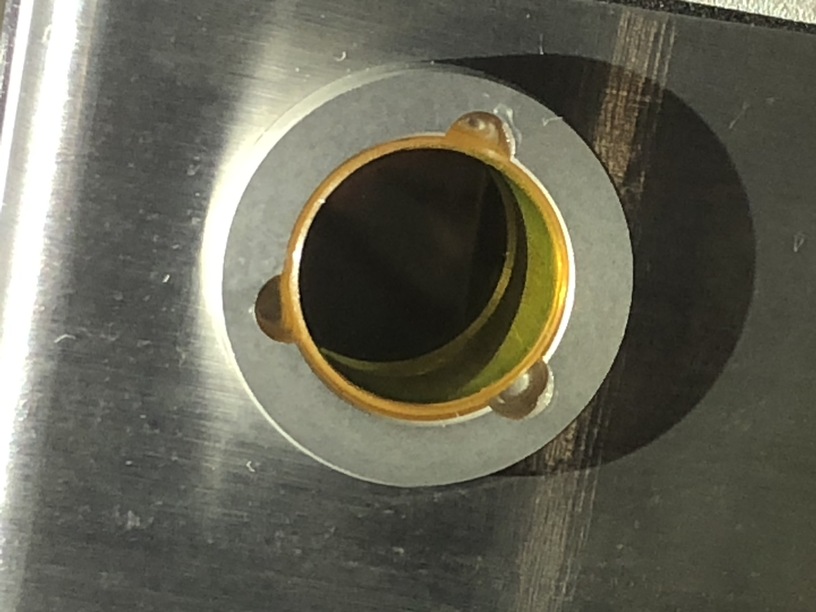
- The printer head window, on the left hand side of the printer head

- The laser window on the inside left of the Glowforge

- The printer head window, on the left hand side of the printer head
- The printer head lens
- Both sides of the lens, top and bottom

- Both sides of the lens, top and bottom
- The mirror inside the printer head

- The bottom of the printer head

Once we have those pictures, we’ll follow up with next steps.
Hello Marc,
Here are the requested pictures. Also, just so you are aware, this morning I lowered the speed in the PG settings for the PG Medium Draftboard to 165 and it cut all the way through. The speed was the only thing I changed. I left all other PG settings alone except for the speed. Not sure if this might shed some light on what’s happening. Thanks again for the help.