Practical cuts

A custom socket cover.

18 Likes

Reminds me a little of Marvin the Martian.

9 Likes

I never have enough place for stuff .

5 Likes

To quote George Carlin. “Stuff expands to fill the space available.”

7 Likes

Carlin was an optimist. It usually expands far beyond the space available.

11 Likes

You can see where I used a lot of these…

This would qualify as well.

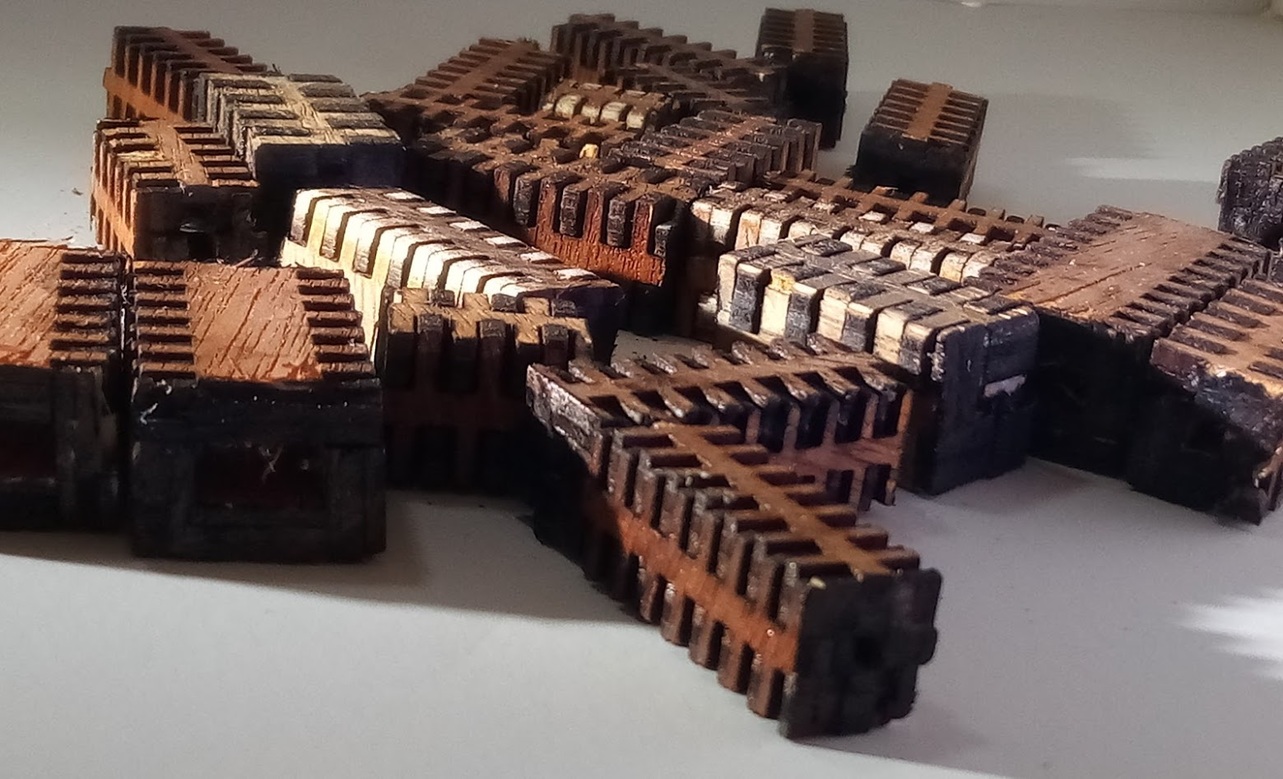
And every magic fingers box has magic fingered scrap that makes very strong magic fingered angles that have a lot of uses.
1535886401871718006590

Also beads…
baeds

8 Likes

my_photo-3

So I’m not entirely sure this counts as practical :neutral_face:. It’s a frame about 4x3" that fits on the lid/screen of the laptop I got for the micromakerspace. Right in front of the webcam. So if you have something that won’t trace well you can take a picture and then play with it in editing software. If we could get images back from the gfui, this wouldn’t be needed. (and it probably isn’t needed anyway, but with Festi boxes it took almost no time to design and cut)

And yes, the laptop has a top bezel that big. It’s surplus.

7 Likes

Looks practical to me! I’m always taking pics with my phone and immediately transferring them to the laptop.

1 Like

Nothing exciting, but it serves a purpose. If I use non-dremel filament in my 3D printer, I use the TUSH (The Ultimate Spool Holder) from Thingiverse.
Problem is, this tends to slide across the desk as filament is pulled into the printer. I made a mount to hold the TUSH bearings from some scrap draftboard, and put rubber feet on the bottom. Latest print, no movement across the desk. Problem solved.


Notice how the filament is almost perfectly, satisfyingly, wound on this spool.

24 Likes

What kind of kerf compensation did you use for these? Did you have to glue them?

Every spool I have “springs” apart if I don’t leave a rubber band on it. That means there is always some resistance to it as it feeds. My SD has a rod across the back for hanging spools, but I do have to keep an eye on it which is a pain…

1 Like

I needed a strong work table to put my saw on and had several 18" square tiles. I forgot that the fingers lose a bit when put together but in making a bit of a hang out that did not improve the look but did make it stronger.

12 Likes

Started making these so I can remember what each switch is setup to do on any particular plane.
Perhaps they will get more artful with time but for now they are fully useful.

The backing is cut from foam board and then the graphics are print-and-cut on a polyester mailing label. If the foam board doesn’t hold up I’ll go to Draftboard.

13 Likes

My spice cabinet was looking pretty awful. It is one of those cabinets that has a lot of blind space inside of it that is difficult to access from the door, and there were a lot of spices shoved far back into that no man’s land.

So I started to think about a modular system of bins that could slide easily left-to-right and could be pulled out of the door of the spice cabinet and placed on the counter to be able to pull out the entire spice collection. I measured the doorway with wiggle margin. I was looking for a bin of 7.5 inches wide and 10.5 inches deep, or shallower.

Now, I hate shopping. I hate it with a passion. There was nothing I was less excited about than going to various bin container stores and trying to find just the right sized bins. Until I remembered that I had a Glowforge. This isn’t the thing I normally use my laser for. I normally use it for more decorative and artistic endeavors, but hey, duty calls!

So I went over to the Tray Generator and fired it up and plugged in my dimensions and out popped an SVG file that I later cleaned up and color coded in Inkscape.

Then, tonight, myself, the Glowforge, some packing tape, and a few panels of cardboard from some shipping boxes got busy.

It does what I wanted it to and can fit cleanly in the doorway of the spice cabinet!

And now my spice cabinet looks SO much better!

Now to tackle the tea, coffee, and hot cocoa shelf below the spices and the blender shelf above the spices!

Should you happen to have a spice cabinet of similar dimension, or any other use for this cut file, I’m providing the SVG for you. It was made to work with generic shipping box corrugated cardboard. It isn’t a tight fit so you will need packing tape to hold the panels on. But it does the job, and that is all that matters, practically.

SpiceCabinetTray

17 Likes

My second ankle surgery is coming up, and I learned the hard way last time that I need easier access to craft stuff to help me cope with the weeks it takes before I can get around well, so I’m squeezing a mini craft area into the bedroom next to my side of the bed. Since my Glowforge won’t fit there, it’s going to be a Cricut craft area. Today I worked on paper storage, and turned out a printer stand and some wall pockets.

24 Likes

Very nice! I really like the open grille.

2 Likes

You are so organized and I especially like the space under your printer. :heart_eyes:

3 Likes

Only in that one little corner. Oh, and a small 4-foot area downstairs. :stuck_out_tongue_winking_eye: But it’s a start!

3 Likes

I didn’t want to use a bunch of material on them, so they’re broken down into edge pieces that assemble into the larger rectangles. The slats were another means to material conservation, but I really like the look, too! :slight_smile:

2 Likes

Grab a shoe shelve from Home Depot ($13) and put your cricut on top with a shelf & the tabletop for larger pieces of material you want to stay flat. I did that for the Cricut station at the Makerspace to prevent the sheets from all ending up bent out of shape (including those plastic bottom sheets you stick lightweight stock to in order to cut).

1 Like