Wonderful!
Very little waste. Only limited by ones imagination.
Wonderful!
Very little waste. Only limited by ones imagination.
I love this
BEE-utiful box!
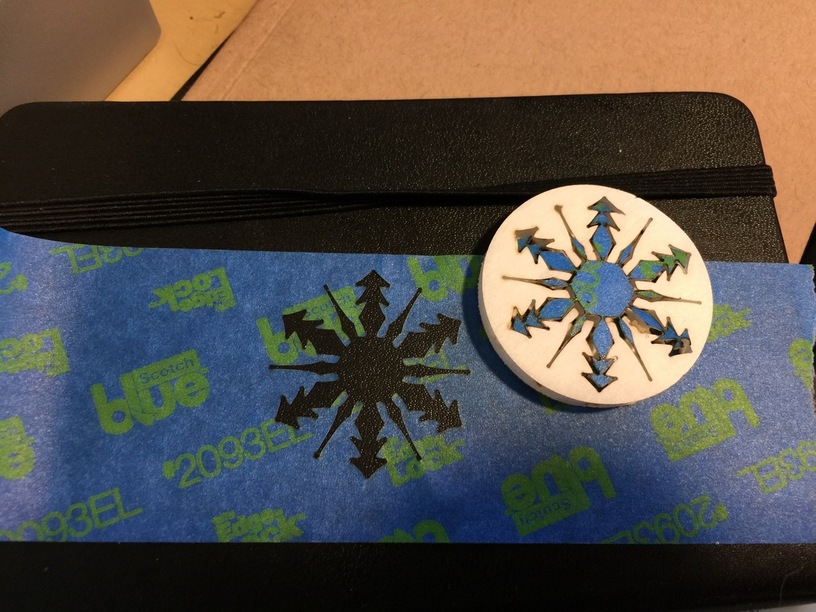
Cheap glass from a dollar store picture frame.
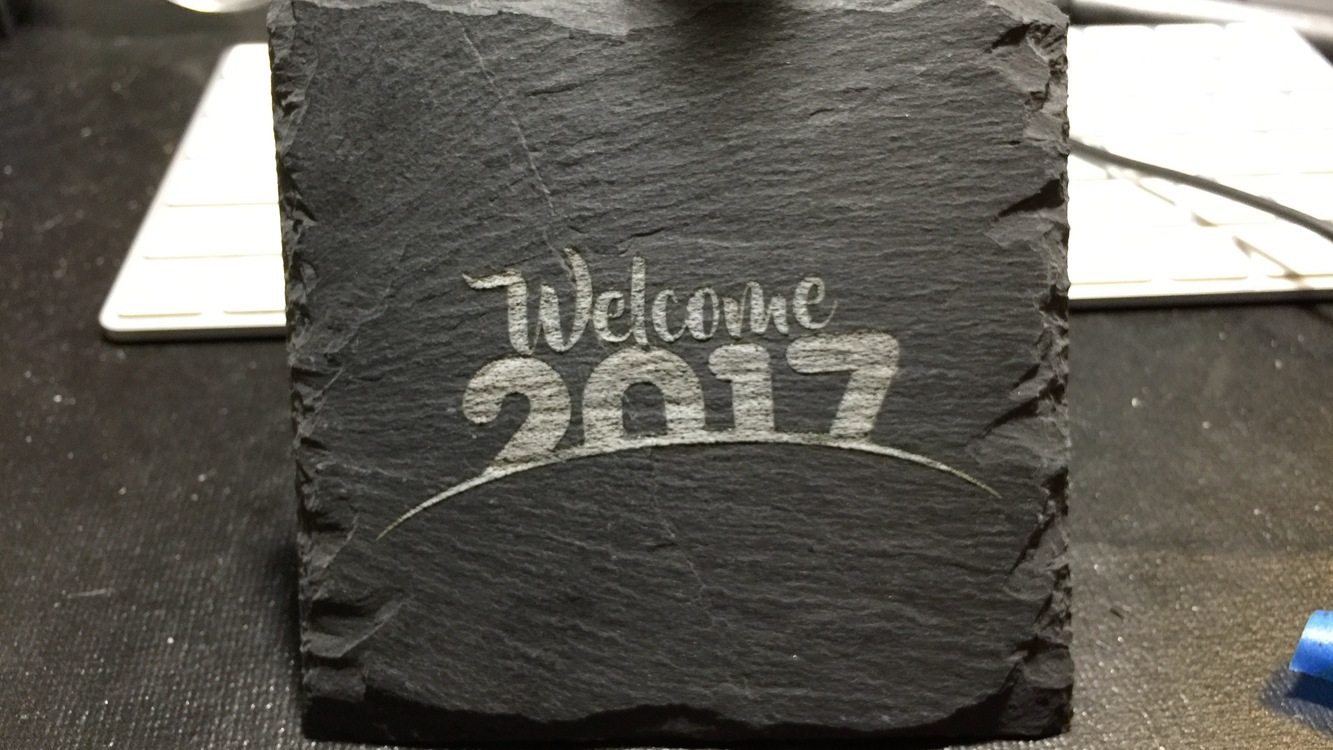
Slate coaster (also from the dollar store)
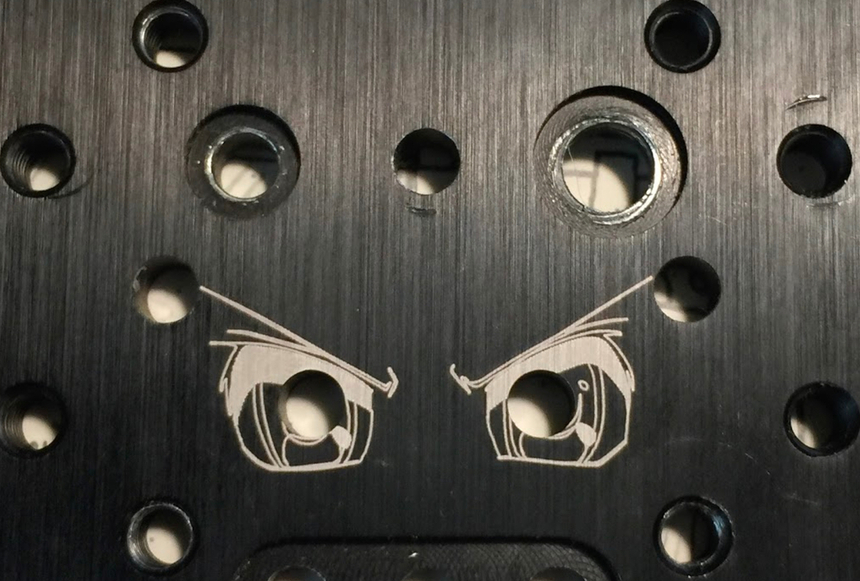
Anodized Aluminum (targeting tests)
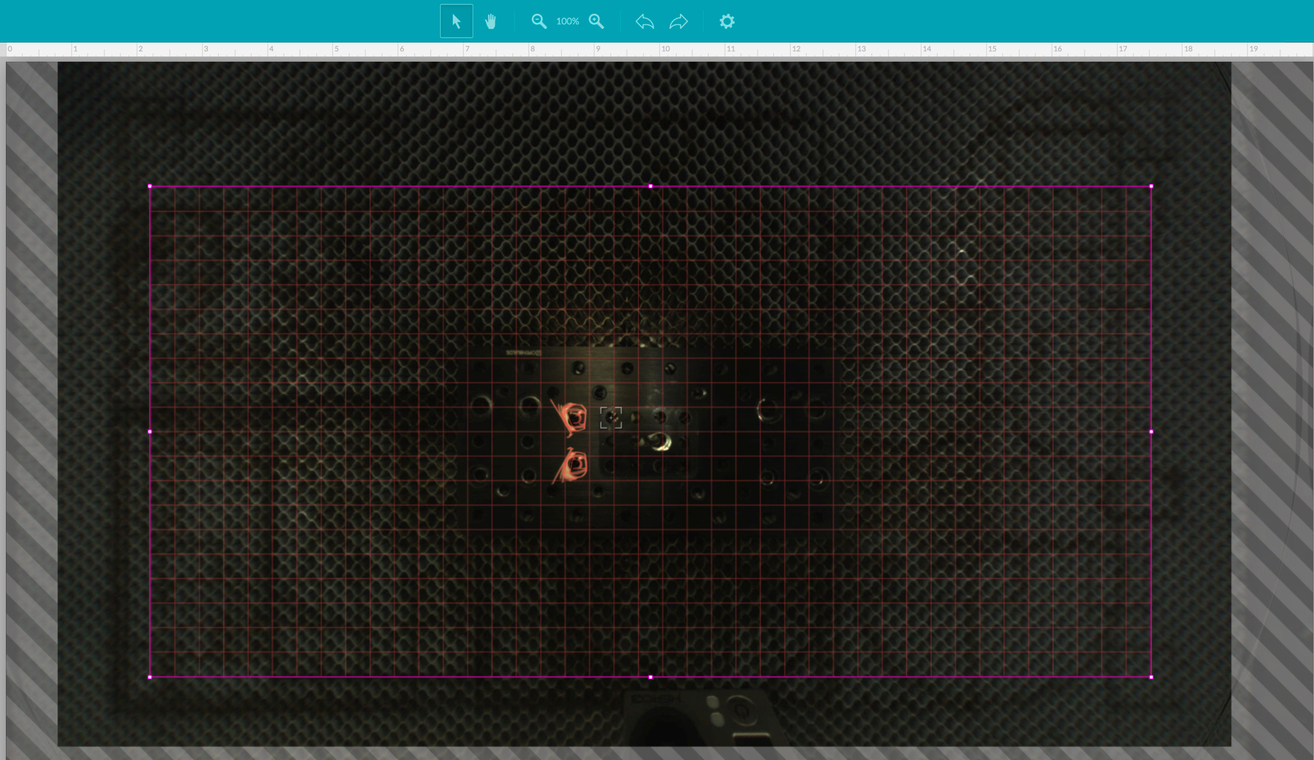
I made a grid in Illustrator and exported it as a SVG. But I would prefer either dragable guides or a ‘dimmed’ grid that lines up with the guides already in the UI.
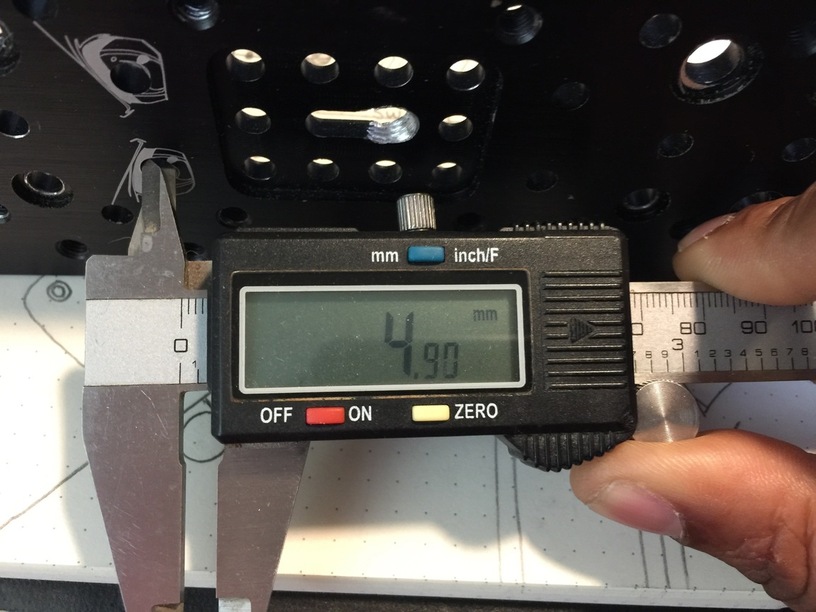
Foam Board (Dollar store - Test fit for a mount I was working on)
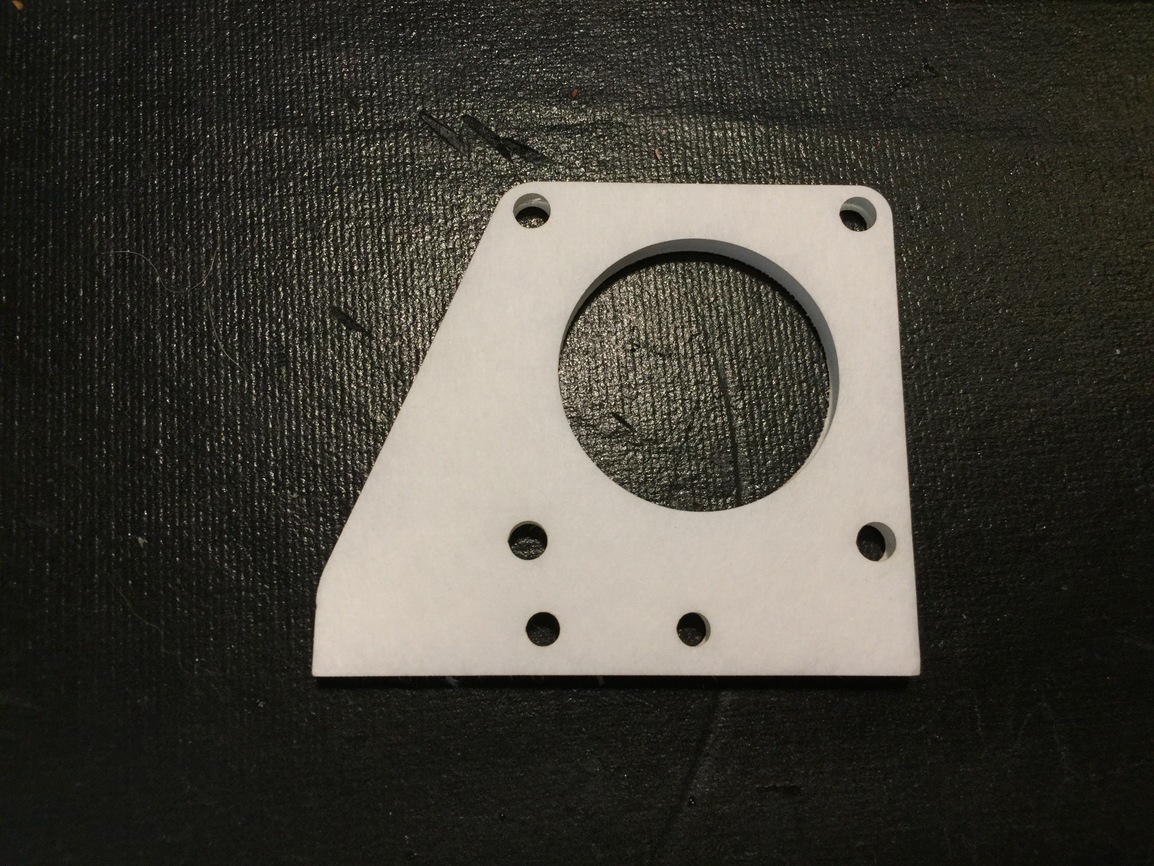
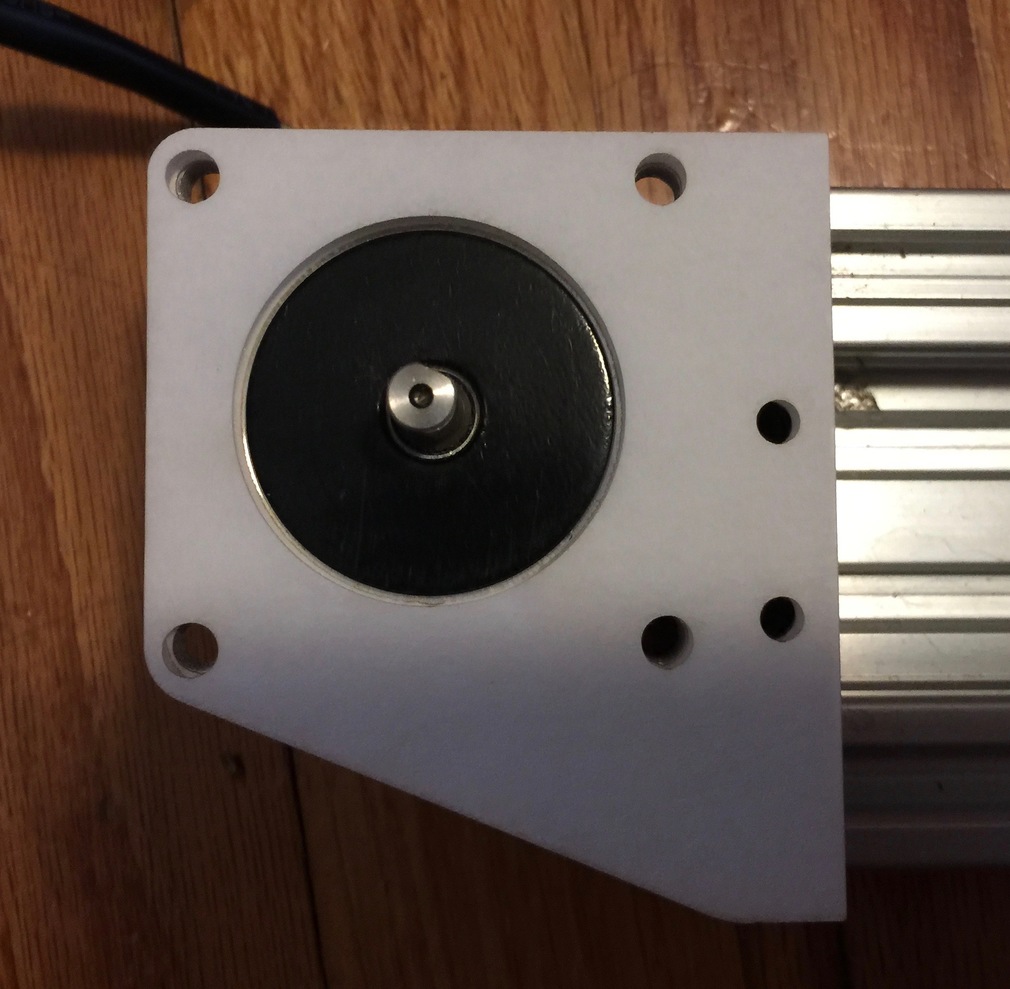
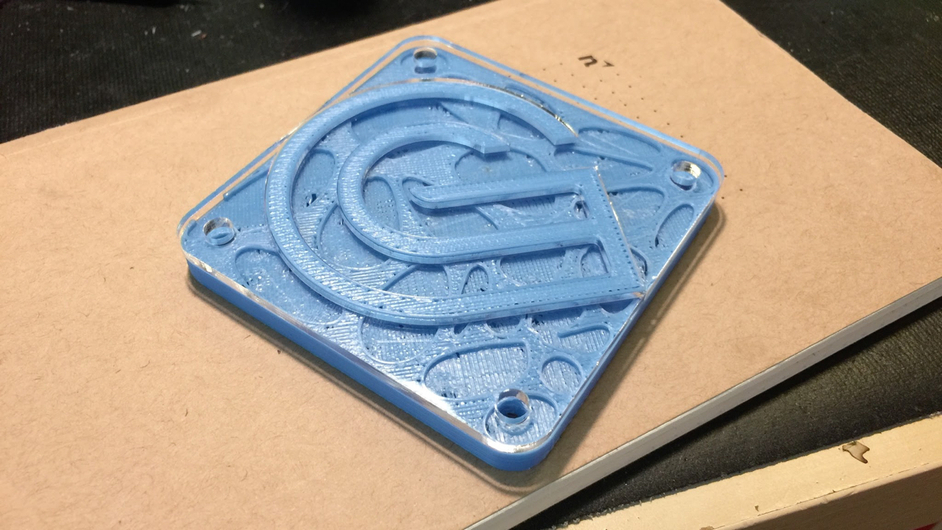
3D Printing part (test fit)
Random Dept.
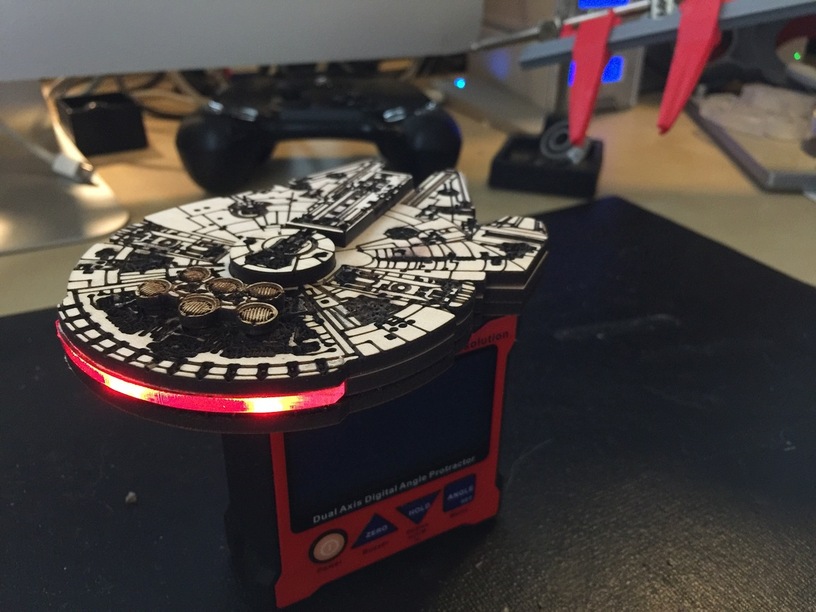
Yes. The LEDs should be blue. I only had red ones in my parts tray.
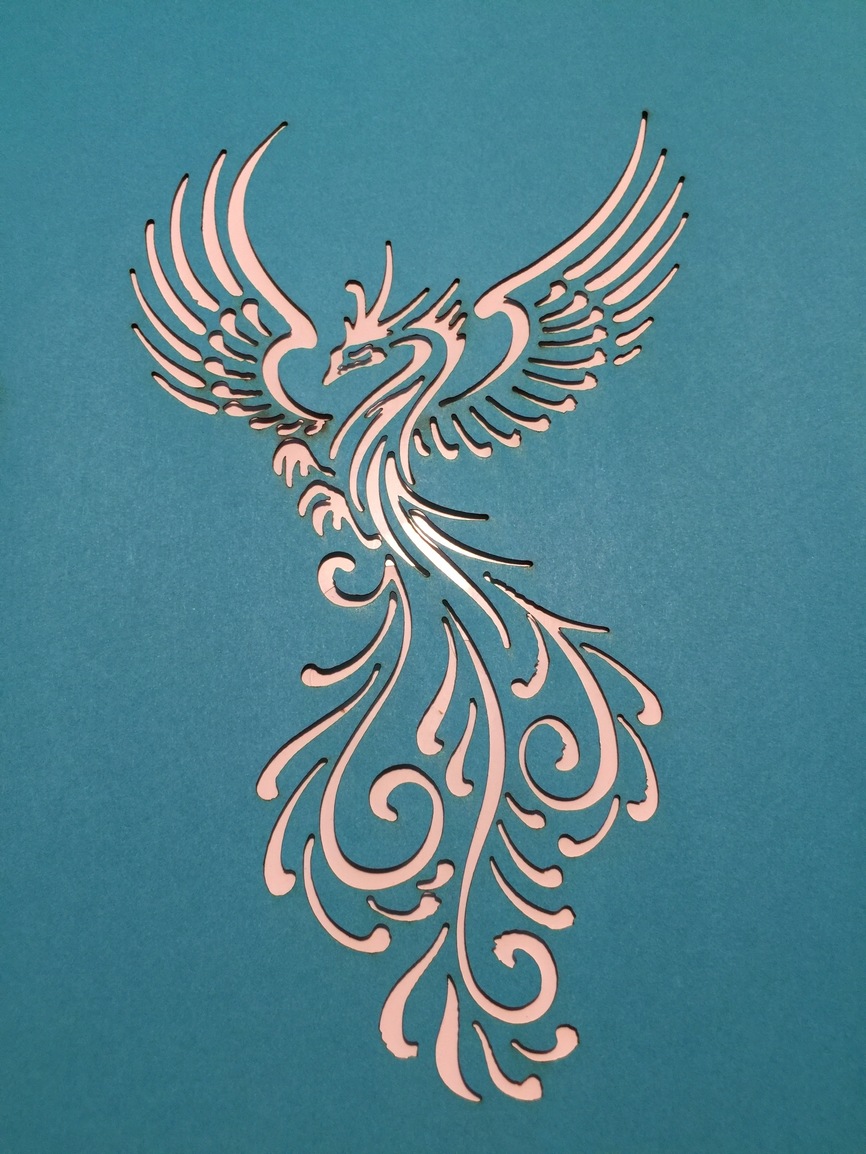
Airbrush template (Cardstock)
You’re making me drool… 
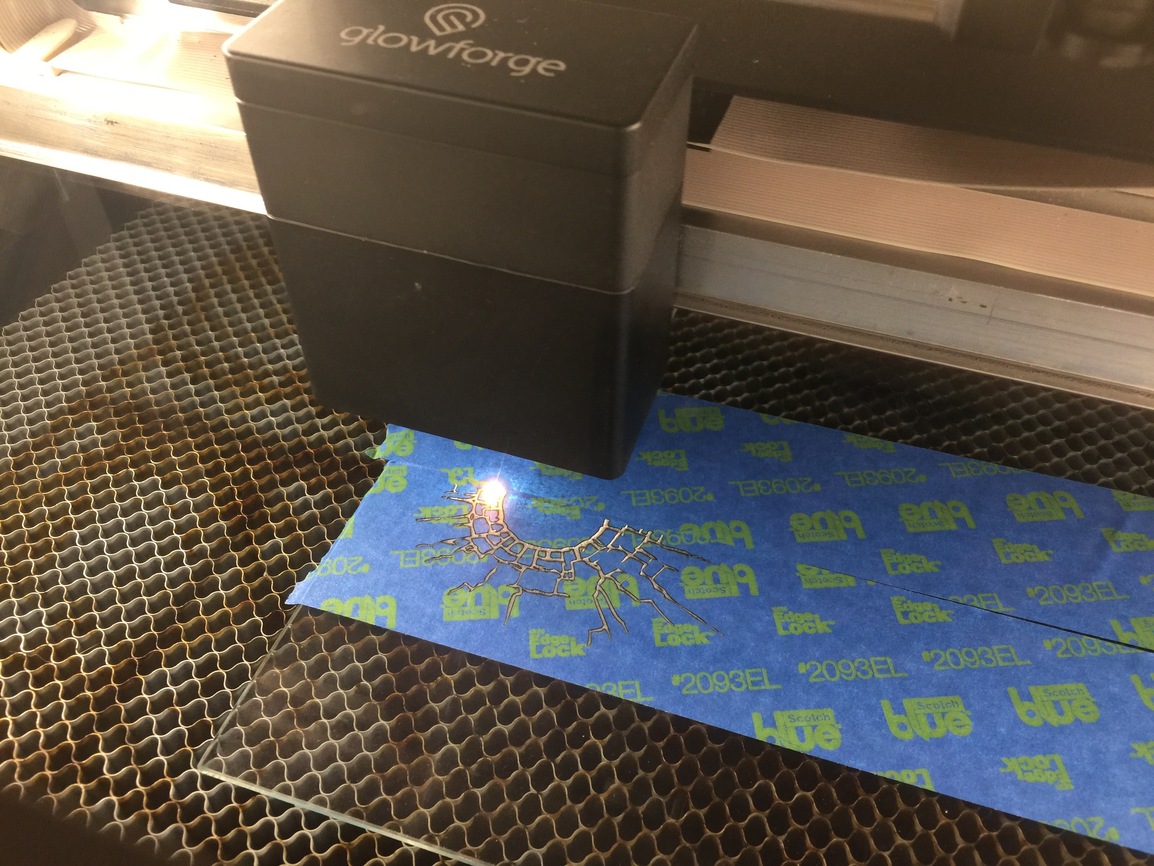
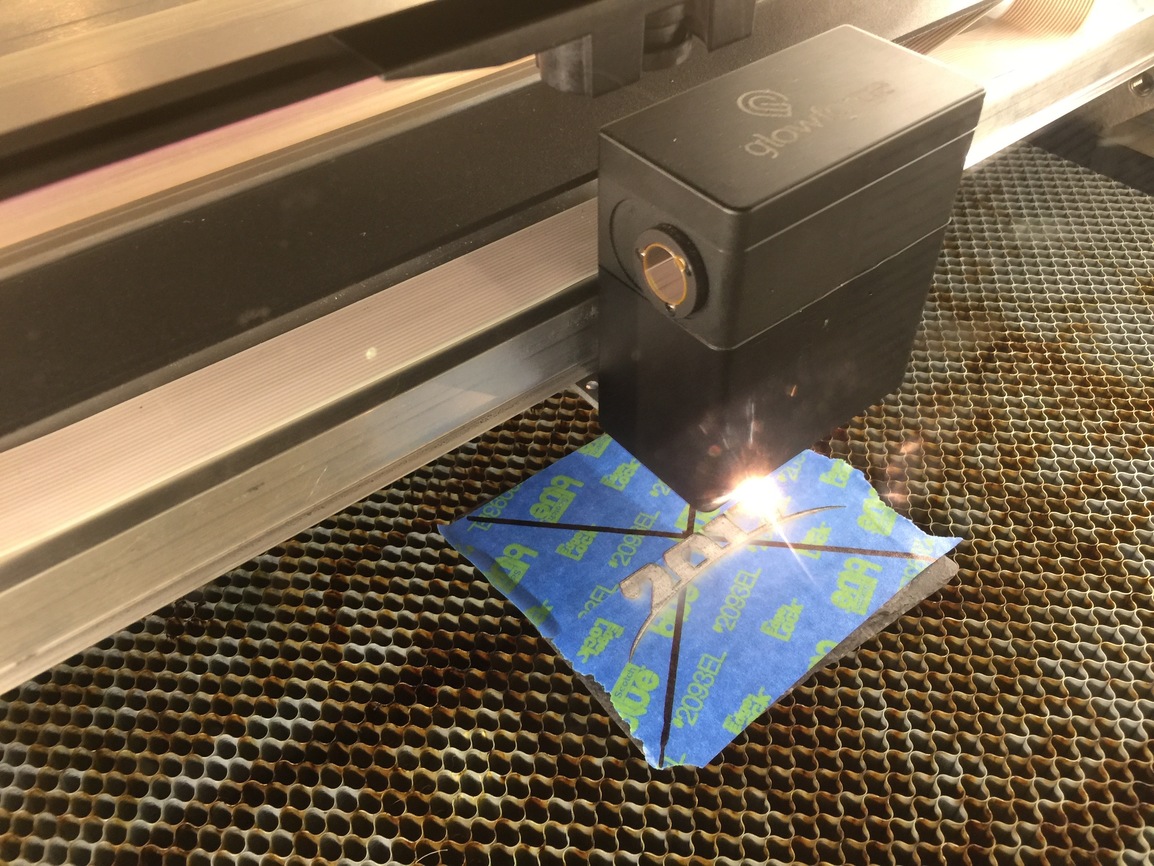
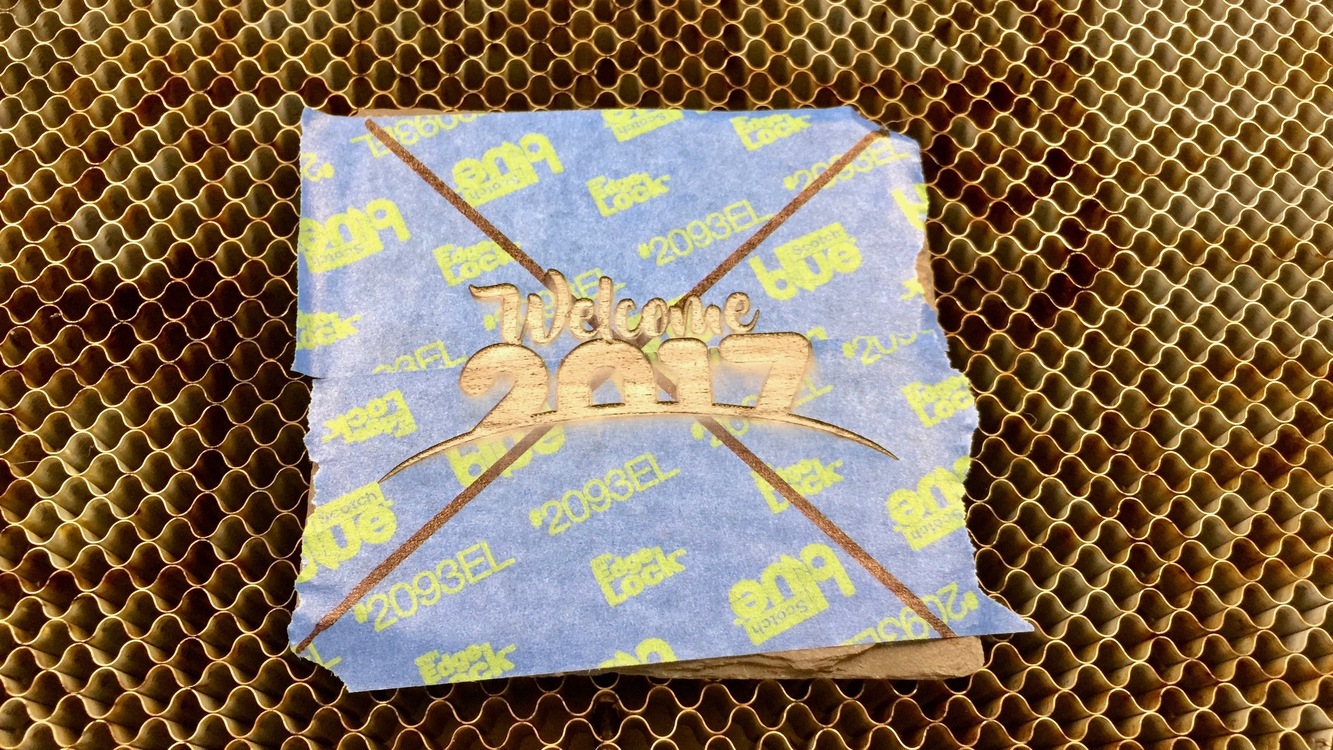
Oh and in the bloopers dept. but on second thought this could be useful dept.
In my initial tests with foamboard I was super duper uber conservative on the power and discovered that the tape ‘by product’ could used as airbrush templates also.
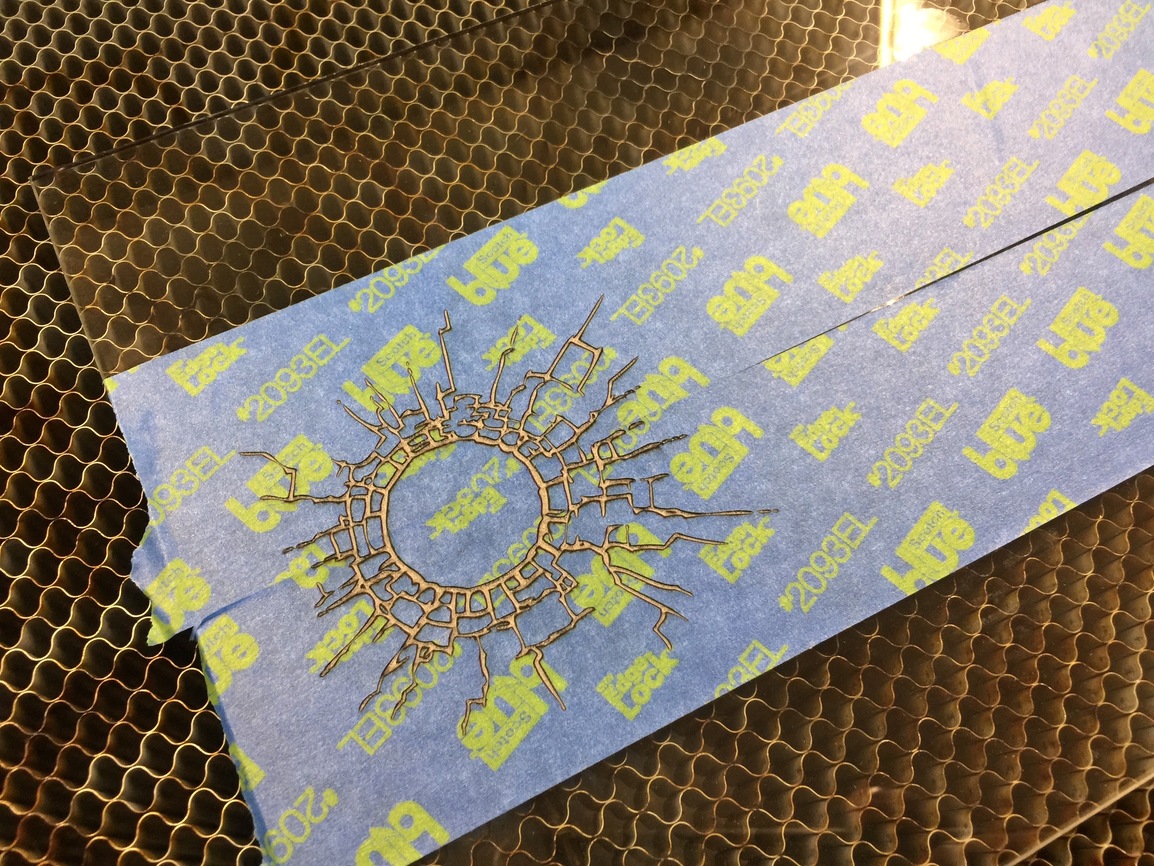
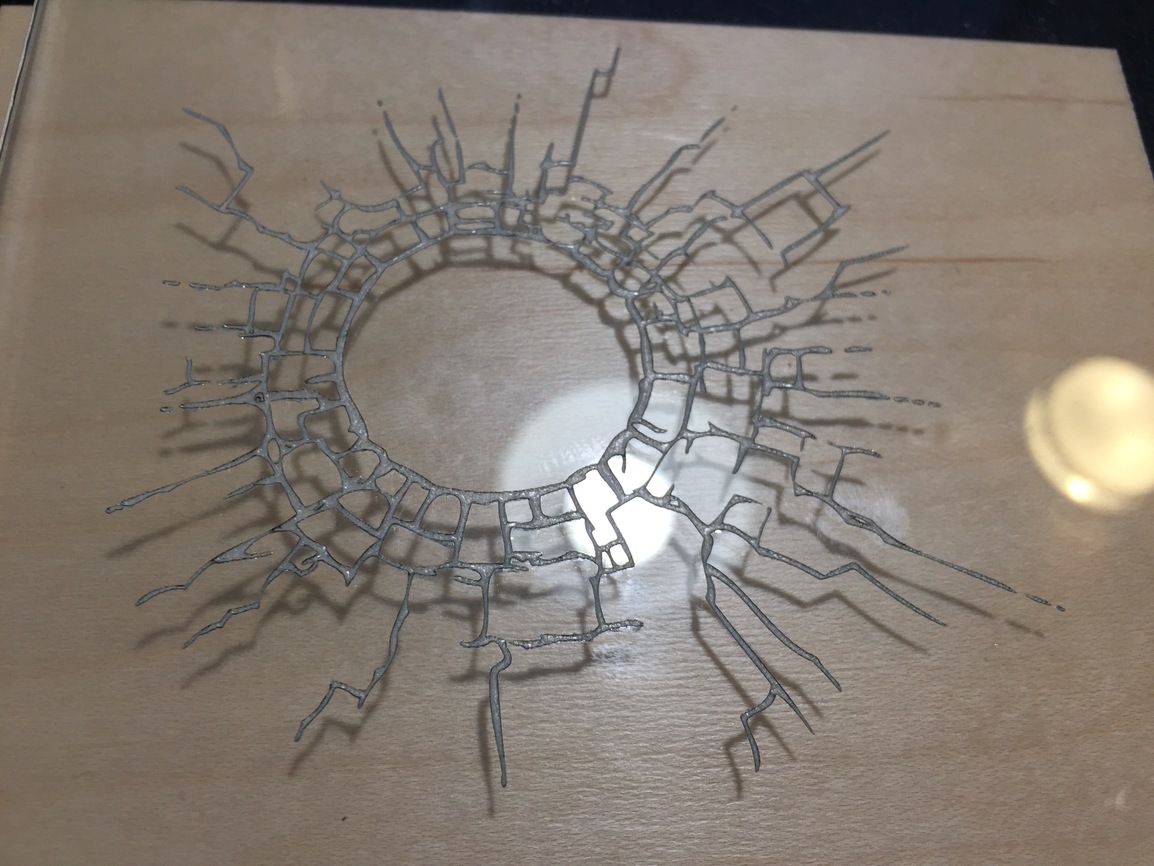
The glass stuff is very cool. It looks way, way better than I expected - any difference after it’s cleaned / washed up?
That is absolutely beautiful. Both of you are so talented. 
The last image was taken after I wiped it with windex and a microfiber.
superlative.
Oh man, that glass one just made my day. Very awesome.
Oh man, where did you get the plans for that millennium falcon design? I love that
Gorgeous box!
Holy heck! It’s like you’re reading my mind with testing materials! LOVE the $ store testing!
Ok…you are making me want to go check the front porch JUST in case the GF Fairy came by. Ha
Great choice of design for the glass, a bullet hole in glass - etched on glass.
Fantastic work!!!
Excellent work!!! From your examples, I can see that MY PLAN TO TAKE OVER THE WORLD with exquisite laser made gifts will be a cinch! I only need my own Glowforge LASER, and the world will be mine. HaHA! PEW! PEW!
–actually my mind is already racing with thoughts about how to make all kinds of cool stuff. Your pictures are such a great inspiration. Thank you.
I guess I should mention what I have the glowforge sitting on.
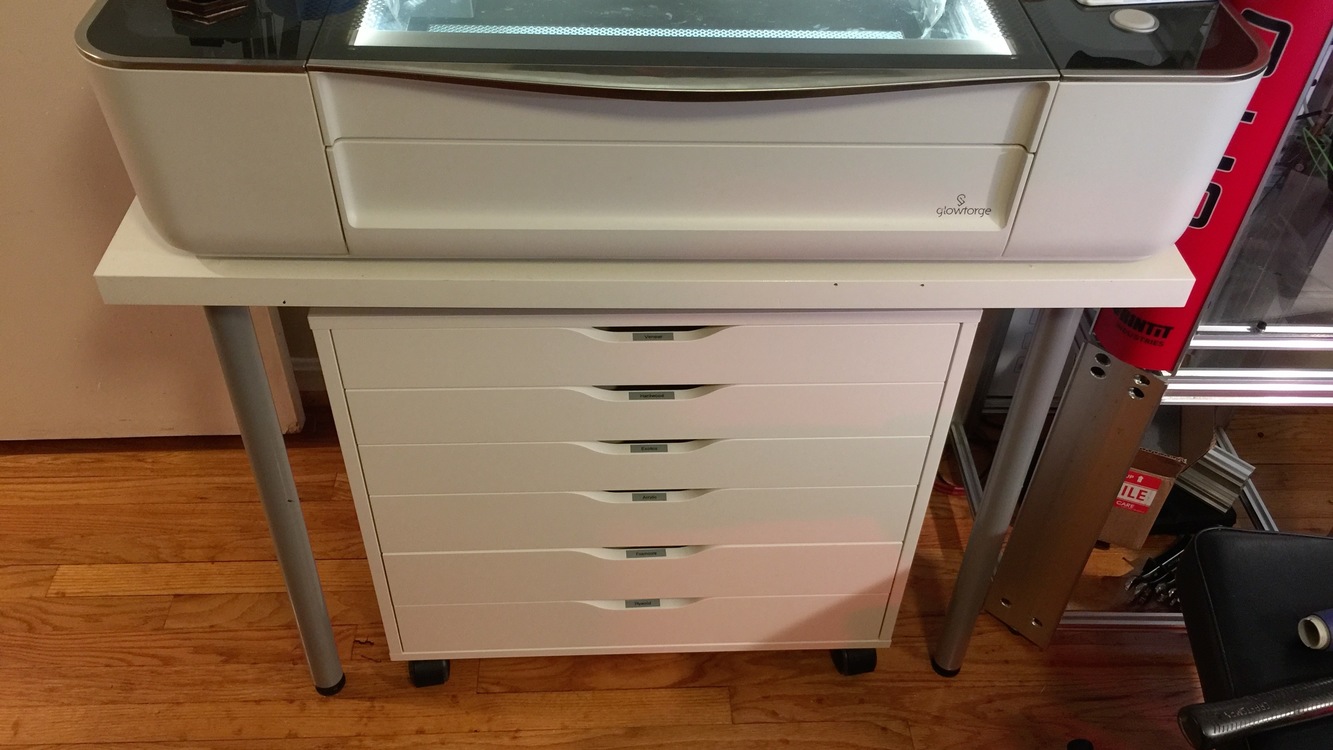
Table top
Legs (Qty 4)
Storage system
And two of these on the Glowforge on the left.
One has sharpies, two metal rulers, carpenter pencils. The other has magnets, utility knife and microfiber cloth for the lid.
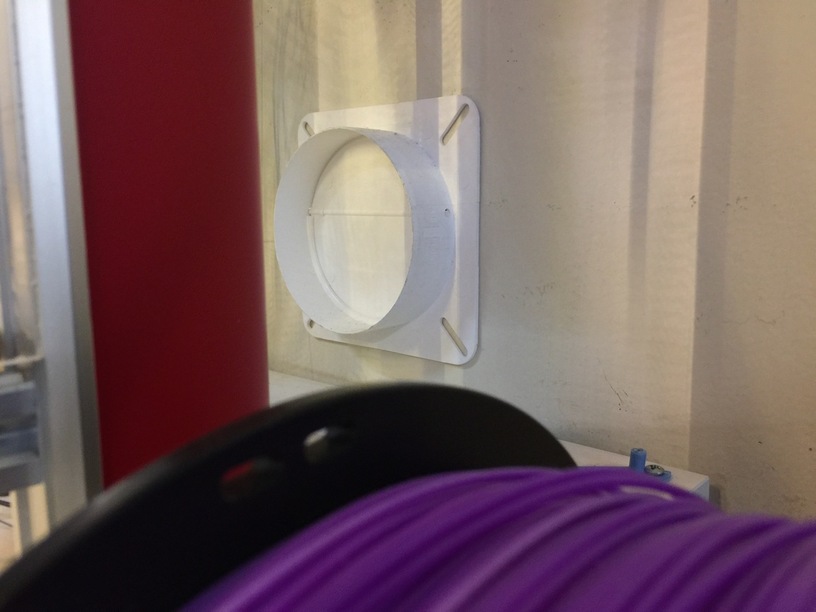
As for the exhaust. I have two gravity type blast doors. One directly on the inlet (where the 'forge connects too) and the other is right after the booster.
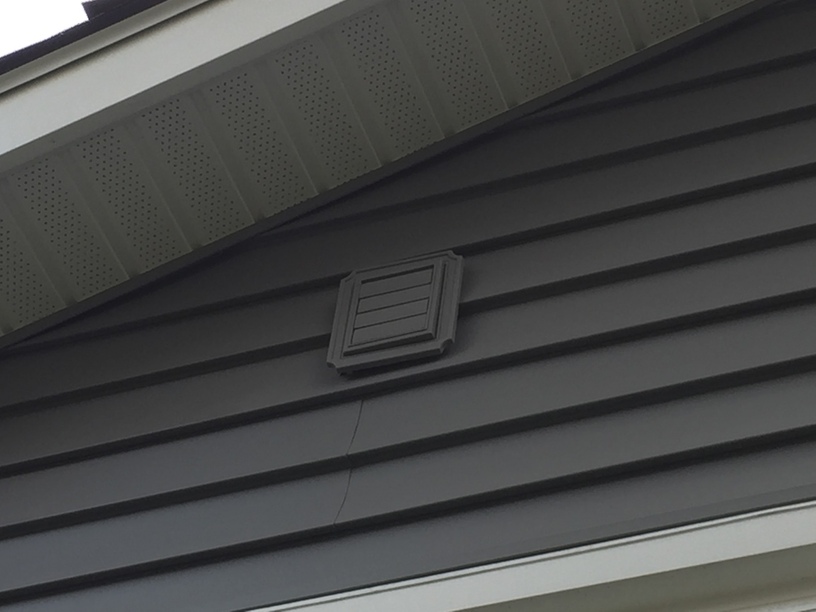
Directly behind that (the inlet for the 'forge) I have PVC pipe (4" ID) going into up to the crawl space. Then a run to the in-line booster (200CFM) then another run to the outside. (This is controlled by a super nerdy z-wave controlled switch.)
Though, this setup is not glowforge approved as it has more than two 90 degree bends. And I did have issues in the beginning where some of the smoke was exiting the mid-section of lid. But with guidance from support I found a folded manual stuck in the last 2.5ft of the run just before the exit. Absolute noob mistake on my part. But after removing that. The setup works great.
But once again. Not glowforge approved. My setup is unique due to the fact that there are no windows on that wall where the glowforge sits. Moving it to near a window would have meant that we’d have to completely redo the office- That was not going to happen. So I made due.
Inlet for the Glowforge
Provided 4" flex hose
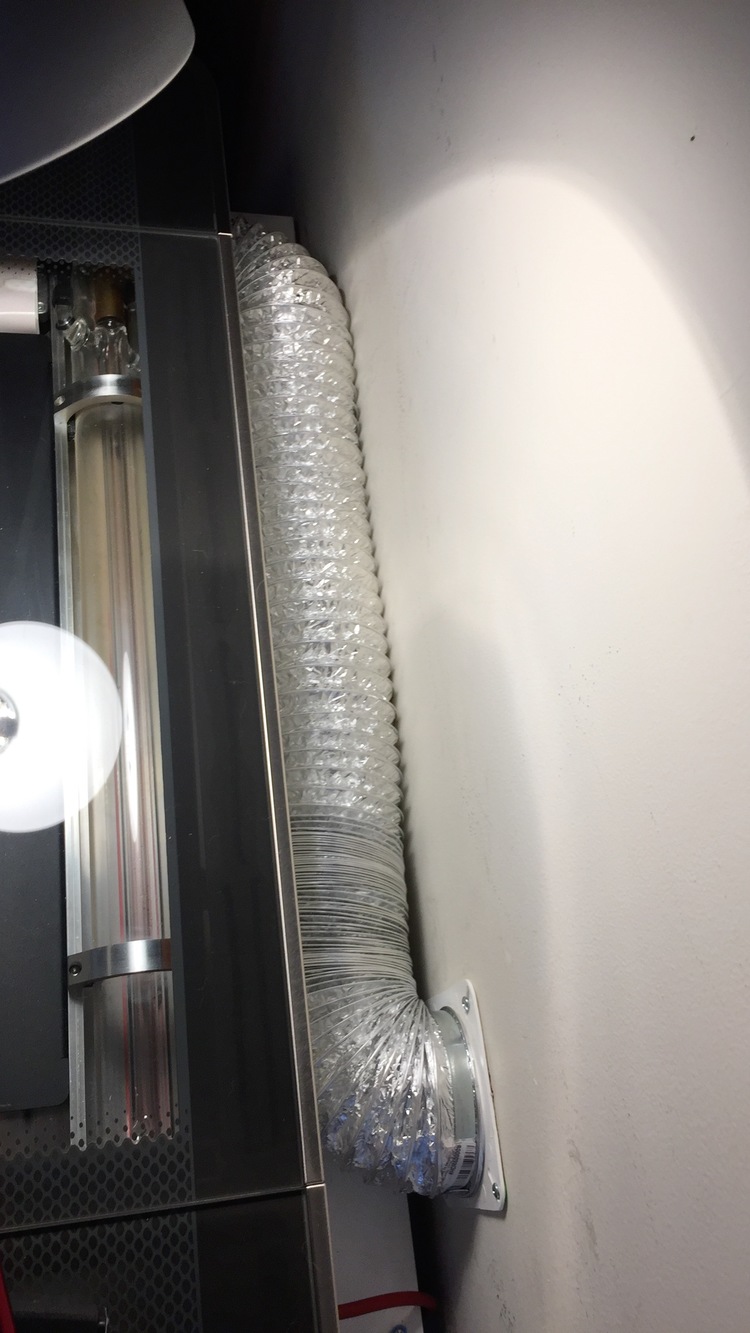
PVC Pipe
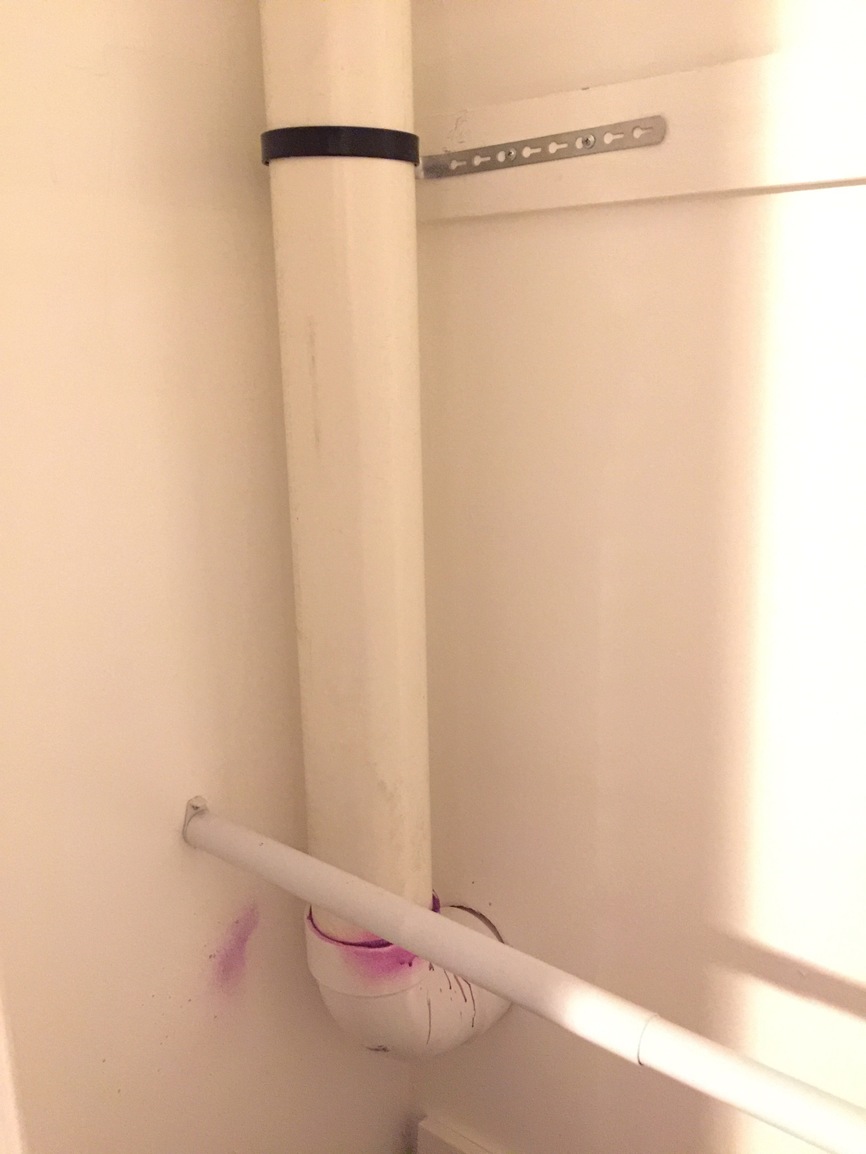
Outside
I have no pictures in the crawl space. I am 6’ 2". And it’s a crawl space. I just wanted to get that part done and GTFO. I hate it up there.
Thanks for the table info! I like your setup. And Ikea is 25 min away.