I love the pictures of the slate. Have you tried going deeper on the slate or will it just do a light surface cut?
Also that glass looks AMAZING!
I love the pictures of the slate. Have you tried going deeper on the slate or will it just do a light surface cut?
Also that glass looks AMAZING!
Good question.
I would expect material removal to be like glass or granite where thermal shock shatters the surface.
Seems reasonable that subsequent passes would progress the depth, but require many many passes to achieve any significant material removal.
For that, I expect abrasive blasting to be much more efficient.
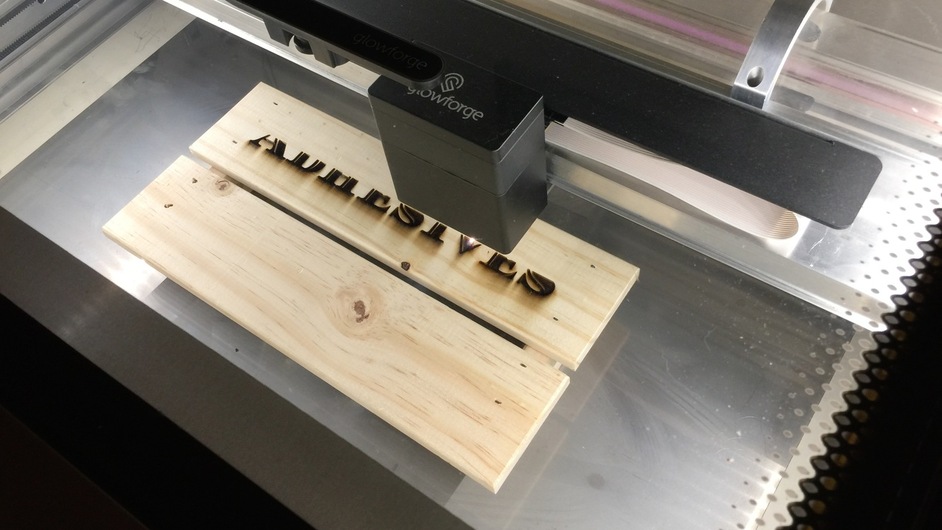
I am sure it could go deeper. It was engraved at low power. But that was not the look I was intending.
Um yes this could be useful. @dan , @Tony , hopper idea? Maybe even better if you can turn it off and on as desired?
With Snap, please? Here’s the thing… Adding a Snap will likely quell those who are looking for a 0,0. Nobody’d really need a 0,0 anymore because it could always be relative and yet always be repeatable.
Not sure it would suffice for that. Sure it would be in the same place software-wise, but how do you make sure the hardware (material to be lasered) is in the exact same place (i.e. shape centered 2 inches from the top and 3 inches from the left. It would be there in the software, but how do you precisely place the wood so it shows up in that spot)
Unless the grid lines itself up to the piece versus the bed, but I don’t think that is what @karaelena was intending.
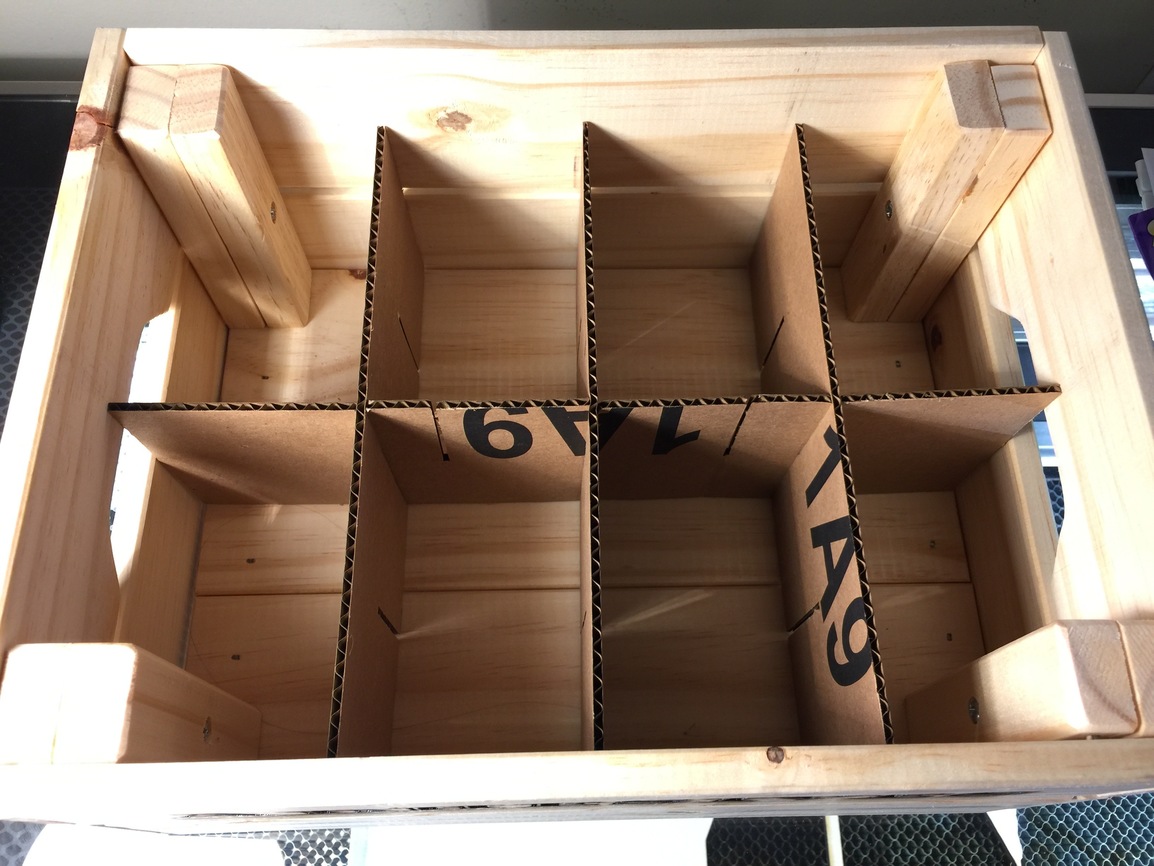
I used the grid to assist with lining up the design to an existing feature on the workpiece. The best thing to do for work piece repeatability is using something (like magnets) on the work surface and using that as a hard stop.
My main thing was engraving something on something that was a irregular shape and not square.
Yeah. In my head it also needs edge detection to work. This way the grid would self align to the object even when askew.
Definitely
Seeing this;
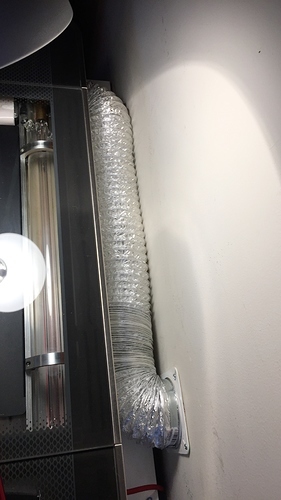
was very helpful to me, as the space I will have behind the Glowforge and the wall behind it (leading up to the window for venting) is pretty tight. This relieved my mind, a bit. Thank you!
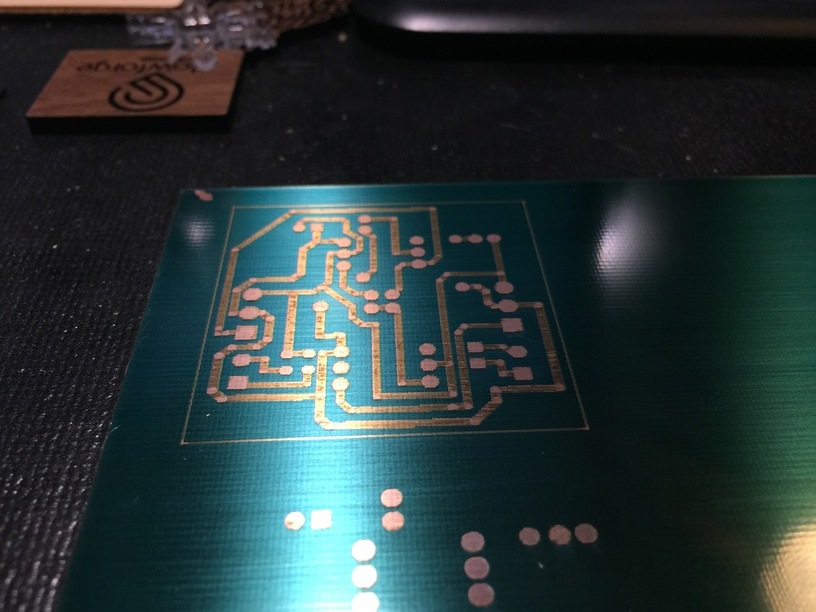
Etching mask for PCBs? Check.
(Did it at a low resolution to see if it would even work. And yes it’s inverted)
This is great! Can you break these out into separate posts? I know we sometimes get sloppy about new posts for new topics, but there’s so much interest in your work it’d do a disservice to leave these prints at the end of a long thread.
Sure- Will do.
Why would you mask glass for engraving? Surely any smoke (if there is any) would wipe off easily.
It is more an issue of reflectivity of the laser and focus of the lens to the material.
Ok, got it 
Is it? To the laser, the glass is opaque as a rock. But perhaps you have a more nuanced understanding that I don’t appreciate?
Your accurate description of a CNC project setup is extremely accurate and perfectly explains why I have grown to kinda regret buying my XCarve.
Dan & crew must be feeling pretty good about the state of things when they see the type of stuff that you two are pumping out!
Someone on the forums posted an up close picture of trying to cut glass at full power and multiple passes.
The result was more fracturing than etching/cutting.
With masking or cermark/thermark, the energy from the beam is concentrated at the masking versus being reflected/diverted (especially as the material of glass either fractures or melts/liquifies). Now I want to say this mainly applies to lower powered lasers, but not playing with large units, I am uncertain.
The focus from the laser head is not referring to the focal point of the beam, but more of the auto focusing of the Glowforge.