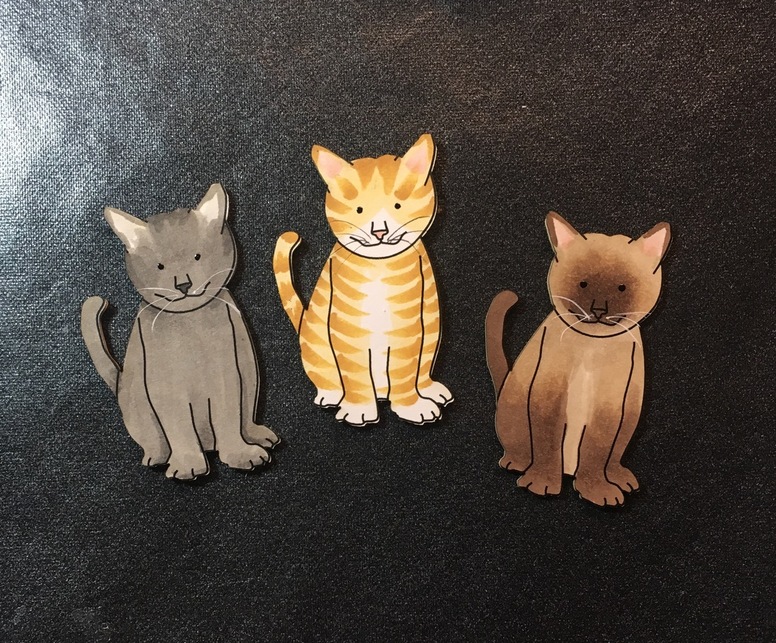
If you’ve followed my history here you will know I’m a nut about cats. One of the things I do in my “spare” time is make thank you cards for a no-kill cat shelter to send to their donors. My cards are pretty simple, they feature a single cat, which I drew based on a photo of a rescue kitten, then each cat is colored in with Copic markers with different fur patterns for variety. I add a stamped Thank You sentiment to the card, and that’s it.
The cut out cats are raised on 1mm thick EVA foam for dimension. I wanted to get more efficient with doing these since I do so many at a time, so I really wanted the laser to help me out here. What I did was print the cats first on 11x8.5" card stock, then used 3M mounting tape to add the EVA foam on the back side. Additional mounting tape on release paper is added to the back of the EVA foam. The idea is to cut each cat out of this “sandwich” to give 3D cat stickers. This is what is known in the vinyl cutter world as a print and cut operation.
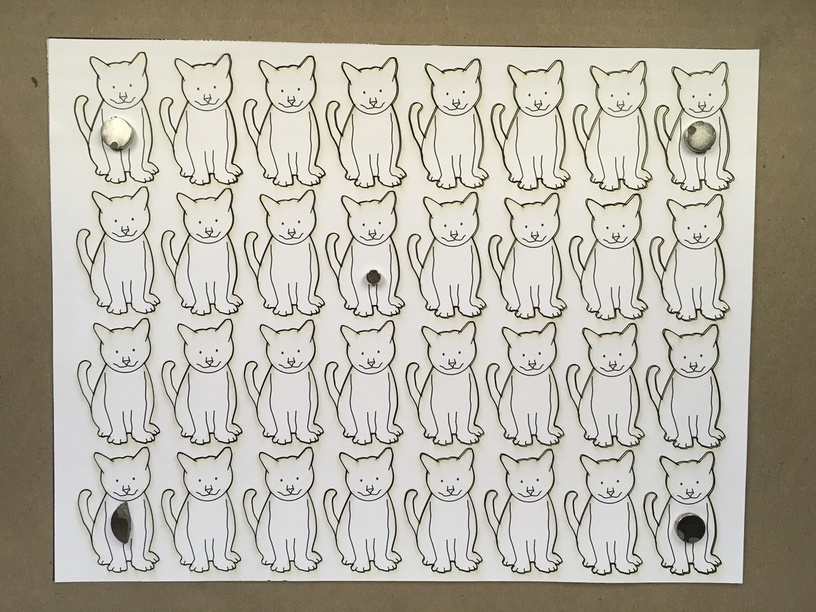
It’s actually pretty challenging to do (at least it was for me). In this case I used a jig created out of chipboard. The cat file contains a bounding rectangle (11x8.5" in size). The first cut I told the GFUI to ignore the cats and only cut the bounding rectangle out of the chipboard. Then I printed the cats on cardstock from the same file, attached the EVA foam, replaced the cut piece of chipboard with the printed card stock, and told the GFUI to ignore the bounding rectangle and the interior parts of the cats, and cut on the cat outlines (which were a different color in my file). Results, while not perfect, were very close and quite acceptable:
In the future I think I will be able to color the cats before cutting, which will increase the efficiency of the operation. Here’s what a few of the colored cats look like:
I’m not a cat person, but ever since I laid eyes on your darling creations and your superb coloring skills, I’ve admired them so much. So, in a very small and remote way, I guess I am a cat person.
I’m so happy for you and the kitties. I know it has been a long time working toward this goal. It looks like you have met all the various challenges that have been thrown against you. That’s a lot more cats than that first test in January with the octet!
I can only image in will get easier and even more exact.
Your coloring is just superb. Way to go and thanks for sharing.
Now could you expand this “border”. Let’s say you wanted a 1/8 border around the cat - can you offset the outline that is cut? (if you didn’t want the object cut out at its boundary) ?
Since the cut outlines are created in Illustrator, you could certainly do that. I decided that I wanted the cut to be right on the printed line (a much greater challenge as off center cuts are a lot more obvious).
If you are meaning, will an autotraced image have an option to expand the cut border by a user selectable amount, no, you can’t do that in the current GFUI. It is a feature that I do have in my vinyl cutter software, and in fact one that I asked for a long time ago (like a year and a half), but I don’t know if it was ever hopperized. @dan? @tony?
[quote=“Xabbess, post:9, topic:7756”]
I guess I am a cat person.
[/quote]As for being or not being a Cat Person - there are those of us who were Called and then Chosen to service our kitties, and we feel so fortunate and honored. There are those who never get called (because the cats must see them as substandard), and then there are folks like you and @cynd11. cynd11 is clearly a super-devoted cat person, capable of “Calling” folks like yourself. Now that you’ve been Called, someday a cat may find you worthy enough to be Chosen.
It’s amazing to see how your skills with coloring can take the template and give them each such a unique personality. The cutting turned out great, as well.
The way the offsets appear, it seems that the difference might be traced to how the printer that does the cat designs lays out and puts it on the paper allows room for error, as we discussed. Going through the rollers and such might shift things.
This is a good question then to explore. Just how accurate are Inkjets and laser printers in putting an image on a paper to match exactly the design dimensions and positioning on the art board.
Also, I wonder if even the thickness of the paper goes into this for layout.
Yes, that might be part of it. I actually cut out three sheets of 32 cats (guess I should have titled my post Ninety Six cats). Before applying the EVA foam I held them up to the light against each other and two matched perfectly, the other was a little different, which could only have happened in the (2D) printer. That’s why positioning of the cut lines over the printouts was done in each case. The first sheet was a little off, although still acceptable, so I repositioned the cut lines a tiny bit for the second and third sheets, giving me nearly perfect results.


 so cute!