if i knew how to put a file in here i would but as of now i cant. the problem is the end result is not the same as screen on glowforge shows when completed. its off to the left or right or not even on the floor tile. to fix this i tried to recalibrate camera and refoused 3 or 4 times before print and still same result. i stand to lose a hefty amount cause i cant engrave on the center of tile for a customer. i hope some one here has same ideas to help/ ken k.
To share a picture/screenshot of what is happening, simply drag the photo into a reply box. It would be most helpful for people trying to help you to see what you are seeing.
If you are engraving tiles, are you doing this with the honeycomb tray in or out? Are you using the set focus tool before you place your artwork? Have you considered making a jig so that your design will always be perfectly centered?
1 Like
i leave the crumb tray in. but i see no reason to take it out. and as for using the focus tool absoulutly i use it cause theses tiles are cheap and ive wasted 6 of them already at my cost. ill try and see if i can get some pictures in here some how.
1 Like
You can easily make a jig for tiles and you won’t have any more probems with centering.
2 Likes
How you figure by using a jig will fix the issue. My issue is whats on screen doesn’t look like end result
1 Like
Please share the screenshot so we can help.
I how to send a picture or file. I’m
a carpenter not a computer person whatsoever
If you have the photo on your computer, just drag it into a reply box. Wait for it to upload before closing.
If centering is all that is wrong. Put Masking tape or a piece of paper on the tile and then run the job as a Score with very low power. This will show you how far you are off center. You will have to get a little creative so that you can place the tile back in the exact spot on the bed, if you move the tile. That is why someone suggested a jig. Then just move the image on the screen over, however much you were off.
Ive tried that also that never seems to work. There is always a bit just not right when done.
Ill get ahold of someone that knows how to rake a pucture on the phone and send it to my computer to send here. Like i said earlier in a carpenter not even close to knowing much about computers
Is it possible that the printhead was moved while the machine was turned on? If so, the print will be off. To fix this issue, turn the machine off and then back on. The camera alignment will then be correct.
If you aren’t using design sofware, you need to.
Let’s say you have a 4" tile. You put your design centered in a 4" square, and have the stroke of the square in a different color. Each color in the design will show as a separate thumbnail on the left side bar in the glowforge interface.
To make a cardboard jig, put a piece of cardboard on the bed and secure it so it can’t move Load the file into the glowforge, use “set focus”. Ignore the design, and cut the 4" square out of the cardboard and place your tile in it. Ignore the square and engrave the design. It should register perfectly.
1 Like
Are you on Mac or Windows? Each has a built in way to take a screen shot.
I’m on windows
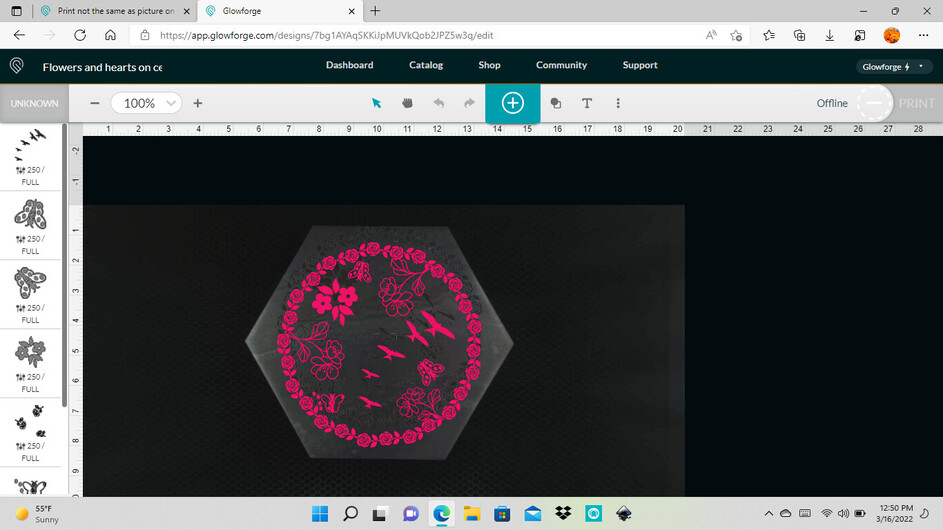
this is what i think you need to look at. Daughter came over and helped me out. So if you can help i’d appreciate it.
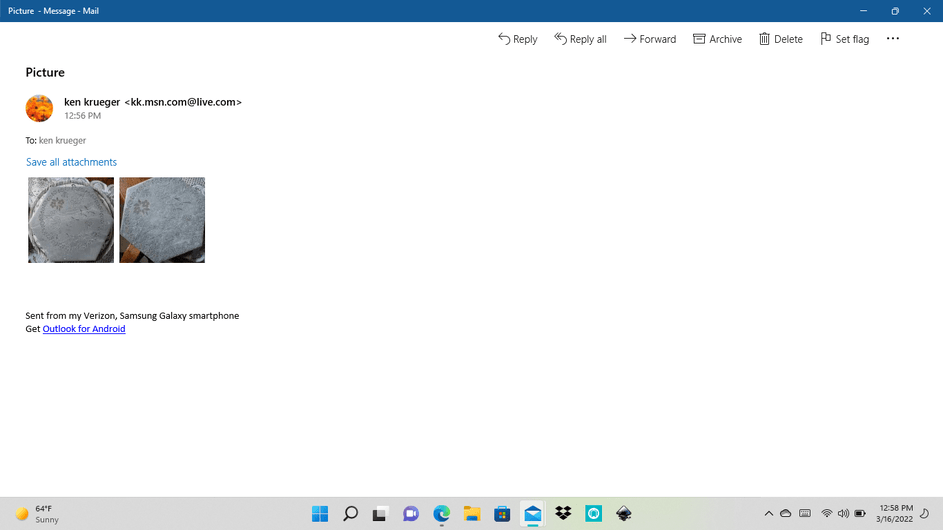
First off, the print looks ok except it is shifted up. Is it possible you pushed the printhead when the machine was on?
Second, how thick is the tile?
Since you have the premium subscription, draw a hexagon the exact size as your tile and center your artwork in that hexagon - the new align tool comes in really handy for this. If you have lots of these to make, a jig will be handy. Place a piece of cardboard on the bed and place your design. Set the hexagon to cut and your artwork to ignore. Remove the cut out cardboard hexagon without moving anything and place your tile in the void. Set the hexagon outline to ignore and your design to engrave. The engrave will positioned correctly.
2 Likes
Ok my goodman i will try it next time and see what happens and ket you know. Would ibe able to use a piece of plywood other than cardboard
Sure - plywood, cardboard, cardstock whatever is around.
Thankyou I’ll give it a try
1 Like