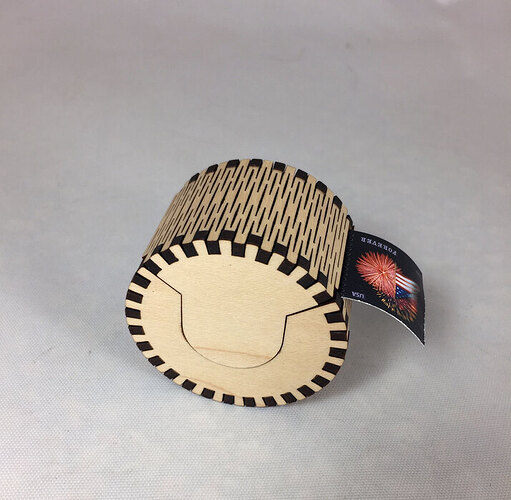
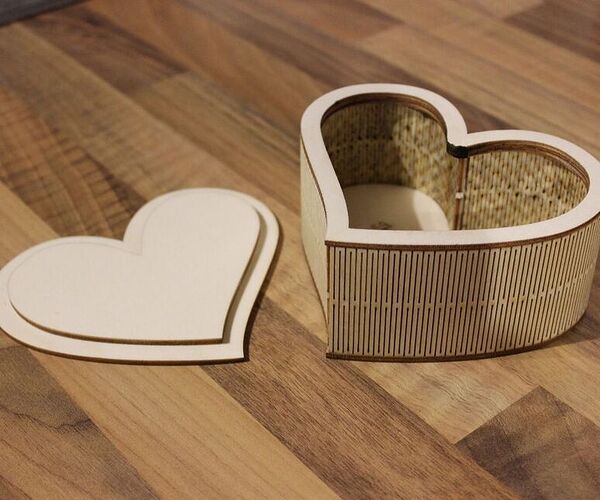
Continuing the discussion from Living Hinges: An exploration in acrylic and plywood:
While I haven’t given up on the acrylic, I thought I would at least post the finished product of my living hinge investigations. I’m very pleased that the design I envisioned and the way I would use the Glowforge worked out great. Just one tool!
The initial design of the living hinge section was creating weak spots and I couldn’t wrap the plywood without it snapping. Looking at @PrintToLaser’s Door Bell I noted something about the hinge that helped me understand better what was going on.
The horizontal tabs were short stubs that ended just right after the edge. Also there was a through slot that went into the circumferential tab. This made the tab weak and with no real possibility of flex.
So I lengthened the slots on either side of the outer tabs (black outlined arrows) and moved the end of the slot to just flush with the inner edge. That gave the tab some leeway to stretch around the circle.
That still left a problem. The center section was a little weak. the space between the slots were too even and allowed for a weak spot in the center. (Red outlined arrows.)
So I lengthened the center slot into two cuts and and made the tab edges three cuts to get a spread of the gaps more even.
Yay! I made it all the way around without breaking the hinge on both the top and the bottom pieces.
That left getting the engrave and tab slot for the top to slide into the bottom. Just needed to tweak the outlines and the fill to ensure a tight fit. 3 passes with 25% power at 340 leaves a depth of 1/2 the thickness of the plywood.
So the tabs slip together and remain even and flush (well, pretty close!)
Here is the SVG from Inkscape. I hope it works for you. The scaling issue can be tricky since I used the elliptical box maker.
Cut as normal for all the paths. The fill needs 3 passes at 25% power, 335 IPM with 340 LPI.
Thought I would turn this loose on the forum in gratitude for all the assistance I have gotten through the past year and a half from so many.
Version uploaded: 5/7/2017 8:40 PM CST with latest tweaks. On thing to note as explained in a later post, the design as it stands does not work for all USPS roll stamps. I brought a box in to give to my secretary today and when I put the roll in, it stuck! Less than a 1/2mm difference but I designed the box for one roll of stamps that I had, not knowing at all that there is a different width of stamp rolls, albeit only very slight!. Will fix the design to accommodate the larger roll.
Edit: SVG changed so that living hinge cuts go with the grain. Forgot that this is is the way you should orient them for maximum flex and strength.
Another Edit: Added two small squares that can be cut and engraved at the settings I suggest for a test piece before you commit to do the box. It would be worth it to check out how your pre-release or eventual production works. Once the they are printed, they should slide together with engrave sides face to face and have a smooth transition on the sides.
Assembly can be tricky. Try to do both sides of the larger one at the same time, tab by tab, alternating sides Put the top of the cut to the inside. This allows for compression. The narrow cut from the bottom of the cut will expand. The top pieces and bottom pieces aren’t interchangeable. It goes together one way. I haven’t made the design so that is obvious, but put the side bottom pieces with the engrave out, and the top side pieces with the engraving in. That will orient it corretly. Then once top and bottom are done, you’ll see how it fits together (I hope!)
I say one tool, but it does help to have an exactly knife or something to clean up the engraving char a little, especially on the sides of the engrave where soot can build up. It can interfere with the fit.
Final tweak: a little tighter on the engraves and the mating surface. Match left top and bottom to each other and right top and bottom to each other. They all go together one way for closest fit. Will try and label the drawing better.


