I wanted to put the acorn pic on the puzzle.
First test the acorn pic as engraving:
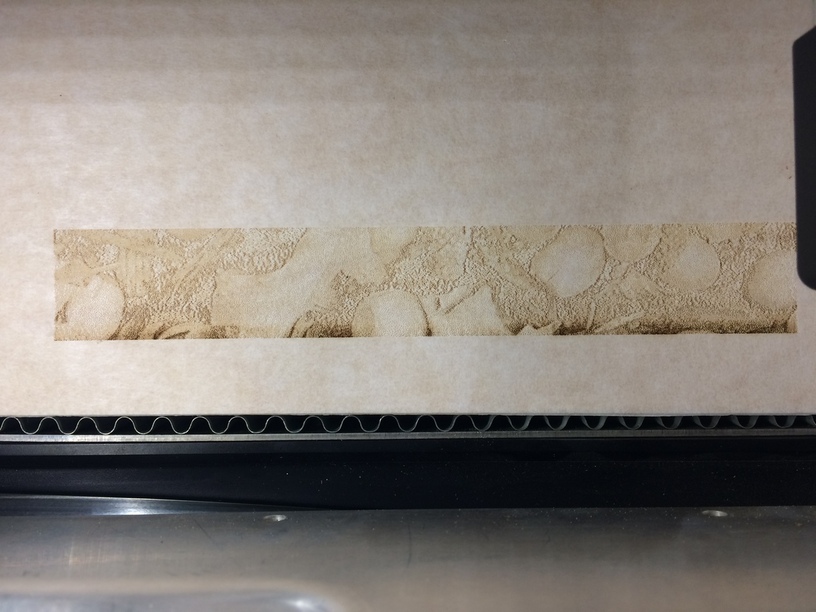
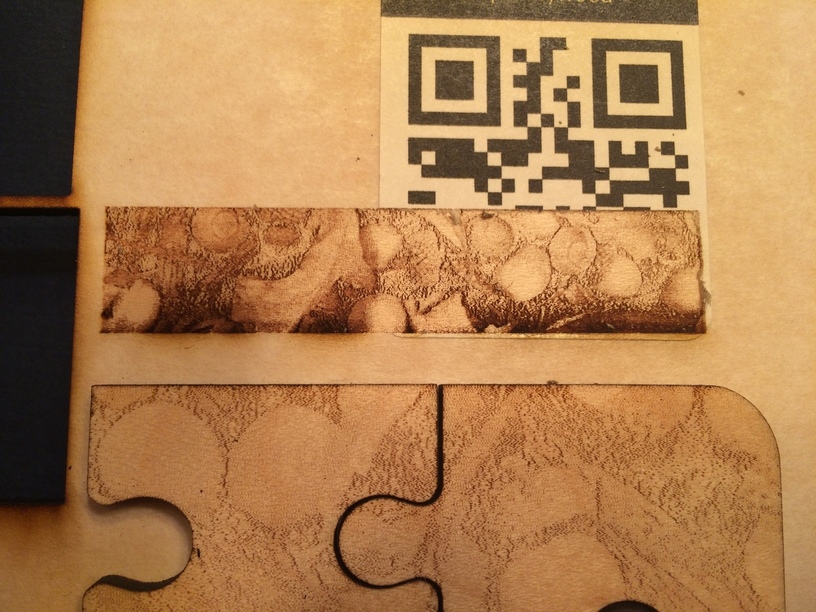
With masking on using a small part of the picture.
Sample or test engrave with masking removed. A medium bristle brush would help to brush off.
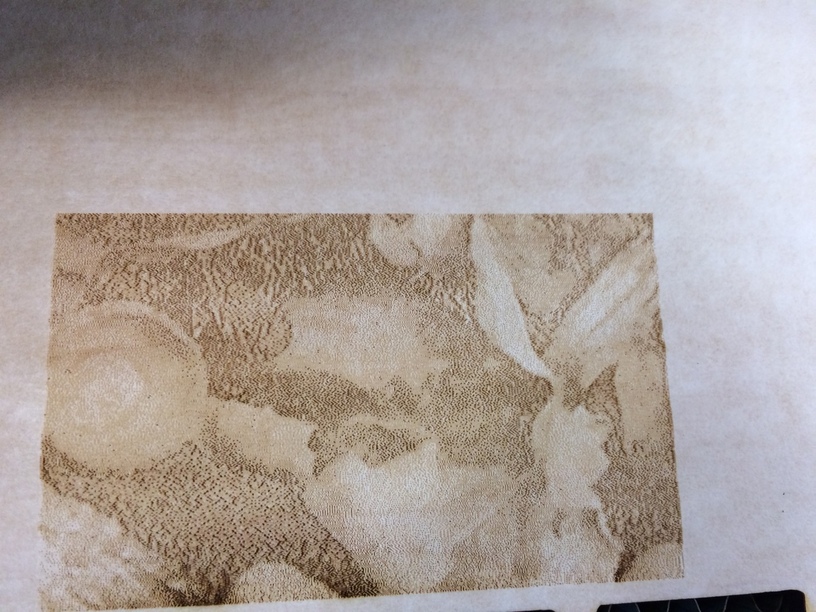
I’m starting this topic with a picture of a testing of the photo engraving. I opened the acorn picture in GIMP, cropped it to a smaller area, to make a square 1 7/8" by 3", native resolution, saved it as a *.png. Using the Glowforge UI, I placed it in the Glowforge workspace. It turned to greyscale. Chose medium engraving. Pressed print. 6m37s later, I was done. Material: 1/8 inch maple plywood.
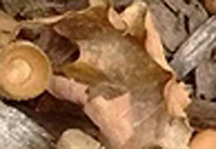
Here is the original. Others are free to use this image of acorns, leaves and bark as they wish.
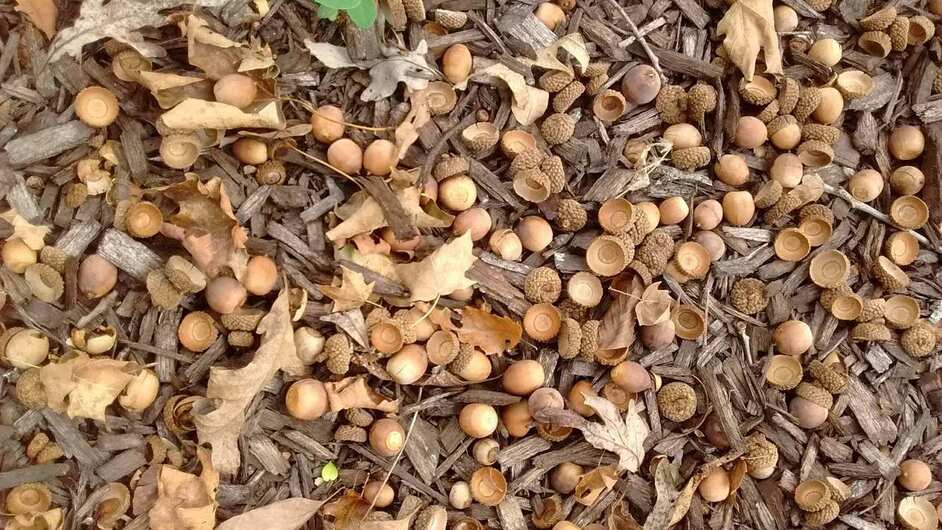
Is this something that people are interested in? The acorn is going to be the overlay on the 12-piece puzzle that is one of the ten designs of the design catalog I have access to.
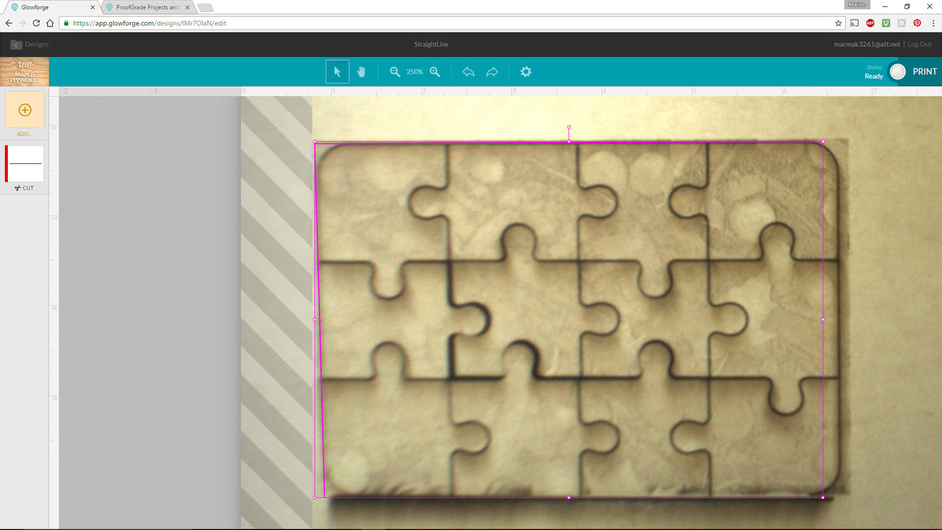
Here is the Glowforge engraving the acorns on the puzzle. I put that first in order. I resized the puzzle which is rather small out of the gate and resized the photo, which was larger in placing than area I wanted to engrave.
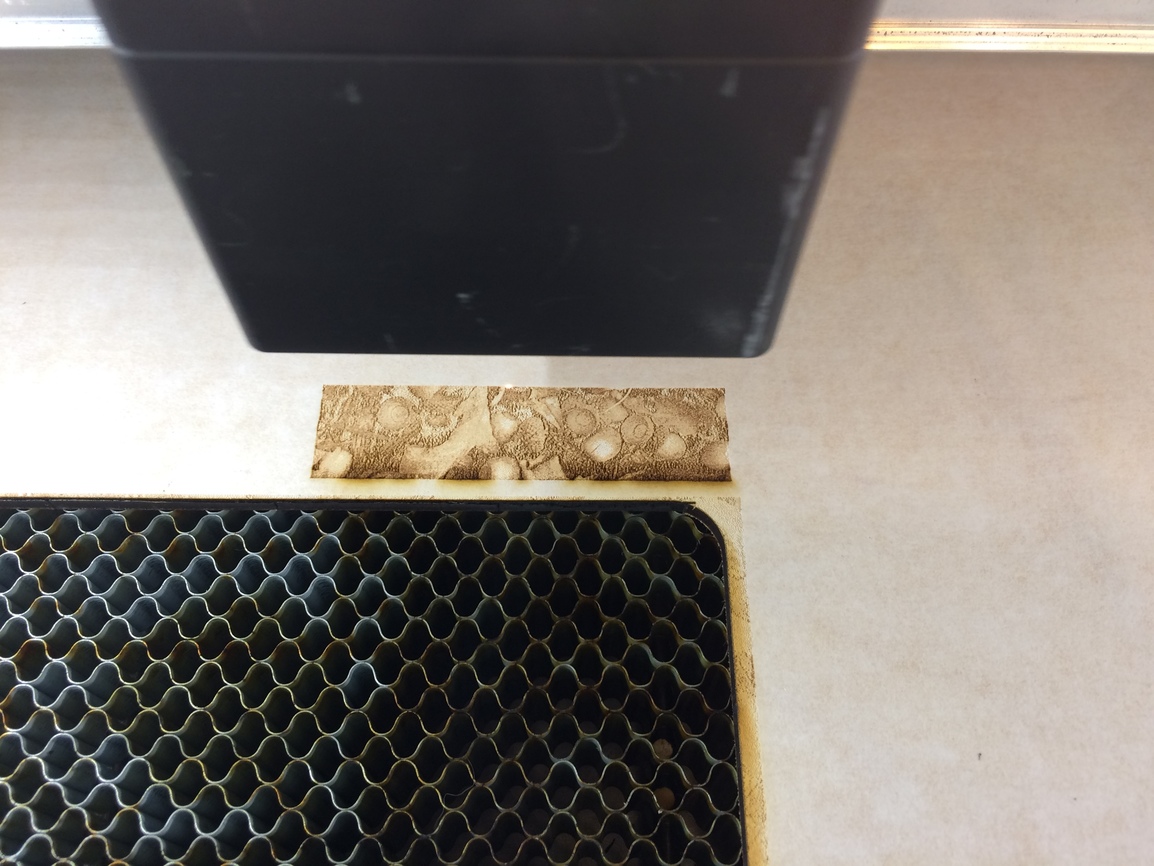
I put the print job on the material deliberately close to the limit of the scan/usable area. Masking still on.
Note the bottom of the engrave, where the engraving commences, is a little darker for a few lines. That was the same as on the test piece.
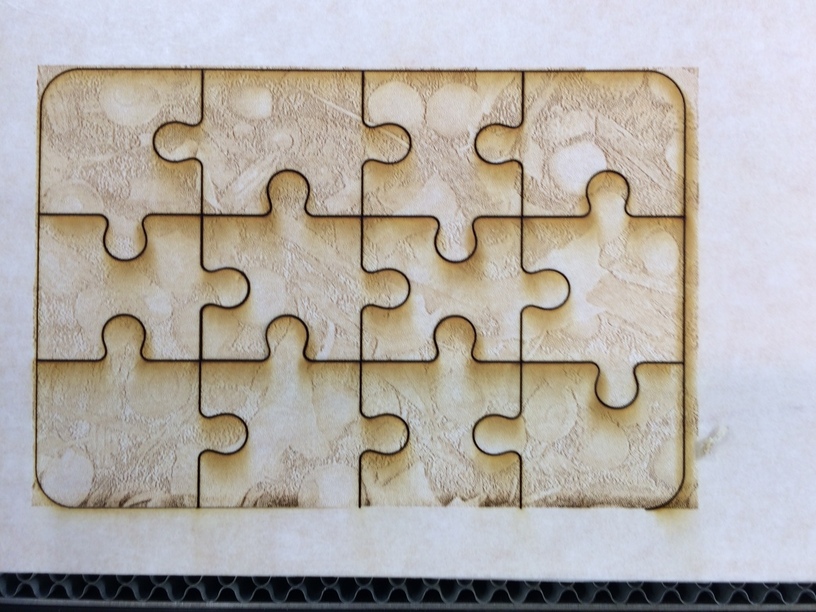
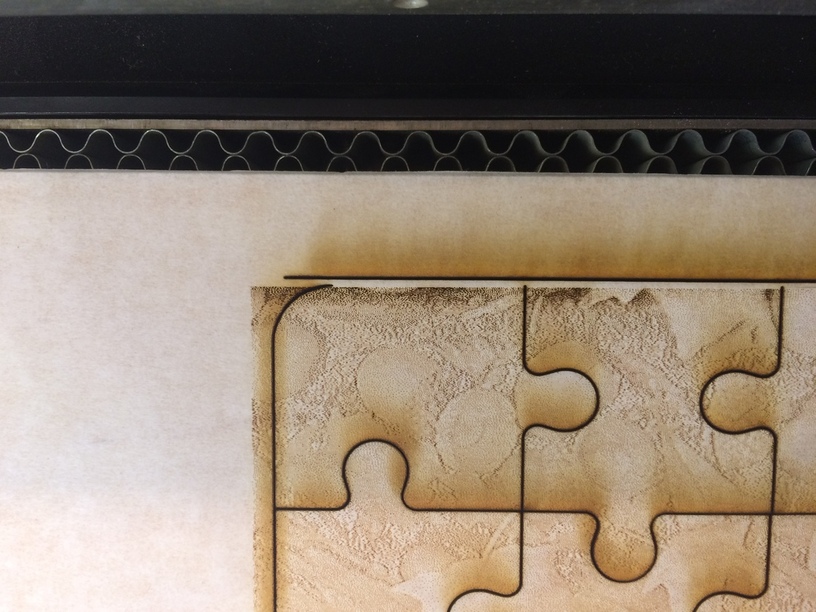
Here it is with the job complete. Recall that I had placed it at the limit of the usable area of the bed. Coloring outside the lines. That’s ok.
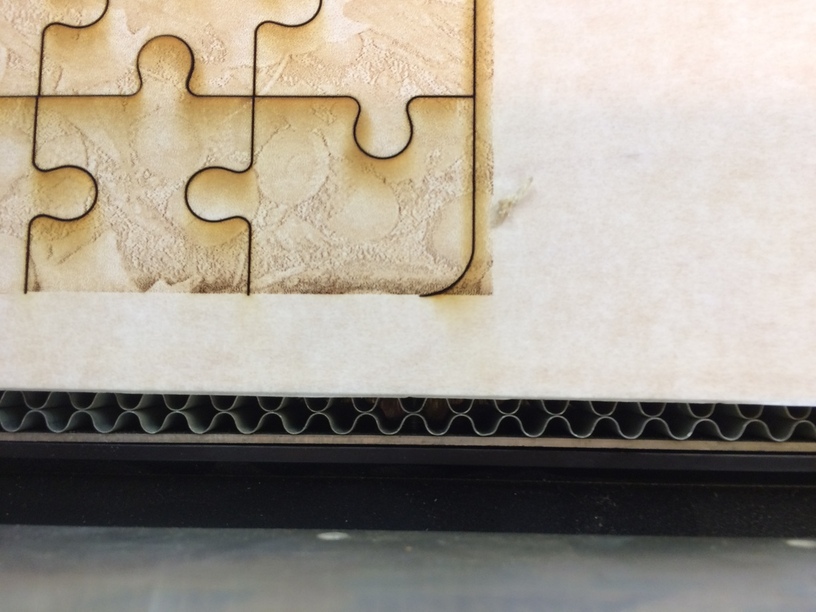
Note that the bottom of the puzzle is not cut through. We’ll fix that with placing a line imported form Inkscape as native drawing tools aren’t available at this time. I moved the material up slightly to access the bottom of the puzzle.
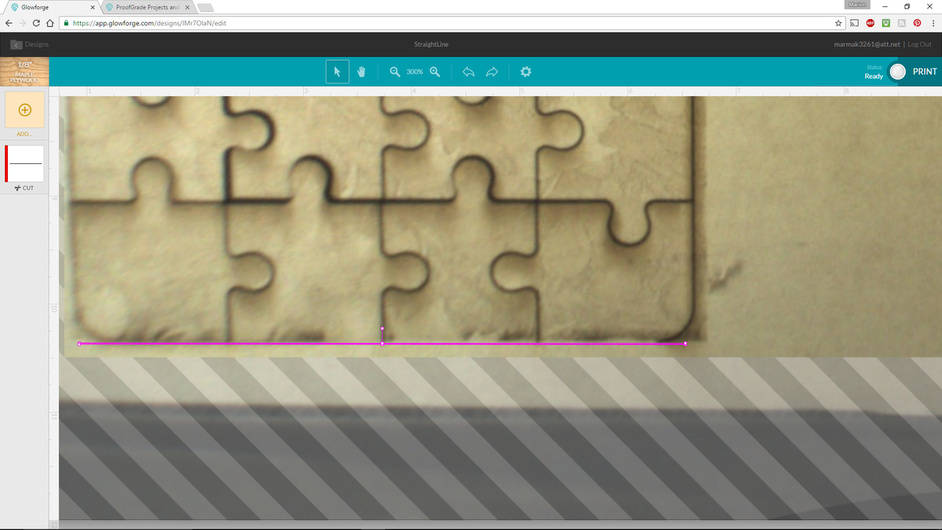
Here is a screen grab of the placement. Wish me luck!
Not too shabby but I could nudge it up a bit more. Learning how to interpret tolerances and how far an arrow key nudges (hey, that would be a nice test to try out and demonstrate.).
Ok, now let’s look at the other side:
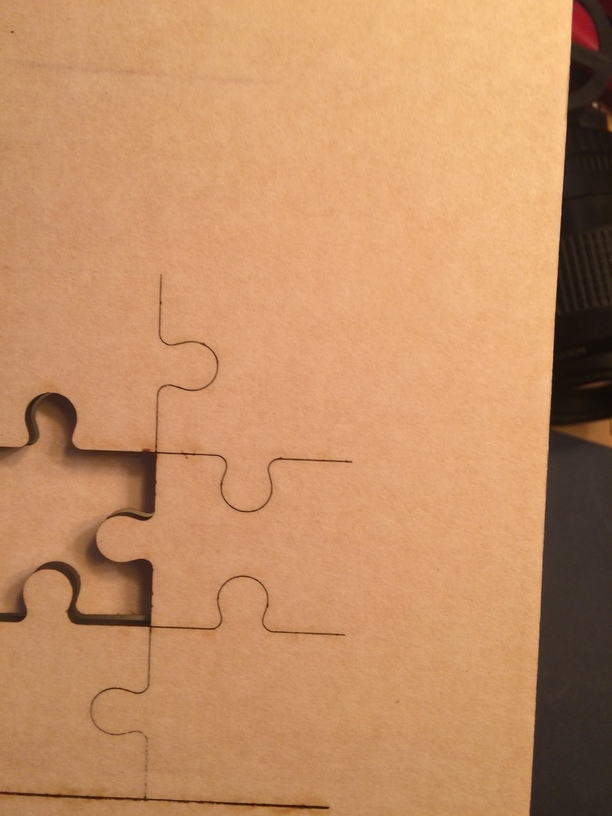
Hey, where did the lines go? It’s something that I have noted on edges or corners of things on the extemeties of the bed, there is still some dialing in to do.
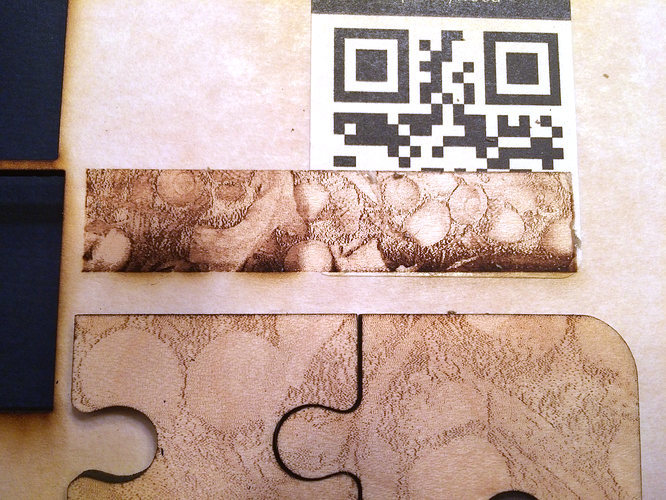
So this time lets try to finish the cutting from the other side and see how copy, paste, rotate, nudge, select all works. Whoops, scratch that. QR code is only on one side of the material for now. (@dan_berry![]() )
)
So let’s print this and finish it up.

New experience, rubbing the masking of. It comes off easily, but there are lots of little bits! We call that post-processing! About half of the puzzle pieces were still attached together by miniscul bits of masking. The Glowforge team have this dialed in fairly precisely, at least for the bulk of it, to cut through the material but barely kiss the underlying masking. There is a tight fit with the masking on. Nice puzzle pieces that go together only one way. Glad I put an engraving on because it would be a challenge otherwise, even with a 12-piece puzzle for me. Kerf? I did some measurements last night and figure it is .01 of an inch. Ducmenting those tests will come.
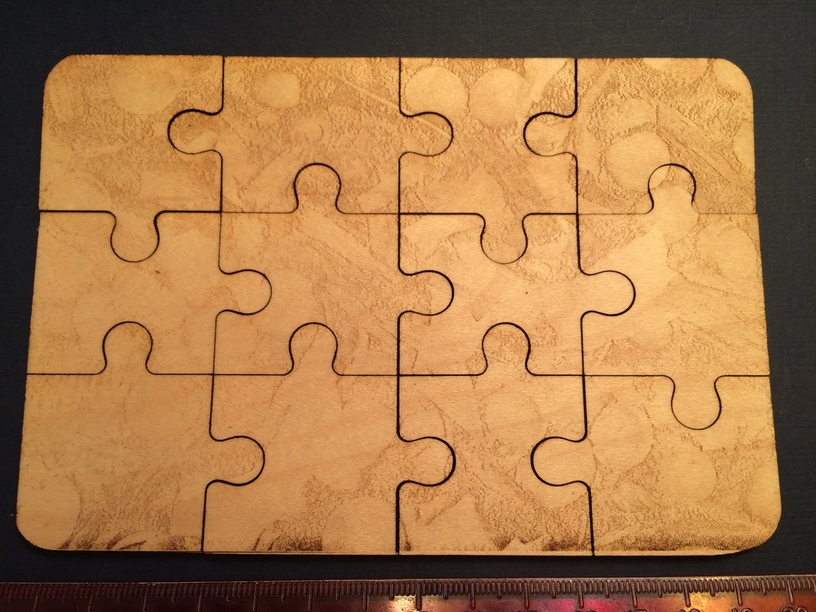
Here is the puzzle. The engraving is very light. Pleasant. I’d say I might want something in between the bottom 1/8 inch that is darker, and the rest of it.
Mind you, I did not process this color photograph at all to optimize it. Just dragged the cropped photo in and shrunk it a bit.
So let’s try a darker engrave, shall we? And this time, use material farther away from the no-go zones.
And stay tuned in for the final print of the 12-piece puzzle from the design catalog at default, standard with darkest engraving. It will be nice. But I have to go to work. It’s ready to print.
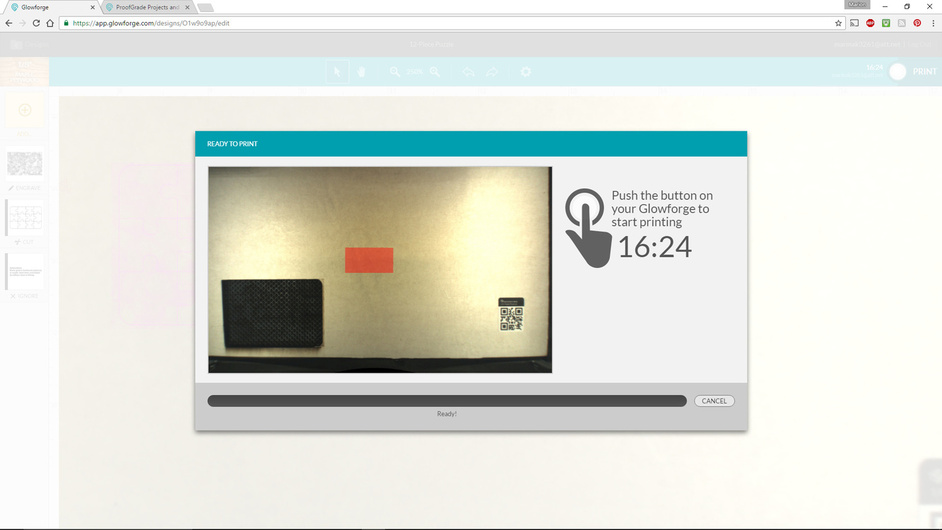
But I have to go and the cat can’t push the button (well, probably could) and monitor the print (definitely not) while I go get ready!
To be continued. And I hope edited and corrected.
2016-12-11 12:16 CST
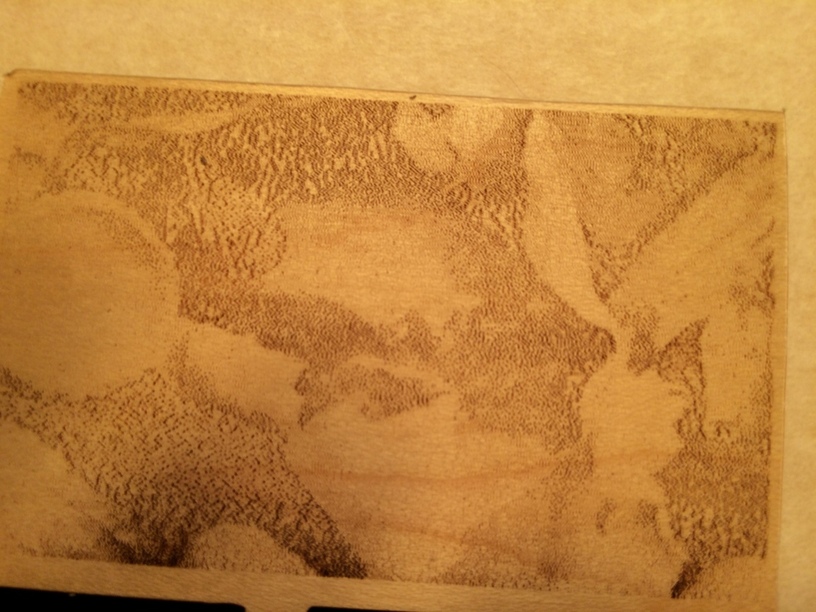
Here is the beginning of the engrave. 16:30 minuted to engrave deep in 2x3 spot on puzzle.
And final shot for now of finished dark engrave. Note once again, the cuts didn’t quite make it through. Now that’s an interesting challenge for coming back and overlay the puzzle cutout and redoing them.

The engraving is wonderful. It is a finely textured surface. Hard to get a pic of it.