I made three jigsaw puzzles as a birthday gift. I combined what I learned from these posts by @jbmanning5, the resident puzzle master/professional (he has many posts, I should have used more):
And I generated the puzzle from @Draradech’s puzzle generator.
First, I ordered some 0.100" inch thick chipboard. Not until I ordered it, did I read that .060-.070" chipboard is the preferred thickness. I forged on. Apparently, for chipboard 1 pt = .001", so 100-pt chipboard is 0.100".
Then I bought some Epson semi-gloss photo paper. I bought my mother an Epson XP600 printer several years ago, it is a good printer, and printed out my photos on 8.5" x 11" paper. I was happy with the quality of the print; as for the quality of the compositions, that can’t be blamed on the printer. The photos sized to 11" x 8.25", so there was a very slim unprinted stripe on the left and right-hand sides. I mounted the photos to my chipboard using 3M (Scotch brand) photo mount adhesive spray.
Before I mounted the actual photos, I mounted a blank piece of photo paper so I could dial in my settings. After I mounted the paper, I sprayed it with two coats of 3x spray polyurethane I bought at Menards (a Midwest home improvement DIY chain.) Having a prototype of what I would laser-cut, I “dialed in” my settings. One good thing I learned from making the prototype is you need a jig to mount the paper to the chipboard. At least I do. A cardboard box worked for me:
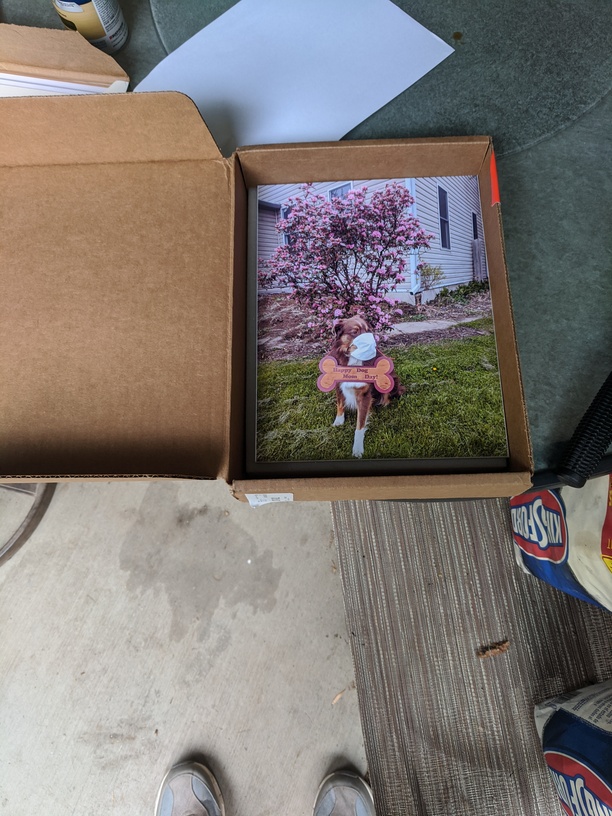
Notice the white stripes on the side and I used some gorilla tape to square up the top corner. Ignore the shoes, please
Just gently jam the chipboard into a mostly square corner and then use that corner to align your photo. It takes me about three tries. Once I had the paper pretty much square on the backer I used a veneer roller to press the paper onto the chipboard. You could use a squeegee or anything that applies pressure without ruining the photo. Next, I sprayed a coat of the 3x polyurethane on it. 2 hours later a second coat.
I made the puzzle so it was slightly smaller than the 8.25" x 11" picture. I placed the puzzle made by the puzzle generator inside a 8.5" x 11" rectangle (done in Inkscape.) Measure your chipboard, as it probably isn’t exactly 8.5" x 11", and adjust the rectangle accordingly. Cut out the rectangle first from cardboard, place your photo-chipboard combo inside your jig and then cut out the jigsaw puzzle.
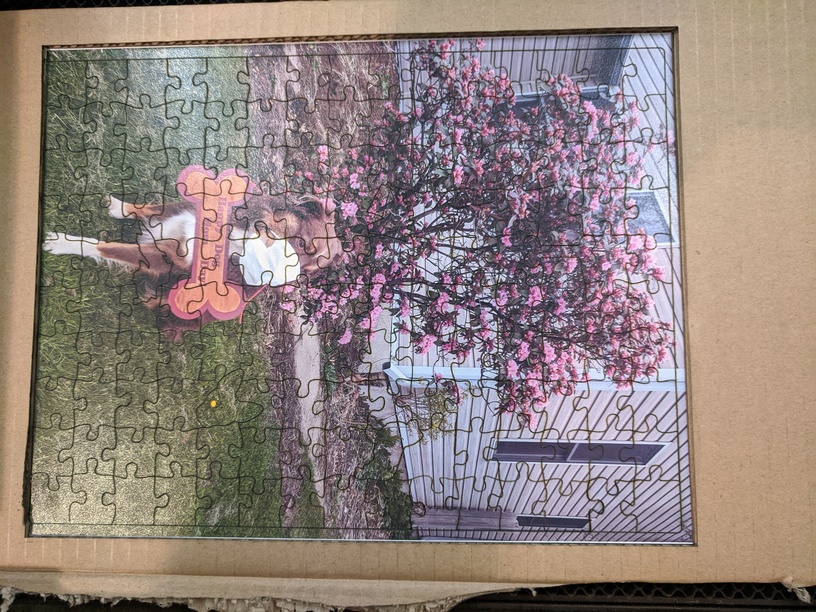
Note: I only centered the jigsaw on the y-axis, I placed it on the left-hand-side of the x-axis because these aren’t professional photos. If it was centered on the x-axis I would have cut off his paw. This is one of the many things you can do with jigs.
Next, wipe the top of the photo with a barely damp, slightly moist, not at all wet, cloth. The top is protected by some polyurethane, but it is not water proof. You may not see it, but you will see the smoke/grime on your cloth. Do this.
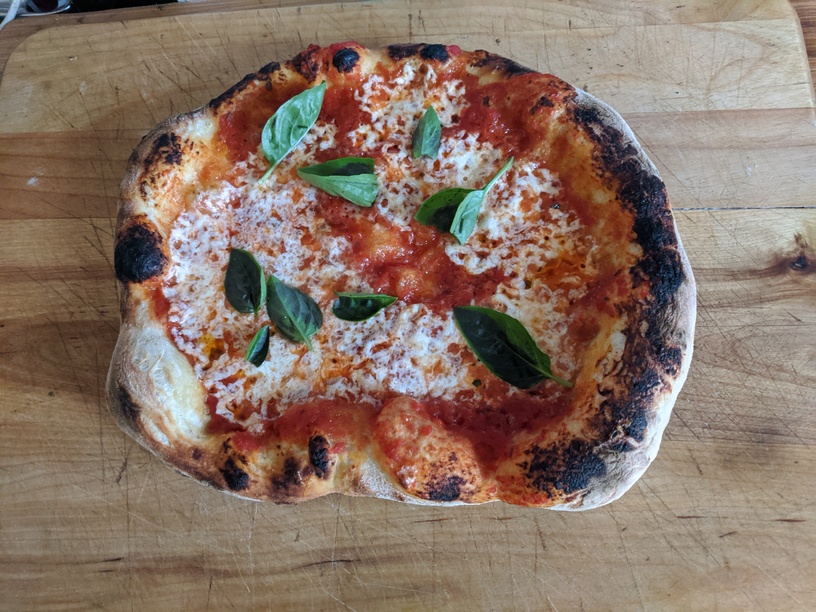
I had a brilliant idea. I’ll use a pizza peel to transfer the puzzle from the glowforge to a counter where I can take it apart.
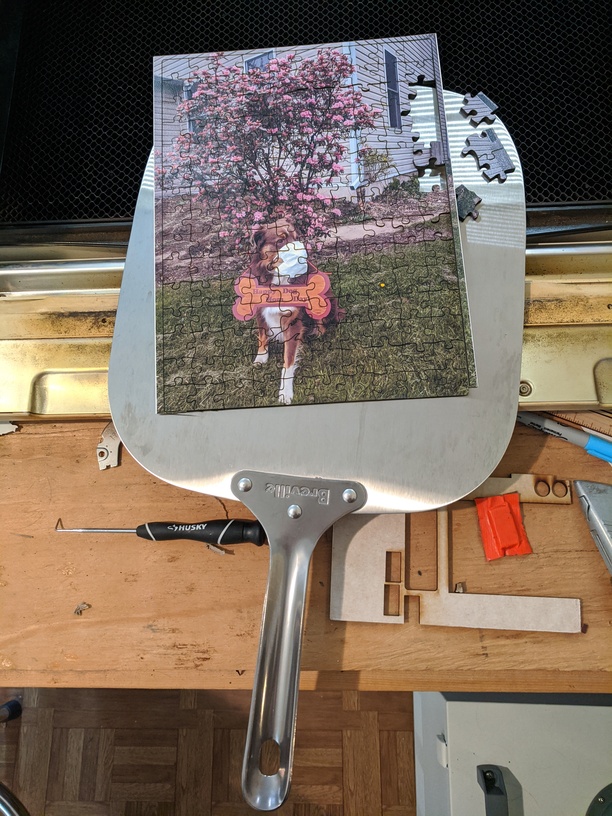
This was not a great idea. It worked, but not nearly as smoothly as I had planned.
This is when I learned that my “dialed-in” settings of 210/Full (Pro) weren’t exactly perfect. I had experimented with only four puzzle pieces. When you dial-in settings for a kiss-cut, you have to make sure your material is absolutely flat on the bed. You can’t use magnets in the middle of a jigsaw puzzle, and holding down the edges only helps the edges. So the settings for my first full-size puzzle were perfect for about 70% of the puzzle. It wasn’t salvageable. On the next two puzzles I used 195/Full (Pro) and that worked great. The backside had very little flashback. I will add, that as jbmanning advised, you will not get 100% clean cuts. There will be tiny places on the backside that are not cut through and you need to use a small exacto knife or just tear the bottom of the chipboard a little. You can do this without wrecking the puzzle when you cut picture side up.
As anyone who has cut cardboard knows, the edges char. So 1.5 cups of kosher salt in a plastic container and a full minute of shaking. It needs to be a full minute: time it. In addition to removing char any sticky residue your barely damp cloth didn’t remove will be removed by the salt.
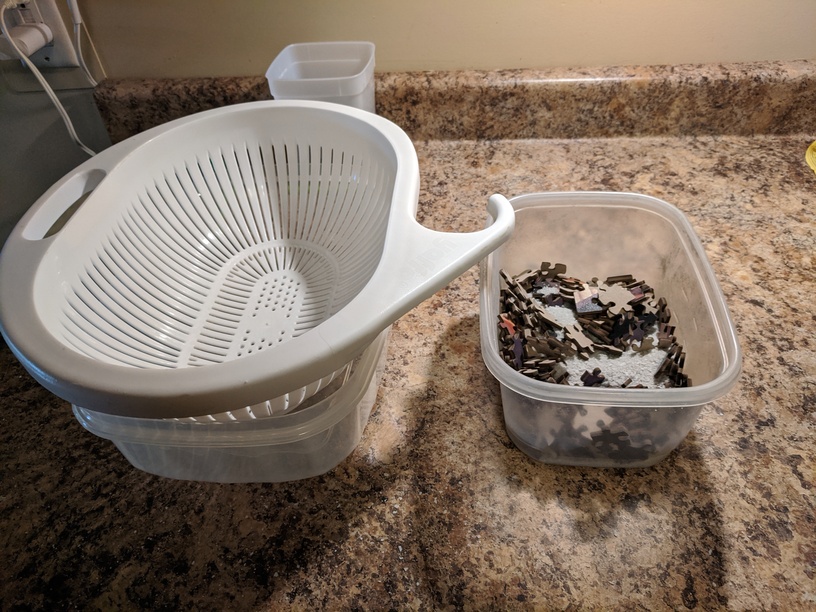
The salt turns gray - gourmet smoked salt anyone?
After a minute the edges of the pieces will be discolored, but if you scrape the edge across your hand it doesn’t mark you (at least not my pasty white skin, different skin tones may need a white towel or something) so you know the pieces are clean. I then used a colander to separate the puzzle pieces from the salt. The 1.5c of kosher salt worked fine for two 150-piece puzzles.
I redid the puzzle I wrecked with the wrong settings and set about making a box for the puzzles. Not in the mood to make three boxes, I figured if you like puzzles you will love having the pieces for three puzzles all mixed up. Right? So I made a double-walled box with a twist top.
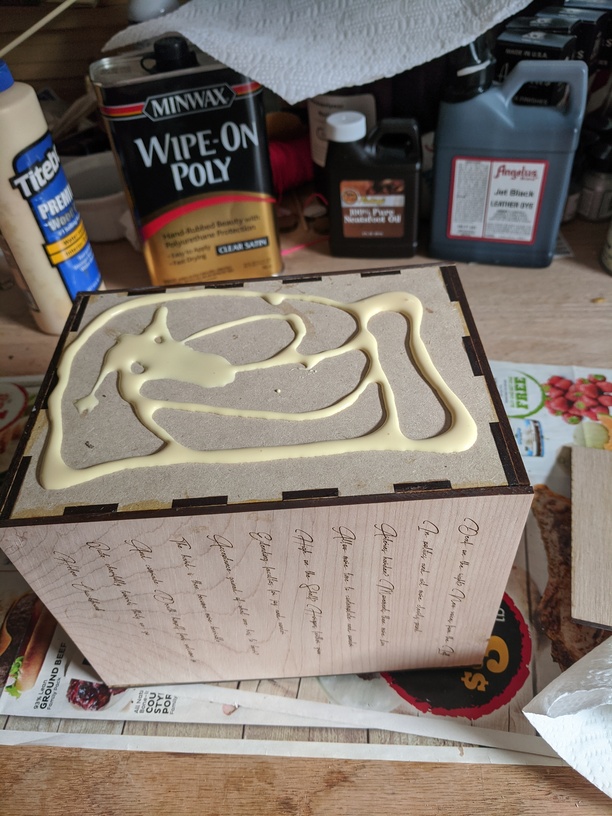
Glue pieces of wood over a finger-joint box. In my case engraved 0.140" non-proofgrade maple glued to a draftboard box. Use lots of clamps, but don’t over tighten and starve it of glue.
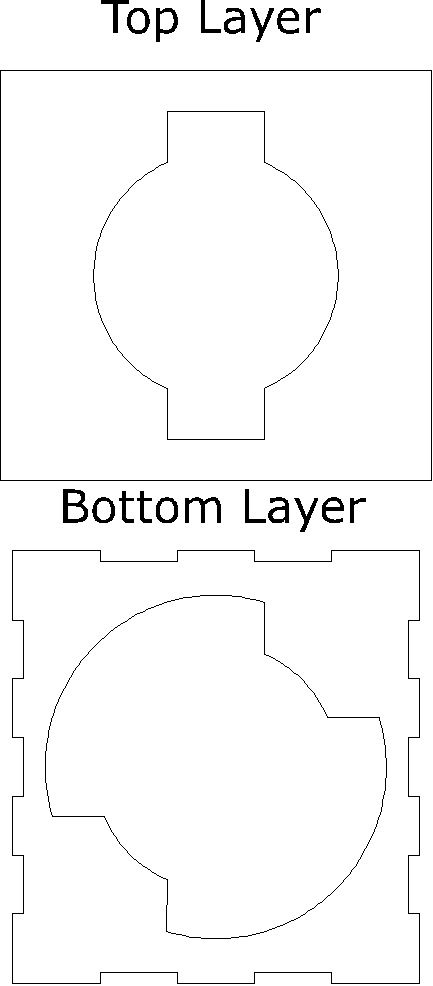
Having two layers on the top, I can make an opening for a circular top that can be twisted closed. The last thing I wanted was the recipient to drop the box with a gravity-only lid and have all the pieces go flying out. This style of lid doesn’t technically lock, but it will not pop off and doesn’t require hardware. Here is an image for the top and bottom layer on the top of the box:
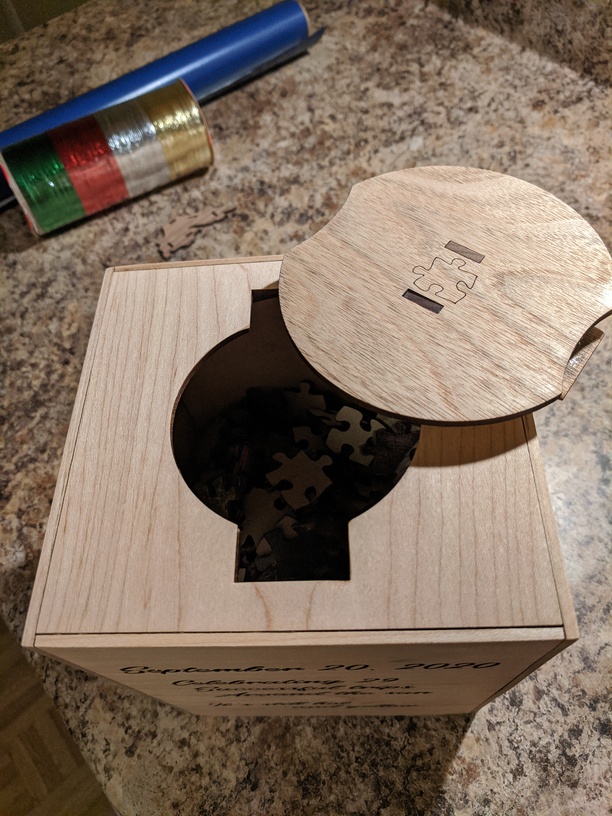
And pictures of the bottom and top of the glued together twist-lid.

Using pegs to align the three layers is critical. Key design element - make the top piece a large enough diameter to cover the entire opening.
I used a wipe-on poly for the outside of the box and the top of the twist-lid. An advantage of having a hole in the top is you can poly the entire outside and then hang it to dry.

The front is the same color as all the other sides. Not. A. Professional. Photographer.
And the box with the puzzles inside. I measured, calculated the volume of the pieces, and still considerably over-sized the box.

 As in, I use a sheet of masking tape that has been used a couple of times to make it not so sticky and/or stuck on my shirt and peeled off to get the right amount of cat fur on it to make getting the puzzle pieces off easy.


