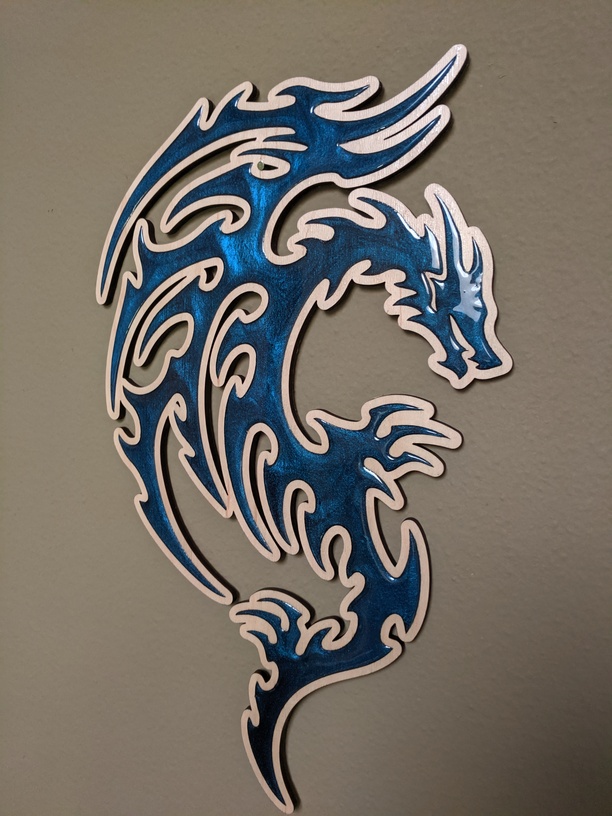
The difficult part is to get the engraved areas filled just above the surface of the wood, but not so much that it overcomes the surface tension and overflows. Then after it sets up for a couple of hours and is jam consistency, then removing the leftover paper gets pretty crisp lines.
They are lovely. I like how the resin almost bubbles over. Nice effect.
6 Likes
Wow, those are gorgeous!
Hope you didn’t have too many trial & errors before getting to these–but glad you kept at it and shared!
5 Likes
Those are very nice! Thank you for showing us your work.
4 Likes
Very nice. What “backing” did you use while inserting the resin?
5 Likes
No backing, the resin filled areas are just engraved into the proof grade plywoods.
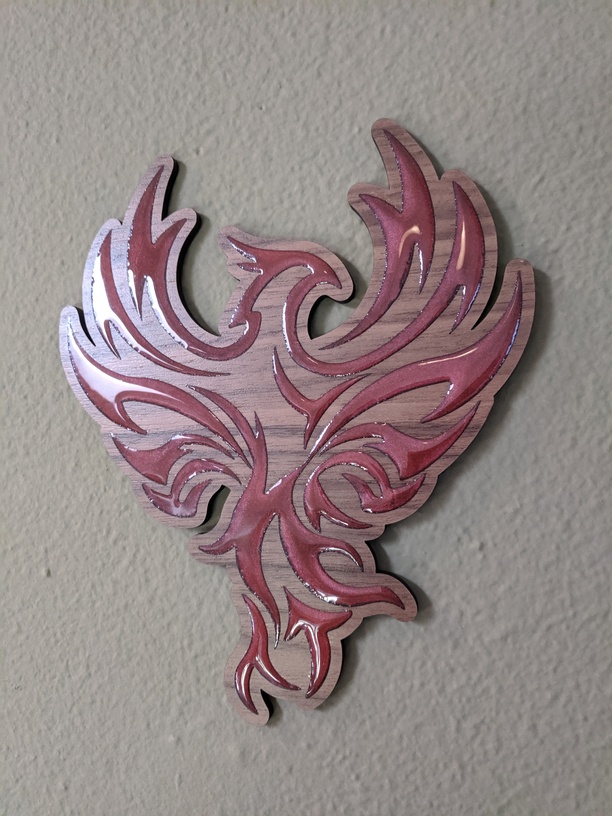
The dragon took ~1 hour to engrave, the phoenix is half the size and only took like 25 minutes.
9 Likes
They are gorgeous. I have not mastered that fine balance yet, so I’m really impressed. Have you considered just cutting them out and putting tape on the back? Just curious if you decided to not do that for a reason?
5 Likes
Love the technique! 
2 Likes
I mean, when you pour in the resin, what surface was the material on so that it can be pulled off?
1 Like
Engraved, the back is solid, so does not need pulling off. It is pulling off the almost overflow that is genius.
3 Likes
Nice work! And it sounds very tricky.
3 Likes
I think they are talking about pulling off the masking.
I love this project! And thanks for the tip—I’ve ruined a few resin fills by pulling the masking off at the wrong time.
7 Likes
Nice job. What resin are you using? We use Alumilite, Eco flow, West systems and just got a gallon of art resin brand to try out.
7 Likes
Beautiful work. Your steady hand with the resin is inspiring.
3 Likes
This is something I’ve been planning to do for a while so I’m REALLY happy to know it’s possible. Love your designs 
5 Likes
Those are stunning. Love the technique.
4 Likes
Lovely! Looks like you might have some mica in the resin for a little shimmer?
3 Likes
Aha! I thought it was cut thru, not engraved. Got it!
3 Likes
Were you able to pour resin or did you have to use an eye dropper or similar?
4 Likes
Wow! Amazing.
4 Likes